LivePure LP460APH User manual

English
Models:
LP460APH
LP460APH-BLK
LP460APH-GRA
LP460APH-SAG
LP460APH-WHT
Form #LP460APH
20220627
©2022 Registered Trademark/TM Trademark of LivePure
Manufactured exclusively for LivePure
All rights reserved
Air Purifier & Humidifier
Owner’s Manual

Table of Contents
At A Glance
Safety Warnings.................................... 1
Initial Set Up........................................... 4
Operation.............................................. 5
Control Panel........................................ 6
Remote Control.................................... 7
Using Your Product
Cleaning the Filters............................... 9
Cleaning the Synthetic Wick............... 10
Cleaning the Unit.................................. 11
Maintenance
Troubleshooting..................................... 12
Filter/Wick Ordering.............................. 13
Technical Support................................. 13
Humidifier Assistance
3-Year Guarantee................................
14
Warranty

1
Safety Warnings
Your safety and the safety of others are very important.
We have provided many important safety messages in this manual and
on your appliance. Always read and obey all safety messages.
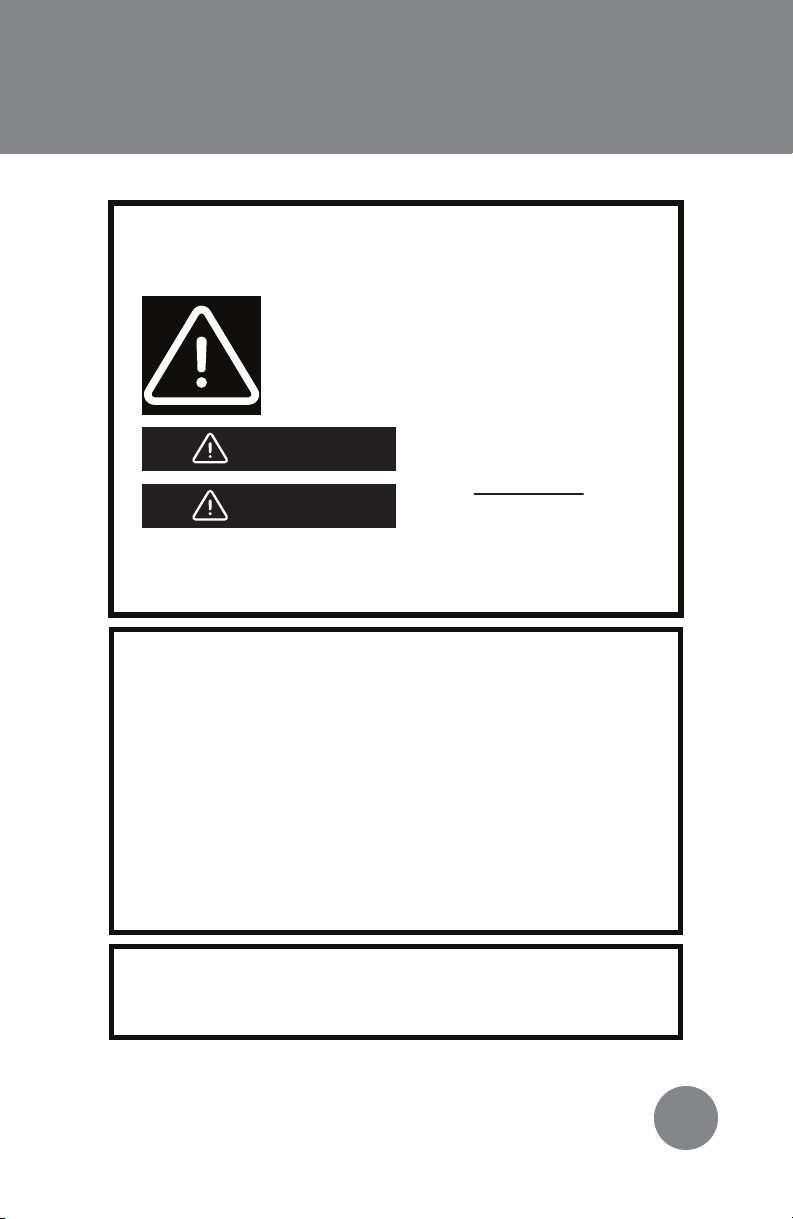
This is the safety alert symbol. This symbol alerts you to
potential hazards that can kill or hurt you and others.
All safety messages will follow the safety alert symbol
and either the word “DANGER” or “WARNING.” These
words mean:
All safety messages will tell you what the potential hazard is, tell you how
to reduce the chance of injury, and tell you what can happen if the
instructions are not followed.
You can be killed or
seriously injured if you
don’t immediately follow
instructions.
DANGER
WARNING
This appliance has a polarized plug (one blade is wider than the other). To
reduce the risk of electric shock, this plug is intended to fit into a polarized
outlet only one way. If the plug does not fit fully into the outlet, reverse the
plug. If it still does not fit, contact a qualified electrician. Do not attempt to
defeat this safety feature.
Do not operate appliance with a damaged cord or plug. Discard product
or return to an authorized service facility for examination or repair.
Unplug appliance before servicing.
Do not run cord under carpeting. Do not cover cord with throw rugs,
runners, or similar covering. Do not route cord under furniture, or appliances.
Arrange cord away from traffic area and where it will be tripped over.
IMPORTANT SAFETY INSTRUCTIONS
READ AND SAVE THESE INSTRUCTIONS
WARNING: To reduce the risk of fire or electrical shock, DO NOT use the
appliance with any Solid-State Speed Control Device.
WARNING: To reduce the risk of fire or electrical shock and injury to
persons, DO NOT use in a window.

2
Safety Warnings
READ AND SAVE THESE INSTRUCTIONS!
Important Safety Instructions: Read all instructions before using
this product.
● This product may not work properly on an uneven surface.
● ALWAYS place it on a firm, level, and water resistant surface.
●ALWAYS place the product at least six inches away from walls,
heat sources, and electrical appliances such as stoves,
radiators, or heaters.
●ALWAYS place the product in an area that is out of the reach
of children.
●Before using the product, extend the cord and inspect for any
signs of damage. DO NOT use the product if the cord has been
damaged.
●This product has a polarized plug (one blade is wider than the
other) as a safety feature. This plug will fit into a polarized outlet
only one way. If the plug does not fit fully into the outlet, reverse
the plug. If it still does not fit, contact a qualified electrician. DO
NOT attempt to defeat or override this safety feature.
●ALWAYS UNPLUG AND EMPTY the humidifier tank when it is not
in operation or while it is being cleaned.
●Use only fresh, clean tap water when filling the tank. DO NOT
use hot water.
●You should never leave the humidifier unattended in a closed
room. Always leave a door partially open.
●This device complies with part 18 of the FCC Rules.
●DO NOT add detergents, chemical solutions or medications.
●DO NOT touch water in water tank or components in water
when unit is turned on.
●DO NOT overfill the water tank.
●Avoid spilling water on the unit while refilling the water tank.
●ALWAYS lift the product by the handle or base, DO NOT lift by
the tank.
●DO NOT clean with detergents or chemical solutions.

3
Safety Warnings
●Keep away from children under the age of 8 unless supervised
by an adult.
●For indoor use only.
● NEVER drop or insert any object into any openings.
● DO NOT run cord under carpeting, throw rugs or runners.
● DO NOT route cord under furniture or appliances. Arrange cord
away from traffic area and where it will not be tripped over.
● NEVER block the air openings, grilles/outlets.
● NEVER place the product on a soft surface, such as a bed or
sofa, as this could cause the unit to tip over, blocking the air
intake or outtake opening.
● DO NOT place anything on top of the unit.
● DO NOT attempt to repair or adjust any electrical or
mechanical functions on this unit, doing so will void your
warranty.
If you need any assistance with setup, operation, or parts for
your new LivePure product, please call us. Our technical support
staff is ready to help!
USA/Canada: 888-855-5426
Email: [email protected]
Hours of operation are from 8:00 AM to 6:00 PM EST.
You may also contact us online at:
www.livepureshop.com

Initial Set Up
4
1. Remove the product from packaging and place on a
sturdy, flat surface.
2. Unravel and straighten the cord before use.
3. Remove the top cover from the unit.
4. Use a pitcher to add fresh, clean tap water to tank. DO
NOT overfill.
5. Reattach top cover.
WARNING: Never fill the humidifier with hot water.
FIGURE 1

Power ON:Follow the initial setup instructions. Plug product into
wall outlet. On product, press power switch to ON. Product will
beep and light up as indication that it is working.
Power OFF:Press power switch to OFF. Empty water tank.
Refill Water Tank:See initial setup for instructions on refilling
water tank. DO NOT overfill. If tank is empty, product will still run as
an air purifier. Refill the tank to use the humidifier function. When
tank is empty the “Waterless” light will turn on. This will
automatically turn off once the tank is refilled.
Operation
5
HEPA Filter:Helps purify your air.
Recommended to replace every 6
months. See Filter Maintenance for
further instructions .
Water Wick:Helps purify your water.
Recommended to clean or replace
as needed due to environmental
reasons. See Filter Maintenance for
further instructions .
Control Panel:How you operate
your machine. See Control Panel for
further instructions .
FIGURE 2

Control Panel
FIGURE 3
On/Off: Press button to power humidifier on or off.
Speed/Sleep:By default, the machine will start running on low
speed. Press the button once to run on medium speed, twice for high
speed and a third time for sleep mode. Press button again to turn off
sleep mode and return to low speed.
Accent Light: The accent light will automatically turn on when you
power on your unit. Press the button to turn it off.
Timer: Press button to set timer. Press once for 2 hours, press twice
for four hours and three times for 8 hours. Press through all options to
not set a timer. Unit will automatically shut off after the set time runs
out.
Auto: Press button to have the unit work in Auto mode. The unit’s
running speed will be based on the room’s humidity. The unit will run
on high speed for humidity below 40%. medium speed for humidity
between 41-69%, and low speed for humidity above 70%. The
product will try to get the room’s humidity between 41-69% and
adjust its speeds accordingly. Press Auto button again to turn off
Auto mode.
Filter Indicator: This button will light up when it is time to clean your
HEPA filter. After the filter is cleaned or replaced, press and hold the
filter indicator button to reset it.
Waterless: This will light up when your unit is out of water.
Please refill the tank following instructions on Intial Set Up.
6

Remote Control
Using the Remote:
Your remote comes with a battery installed
and does not need to be programmed. Before
using your remote for the first time, you must
take out the pull tab. To use remote, make sure
to point it at the front of the unit. The remote
will not work when pointed to the backside of
the unit.
On/Off: Press button to power product on or
off.
Accent Light:Press button to turn accent
light on or off.
Auto:Press once to turn on Auto mode. Press
again to turn off Auto function.
Speed/Sleep: By default, the machine will start running on low
speed. Press the button once to run on medium speed, twice for high
speed and a third time for sleep mode. Press button again to turn off
sleep mode and return to low speed.
Timer: Press button to set timer. Press once for two hours, press twice
for four hours and three times for 8 hours. Press through all options to
not set a timer. Unit will automatically shut off after the set time runs
out.
Filter Indicator:Press and hold the filter indicator button to reset
the filter indicator light after cleaning or replacing your filters. The unit
will beep 3 times to indicate reset.
FIGURE 4
7

Remote Control
It is recommended to replace the battery when
the product takes a long time to respond or stops
responding when the buttons are pressed.
1. Turn over remote control. Press the tab toward
the right and pull.
2. Pull out battery holder and replace the battery.
Only use the specified battery type (Lithium Button
Cell Battery CR2025). The battery must be installed
with the positive side facing up.
3. Insert battery holder back into remote.
Note: Do not apply excessive force to battery
holder. Remove battery when not using for an
extended period of time. When disposing of used
battery, please use the correct method of disposal.
Replacing the Remote Battery:
Battery : Lithium Button Cell Battery (CR2025)
WARNING
Keep the lithium battery out of
reach of small children.
Small children may accidentally swallow it.
If swallowed, call your doctor immediately.
FIGURE 5
8

Filter Maintenance
We recommend periodically checking and cleaning filters for
optimal performance. Under normal conditions of continuous use
the pre-filter should be cleaned every 3 months (approximately
2,160 hours) and the HEPA filter should be cleaned every 6 months
(approximately 4,320 hours). This estimate is only a guide.
Depending on air quality and environmental factors, filters may
need to be cleaned more regularly. To clean your filters, use a
vacuum extension.
IMPORTANT: DO NOT use water, any liquid or detergents to clean
the filters. Remove any packaging and plastic bag from the new
filter before replacement.
Filter Replacement:
1. Power off and unplug the product.
2. Gently take off back grille.
3. Grab the tab to remove the filter from the compartment.
4. Remove the pre-filter from the HEPA filter.
5. Clean or replace both filters.
6. Align the pre-filter with the HEPA filter and firmly press to attach.
6. Put the filter back in the compartment.
7. Put the grille back into place and dispose of dirty filters.
8. Press and hold the filter indicator button to reset the filter
indicator light. The unit will beep 3 times to indicate reset.
Pre-Filter
Grille
True HEPA Filter
FIGURE 6
9

Cleanable Wick
We recommend periodically checking and cleaning your
synthetic wick for optimal performance. Under normal water
conditions of continuous use the wick should be cleaned every
1-3 months. This estimate is only a guide. Depending on your
water quality and environmental factors, the wick may need to
be cleaned more regularly.
IMPORTANT: DO NOT use any detergents to clean the wick.
Cleaning the Synthetic Wick:
1. Power off and unplug the product, ensure water tank is empty.
2. Remove the top cover from the unit.
3. Grab the handle inside the tank to remove the tank. Sit it on a
sturdy surface.
4. Remove the wick from the tank. WARNING: The wick may be
saturated with water and drip when removed.
5. Rinse the wick with water and vinegar.
6. Allow the wick to air dry before placing it back inside the tank.
7. Lift the tank by the handle to place back inside the unit.
8. Place top cover on the unit and resume use.
Synthetic Wick
FIGURE 7
Top Cover
Back Grille
10

Maintenance
Note: ALWAYS unplug the product from electrical outlet before
cleaning. NEVER allow water to sit in water tank when not in use.
Note: Hard water can cause calcium and magnesium to build up
in a "white powder" on base of unit, transducer and inner surface
of water tank. Overtime, this can cause humidifier to stop working
properly. Note: It is recommended to clean the water tank daily,
and clean the synthetic wick every 1-3 months, depending on
water hardness. Note: Water tank should be emptied and
cleaned before storage.
Daily Maintenance:
It is recommended to refill the water tank every day to avoid odor
from sitting water and hard water build up.
1. Turn off product and unplug from wall outlet.
2. Remove top cover.
3. Grab handle and lift water tank out of the unit. Drain any
water into a sink or tub. Shake water tank gently to remove
any remaining water.
4. Rinse water tank thoroughly with water, empty, and wipe
with a dry, soft cloth.
5. Wipe product base with a dry cloth if necessary.
6. Refill water tank as directed under initial setup and resume
use.
Cleaning the Unit:
Hard water can cause calcium and magnesium to build up on
base of unit in the form of white powder. Clean as often as
needed.
1. Wipe off surface and base.
2. Rinse surface and base with clean water.
11

Troubleshooting
Problem: Excessive noise
Solution:
1. The water tank is not attached correctly. Properly insert
water tank to base of unit.
2. The product is on an unstable surface. Place product
on a sturdy, flat surface.
Problem: Product is not working properly
Solution:
1. The product is not connected to power. Plug product
into a wall outlet and press the power button.
2. The water tank does not have enough water. Fill water
tank with water. See initial setup.
3. The water tank has too much water. Remove excess
water from tank.
4. Filter may be excessively dirty. Replace filter as needed.
Problem: Abnormal mist smell
Solution:
1. The unit is new. Remove tank cover and let water tank air
out for 12 hours in a dry, cool space.
2. The water is dirty or has been sitting in unit too long. Clean
water tank and add fresh, clean water. See maintenance
instructions.
Problem: Not enough mist coming out
Solution:
1. There is too much calcium and magnesium build-up.
Clean the synthetic wick and unit. See
maintenance instructions.
2. Water is dirty or has been sitting in unit too long. Clean
water tank and add fresh, clean water. See initial setup.
12

Filter/Wick Ordering
Replacement filters and wicks may be ordered online at
www.livepureshop.com or by phone by calling LivePure
Customer Support at (888) 855-5426. Applicable state and local
taxes may apply. Prices are subject to change without notice.
Model Number Filter Type Part Number
LP460APH Pre-Filter, 2-Pack LP-PF460
LP460APH True HEPA Filter LP-HF460
LP460APH Synthetic Wick LP-SW460
Replacement Part Numbers:
Customer Support
If you need any assistance with setup, operation, or parts for
your new LivePure Air Purifier/Humidifier, please call us. Our
technical support staff is ready to help!
USA/Canada: 888-855-5426
Email: [email protected]
Hours of operation are from 8:00 AM to 6:00 PM EST.
You may also contact us online at:
www.livepureshop.com
13

Warranty
LivePure makes the following warranty to the original residential
user or consumer purchaser of the air purifier/humidifier: If any
part of the product fails during the first three (3) years from the
date of purchase due to a defect in material or workmanship, we
will provide a replacement part free of charge. If no
replacement part can be provided, we will replace your product.
IF THE ORIGINAL RESIDENTIAL USER OR CONSUMER PURCHASER
CEASES TO OWN THE AIR PURIFIER/HUMIDIFIER, THIS WARRANTY
AND ANY IMPLIED WARRANTY WHICH THEN REMAINS IN EFFECT,
INCLUDING BUT NOT LIMITED TO ANY IMPLIED WARRANTY OF
MERCHANTABILITY OR FITNESS FOR A PARTICULAR PURPOSE, ARE
VOIDED. THIS WARRANTY IS IN LIEU OF ALL OTHER EXPRESS
WARRANTIES. THE DURATION OF ANY IMPLIED WARRANTY,
INCLUDING BUT NOT LIMITED TO ANY IMPLIED WARRANTY OF
MERCHANTABILITY OR FITNESS FOR A PARTICULAR PURPOSE IS
EXPRESSLY LIMITED TO THE PERIOD OF THE EXPRESS WARRANTY SET
FORTH ABOVE.
This warranty is voided if your air purifier/humidifier is not
purchased and used in the USA or Canada. This warranty
excludes and does not cover defects, malfunctions, or failures of
the humidifier which were caused by repairs by persons not
authorized by us, use of parts, or accessories not authorized by us,
mishandling, modifications, or damage to the humidifier while in
your possession, or unreasonable use, including failure to provide
reasonable and necessary maintenance. This warranty does not
cover products used in commercial applications. There are no
express or implied warranties as to commercial purchasers or
users.
14

Warranty
IN NO EVENT SHALL LIVEPURE COMPANY BE LIABLE FOR DIRECT,
INDIRECT, SPECIAL, CONSEQUENTIAL OR INCIDENTAL DAMAGES IN
EXCESS OF THE PURCHASE PRICE OF THE PRODUCT. YOUR SOLE
REMEDY WILL BE REPAIR OR REPLACEMENT AS PROVIDED ABOVE.
SOME AMERICAN STATES AND CANADIAN PROVINCES DO NOT
ALLOW:
LIMITATIONS ON HOW LONG AN IMPLIED WARRANTY LASTS; THE
EXCLUSION OR LIMITATION OF DIRECT, INDIRECT, SPECIAL,
INCIDENTAL OR CONSEQUENTIAL DAMAGES; THE EXCLUSION OR
INVALIDITY OF EXPRESS OR IMPLIED WARRANTIES IF THE USER
CEASES TO OWN THE PRODUCT; THE LIMITATION OF THE REMEDIES
AND RECOURSES AVAILABLE TO THE PURCHASER; OR THE
INVALIDITY OF AN EXPRESS WARRANTY WHEN A PRODUCT
IDENTIFIED BY BRAND NAME IS NOT USED (UNLESS SPECIFIC
CONDITIONS ARE FULFILLED);
SO THE ABOVE LIMITATIONS OR EXCLUSIONS MAY NOT APPLY TO
YOU. THIS WARRANTY GIVES YOU SPECIFIC LEGAL RIGHTS AND
YOU MAY ALSO HAVE OTHER RIGHTS WHICH VARY FROM STATE TO
STATE OR PROVINCE TO PROVINCE.
15
This manual suits for next models
4
Table of contents
Other LivePure Air Cleaner manuals