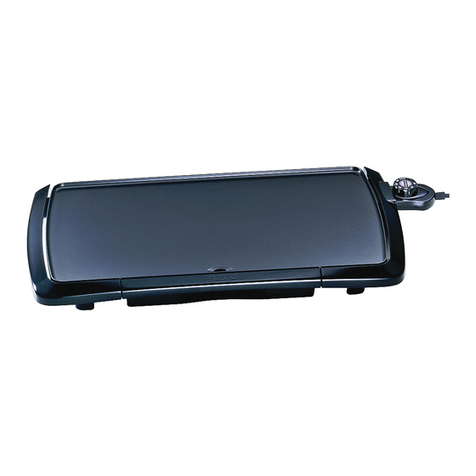
Instruction Manual
6
Before to use:
−Clean t e otplate and drip tray in warm soapy water. Place your appliance on t e level and stable
surface.
−Pre eat a few minutes wit out food and at maximum temperature, t en allow to cool down. A small
emission of smoke or a slig t odor can be released; t is is normal and s ould not worry; make sure t e
room is well ventilated.
−Lig tly coat t e plate wit a little cooking oil.
USING
1. Insert t e control probe (8) fully into t e socket (5) of t e otplate.
2. Slide t e grease drip tray (2) into t e slide bar under t e grease drip dram (3)
3.
You can spread vegetable oil on to t e non-stick grilling surface (4) if you so wis
4.
Connect t e feed plug on to an adapted feed source
5. Plug t e cord into a power outlet and turn t e power ON.
6. Set t e desired temperature by means of t e temperature control “0/1/2/3/4/5”. W en t e
t ermostat lig t on t e control probe switc es off, t e desired cooking temperature as been
reac ed and t e Grill is ready to use.
Note1: The thermostat light on the control probe indicates the Grill is heating. This light will remain
ON until the set temperature has been reached and then will cycle ON and OFF throughout cooking.
This will ensure that the Grill always maintains the selected temperature. The preheat time will
depend on the heat setting selected, if a high heat setting is selected, a longer preheat time required.
Note 2: When barbecuing on high heat settings, the Grill will generate smoke. Selecting a lower
setting will reduce smoke. Adequate ventilation is recommended.
7. Always turn t e temperature control to “0” to switc off t e grill.
8. Pull t e plug from t e connecting socket.
9. Carry t e grill only by andles
10. Let t e grill cool down out of t e reac of t e c ildren.
CLEANING AND MAINTENANCE
1. Caution: Do not use wire brus or any abrasive items or liquids
2. Be very careful w en you use cooking oil, if it is too ot i t can take fire
3. Always remove t e plug from t e socket before cleaning t e planc a grill
4. Never immerse t e appliance base in water
5. Ensure t at t e appliance as completely cooled down before cleaning or moving.
6. Clean t e accessories wit ot soapy water.
7. Use damp clot to clean t e appliance base.
8. T e appliance is dis was er compatible (please take off t e t ermostat first)
9. Store in a safe place: w en not in use store your appliance and all its accessories and instruction
manual in a safe and dry place.
