manuals.online logo
Brands
  1. Home
  2. •
  3. Brands
  4. •
  5. Livoo
  6. •
  7. Griddle
  8. •
  9. Livoo GB4000F User manual

Livoo GB4000F User manual

Other Livoo Griddle manuals

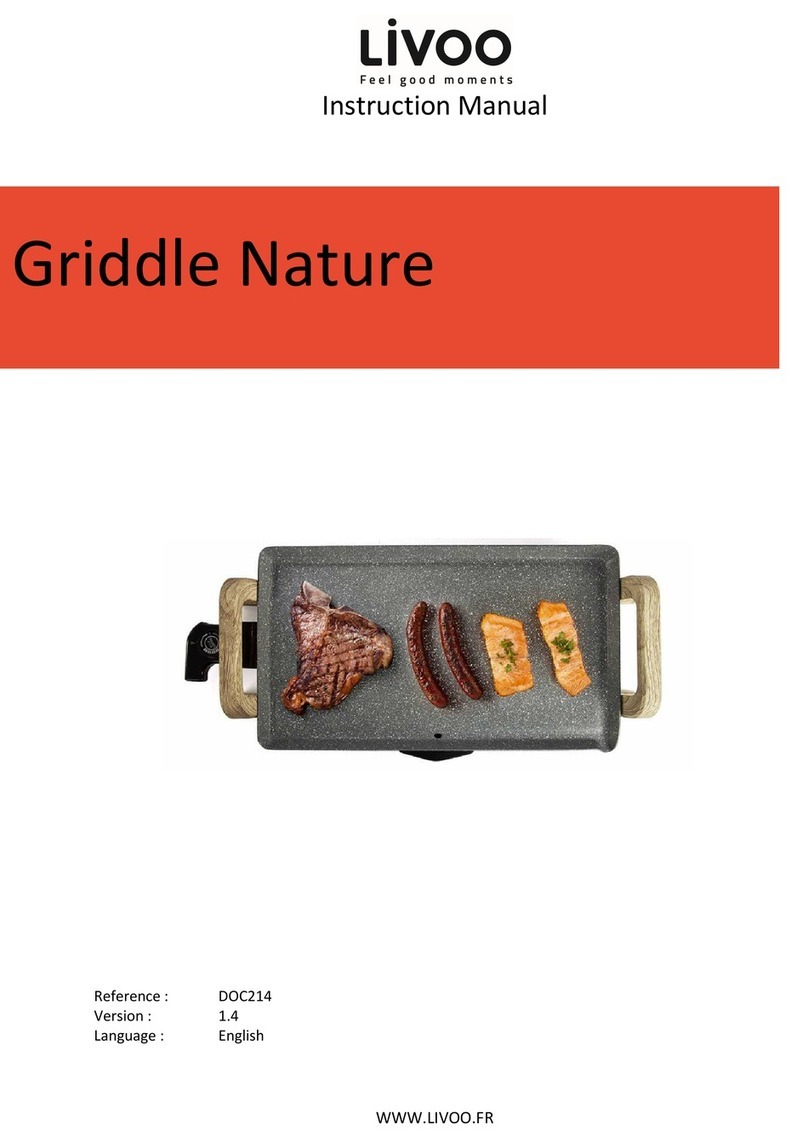
Livoo DOC214 User manual

Livoo

Livoo DOC214 User manual

Livoo DOC249 User manual

Livoo

Livoo DOC249 User manual

Livoo DOC215 User manual

Livoo

Livoo DOC215 User manual

Popular Griddle manuals by other brands
Magikitch'n MKG24 Installation & operation manual

Magikitch'n

Magikitch'n MKG24 Installation & operation manual

Proctor-Silex 25340 manual

Proctor-Silex

Proctor-Silex 25340 manual

New House Kitchen NH33-C user guide

New House Kitchen

New House Kitchen NH33-C user guide

Magikitch'n 24 Installation and operation instructions

Magikitch'n

Magikitch'n 24 Installation and operation instructions

Anvil FTA7116 Specifications

Anvil

Anvil FTA7116 Specifications

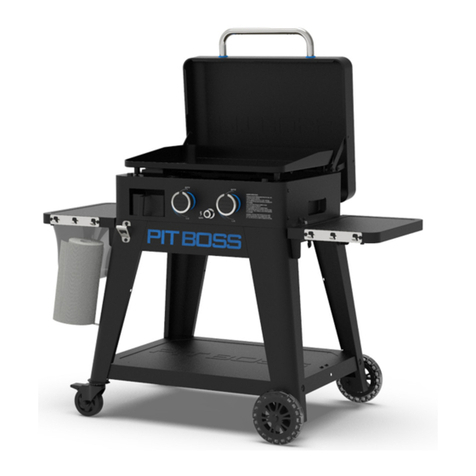
Pit Boss PB2BGT1 Instruction guide

Pit Boss

Pit Boss PB2BGT1 Instruction guide

Dyna-Glo DGL260SNP manual

Dyna-Glo

Dyna-Glo DGL260SNP manual

Char-Broil 19952085 Product guide

Char-Broil

Char-Broil 19952085 Product guide
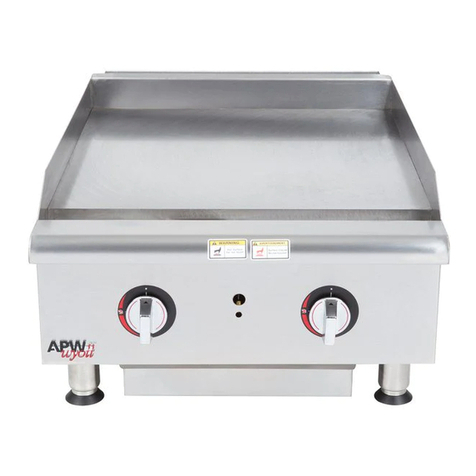
APW Wyott HMG-2424 Installation and operating instructions
APW Wyott

APW Wyott HMG-2424 Installation and operating instructions

Pit Boss Ultimate Griddle PB2BGD2 Assembly guide

Pit Boss

Pit Boss Ultimate Griddle PB2BGD2 Assembly guide

Airxcel Suburban Elite SOP-1005A Operation guide
Airxcel

Airxcel Suburban Elite SOP-1005A Operation guide

Hobart GGO36S instruction manual

Hobart

Hobart GGO36S instruction manual

Delta Heat DHTG32 Installation, use & care manual

Delta Heat

Delta Heat DHTG32 Installation, use & care manual

Broil King USG-10 use and care manual

Broil King

Broil King USG-10 use and care manual

AccuTemp Accu-Steam GG24A Installation & operator's manual

AccuTemp

AccuTemp Accu-Steam GG24A Installation & operator's manual

croydon GR2G instruction manual

croydon

croydon GR2G instruction manual

Barbecook THERMICORE user guide

Barbecook

Barbecook THERMICORE user guide

Proctor-Silex 38513 use & care

Proctor-Silex

Proctor-Silex 38513 use & care

manuals.online logo
manuals.online logoBrands
  • About & Mission
  • Contact us
  • Privacy Policy
  • Terms and Conditions

Copyright 2025 Manuals.Online. All Rights Reserved.

D
éverrouillez les pieds et les déplier en position vertical
e
U
nlock the le
g
s and unfold them to vertical
p
osition.
V
issez à moitié 8 boulons (A) aux pieds dans le sens des aiguilles d'une montre,
e
t alignez les trous des poutres de support des pieds (2) sur les boulons à moitié vissé
s
p
uis serrez-les tous.
H
alf screw 8 bolts (A) to the legs clockwise, and align the holes on the
l
e
g
bracket beams
(
2
)
to the half-screwed bolts, then ti
g
hten them all
A
ssemblez les roulettes (3) aux pieds en les tournant dans le sens des aiguilles d'une
m
ontre jusqu'à ce qu'elles soient serrées. Verrouillez toutes les roulettes pour l'empêcher d
e
b
ouger.Vissez à moitié 2 boulons (A) dans les trous des pieds supérieurs avant dans le
s
ens des aiguilles d'une montre, et alignez les fentes de la barre fonctionnelle (4) sur les
b
oulons à moitié vissés, puis serrez-les tous. Accrochez les crochets en "S" (5) à la barre
f
onctionnelle.
A
ssemble the casters (3) to the legs by twisting clockwise until tightened. Lock all casters to
p
revent it from moving.
Half screw 2 bolts (A) into the holes on the upper front legs clockwise, and align the slots on
t
he functional bar (4) to the half-screwed bolts, then tighten them all. Hang the "S" hooks (5)
o
n the functional bar.
A
ssemblez le crochet du réservoir LP (7) au panneau latéral gauche du corps
p
rincipal à l'aide de 2 boulons (A).
A
ssemblez la base du réservoir de PL (6) au support latéral gauche du chariot à
l
'aide de 2 boulons (A).
A
ssemble the LP tank hook (7) to the left side panel of the main body with 2 bolts
(
A).
A
ssemble the LP tank base (6) to the left cart side brace with 2 bolts (A).
A
ttach the side handles (9) to both sides of the main body
w
ith 8 bolts (A).
S
lide in the grease cup (8) to the corresponding back panel
s
lot.
Fixez les poignées latérales (9) aux deux côtés du corps
p
rincipal avec 8 boulons (A).
G
lissez le godet à graisse (8) dans la fente correspondante
d
u panneau arrière.
V
issez à moitié 8 boulons (A) sur les deux côtés du corps principal comme
i
ndiqué.
V
issez 4 boulons (E) sous la plaque de cuisson (11).
V
issez 4 écrous (D) aux boulons (E) pour régler la hauteur de la plaque de
c
uisson.
H
alf screw 8 bolts (A) to both sides of the main body as shown.
S
crew 4 bolts (E) underneath the cooking griddle (11).
S
crew 4 nuts (D) to bolts (E) to adjust the height of the cooking griddle.
P
lacez la plaque de cuisson (11) sur le corps principal en alignant les boulons
s
itués sous la plaque de cuisson sur les trous correspondants du corps principal.
P
lace the cooking griddle (11) on the main body by aligning the bolts underneath
t
he cooking griddle to the relative holes on the main body.
A
ssemblez les poignées du couvercle de la plaque (12) sur la face avant des
c
ouvercles rigides de la plaque (13), (14) à l'aide de 4 boulons (C).
A
ssemble the griddle cover handles (12) to the front side of the hard griddle covers
(
13), (14) with 4 bolts (C).
P
osez les couvertures dures de la plaque (13) et (14) sur les côtés gauche et droit
r
espectivement et servez-les comme tables latérales.
L
ay down the hard griddle covers(13),(14) to the left and right sides respectively and
s
erve as the side tables