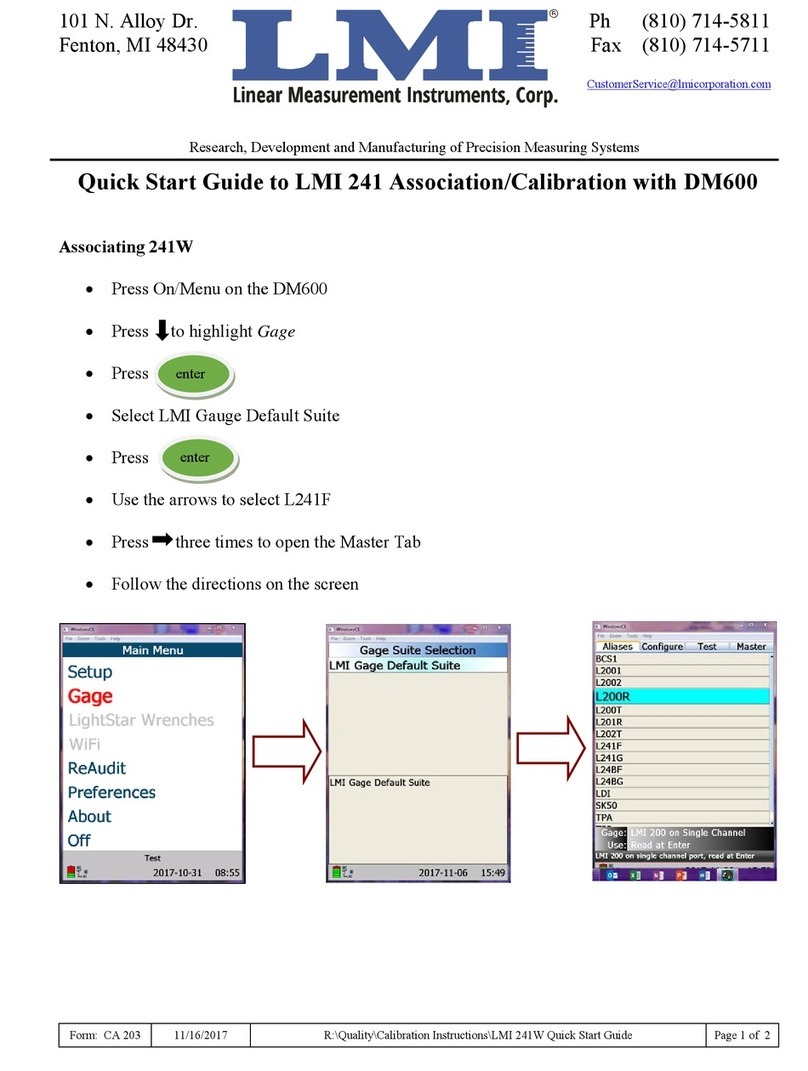
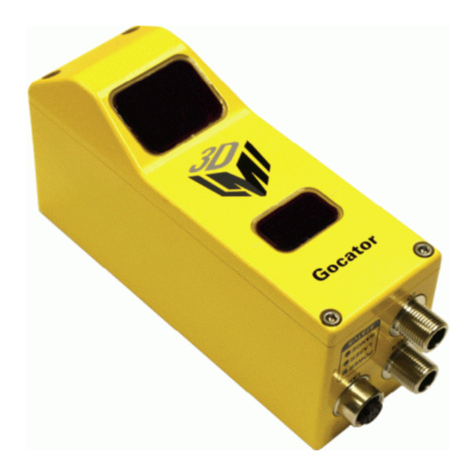
LMI 241-BWV2 Quick guide

101 N. Alloy Dr.
Fenton, MI 48430
Ph (810) 714-5811
Fax (810) 714-5711
CustomerService@lmicorporation.com
Research, Development and Manufacturing of Precision Measuring Systems
Form: CA 045 5-05-05 C:\Documents and Settings\timmartin\Local Settings\Temporary Internet Files\OLK9\CA
045 LMI 241-BWV2 to 440 or 501.doc
Page 1 of
12
CONFIGURATION and MASTERING for the
LMI 241-BWV2 or 241-FG the LMI 440 or ASI DATAMYTE 501
This instruction will outline:
I. GAGE CONFIGURATION....................................................................................................................................... 2
Flush Setup ............................................................................................................................................................ 2
Gap Setup............................................................................................................................................................... 6
II. MASTERING INSTRUCTIONS .............................................................................................................................. 9
III. VERIFICATION OF THE MASTERING............................................................................................................. 11
Flush Verification................................................................................................................................................ 11
Gap Verification .................................................................................................................................................. 12
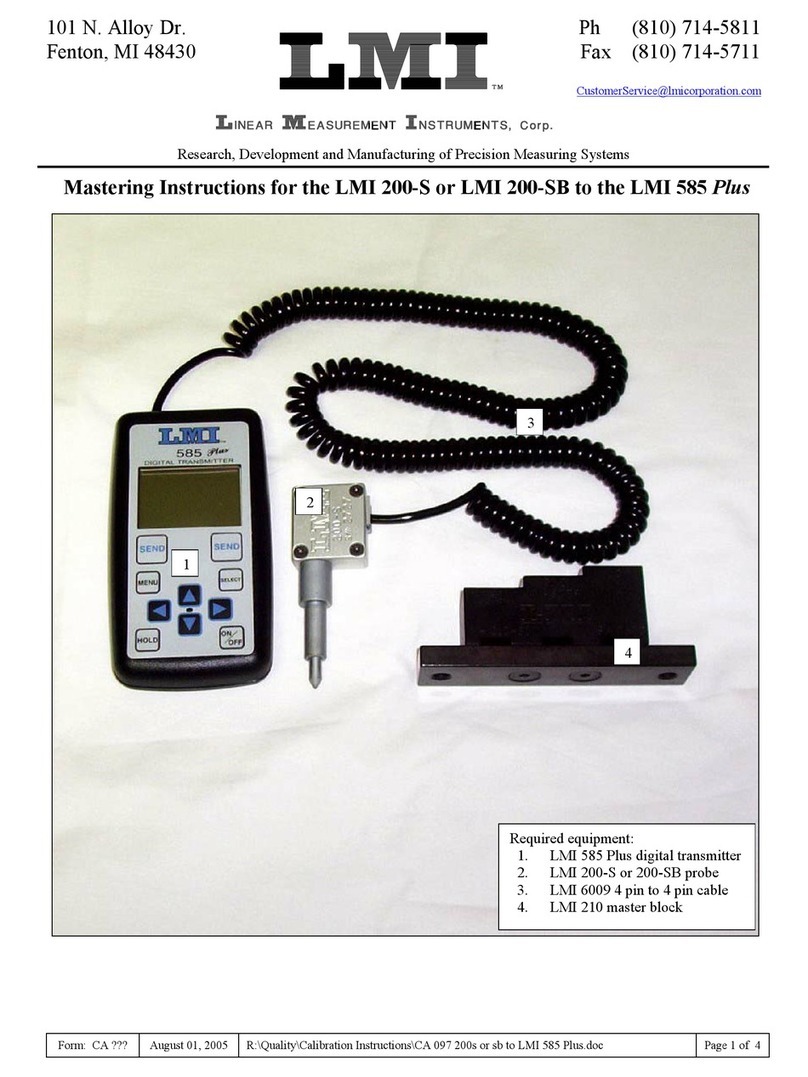
Required Equipment:
1. LMI 440 or ASI DataMyte 501
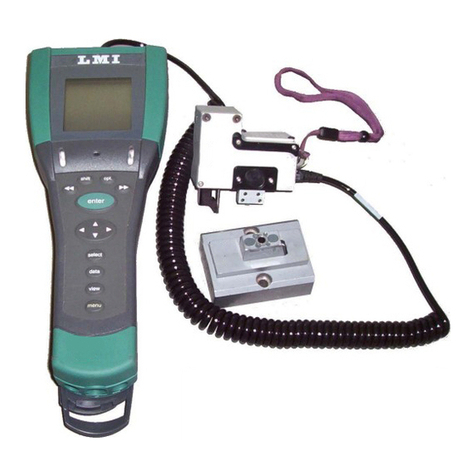
2. LMI 241BWV2 or 241-FG
3. LMI 6025 6 pin to 6pin cable
4. LMI 3062 Master Bloc
k
1
2
3
4

101 N. Alloy Dr.
Fenton, MI 48430
Ph (810) 714-5811
Fax (810) 714-5711
CustomerService@lmicorporation.com
Research, Development and Manufacturing of Precision Measuring Systems
Form: CA 045 5-05-05 C:\Documents and Settings\timmartin\Local Settings\Temporary Internet Files\OLK9\CA
045 LMI 241-BWV2 to 440 or 501.doc
Page 2 of
12
I. GAGE CONFIGURATION
Section I is a one time setup. After a successful gage configuration is finished there should be no need
to repeat section I. It is recommended to store a copy of the gage files onto a personal computer or
laptop. Consult the collector manual or, if purchased, the TranSend manual for further details.
Flush Setup
This configuration will produce a negative value for flush when the tip extends beyond the nominal
(master) point. To reverse the value enter -10 for “Scale” in step 9 & 10
1. Press <menu> to turn on the collector.
2. Press ▼to highlight “Gage”.
3. Press <enter>.

E-mail support
techsupport@lmicorporation.com LMI Corporation Phone support
(810) 714-5811
Form: CA 045 May 5, 2005 C:\Documents and Settings\timmartin\Local Settings\Temporary Internet Files\OLK9\CA
045 LMI 241-BWV2 to 440 or 501.doc
Page 3 of
12
It is recommended to assign a simple user name to the gage files such as; flush, margin, etc. This will
help to identify different gage setups.
4. To assign the gage file name, press ▲or ▼to highlight “G2”* in the “Gage List” and press
<enter> on the collector.
*G2 has the ability to support “sub files”. These are files that allow multiple styles or configurations of gages to be used by
the same collector. To create sub files highlight G2 and press ►►, this will create a sub file of G2a. Each press of ►►
creates another sub file. The balance of this instruction will be based on G2
5. Use the ▲, ►, ◄, or ▼to highlight the first character of the new file name then press <enter>, or
use the keypad on the 501 handset. Repeat the process until the gage file name is spelled. Then
press ►► to accept the new name.
6. Press the ►to “Configure”, by default the
screen may read as follows.

E-mail support
techsupport@lmicorporation.com LMI Corporation Phone support
(810) 714-5811
Form: CA 045 May 5, 2005 C:\Documents and Settings\timmartin\Local Settings\Temporary Internet Files\OLK9\CA
045 LMI 241-BWV2 to 440 or 501.doc
Page 4 of
12
7. The “Configure Gages” screen needs to be set as follows. Failure to set this screen properly may
cause undesired results.
*NOTE: The default unit of measurment is MM. To change the unit of measurment to English the value
for “Scale:” needs to be entered as .3937 in step 9
8. If changes to this screen are needed, press ▲or ▼to highlight either “Type”, “Master Type”,
“Master With”, or “Zero Before Read” then press <enter> to toggle the different choices. Refer to
the collector manual for further details of the configuration choices.
9. To make changes to the “Scale” or “Zero Master” press ▲or ▼to highlight “Scale” or “Zero
Master” and press <enter>. This will bring up the numeric keypad.
“Gage Port G2” must
be matched to “Master
with G3” to calibrate
both flush and gap at
the same time.
If the “Gage Port” is
set to “G2a” then the
“Master” needs to be
“G3a”

E-mail support
techsupport@lmicorporation.com LMI Corporation Phone support
(810) 714-5811
Form: CA 045 May 5, 2005 C:\Documents and Settings\timmartin\Local Settings\Temporary Internet Files\OLK9\CA
045 LMI 241-BWV2 to 440 or 501.doc
Page 5 of
12
10. Key in the desired value buy using the ▲, ▼, ►, or ◄to highlight the first number, press
<enter>. Repeat until the number is completed and press ►► to accept the new value.
11. Once the “Configure Gages” screen is set, reference step 7, press ◄and a pop up will appear if
any changes were made. Highlight “Save to current gage” and press <enter> if the changes were
intentional. If a setting was changed by mistake or you were not done in “Configure Gages”
highlight “Cancel” and press <enter>.
Flush configuration is complete.

E-mail support
techsupport@lmicorporation.com LMI Corporation Phone support
(810) 714-5811
Form: CA 045 May 5, 2005 C:\Documents and Settings\timmartin\Local Settings\Temporary Internet Files\OLK9\CA
045 LMI 241-BWV2 to 440 or 501.doc
Page 6 of
12
Gap Setup
This configuration will produce an actual value for gap readings
12. To assign the gage file name, press ▲or ▼to highlight “G3”* in the “Gage List” and press
<enter> on the collector.
*G3 has the ability to support “sub files”. These are files that allow multiple styles of gages to be used by the same collector.
To create sub files highlight G2 and press ►►, this will create a sub file of G3a. Each press of ►► creates another sub
file. The balance of this instruction will be based on G3
13. Use the ▲, ►, ◄, or ▼to highlight the first character of the new file name then press <enter>,
repeat the process until the gage file name is spelled. Then press ►► to accept the new name.
14. Press the ►to “Configure”, by default the
screen should read as follows.

E-mail support
techsupport@lmicorporation.com LMI Corporation Phone support
(810) 714-5811
Form: CA 045 May 5, 2005 C:\Documents and Settings\timmartin\Local Settings\Temporary Internet Files\OLK9\CA
045 LMI 241-BWV2 to 440 or 501.doc
Page 7 of
12
15. The “Configure Gages” screen needs to be set as follows. Failure to set this screen properly may
cause undesired results.
*NOTE: The default unit of measurment is MM. To change the unit of measurment to English the value
for “Scale:” needs to be entered as .3937 in step 9 and the “Zero Master” needs to be set to .1181.
16. If changes to this screen are needed, press ▲or ▼to highlight either “Type”, “Master Type”,
“Master With”, or “Zero Before Read” then press <enter> to toggle the different choices. Refer to
the collector manual for further details of the configuration choices.
17. To make changes to the “Scale” or “Zero Master” press ▲or ▼to highlight “Scale” or “Zero
Master” and press <enter>. This will bring up the numeric keypad.
“Gage Port G3” must
be matched to “Master
with G2” to calibrate
both flush and gap at
the same time.
Zero Master needs to
be set to 3

E-mail support
techsupport@lmicorporation.com LMI Corporation Phone support
(810) 714-5811
Form: CA 045 May 5, 2005 C:\Documents and Settings\timmartin\Local Settings\Temporary Internet Files\OLK9\CA
045 LMI 241-BWV2 to 440 or 501.doc
Page 8 of
12
18. Key in the desired value buy using the ▲, ▼, ►, or ◄to highlight the first number, press
<enter>. Repeat until the number is completed and press ►► to accept the new value.
19. Once the “Configure Gages” screen is set, reference step 14, press ►and a pop up will appear if
any changes were made. Highlight “Save to current gage” and press <enter> if the changes were
intentional. If a setting was changed by mistake or you were not done in “Configure Gages”
highlight “Cancel” and press <enter>.
Gap configuration complete

E-mail support
techsupport@lmicorporation.com LMI Corporation Phone support
(810) 714-5811
Form: CA 045 May 5, 2005 C:\Documents and Settings\timmartin\Local Settings\Temporary Internet Files\OLK9\CA
045 LMI 241-BWV2 to 440 or 501.doc
Page 9 of
12
II. MASTERING INSTRUCTIONS
This process will master both the flush and gap simultaneously
1. Connect the transducer to Gage Port 2/3 of the data collector.
2. Press <Menu> to turn on the collector.
3. Press ▼to highlight “Gage”.
4. Press <enter>.
5From the gage list use the ▲or ▼keys on the data collector to choose gage file G2 and press ◄
on the collector.

E-mail support
techsupport@lmicorporation.com LMI Corporation Phone support
(810) 714-5811
Form: CA 045 May 5, 2005 C:\Documents and Settings\timmartin\Local Settings\Temporary Internet Files\OLK9\CA
045 LMI 241-BWV2 to 440 or 501.doc
Page 10 of
12
6“Master” will be highlighted in screen
header and “G2” is identified as “Gage
Port”. If G2 is not the Gage Port press the
►► or ◄◄ until G2 appears
7. Extend the flush tip and retract the gap finger of the LMI 241BWV2. Verify "Master Low"
highlighted on the collector, press <enter>.
8. Fully compress the flush tip and extend the gap finger of the LMI 241BWV2. With "Master Hi"
highlighted on the collector press <enter>.
9. Retract the gap peg so the gage will insert into the “MASTER” gap slot. Gently pull back the base of
the gage so the outside fingers are square in the gap. With "Master Zero" highlighted on the collector
press <enter>.
Mastering for the 241-BW series is complete.
Gage Port “G2”
“Master” highlighted

E-mail support
techsupport@lmicorporation.com LMI Corporation Phone support
(810) 714-5811
Form: CA 045 May 5, 2005 C:\Documents and Settings\timmartin\Local Settings\Temporary Internet Files\OLK9\CA
045 LMI 241-BWV2 to 440 or 501.doc
Page 11 of
12
III. VERIFICATION OF THE MASTERING
This process can be performed to verify the mastering of the LMI 241-BWV2 before or after being
mastered. If any of the checks fail, the gage needs to be re-mastered.
Flush Verification
1. With the flush tip extended, observe the value in the “Master Gages” screen of “Gage Port G2” in
the collector.
2. Retract the flush tip, Observe the value in the “Master Gages” screen of “Gage Port G2” in the
collector.
3. Subtract the value of step 2 from step 1; the result needs to be 10.00 +/- 0.03. In this example, the
value of step 2 is 5.002 and the value of step 1 is -5.002, the result is 10.004. 5.002 - (-
5.002) = 10.004, remember if you subtract a negative number from a value you are actually adding
the value to the first number.
4. Insert the gage into the “Test” side master
block and observe the value in the
“Master Gages” screen of “Gage Port G2”
in the collector. The “Value” on screen
needs to read -2.00mm +/- 0.03mm.
Value reading
for Flush
retracted
Value reading
for Flush
extended

E-mail support
techsupport@lmicorporation.com LMI Corporation Phone support
(810) 714-5811
Form: CA 045 May 5, 2005 C:\Documents and Settings\timmartin\Local Settings\Temporary Internet Files\OLK9\CA
045 LMI 241-BWV2 to 440 or 501.doc
Page 12 of
12
Gap Verification
5. Press ►►on the keypad of the collector to change the display from G2 to G3.
6. With the gap peg extended, observe the
value in the “Master Gages” screen of
“Gage Port G3” in the collector.
7. Retract the gap finger; observe the
value in the “Master Gages” screen of
“Gage Port G3b” in the collector.
8. Subtract the results of step 7 from step 6; the result must be 10.00mm +/- 0.03mm. This example
step 7 is 1.802 and step 6 is 11.802, the result is 10.000. 11.802 - 1.802 = 10.000
9. Insert the gage into the master block
and observe the value in the “Master
Gages” screen of “Gage Port G3” in
the collector. It must be 6.00 +/-
0.03mm.
Verification Complete
Ga
g
e
p
ort “G3”
This manual suits for next models
3
Table of contents
Other LMI Measuring Instrument manuals
Popular Measuring Instrument manuals by other brands

Quanta Computer
Quanta Computer QUANTA user manual

BIRD
BIRD Thruline 4410A500 Instruction book

Agilent Technologies
Agilent Technologies E8362C Service guide

Leica Geosystems
Leica Geosystems BLK3D user manual

Measumax
Measumax MX 31-180 instruction manual

Agilent Technologies
Agilent Technologies E1420B user guide

Raycus
Raycus RFL-C100 user guide

Fluke
Fluke 917X Series Technical guide

LXNAV
LXNAV Airdata indicator user manual

PCB Piezotronics
PCB Piezotronics IMI Sensors 603 Series Installation and operating manual

Agilent Technologies
Agilent Technologies E5500A user guide

Endress+Hauser
Endress+Hauser FMU 40 operating instructions