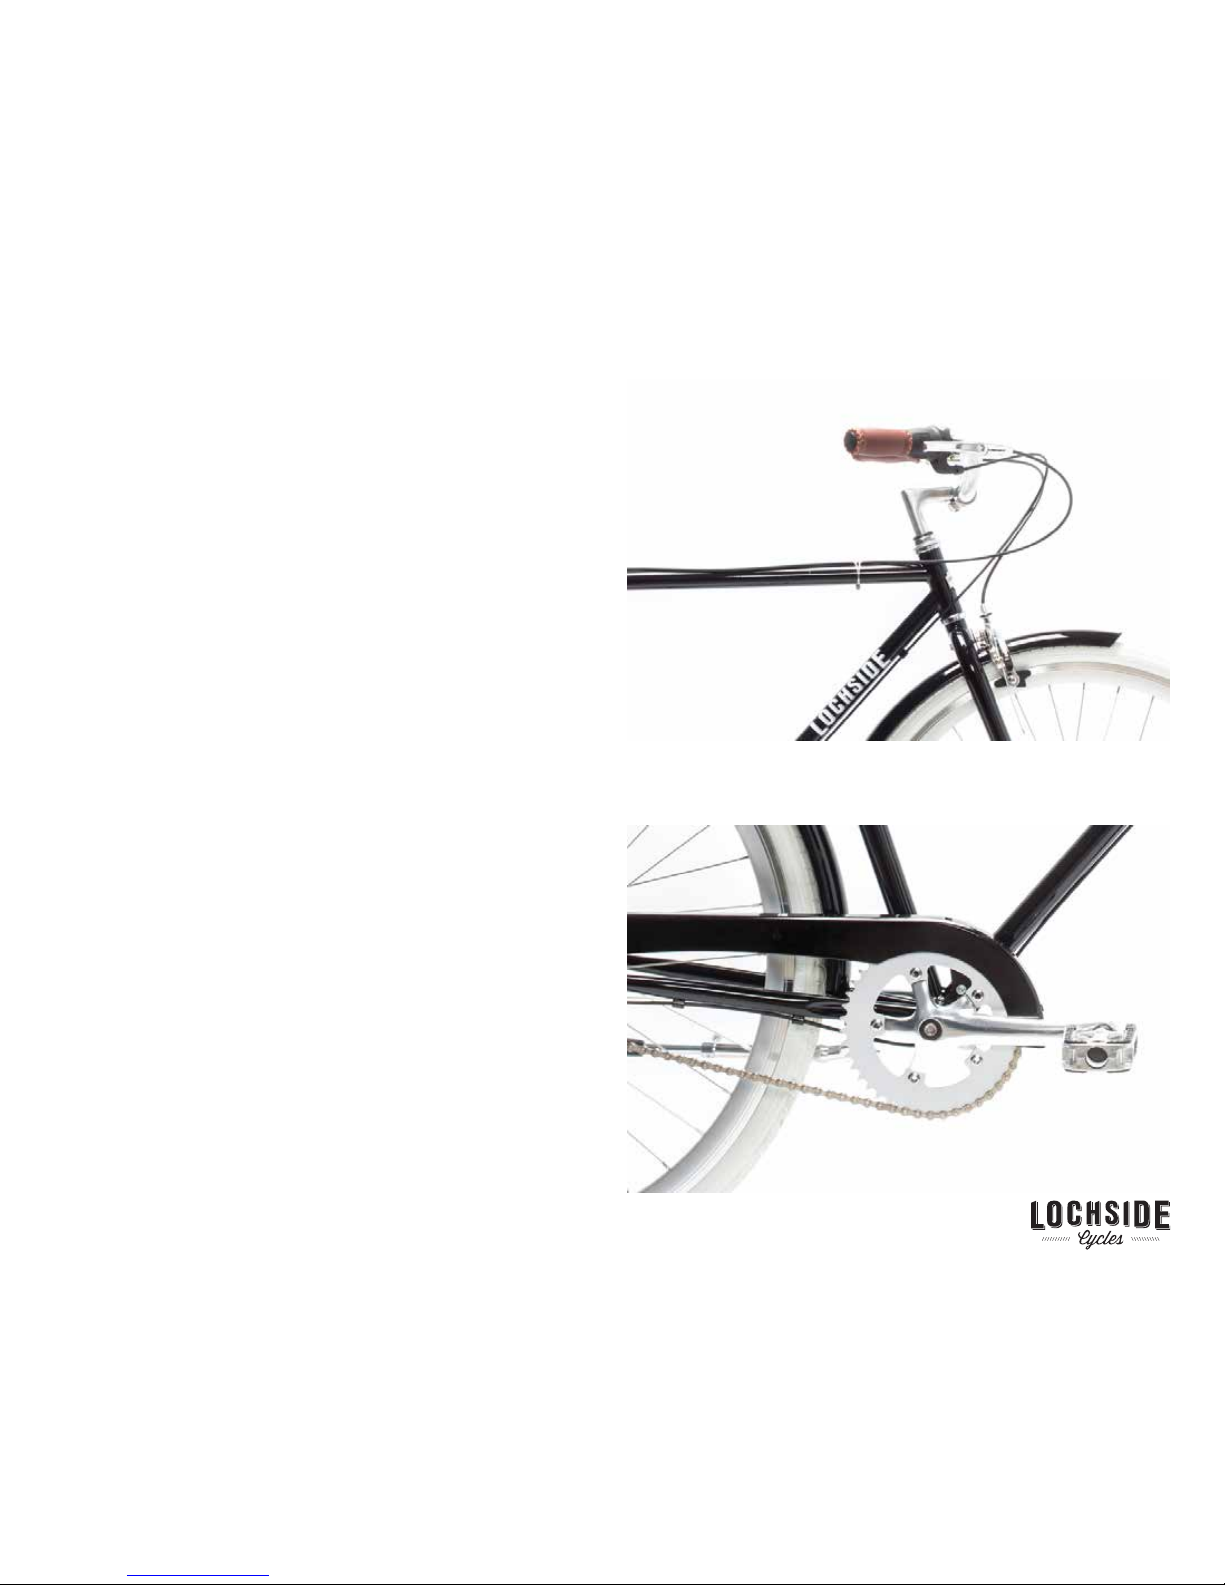
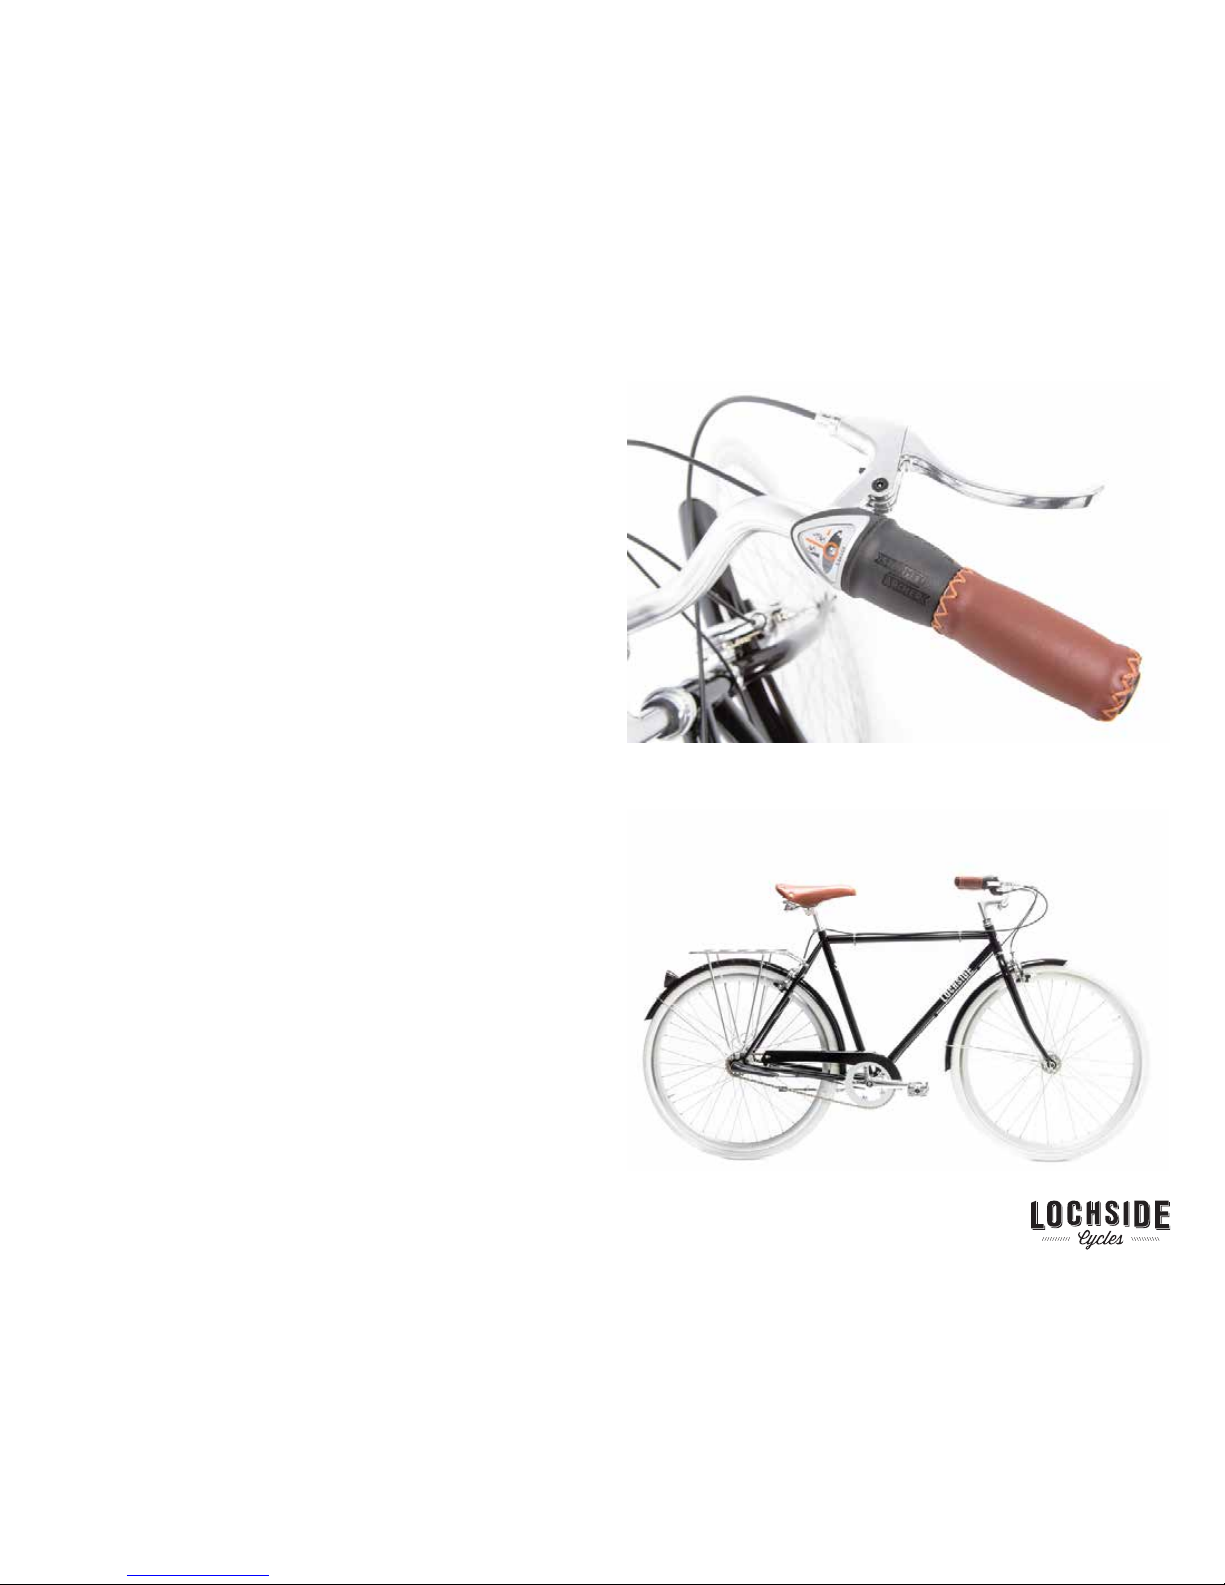
STEM & HANDLEBARS
• Insert the handlebars and quill stem and into the head tube.
• Ensure the brake and shifter cables are untangled and in front of the
head tube.
• Align the handlebars and quill stem to the fork.
• Adjust the stem to required height, and tighten the bolt on top of the
stem with the 6mm allen key. IMPORTANT: Make sure the stem does
not exceed the maximum height indicator line.
• Adjust the handlebar angle so the grips are parallel with the ground.
• Tighten the handle bars using the 6mm allen key.
PEDALS
• Remove pedals from their packaging. Each pedal is marker “L” for left,
and “R” for right on the end of each bolt.
• Insert the RIGHT pedal into the right side of the bike, the side with
the chain. Slowly thread by hand turning the right pedal CLOCK-
WISE. NOTE: If the pedal does not easily tighten by hand, re-check
positioning of the pedal and try again.
• Insert the LEFT pedal on the left side of the bike. Rotate the LEFT
pedal COUNTERCLOCKWISE to tighten it by hand.
• Use the 15mm wrench to fully tighten both sides.
LOCHSIDECYCLES.COM /// INFO@LOCHSIDECYCLES.COM /// 1 (250) 830 3825
LOCHSIDECYCLES.COM /// INFO@LOCHSIDECYCLES.COM /// 1 (250) 830 3825
SADDLE & SEATPOST
• Remove the saddle and seat post from the small brown box.
• Loosen off the seatpost bolt most of the way and rotate the seat clamp
90 degrees, this will make it easier to attach to the saddle.
• Attach to seatpost to the seat rail of the saddle. Make sure the bolt of
the seat is facing to the back.
• Rotate the seat clamp back 90 degrees into the desired position.
• Your seat should be horizontal with a slight upward lift for optimal
comfort.
• Securely tighten the seatpost bolt with the 6mm allen key.
• Next, insert the seatpost into the seat tube.
• Set the saddle to proper height and secure the seatpost clamp using
the 5mm allen key. NOTE: Make sure the seatpost insertion indicator
line is not visible.
FRONT WHEEL
• Remove the black protector that is inserted into the bottom of the
fork.
• Grab the front wheel and loosen the bolts on either side, to about
90%.
• Determine proper direction of the front wheel as indicated on the
side of the tire.
• Place the drops outs of the front fork onto the wheel
• Attach the washers hooks into the their corresponding eyelets on
either side of the front fork.
• Make sure the wheel is centred to the fork.
• Fully tighten both bolts equally with the 15mm wrench.
FRONT FENDER
• Remove the front brake center bolt
• Slide the upper front fender mount onto the brake center bolt.
• Next, slide the center bolt back through the brake mounting bolt
• Lightly tighten nut down using the 5mm allen key
• Unthread the front fork eyelets blots located at the bottom of the
front fork.
• Slide the bolts through the fender strut holes and tighten onto fork
using the 10mm wrench.
BRAKES
• Align the brake pads to the flat machined breaking surface of the rim.
• Ensure your brakes quick-release mechanism is in the down position.
• Tighten break by turning the adjustment knob.
• Test breaks and tighten cable further if needed.
• NOTE: You may need to undo the cable fastener, pull the cable tight
and then fasten again using the 5mm allen key.