Lofted Aero ERCO ERCOUPE User manual

ERCO ERCOUPE
3D PRINTED R/C MODEL
BUILD GUIDE

1 | P a g e
INTRODUCTION
Thank you for purchasing a model by Lofted Aero! 3D printed aircraft are an exciting new segment of the hobby,
and we’ve got no shortage of ideas for new designs. Your support helps us make those reality.
The ERCO Ercoupe is a general aviation aircraft from a
time when flying was immensely popular. Advertised as
“the world’s safest plane”, the Ercoupe had great
visibility, resistance to spins, and gentle handling &
control characteristics intended to make it easy for
almost anyone to fly. Today –more than 70 years after
its first flight –the Ercoupe is still unique and
interesting enough to maintain a devoted following.
And to become a 3D printed R/C model!
SKILL METER
Build: This model has relatively few parts and is a straightforward configuration to print and assemble. It’d make
for a good introduction to 3D printed aircraft.
Flight: This model has smooth handling characteristics but is not a trainer. It is suitable for pilots comfortable with
low-wing sport aircraft and runway landings.
SPECIFICATIONS
Wingspan:
1500mm (59”)
Length:
1003.5mm (39.5”)
Wing Area:
37.9dm2(4.09ft2)
Print Weight:
1500g
Flying Weight:
3000g
Wing Loading:
79g/dm2(25.9oz/ft2)
Airfoil:
NACA4412 modified

2 | P a g e
RECCOMENDED EQUIPMENT
The following hardware & electronics are required to complete the Ercoupe. In addition, you’ll need some CA glue
and activator, your R/C transmitter and receiver, and a LiPo battery charger.
POWER SYSTEM & AVIONICS
Motor:
Turnigy SK3 3542-800kV
ESC:
YEP 40A
Battery:
Gens Ace 4S 5500mAh
Propeller:
Master Airscrew 11x7
Aileron & Elevator Servos:
Hitec HS-85MG (x3)
Rudder & Nosewheel Servos:
Hitec HS-65MG (x3)
Aileron Servo Extensions
30cm / 12" (x2 –1 pack)
Rudder Servo Extensions
60cm / 24" (x2 - 1 pack)
HARDWARE
Hinge Pins
2.5 x 43 Round Pins (x14 - 2 packs)
Nose Landing Gear Rod
K&S 3mm Rod
Shaft Collars
3.5mm Wheel Collar (x4 - 1 pack)
Pushrods
K&S 1.2mm Piano Wire
EZ-Connectors (optional)
Dubro EZ-Connectors
Motor & Gear Pylon Mount Screws
M4 x 14 Self-Tapping Screw (x8 - 1 pack)
Nylon Wing Mount Bolts
M6 x 60 Nylon Screw (x2 - 1 pack)
Nylon Wing Mount Nuts
M6 Nylon Nut (x2 - 1 pack)
Landing Gear Shock Absorbers
68mm x 15mm Shock Absorber
Axle Screws
M3 x 40 (x2)
Strut Screws
M3 x 22 (x2)
Axle Nuts
M3 Locking (x4)
Shock Absorber Lower Mount Screws
M2.5 x 10 (x2)
Shock Absorber Upper Mount Screws
M2 x 20 (x2)
Shock Absorber Upper Mount Nuts
M2 Locking (x2)
Shock Absorber Lower Mount Nuts
M2.5 Locking (x2)
A hardware pack containing all screws, nuts, and washers will be available from Lofted Aero in January 2019.

3 | P a g e
PRINTING THIN-WALL MODELS
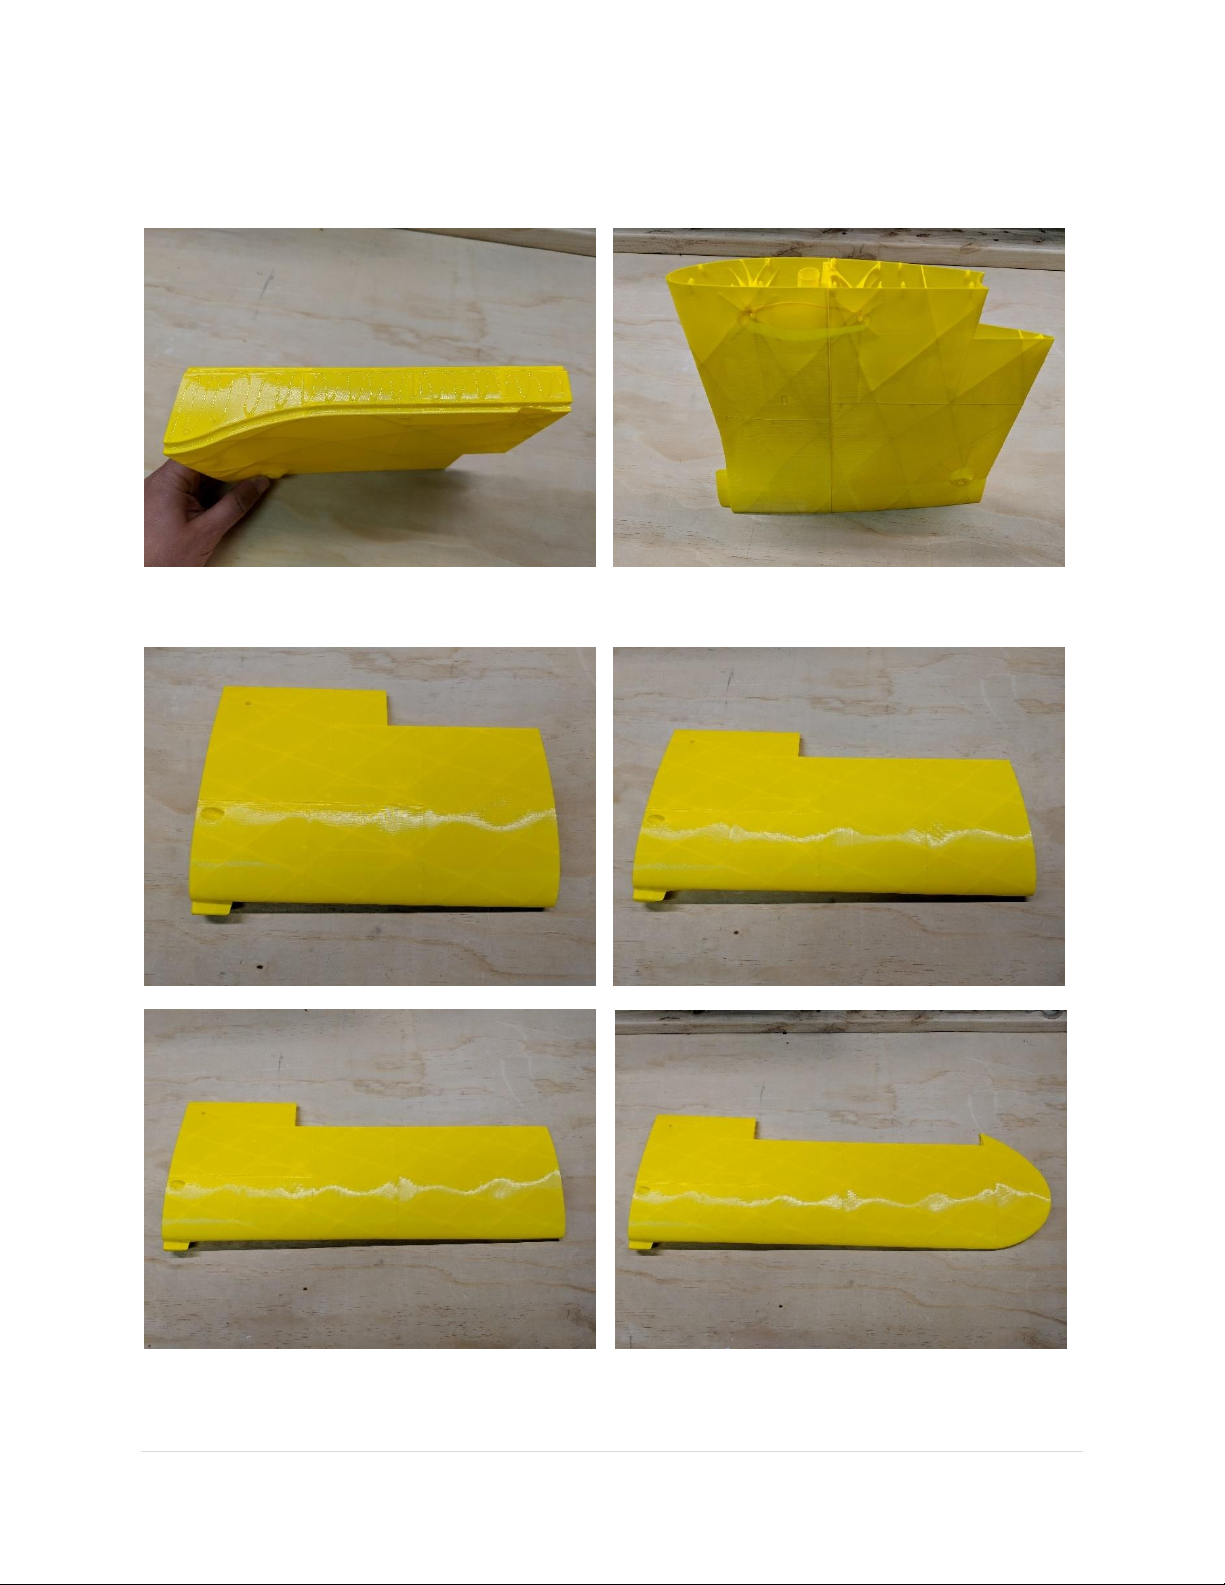
Desktop 3D printers are perfectly capable of producing great-flying R/C models durable enough to withstand
hangar rash and general use. However, aircraft designs contain a unique mix of thin surfaces and intricate solid
supports that require some practice to print perfectly. Keep the following tips in mind when printing your model.
QUALITY FILAMENT
Using good quality filament can be the key to successful thin-
wall prints. PLA is the filament of choice for these prints due to
its low warp and high interlayer bond strength. While most PLA
may seem identical, there’s a lot of variation in diameter
tolerance, moisture content, pigment consistency, and melting
properties. With poor quality filament, you may notice surface
imperfections, underextrusion on thin walls, and stringing
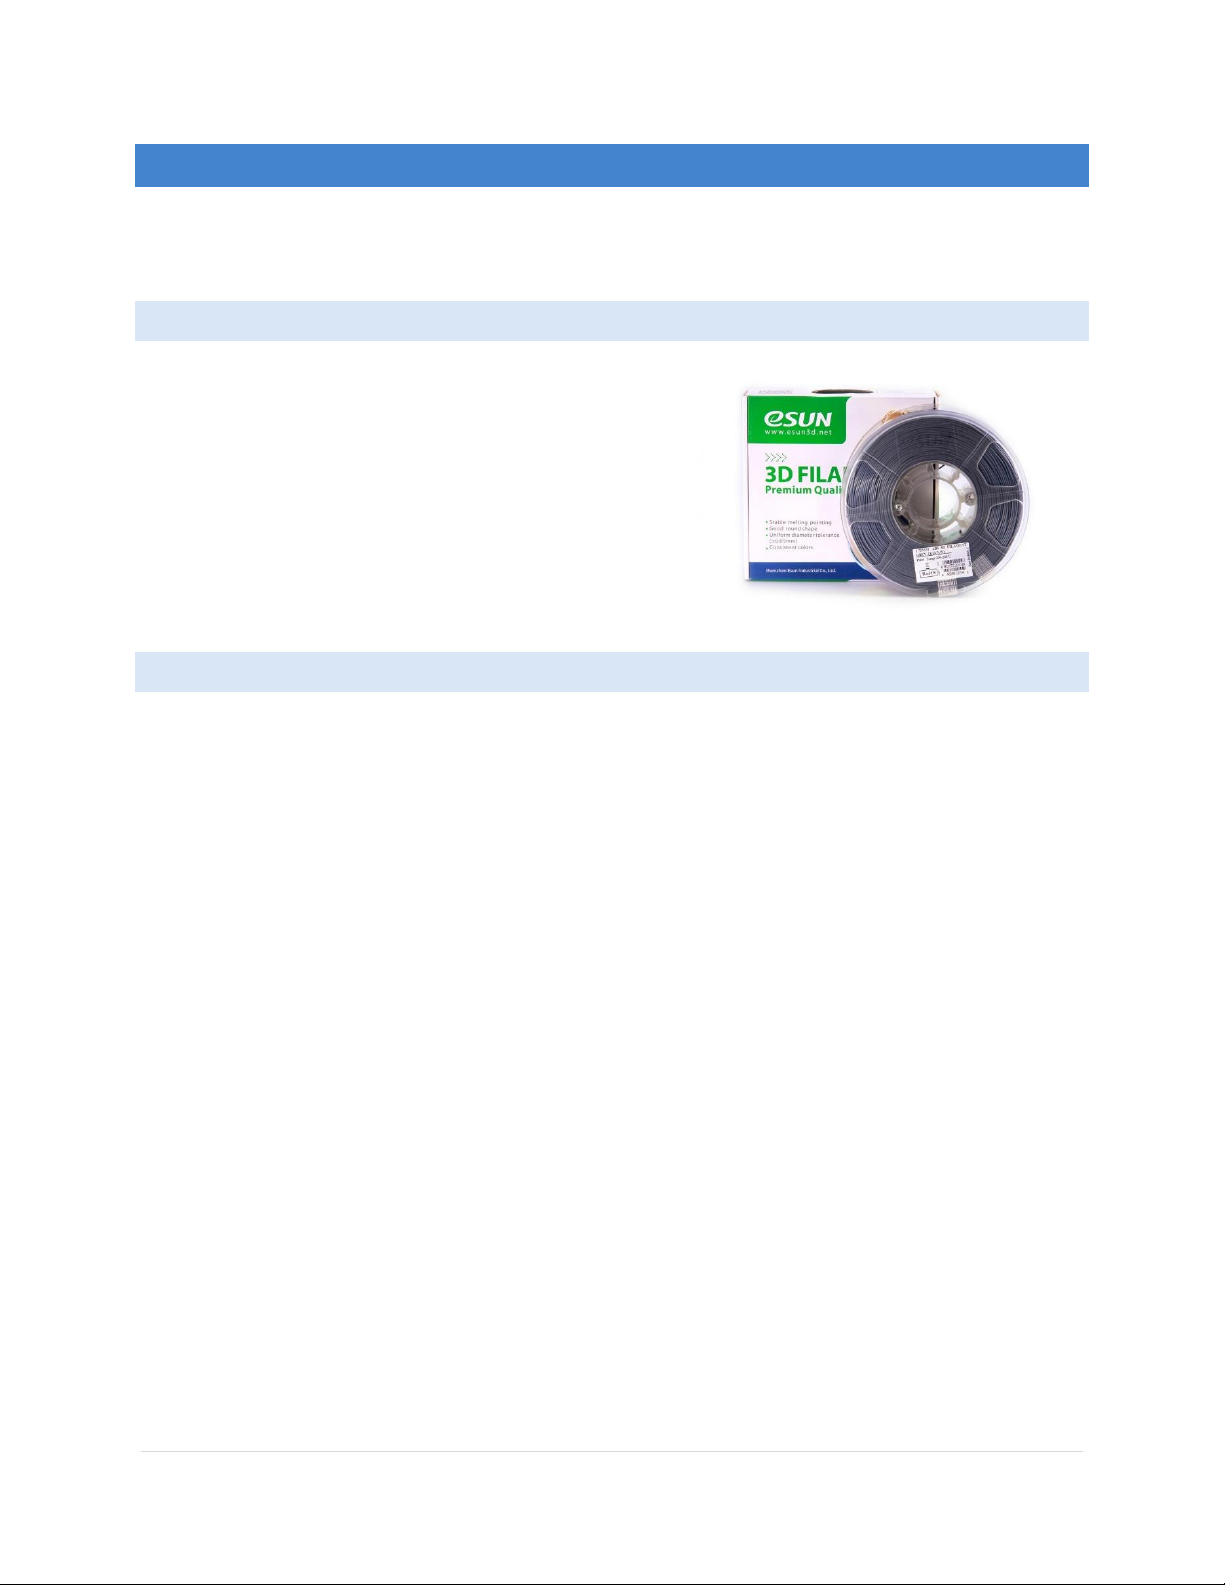
between interior features. We’ve had great results with eSun
PLA+ (sometimes sold as PLA Pro) and strongly recommend it for
printing Lofted Aero models.
SLICING SETTINGS
The supplied pre-built gcode files are the safest bet to achieve properly-sliced parts. These files were prepared for
a printer with the following characteristics:
•1.75mm filament
•Direct-drive extruder
•0.4mm nozzle
•200mm x 200mm x 150mm print volume (or greater)
If your printer setup is different, Lofted Aero recommends using the Simplify3D slicer and the provided factory
files. Simplify3D includes many features ideal for thin-wall printing, including allowing multiple processes per print,
control over the layer start location, and good control of retraction settings. Additionally, the slicing process
organization scheme makes it easy to modify the processes in the provided files to suit your machine.
If you choose to try slicing the STL files with a different slicer, there are a few things to keep in mind:
•Most parts should be sliced with only 1 perimeter, no solid top & bottom layers, and no infill
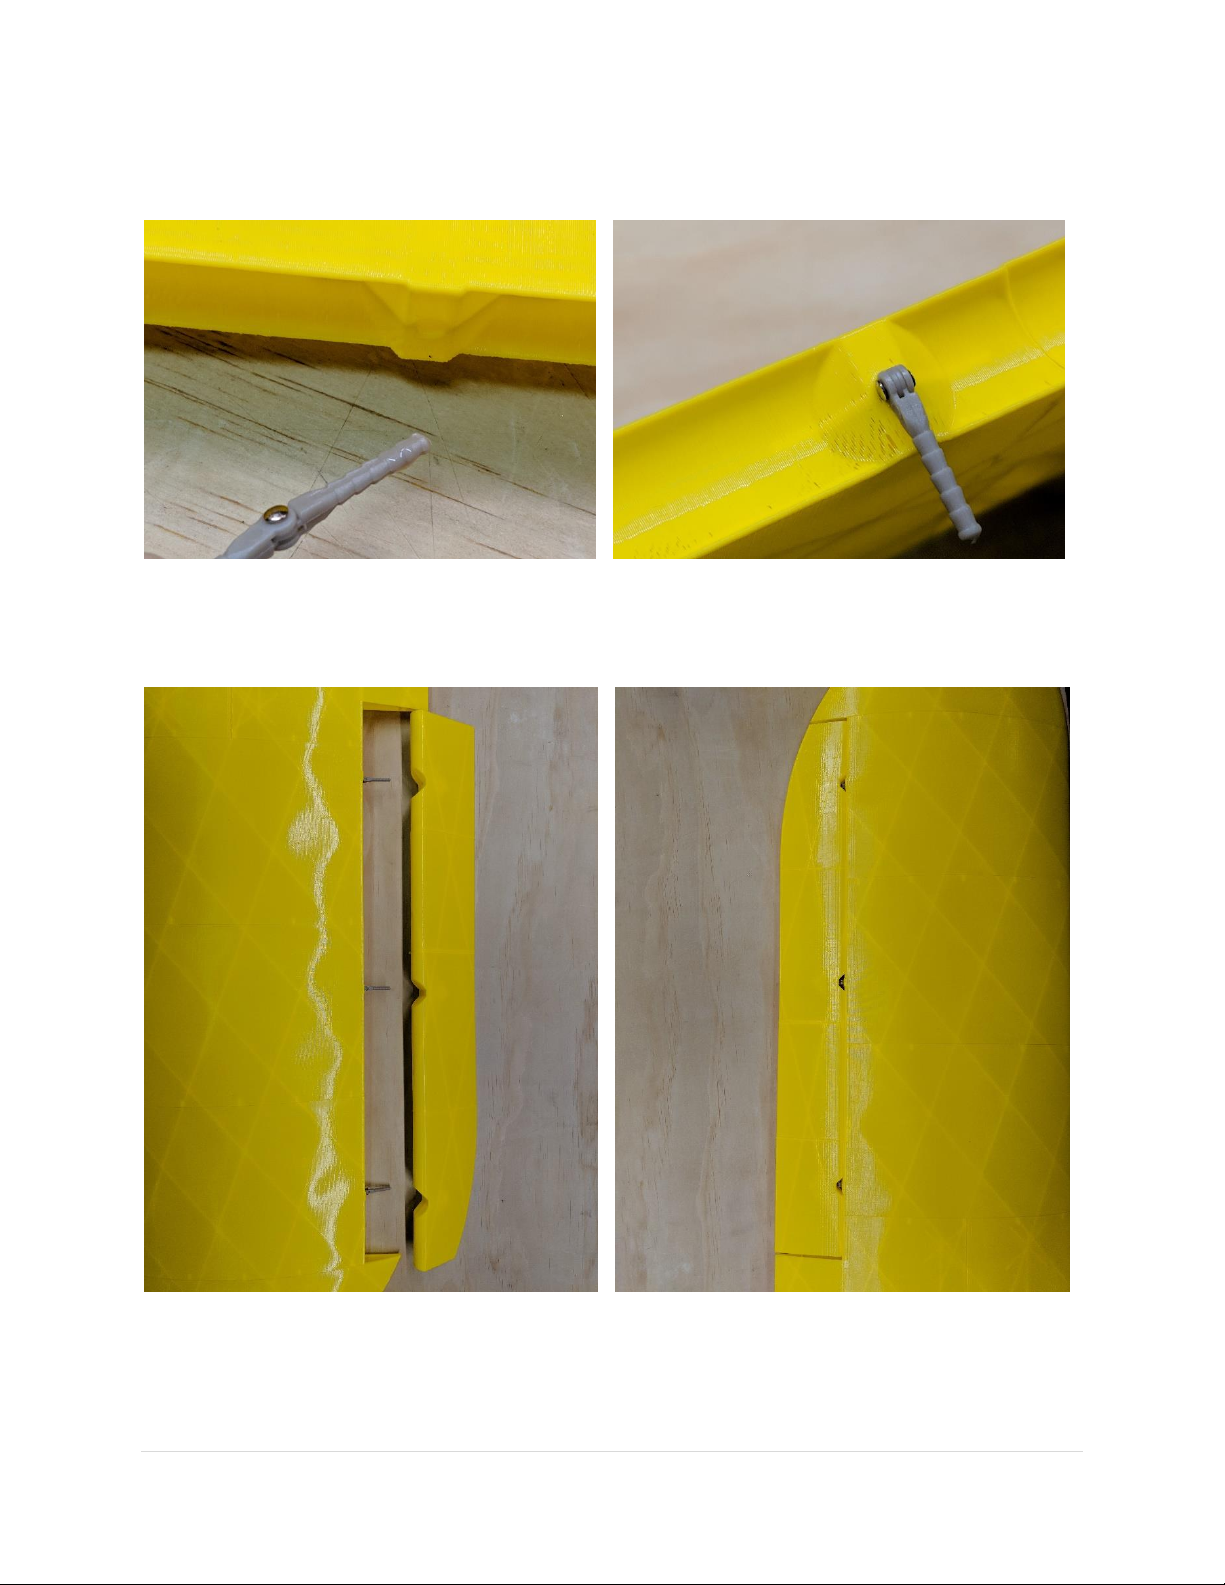
•“Solid” parts (landing gear components, hatch latch, wing nut holders) should be sliced with 3 perimeters,
3 solid top & bottom layers, and ~40% infill
•Nozzle temperature should be 210-220 degrees with no cooling fan
•Bed temperature should be 50-60 degrees
•Retraction should be just enough to prevent stringing between features
•Extra length on restart should be just enough to prevent sparse extrusion at layer start
•Extrusion ratio should be adjusted until print weight equals the suggested part weight

4 | P a g e
PRINT LOG
You can print and use this table to keep track of printing progress, time, and weights.
WING
Part
Weight (intended)
Weight (actual)
Print time
Wing LR1A
54g (27g each)
Wing LR1B
68g (34g each)
Wing LR2A
48g (24g each)
Wing LR2B
48g (24g each)
Wing LR3
88g (44g each)
Wing LR4
82g (41g each)
Wing LR5
80g (40g each)
Wing LR6
46g (23g each)
Ailerons 1 & 2
36g (18g per side)
Ailerons 3 & 4
48g (24g per side)
FUSELAGE
Part
Weight (intended)
Weight (actual)
Print time
Fuselage 1
38g
Fuselage 2
82g
Fuselage 3
72g
Fuselage 4
54g
Fuselage 5
70g
Fuselage 6
53g
Fuselage 7
37g
Fuselage 8
31g
Fuselage 9
3g
Canopy 1
26g
Canopy 2
20g
Canopy 3
28g
Nose Gear Hatch
6g
Hatch Latch
4g
Wing Nut Holders
10g (5g each)

5 | P a g e
TAIL
Part
Weight (intended)
Weight (actual)
Print time
Horizontal Tails
40g (20g per side)
Elevators
26g (13g per side)
Vertical Tails
18g (9g per side)
Rudders
20g (10g per side)
LANDING GEAR
Part
Weight (intended)
Weight (actual)
Print time
Nose Gear Insert
5g
Main Landing Gear
62g (31g per side)
Wheel Hubs
24g total
Main Tire (x2)
50g (25g each)
Nose Tire
14g
Steering Arm
1g
Nose Strut Template
21g

6 | P a g e
JOINING PARTS
The Ercoupe’s printed sections are joined together with CA glue (Bob Smith brand works well) and activator. There
are a few different types of joints throughout the model.
BASE-TO-TOP JOINT
This is the most common type of joint, where the base of one part is
glued to the top of another part. There are usually some tabs
present to help with alignment. Place a bead of CA along the
perimeter and internal edges of the part with the base side, as these
edges have a bit more surface area. Then place that part on top of
the opposite part, again using gravity to hold the parts together.
Verify that the tabs achieved proper alignment and spray CA
activator to secure.
BASE-TO-BASE JOINT
Some parts are joined with their base surfaces facing each other.
There are no alignment tabs in this scenario, but the increased
surface area helps somewhat. Place a bead of CA along the
perimeter and internal edges of one of the parts. Then place that
part on top of the opposite part, again using gravity to hold the
parts together. Before glue sets, gently nudge the parts to align
them. Once satisfied, spray CA activator to secure.
SOLID FACE JOINT
The joints on parts including control horns often contain solid faces
to increase strength. Spread a thin layer of CA on one face and then
carefully align with the second. Once satisfied with alignment, spray
CA activator to secure. Some control surface parts join solid faces on
one side with hollow perimeters on the opposite side. For these,
place a bead of glue around the edges of the hollow perimeter and
any internal structure, then align it on top of the solid face of the
opposite part. When satisfied with alignment, spray CA activator to
secure.

7 | P a g e
WING ASSEMBLY
1. Assemble the ailerons. Start by joining section 1 to section 2 and section 3 to section 4 separately. Then,
glue both subassemblies together at the control horn in the middle.
2. Assemble sections 1A and 2A, then sections 1B and 2B.

8 | P a g e
3. Spread glue liberally along the joining faces between the assembled “A” and “B” subassemblies. Join them
together, standing the root ends on a flat surface to help maintain alignment. Use CA activator to secure.
4. Complete the wing panels by gluing sections 3, 4, 5, and 6 in sequential order.

9 | P a g e
5. Place a drop of glue on each hinge pin, then push them into their mount holes in the wings. Be sure that
their rotation axes are aligned with the aileron’s hingeline. Then, use activator to secure.
6. Place a drop of glue on the exposed ends of all three hinge pins and carefully install the aileron, making
sure the hinge pins engage their mount holes. When the aileron is fully seated, spray CA activator while
working the hinge back and forth to make sure the hinge pins stay free.

10 | P a g e
7. Install 300mm (12”) servo extensions on the aileron servos and thread the leads through the tubes in the
wing.
8. Center the aileron servos with a servo tester or receiver, then install the control arms.
9. Using servo tape, E6000 glue, or low-temp hot glue, secure the aileron servos in their pockets. If not using
EZ-Connectors, it may help to wait to glue until after installing the pushrods.
10. Connect the aileron servos to the control horns using pushrod wire with z-bends. Alternatively, use EZ-
Connectors for quick adjustable connection.

11 | P a g e
11. Spread glue liberally on one wing root, then join the two completed wings together.

12 | P a g e
FUSELAGE ASSEMBLY
1. Install a pen spring on the end of the hatch latch, then slide it into fuselage section 2. Then join sections 2
and 3 with CA, making sure the hatch latch slides freely.
2. Join section 4 to section 3, applying the CA to section 4 to avoid getting glue on parts of the wing saddle
that aren’t involved in the joint.

13 | P a g e
3. Join section 5 to section 4. Then join section 5 to section 6, applying the CA to section 5 to avoid getting
glue on parts of the wing saddle that aren’t involved in the joint.
4. Complete the fuselage by joining sections 7 and 8 to the assembly. Do not attach sections 1 or 9 at this
time –they’ll be joined after the motor and elevator pushrod are installed, respectively.
5. Assemble the canopy by joining canopy sections 1, 2, and 3.

14 | P a g e
6. Center the elevator servo with a servo tester or receiver, then thread lead through its guide tube. Using
E6000 glue or low-temp hot glue, secure the elevator servo in its pocket in the fuselage.
7. Make a z-bend on one end of a long pushrod and install it in the elevator servo arm. Feed the pushrod
through the guide tube in the fuselage, then secure the servo arm on the servo.

15 | P a g e
TAIL ASSEMBLY
1. Join horizontal tail sections 1 and 2 on each side.
2. Join the rudder sections and vertical tail sections.

16 | P a g e
3. Place a drop of glue on each hinge pin, then push them into their mount holes in the vertical tails. Be sure
that their rotation axes are aligned with the rudder’s hingeline. Then, use activator to secure.
4. Place a drop of glue on the exposed ends of all hinge pins and carefully install the rudders, making sure
the hinge pins engage their mount holes. When the rudders are fully seated, spray CA activator while
working the hinge back and forth to make sure the hinge pins stay free.

17 | P a g e
5. Install EZ-Connectors on the rudder control horns as shown. Remove the tabs from the rudder servos.
6. Install 600mm (24”) servo extensions on the rudder servos and thread the leads through the tubes in the
horizontal tails. Soldering is recommended to avoid the bulk of servo connectors.
7. Center the rudder servos. then install the control arms. Glue the rudder servos in their pockets. Make
rudder pushrods with z-bends on one end and insert into the rudder servo arms.

18 | P a g e
8. Spread glue liberally on the end of the horizontal tail halves. Set the vertical tail & rudder assemblies in
place while sliding the rudder pushrods through the EZ-Connectors on the rudders. When satisfied with
alignment, use CA activator to secure. Center the rudders and tighten the EZ-Connectors.
9. Thread the rudder servo leads through the tubes in the fuselage. Glue the completed tail halves onto
Fuselage 8, making sure to keep them level.

19 | P a g e
10. Assemble the elevator by first joining sections 1 and 2 on each side, then joining both halves in the center
at the control horn.
11. Place a drop of glue on four hinge pins, then push them into their mount holes in the horizontal tails. Be
sure that their rotation axes are aligned with the elevator’s hingeline. Then, use activator to secure.
Table of contents
Popular Toy manuals by other brands

ENSTROM
ENSTROM 480B Operator's manual

Eduard
Eduard F4U-1D Corsair quick start guide

Quanum
Quanum AQUAIOLIC Assembly & operation manual

Seagull Models
Seagull Models THUNDERBOLT P47G SNAFU 60 ARF Assembly manual

MGA Entertainment
MGA Entertainment POOPSIE CUTIE TOOTIES SURPRISE 557036 quick start guide

Badger Basket
Badger Basket 9923 user manual