6"
"
Part III. Starting Recording
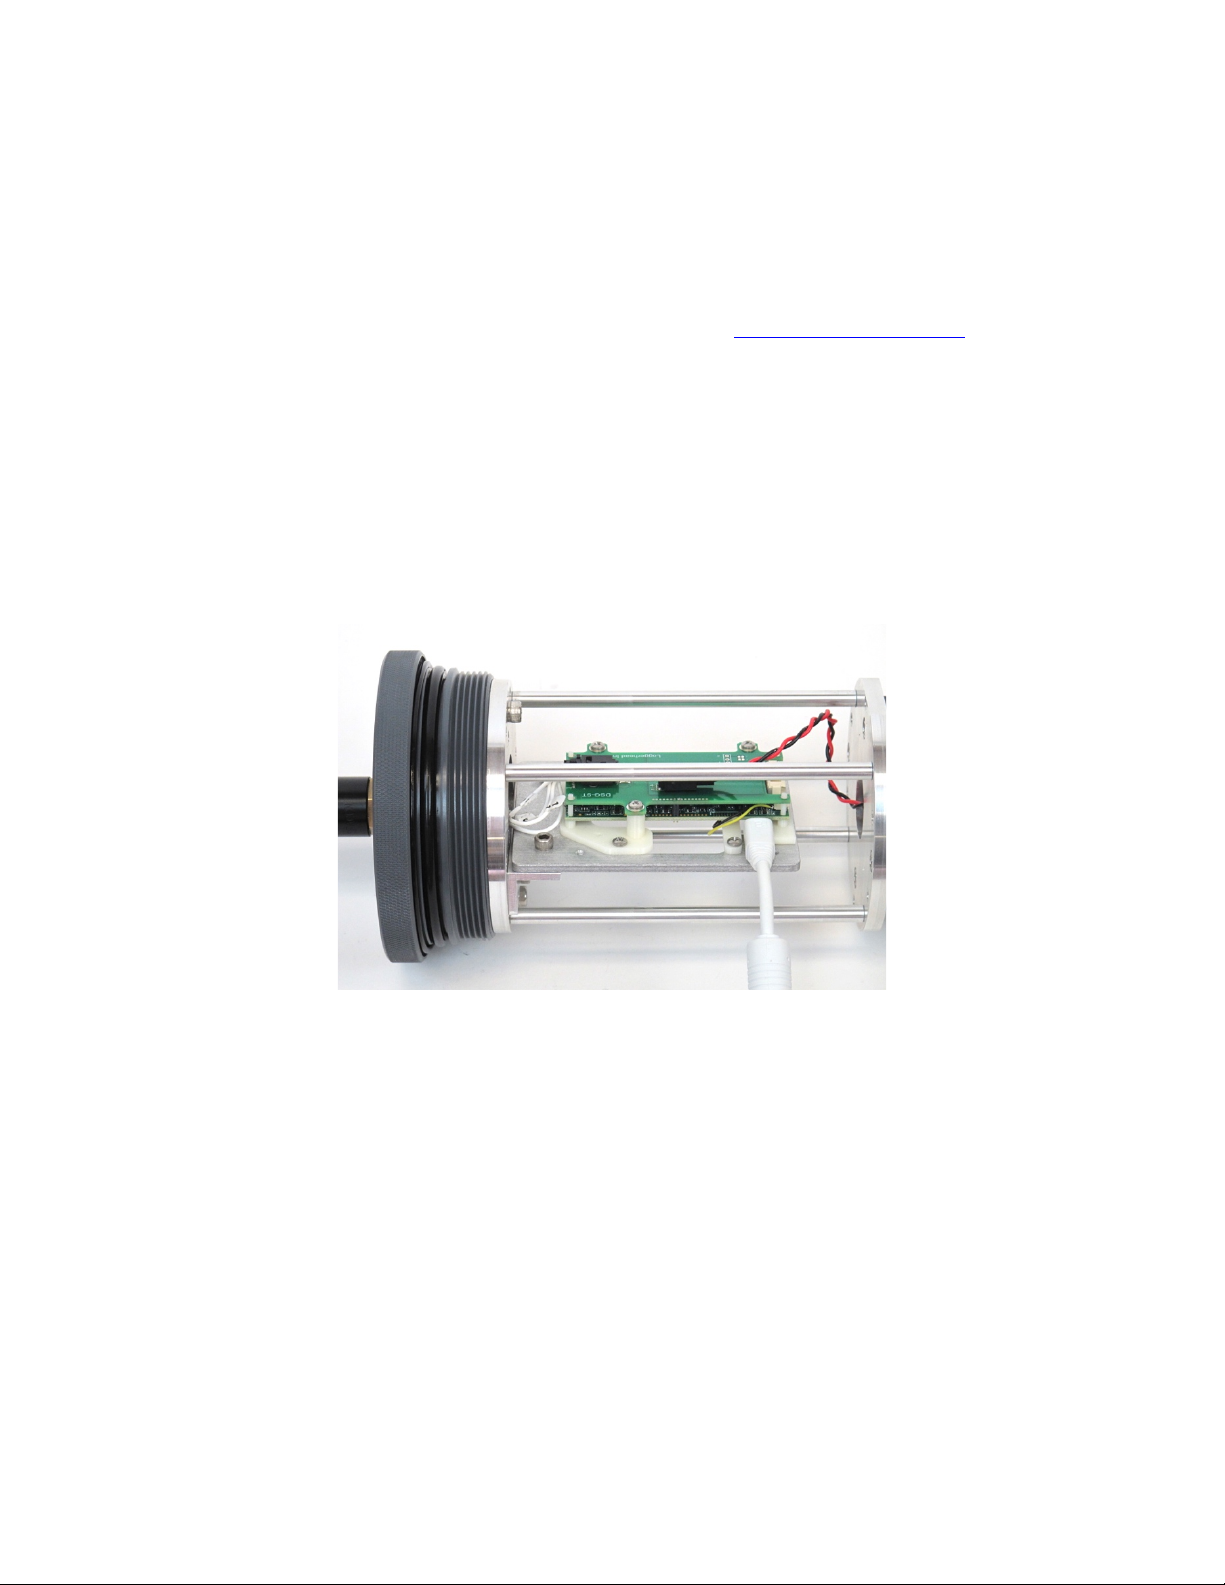
1) Fill battery bays with 3 new D-Cell Batteries.
Each battery bay will provide power for about 20 days of continuous recording
time.
There is an Excel deployment time calculator that can be downloaded from the
loggerhead.com DSG-ST page to estimate deployment duration based on duty
cycled recordings.
Tape batteries in place.
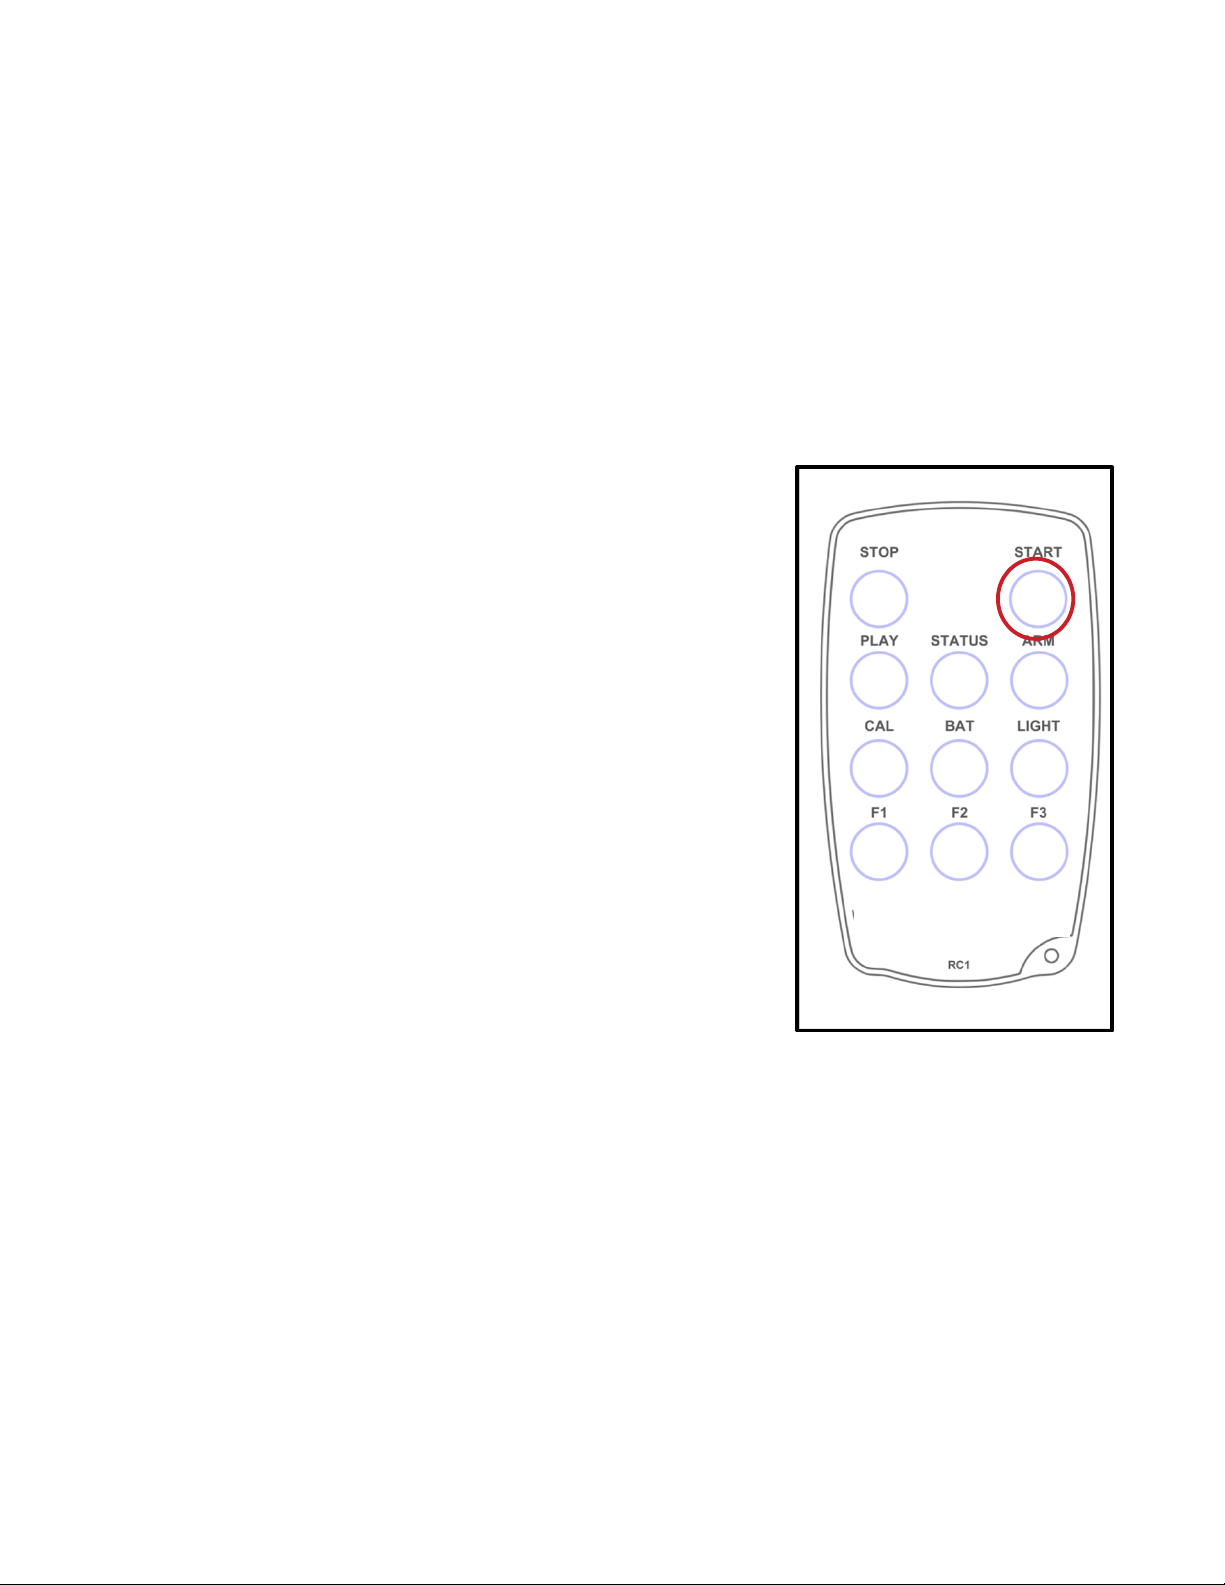
2) Aim the remote at the recorder boards and press
the “Start” button.
A faint red and green light will flash settling to an
intermittently blinking green light.
There is an indicator red LED in the hydrophone that
will illuminate during recording. The red hydrophone
LED will go out when the recorder is sleeping.
Note: One remote can trigger multiple instruments if
they are within the range of the remote.
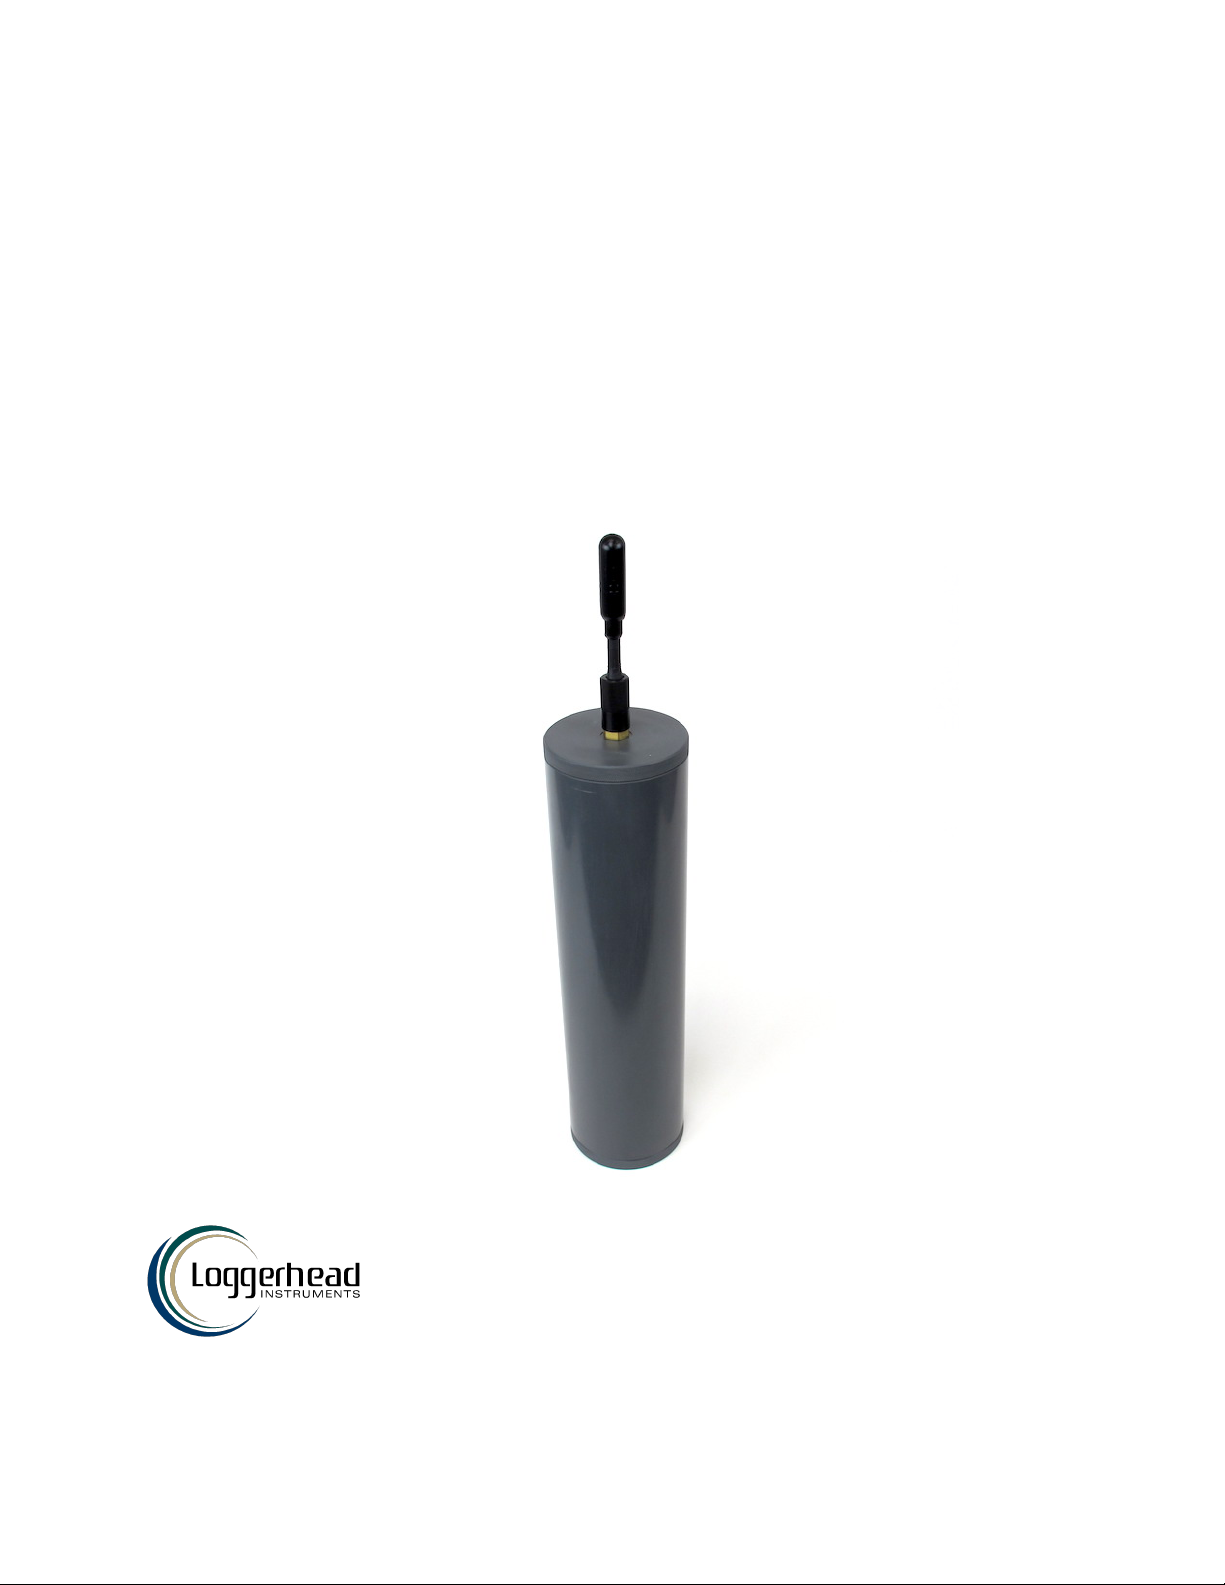
3) Lightly grease o-rings and seal housing for deployment.