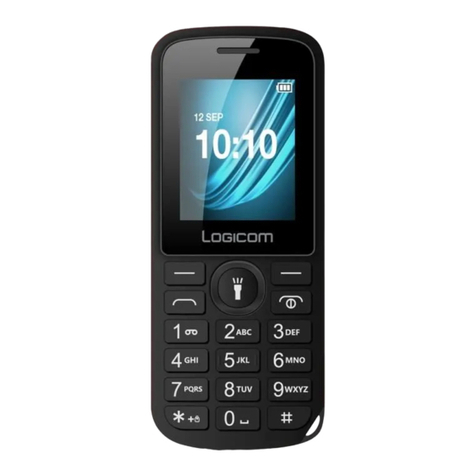
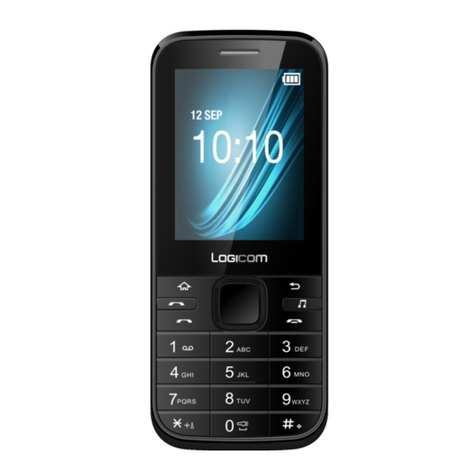
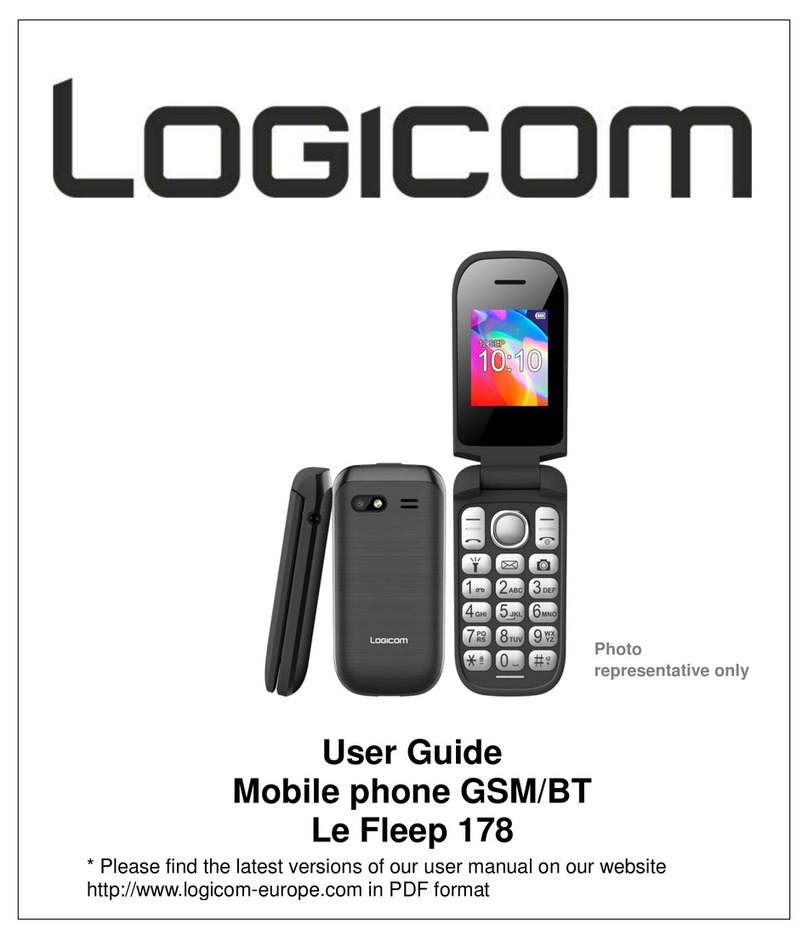
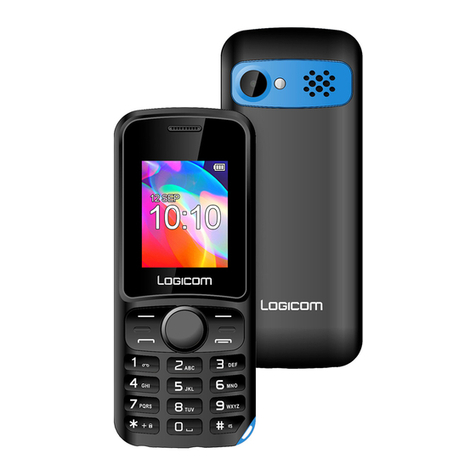
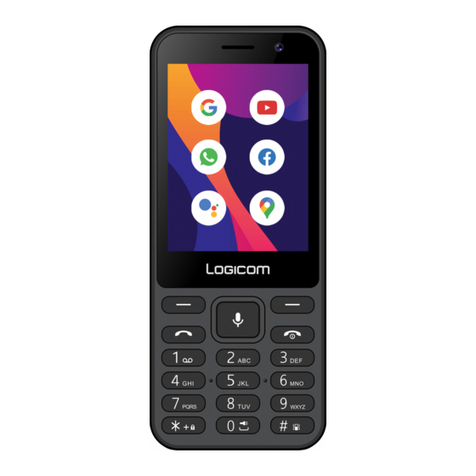
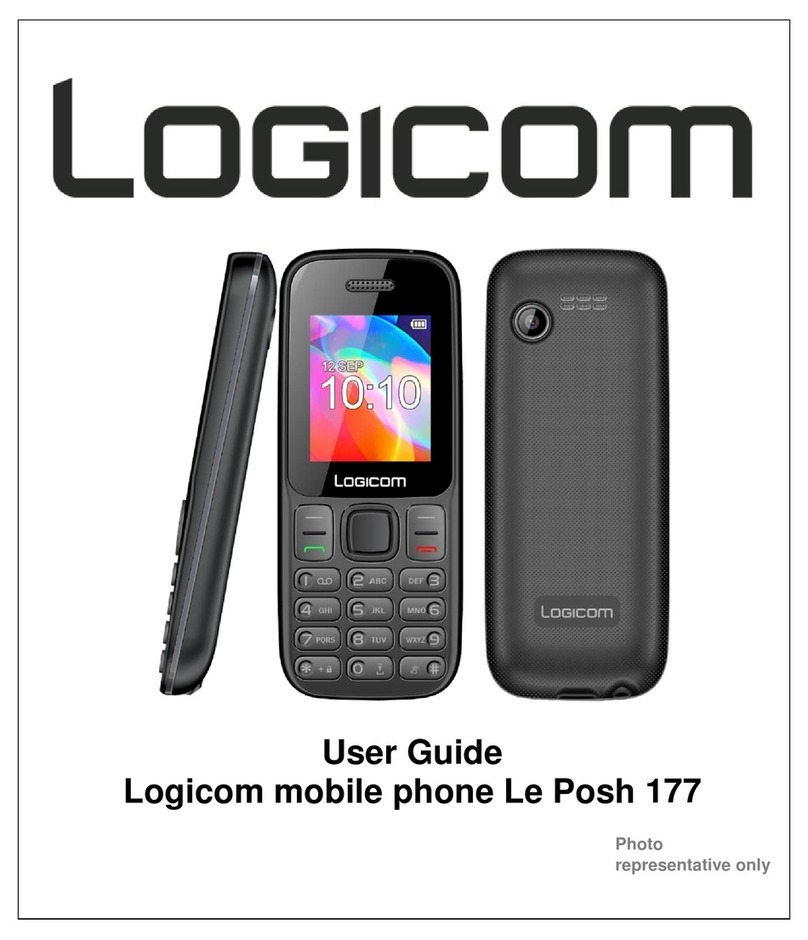
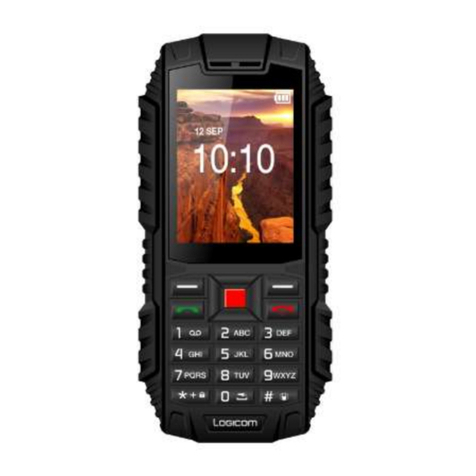
LOGICOM L-196 User manual

!
!
User Guide
Logicom mobile phone L-196
Photo
representative only
Photo
representative only

!
2
UE declaration of conformity
We, LOGICOM SA ±55 rue de Lisbonne ±75008 PARIS, declare that the following EU declaration
of conformity is establish in our entire responsibility:
Brand: LOGICOM Commercial model name : L-196 Type: Feature phone GSM/BT
To which this declaration complies with the essential requirements and other relevant provisions of
Directive R&TTE (1999/5/UE) under the following relevant harmonized standards:
LVD
(art 3.1.a)
EN60950-1:2006+A11:2009+A1:2010+A12:2011+A2:2013
EMC
(art 3.1.b)
EN 55022:2010 - EN 55024:2010
EN 61000-3-2:2006+A1 :2009+A2 :2009 - EN 61000-3-3:2008
EN 301 489-1 V1.9.2 - EN 301 489-3 V1.6.1 - EN 301 489-7 V1.3.1 - EN 301
489-17 V2.2.1 - EN 301 489-24 V1.5.1
RADIO
(art 3.2)
EN 301 511 V9.0.2
EN 300 328 V1.9.1
HEALTH
EN 62209-1:2006 - EN 62209-2:2010 - EN 50566:2013 - EN 50360:2001/A1:2012
EN 62479:2010
Acoustic
EN50332-1:2013 - EN50332-2:2013
And the essential requirements of the following directives and regulations: ErP 2009/125/EC - (No
278/2009 et 1275/2008
RoHs 2011/65/UE et REACH Régulation N°1907/2006
Notify body PHOENIX TESTLAB GMBH (Köningswinkel 10, 32825 Blomberg, Germany)
n° 0700 performed the expertise of technical file (TCF) and provide the expertise certificate.
The manufacturer shall not be held responsible for modifications made by the user or any resultant
consequences which could affect the conformity of the product with the CE marking. Any
unauthorized modification of the product voids this declaration of conformity.
Paris, August 15th 2016.
Bernard BESSIS
CEO
!
0700

!
3
Introduction
!
Thank you for choosing this digital mobile phone with colour screen. Read this
manual in order to fully understand and use your GSM mobile phone. You will
appreciate its features and just how easy it is to use.
The mobile phone with colour screen is designed for a GSM network environment.
This is a dual-Sim Stand-by phone, but it is impossible to use the second SIM card
when a call is in progress with the first SIM card. In addition to the traditional call
functions, the phone also offers many functions, each as practical as the others:
contacts, messages, audio and video player, camera and camcorder, games,
Bluetooth, an alarm, a calculator, the date and time, etc. This phone is the ideal
accessory for your professional as well as leisure activities. As such, all of its
functions meet your needs.
The colour screen phone complies with the mobile telephone requirements and is
certified by the competent authorities.
The company reserves the right to modify the content of this manual without
notice.

!
4
Please read before using
Safety and care information
xRead these instructions carefully.
xKeep these instructions.
xFollow all these instructions.
xHeed the warnings.
xClean only with a soft cloth (dry or slightly damp).
xDo not attempt to disassemble the device; it would no longer be covered by the warranty.
xDo not bring sharp objects directly into contact with the surface and do not spray any
cleaning product directly onto the screen.
xDo not exert excessive pressure on the screen and do not put objects on it. This could
damage the screen.
xUse the spare parts specified by the manufacturer.
xAfter any service or repair carried out on this product, ask the technician to perform a safety
check.
xUse only the spare parts/accessories specified by the manufacturer.
xRefer to a qualified person for any repairs. Repair is required if the device is damaged in
some manner or other, if the power cord or plug is damaged, if liquid has been spilled or
objects have fallen on the device, or if the device has been exposed to rain or moisture, or
has been dropped.
xDo not expose the device to direct sunlight or other source of extreme heat or cold.
xRespect the privacy of others when using your Smartphone.
xKeep the device away from all metal objects (coins, keys, etc.).
xDo not leave near a magnetic field as this could cause data to be lost or could damage the
device.
xDo not drop the device.
xDo not expose the device to shocks, friction or impact.
xIn order to prevent data loss, remember to make a (computer or paper) back-up of
information saved on the device.
xTo prevent interference, do not use the device near other electronic devices, a pacemaker
or medical equipment.
xOperating temperature: 0-40°C.

!
5
NOTE: In order to reduce any risk of fire or electric shock:
xDo not expose this device to rain or moisture.
xDo not expose the product to water droplets or to splashes and do not place
any object filled with liquid, such as a vase, on the device.
xDo not use the product near flammable or explosive materials.
xThe power plug is used to disconnect the device and must always be easily
accessible.
xIn order to completely disconnect the device from the electricity supply, the
power plug must be disconnected from the power outlet.
xDo not attempt to override the safety features of the polarised plug or the earth
connection. A polarised plug has two pins, one of which is wider than the other.
A plug with an earth connection has two flat pins and a third round pin for the
earth connection. The widest pin and the third pin constitute the important
safety features designed to protect you. If you cannot manage to fully insert
the plug into the wall outlet, contact your electrician to replace the obsolete
wall socket.
xDisconnect this device during electrical storms or when not in use for an
extended period.
xSwitch off the device in places presenting risk of explosion and when travelling
by plane.
xDo not touch the power cord with wet hands and do not pull on the charger to
disconnect it.
xThe power cord must be placed so that it will not be stepped on or crushed
particularly at the outlet, where it is plugged in or where it is connected to the
device.
xDo not overload the power outlet. Use the power supply only as indicated.
xDo not install this device near heat sources such as electric hobs, cookers or
others (including amplifiers).
xDispose of the battery properly.
! !

!
6
Package contents
x1 x Phone
x1 x Charger -!Model : SA/6PA/05FEU050050 / 5V / 0.5A ±Produced by
SAMSON POWER TECHNOLOGY CO., LTD (No 11,Xintang Road, Xintian
Village, Fuyong Town, Bao'an District, Shenzhen, China)
x1 x USB cable
x1 x User guide
NOTE: The packaging materials, such as the adhesive tape, plastic film, string
and labels, are not part of this product.
Installing SIM card and memory card
1. SIM card
First, insert a valid SIM card into your phone before using it. The SIM card is
supplied by the network operator.
All of the information pertaining to the network connection is saved in the chip of
the SIM card, such as the contacts, phone numbers and SMS for contacts in the
directory. You can extract the SIM card from your phone and insert it into any other
mobile phone (new mobile phones automatically read SIM cards).
In order to prevent losing or damaging the information saved on the SIM card, do
not touch the metal contacts, and keep the card away from any source of electricity
or magnetic field. If the SIM card is damaged, you cannot use the telephone in a
normal manner.
Recommendation: Make sure the telephone is turned off before removing the
SIM card from it. A SIM card cannot be inserted or removed when the phone is
connected to an external power supply. There is a risk of damage to the SIM
card and the phone.

!
7
2. Inserting and removing the SIM card
The metal contact surface of the SIM card can be scratched easily. Remove the SIM
card from its support carefully before installing it.
xTurn off the phone, remove the back cover, battery or any other external power
supply.
xInsert the normal side (without angled edge) of the SIM card into the cavity
provided for this purpose, with the metal contacts facing downwards. Insert the
second SIM car in the same way.
xTo remove the SIM card, pull it directly outwards and remove it completely.
Recommendation: This manual does not provide any additional information on
inserting the second SIM card. Refer to the general instructions for inserting a
SIM card. If you insert only one SIM card, some of the options on the menu will
not be available.
3. Memory card
Insert the card into the memory card reader following the steps below
Remove the back cover from the phone, and then remove the battery.
Push the metal clip in the direction of the arrow shown in photo (1) to raise it up
Insert the memory card into the slot provided, with the metal contacts facing
downwards, refer to photo (2)
Close the metal clip and drag it in the direction of the arrow shown in photo (3) to
lock the memory card
(1) (2) (3)

!
8
Tip: If the memory card does not work, check that it is inserted correctly and
also check the metal contact points. You can also try to format the memory
FDUG<RXVKRXOGQ¶WKDYHWRFORVHWKHPHWDOFOLSZLWKDORWRIVWUHQJWK
Installation and charge of battery
Installing the battery
xRemove the back cover from the phone.
xPlace the end of the battery that has the metal contacts against the battery
connector.
xGently push the battery down and press on the other end of it to snap it in.
CAUTION: Risk of explosion if battery is replaced by an incorrect type.
Model: 433450AR-600 / Li-ion rechargeable battery (3.7V) / 600mAh
To replace the battery, please enquire with the after-sales service of your dealer.
Dispose of used batteries according to the instructions.
Charging the battery:
xTo charge the battery, connect the USB cable (supplied) to the USB port of
your Feature phone and the other end to the mains adaptor (supplied). Then
connect the mains adaptor to a power outlet.
xThe battery charge icon illuminates during charging and indicates the charge
status.
xWhen the battery is fully charged, you can disconnect the USB cable from the
device then from the power outlet.
IMPORTANT:
xThe Feature phone is only recharged via its USB port.
xEnsure your Feature phone is fully discharged before charging it for the first
time.
xThe battery must be charged for at least 5 to 8 hours when first charged.

!
9
xAfter a long period without use, It should be necessary to do many cycles of
charging / discharging to obtain maximum power capacity
Note: You can use the device when it is being charged. In this case, the battery
may take longer to charge fully.
Safety information for charging the battery:
xTo recharge the battery, only use the mains adaptor supplied with your device.
Do not use any other power supply or electrical device.
xThe power outlet to which the device is connected must be near the
equipment and must always be easily accessible.
xAlways wait at least 5 seconds after switching off the device before restarting
it. Switching the device off and then back on again immediately may damage
the electrical circuits.
xDo not disassemble, open or shred the battery contents. Do not dispose of
batteries in fire or water. Do not charge the battery if the room temperature
exceeds 45° C. Keep the battery in a clean and dry place. Avoid leaving the
battery under sunlight.
xDo not short circuit the battery. Do not keep the battery in a place where it can
be shorted by other metal objects.
xKeep the battery away from children, in case of swallowed, consult a doctor
immediately. In case of battery leak, take care to not allow the liquid come in
contact with skin or eyes, if this case happens, wash thoroughly with water
and consult a doctor.
xFor all repairs or to replace the battery, consult a qualified technician.
xThe lifetime of the battery depends largely on how you use it. Do not expose
the battery to temperatures less than 0°C or greater than 60°C. Its
performance may be altered.
xSignificant electromagnetic interference or electrostatic discharge may cause
malfunction or loss of data. If the device is not working properly, restart the
Smartphone or unplug the mains adaptor from the power outlet then plug it in
again.
!
10
x5HPRYH ZKHQ LW¶V SRVVLEOH WKH EDWWHU\ ZKHQ WKH 6PDUWSKRQH LV QRW used
during a long period.
xDispose of the battery and the Smartphone separately. Do not pu the battery
in the household waste, for further information about recycling of the battery,
contact your municipality, your local waste or the store where you purchased
the product.
Security password
!
xPIN code
The PIN code (Personal Identification Number) is used to prevent illegal use of your
SIM card. Generally, PIN code and SIM card are provided together. If you input the
PIN code incorrectly three times in succession, input the PUK code to unlock the SIM
card. Contact your network operator for more information.
xPIN 2 code:
Input your PIN 2 code to use certain services such as a service call. If you input the
PIN2 code incorrectly three times in succession, input the PUK2 code to unlock the
SIM card. Contact your network operator for more information.
xPUK code
To change the locked PIN code, input the PUK (Personal Unlock Key) code. Usually
PUK2 code and SIM card are provided together. Otherwise, contact your network
operator. If you enter an incorrect PUK code ten times in succession, the SIM card
can no longer be used. Please contact your network operator to purchase a new card.
The PUK code cannot be changed. If you lose the code, contact your service
provider.
xPUK2 code
When you change the locked PIN2 code, input the PUK2 code. If you enter an
incorrect PUK2 code ten times in succession, the functions that require the PIN2
code will not be able to be used. Please contact your network operator to purchase a
new card. The PUK2 code cannot be changed. If you lose the code, contact your
service provider.

!
11
Main menu
To Lock/Unlock the keyboard, press the menu key (1) then the
star key (2).
To Turn on/Turn off the phone, press the On/Off key (3) for a
long time.
You can save a phone number in the memory of the phone or in the SIM cards.
¾Add a new contact: Create a new contact
¾View: View detailed information on the contact
¾Send a text message: Send a message to the contact
¾Dial: Call the contact
¾Edit: Edit the contact's information
¾Delete: Delete the selected contact
¾Copy: Copy the contact to the phone or to the SIM card
¾Contact settings: Edit additional numbers / Overview of the capacity of the SIM
cards and of the phone
1. Message
1.1. New message
Compose a new message, insert a number and other
1.2. Inbox
All messages received are saved in this inbox.
1.3. Outbox
Outbox holds the messages that failed to be sent.
1.4. Draft box
This function allows you to retrieve the SMS that you have saved.
1.5. Sent messages
This function allows you to save all of the messages that have been sent
successfully.
1! 3!
3!
1!
2
2!

!
12
1.6. Security inbox
1.7. Templates
1.8. Broadcast message
1.9. Voice mail server
This function allows you to check your voice mail.
!
2. Contacts
You can save a phone number in the memory of the phone or in the SIM cards.
¾Add a new contact: Create a new contact
¾Send a text message: Send a message to the contact
¾Dial: Call the contact
¾Delete: Delete the selected contact
¾Suppression multiple: Supprimer plusieurs contacts sélectionnés
¾Importer/Exporter: déplacer les contacts entre le téléphone et la carte SD
¾Send vCard: envoyer le contact par SMS ou BT
¾Others
¾Add to blacklist
3. Call centre
This function allows you to view the recent call journal and to change the call
settings.
3.1. Missed calls: See the number of the missed calls
3.2. Calls made: See the recent list of various calls made
3.3. Received calls: See the recent list of various calls received
3.4. Appels rejetés: Voir la liste récente des différents appels rejetés
3.5. Delete call journals: Delete the selected calls
3.6. Call time: View the duration of the last call, dialled and received calls
4. Multimedia
4.1. Camera:
Press the central button to take pictures

!
13
Options:
¾Image viewer: See all the pictures in your phone
¾Video recorder: Switches from photo taking mode to video mode
¾Effect: Allows you to choose the effect of the pictures
¾Settings: Allows you to set the camera, the recording path
4.2. Video recorder
Press the central button to record a video
Options:
¾View video: Allows you to see video in your phone and SD card
¾Camera: Switch from video to picture taking mode
¾Effect : Allows you to choose the effect of the video
¾Settings: Allows you to set the video recorder, the recording path
4.3. Playing audio
Button
Function
Left and right
directional buttons
Press once to go to the previous or next title
Press continuously to rewind or fast forward in the title
Up and down directional
button
Press to decrease/increase the volume
Central Button
Press to play/pause the title
4.4. Video recorder
Button
Function
Left and right
directional buttons
Press once to go to the previous or next title
Press continuously to rewind or fast forward in the title
Up and down directional
button
Press to decrease/increase the volume
Central Button
Press to play/pause the title
Central Button
Press to play/pause the title
Star and pound key
Press to decrease/increase the volume

!
14
4.5. Picture viewer: Allows you to view the photos in the phone or in the SIM card
4.6. FM radio
yAuto search and save: Automatically searches for and saves channels
yList of channels: Select, delete and edit saved stations
ySave: Save the working channel
yManual search: Allows you to search and save stations by frequency
yOpen speaker
yBackground music: Allows you to go back to the main interface and continue
listening to the radio
yRecord: Allows you to save the sound
yTiming record
4.7. Sound recorder
This function allows you to record and listen to your audio recordings. Interrupted
recordings are automatically saved and can be found in the list of files.
5. User profiles
User profiles allow you to define the operation of your phone when a call or message
is received and to configure the sound for keys, among other things. You can
customise these profiles or keep their default configuration according to your needs.
Select and customise the profiles adequately according to the situation. The various
modes available are General, Silent, inside and Outdoor.
6. Settings
6.1. Call settings
¾Double SIM settings: Activate SIM1 only / SIM2 only / Dual-SIM mode
¾Call divert: Set the message sending for the 2 SIM card
¾Advanced settings
6.2. Phone settings
¾Date and time: Configure the date and time of the device, as well as how they
are displayed
¾Language settings: Configuring the language of the device and preferred text

!
15
input method
¾Shortcuts: can be set by the directional button
¾Auto power on/off
¾Restoring factory settings: This function allows you to restore factory-set
settings. The default password for setting reinitialisation is "1234"
6.3. Display settings
¾Wallpaper: Define a picture as the default wallpaper
¾Locked screen: Define the locked screen
¾Brightness
¾Backlight
¾Keypad backlight
6.4. Security settings
¾PIN: Activate/deactivate or change the PIN code. If PIN code verification is
activated, you must input your PIN code each time the phone is started.
¾PIN 2: Activate/deactivate or change the PIN code 2
¾Phone lock: lock the phone with a password. The phone's initial password is
0000
¾Change phone password
¾Auto keypad loack
¾Lock screen by end-key
¾Blacklist
7. File manager:
Allows you to browse through the files on the phone and on the external me
mory.
8. Playing Games
¾Serpent: Launches the serpent game
9. Tools
¾Bluetooth: Choose ¨BT¨ and ¨ visibility ¨ to activate the Bluetooth function, then
search for the compatible Bluetooth equipment in ¨ Paired device¨, finally connect

!
16
the an equipment by choosing ¨Pair¨
¾Calendar:Displays the full date
¾Alarm:Alarm settings
¾World clock
¾Torch: Turn on or turn off the electrical torch
¾Calculator: Allows the phone to be used for simple calculations
¾Unit conversion
¾Timer
!

!
17
Recycling
The symbol shown here and on the product means that the product is
classed as Electrical or Electronic Equipment and should not be
disposed with other household or commercial waste at the end of its
working life.
The Waste Electrical and Electronic Equipment (WEEE) Directive
(2012/19/EU) has been put in place to recycle products using best
available recovery and recycling techniques to minimise the impact on
the environment, treat any hazardous substances and avoid the
increasing landfill.
Product disposal instructions for residential users:
If you no longer use the device, remove and dispose of the battery, as well as the
device, in compliance with the local recycling procedures. For more information
please contact your local authority or the retailer where the product was purchased.
Product disposal instructions for business users:
Business users should contact their suppliers and check the terms and
conditions of the purchase contract and ensure that this product is not mixed with
other commercial waste for disposal.
Warning on using the phone while driving
!
In!France,!in!accordance!with!Article!R4127671!of!the!French!highway!code,!drivers!are!not!permitted!to!
use!hand7held!phones!whilst!the!vehicle!is!moving.!
The!penalty!for!non7compliance!with!this!article!is!a!fine!and!point!penalty!on!your!driving!licence.!
It!is!also!forbidden!to!wear!any!system!such!as!earphones,!pedestrian!kits,!headsets,!headphones,!susceptible!to!limit!the!
attention!or!the!hearing!of!the!drivers.!
NOTE:!this!legislation!applies!only!in!France.!During!trips!abroad,!please!refer!to!the!legislation!in!place!
in!your!country!of!origin!before!travelling.!
!

!
18
Listening safety!
!
xBefore using the pedestrian kit, check that the volume is not set to
maximum to prevent hearing loss.
xThe high volume settings are intended for individuals with reduced hearing
capacity and not for those with normal hearing.
xDo not use the pedestrian kit while driving.
xAdjust the volume so that you can hear the sounds around you.
xListening to a portable audio player at high volumes can damage your
hearing and lead to hearing impairment (deafness, ringing ears, tinnitus
and hyperacusis).
In order to prevent these risks it is recommended not to use the device at
full volume; use must not exceed one hour per day.
xThis product complies with the EN 60950-1:2006+A11:
2009+A1:2010+A12:2011+A2:2013 standard "Information
technology equipment - Safety - Part 1: General requirements"
in accordance with the order of 25 July 2013 implementing
Article L. 5232-1 of the French public health code concerning portable
audio players.
xDo not use pre-amplified or amplified models of headphones or earphones
(i.e. with individual volume control and/or self-powered by batteries), as
they do not ensure adherence to the maximum volume.
xTo prevent possible hearing damage, do not listen at high volume
levels for long periods.

!
19
Electromagnetic waves safety information (SAR)
Your device is designed to not exceed the radio wave limits recommended by the
European authorities. These limits include safety margins to ensure the protection of
all persons regardless of their age or health.
The SAR (specific absorption rate) of mobile phones quantifies the maximum level of
exposure of the user to electromagnetic waves, for aural use. French legislation
stipulates that the SAR must not exceed 2 W/kg averaged over 10g of tissue.
The value of the SAR is determined on the basis of the highest level of radio
frequencies emitted during laboratory tests.
The actual value of the SAR during use of the phone is lower than this level.
The value of the SAR of the phone can vary according to the following factors: how
far/close the phone is to a relay antenna, use of accessories and others.
The maximum SAR level of your device is given in the following table:
Position
Connectivity
SAR value
Head
GSM 900 / DCS 1800
0.097 W/kg
Body (Clearance
of 0 cm)
GSM 900 / DCS 1800
0.893 W/kg
The body SAR value is tested at a distance of 0 cm.
NOTE: The SAR value may vary, depending on national reporting and testing
requirements and the network band.
NOTE:
xDo not use your mobile phone in certain locations such as aircraft, hospitals,
service stations and professional garages or while driving a vehicle. The
electromagnetic waves from the mobile phone can disrupt the performance of
electronic devices used in these locations.
We recommend that you switch off your phone or switch it to flight mode in
these locations to avoid interference.
xIf you use an electronic implant (pacemaker, insulin pump, neurostimulation,
etc.). Maintain a distance of 15 cm between the mobile phone and your
electronic implant.

!
20
xWhen using an earphone, pregnant women should keep the phone away from
their abdomen and teenagers should keep the phone away from their lower
abdomen.
Advice to reduce the level of exposure to radiation:
xPlease use your mobile phone where reception is good to reduce the quantity
of radiation received (avoid using in an underground car park or when
travelling (train or car)).
xA reception icon indicates the quality of reception on your phone. A 4-bar
display means that reception is good .
xIn order to limit exposure to radiation, we recommend using an earphone
kit.
xIn order to limit the detrimental consequences of prolonged exposure to
radiation, we recommend that adolescents keep the phone away from
their lower abdomen, and that pregnant women keep the phone away from
their abdomen.
!
!
!
!
!
!
!
!
!
!
!
!
!
!
!
!
!
!
Table of contents
Other LOGICOM Cell Phone manuals

LOGICOM
LOGICOM Le Fleep 178 User manual

LOGICOM
LOGICOM M bot 52 User manual

LOGICOM
LOGICOM L-XTREM 20 User manual

LOGICOM
LOGICOM VR BOT 552 User manual

LOGICOM
LOGICOM FIVE User manual

LOGICOM
LOGICOM Le Posh 177 User manual

LOGICOM
LOGICOM L-310 User manual

LOGICOM
LOGICOM LUNAR User manual

LOGICOM
LOGICOM Le Posh 280 User manual

LOGICOM
LOGICOM L-195 User manual

LOGICOM
LOGICOM L-240 User manual

LOGICOM
LOGICOM Le Posh 178 User manual

LOGICOM
LOGICOM Le Wave User manual

LOGICOM
LOGICOM L-623 User manual

LOGICOM
LOGICOM M bot 60 User manual

LOGICOM
LOGICOM Le Kay 283 User manual

LOGICOM
LOGICOM Le Posh 170 User manual

LOGICOM
LOGICOM FLOW User manual

LOGICOM
LOGICOM L-623FR User manual