1
Congratulations on purchasing a Longevity Acrylics bathware
product. Be assured that your product has been developed and is
a highly engineered, quality product that is strong and durable to
withstand the rigors of everyday life.
• Strength, durability and toughness to withstand frequent use
•Resistant to everyday wear and tear, stains, and superficial scratches
• Resistant to UV, and many household chemicals
• Qualities that make light work of cleaning and maintenance
• Beautiful warm, smooth surfaces that feel comfortable against the
skin
INSPECTION: THIS ACRYLIC UNIT HAS BEEN CAREFULLY
INSPECTED AND PACKED FOR SHIPMENT AT LONGEVITY
ACRYLICS INC. PLEASE FULLY INSPECT THE UNIT BEFORE
INSTALLATION.
Carefully remove the unit from the carton. Do not destroy the
cardboard until you have inspected the unit thoroughly. Should your
inspection reveal any damage or defect in the finish, do not install the
unit—contact your distributor immediately.
The warranty does not cover damages or defects to the finish claimed
after the unit has been installed. Longevity’s responsibility for shipping
damages ceases upon delivery of the product in good order to the
carrier.
Refer any claims for damages to the carrier.
FREESTANDING BATHTUBS
(6636 QDS / 6634QDS)
INSTALLATION INSTRUCTIONS
BUILDING CODES
Be sure to follow local building codes when installing the bathware
unit.
IT IS ALWAYS RECOMMENDED TO HAVE A PROFESSIONAL
AND COMPETENT PLUMBER INSTALL LONGEVITY ACRYLICS
BATHWARE.
CAUTION
• To cut plumbing fixture openings on your bathware unit ensure
that you use the correct size hole saw based on the selected unit
design.
• Always cut a plumbing fixture opening from the finished side of
the unit.
• Always ensure that the surface of the unit is protected to prevent
scratches in the surface.
• Install plumbing fixtures based on the manufacturers
recommended installation instructions.
• The drain location on the unit is shown; however actual
installation will depend on the waste and overflow which is
purchased separately.
LONGEVITY ACRYLICS INC. IS NOT RESPONSIBLE FOR ANY
DAMAGES INCURRED AS A RESULT OF POOR INSTALLATION
OF THE PRODUCT.
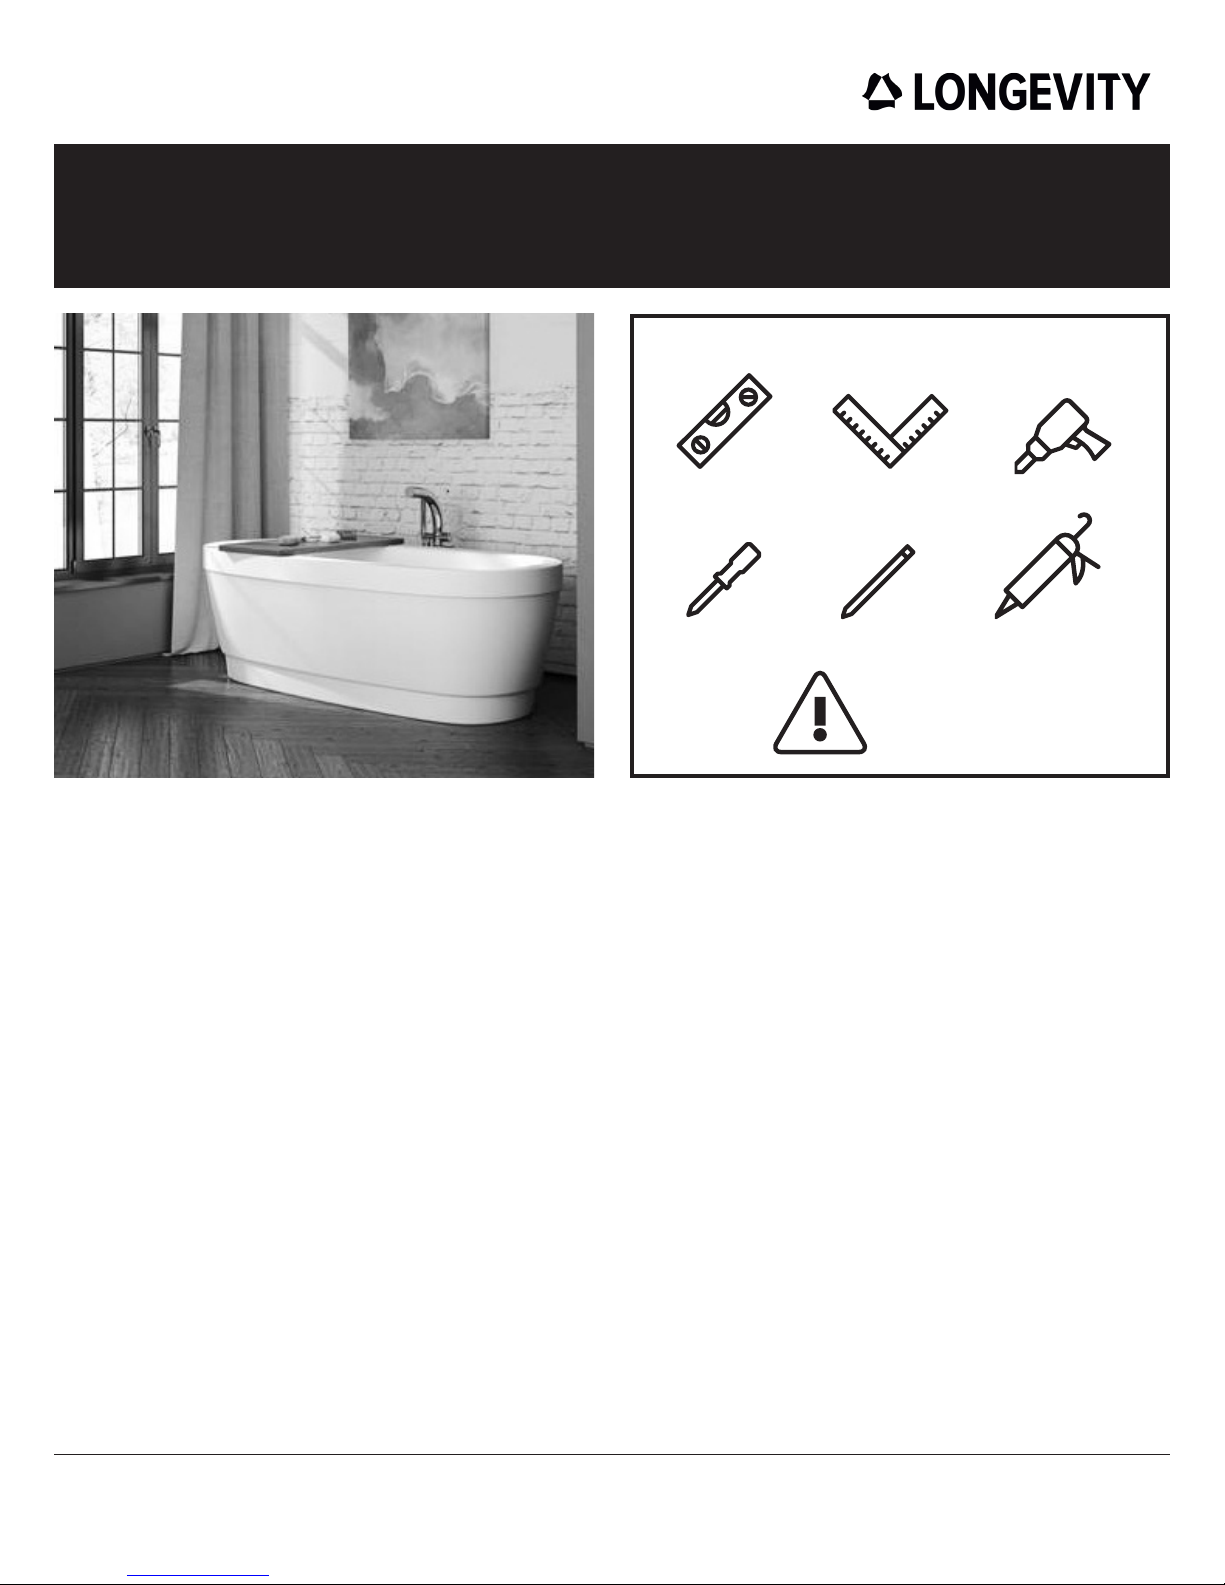
REQUIRED TOOLS
Screwdriver Pencil Silicone Sealant Gun
Electric DrillLevel Square
Safety Equipment:
Gloves, Boots and Glasses
Every effort has been made to offer the most current, correct, and clearly expressed information possible. Nevertheless, inadvertent errors or inaccuracies in the information may occur.
Longevity Acrylics disclaims any responsibility for errors or accuracy of information that may be contained in its documents or web pages. Longevity Acrylics Inc. makes no warranties or
representations whatsoever regarding the quality, content, completeness, suitability, adequacy, sequence, accuracy or timeliness of such information and data.


