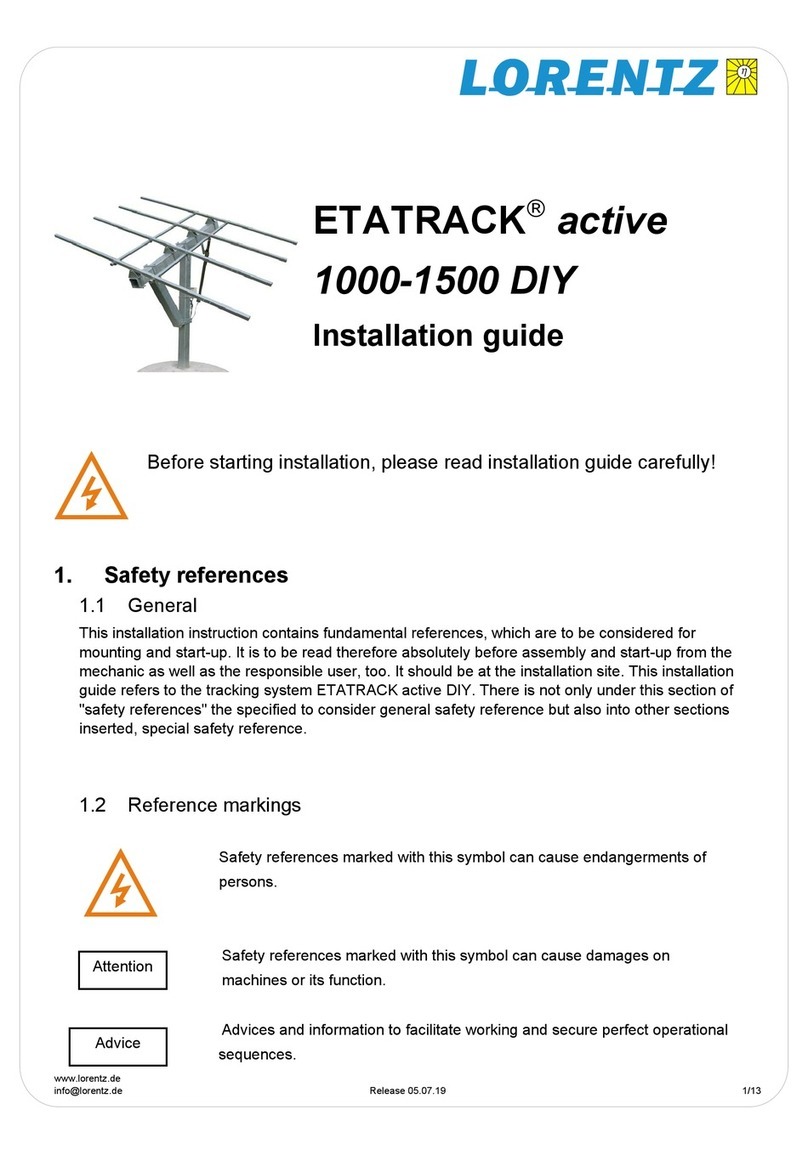
Lorentz ETATRACK active 1500 User manual

www.lorentz.de
Release 070402
Errors excepted and possible alterations without prior notice
Page 1/15
Advice
ETATRACKactive 1500
Installation guide
Before starting installation, please read installation guide carefully!
1. Safety references
General
This installation instruction contains fundamental references, which are to be considered for
mounting and start-up. It is to be read therefore absolutely before assembly and start-up from the
mechanic as well as the responsible user, too. It should be at the installation site. This installation
guide refers to the tracking system ETATRACK 1500 active. There is not only under this section of
"safety references" the specified to consider general safety reference but also into other sections
inserted, special safety reference.
Reference markings
Safety references marked with this symbol can cause endangerments of
persons.
Safety references marked with this symbol can cause damages on
machines or its function.
Advices and information to facilitate working and secure perfect operational
sequences.
Attention

www.lorentz.de
Release 070402
Errors excepted and possible alterations without prior notice
Page 2/15
Training and qualification of the personnel
The personnel for installation, use and maintenance must exhibit the appropriate qualification for the
work. Area of responsibility, competence and monitoring of the personnel must be exactly regulated
by the user.
Safe working
All security references, present national instructions for accident prevention as well as internal
instructions for working, use and safety are to be followed.
Consequences
In case of ignoring the security references, endangerments of persons, environment and the
tracking system as well as total loss of requirement on compensation can be the consequence .
For example:
-Failure of important functions of the plant
-Endangerments of persons caused by mechanical effects.
Safety references for the user
Endangerments of electronic electricity are to be excluded. (see details for example in the regulation
of Verband der Elektronik = VDE, Germany).
Safety references for installation and maintenance
Before starting work at the tracking system make sure that the electricity supply has been switched
off. Please follow the instructions to stop the drive in this guide.
Inappropriate treatment
Working security of tracking systems is only guaranteed in case of normal application.
The limit values specified in the technical data are not to be exceeded!
Before installation of Solar Modules
Refer to Instruction manual of solar modules and inverters for details about electrical and mechanical
installation requirements.

www.lorentz.de
Release 070402
Errors excepted and possible alterations without prior notice
Page 3/15
2. Delivery and storage
Delivery
Tracking systems ETATRACK active are supplied completely from the factory.
Due to high weight of each part of the construction care must be taken during unpacking and
handling.
It is absolutely necessary to wear security gloves and shoes!
3. Delivery contents
Mechanical parts:
- Mounting Pole (1 pc) Square tube 150x150, 2750 mm length (1a)
- Beam (1 pc) Rectangular tube150x100, 4200 mm length(1b)
- Cross Beam (1 pc) Rectangular tube150x100, 1000 mm length(2)
- Pole connector (4 pcs) Steel angle 63x63x6, 280 mm length (3)
- Cross Beam con. (2 pcs) Steel angle 63x63x6, 330 mm length (3a)
- Hinge fixation (5 pcs) Steel angle 63x63x6, 213 mm length (4)
- Hinge lower part (6 pcs) Welded steel 200x70x120 mm (5)
- Hinge upper part (6 pcs) Welded steel 150x50x30 mm (6)
- Centre Rail (6 pcs) Square tube 50x50, 3400 mm length (7)
- Connecting tube (2 pcs) Square tube 40x40, 4200 mm length (8)
- Connection clamp (11pcs) Steel angle 40x40x4, 70mm length (9)
- Upper motor fixation (1 pc) Steel angle 50x50x5, 70 mm length (10)
- Lower motor fixation (1 pc) Steel angle 276x276, 63x63mm (11)
- Module fixation clamp(48 pcs) Stainless steel 50x50x1,2mm (12)
- Standard parts (1 set) Bolts, washers, nut
- Linear motor (1 pc) (13)
- Controller fixation (2 pcs) (14)
- Reinforcement Profile (1 pc) Steel angle 50x50x5, 290mm length (16)
Controller
-Electronic box incl. Lead Acid Battery and Controller (15)

www.lorentz.de
Release 070402
Errors excepted and possible alterations without prior notice
Page 4/15
Advice
4. Assembly preparation
Foundation
Before mounting the tracking system a suitable foundation is necessary. A surface foundation for the
tracking system has to be constructed to assure the correct operation for the indicated maximum of
module surfaces (see fig. 4.1)
While setting mounting pole into foundation (1) take care of the exact adjust-
ment of cross holes into EAST – WEST direction!
To get the right adjustment use some helping material (see figure
hereunder).
During drying-procedure of foundation please use wooden boards to support mounting pole.
In case of installation on flat roofs, stability can be effected with clamping belts.
(1a)
Wooden or metal strip
SOUTH
Cross drilling!
Fastening clamp
South direction
(North direction for
Southern Hemisphere)

www.lorentz.de
Release 070402
Errors excepted and possible alterations without prior notice
Page 5/15
fig. 4.1 Dimensions of surface foundation
Mounting pole (1a)
Fastening clamp
SOUTH
Diameter
220 cm
80 cm

www.lorentz.de
Release 070402
Errors excepted and possible alterations without prior notice
Page 6/15
SOUTH

www.lorentz.de
Release 070402
Errors excepted and possible alterations without prior notice
Page 7/15
5. Mounting
5.1 Required tools:
- 2x ring or open ended flat spanner 24mm
- 2x ring or open ended flat spanner 10 / 13mm
- 2x ring or open ended flat spanner 14 / 15mm
- Level
- Rubber or plastic hammer
- Fastening clamp
- Torque wrench (refer to page 14 for nominal torques)
5.2. Hardened foundation
9x
M16 x 190mm
2 x 3a
4x
1b
1a
South direction
(North direction for
Southern Hemisphere)

www.lorentz.de
Release 070402
Errors excepted and possible alterations without prior notice
Page 8/15
5.3 Preparing the rails and hinges
1 pc M12 x 95mm
2 pcs M10 x 80mm
Scale 1:1
Scale 1:1

www.lorentz.de
Release 070402
Errors excepted and possible alterations without prior notice
Page 9/15
5.4 Fixation of rails on the beam
Keep attention of lower mounting plate for drive (11)!!
Attachment of third upper hinge deviates from
the other five hinges! (See fig. 5.4)
Before tightening the screws align module fixation in parallel line
Dimension „X“: depends on position of fixation holes in the PV modules.
X = Distance between holes - 110mm
Advice
12pcs
M12 x 140
South direction
(North direction for
Southern Hemisphere)

www.lorentz.de
Release 070402
Errors excepted and possible alterations without prior notice
Page 10/15
Fig. 5.4 Arrangement of lower motor fixation
View from North to South
(from South to North for Southern
Hemisphere)
Free leg of angle has to point down on
the Eastern (Western for Southern
Hemisphere) side.
Reinforcement Profile (16)

www.lorentz.de
Release 070402
Errors excepted and possible alterations without prior notice
Page 11/15
Advice
5.5. Mounting of solar modules
Each solar module is to be fastened with 4 pcs fixation clamps(12) at the
Centre rails (7). Please start with the following steps:
- Attach the fixation clamps on the module fixations
- Put in the screws M8 x 110 mm from the top into the drillings given at the
centre rails
- Connect the centre rails with connecting tubes (8), connection clamps (9)
as well as upper motor fixation (10).
- Fixation of solar modules
Before final tightening of screws please check easy swivelling feature. In case of
difficulties the adjustment of the hinges or rails could be not correct. The module
frame has to be aligned right-angled.

www.lorentz.de
Release 070402
Errors excepted and possible alterations without prior notice
Page 12/15
5.6. Assembly of linear motor
The linear motor is in factory setting, which means in morning (evening
for Southern Hemisphere) position. Do not turn the inside bar with the
ball!
During assembly of the motor on the frame:
Dimension 235mm between the bolts centres must be kept!
235 mm

www.lorentz.de
Release 070402
Errors excepted and possible alterations without prior notice
Page 13/15
Lower motor fixation with spacer sleeve
Upper Motor
Fixation
Self locking Nut M12
Flat Washer
Flat Washer
Self locking Nut M12

www.lorentz.de
Release 070402
Errors excepted and possible alterations without prior notice
Page 14/15
Linear motor, motor and gearbox
cable conduit and water drainages have
to point downwards to avoid that water
penetrates in gearbox housing!!
Make sure that this orientation is done
also when the rubber protection boot is
used for the gearbox!
Attention

www.lorentz.de
Release 070402
Errors excepted and possible alterations without prior notice
Page 15/15
Nominal torques for Bolts ETATRACK active
Screw dimension Strength Torque [Nm]
M16 8.8 (Steel) 230
M12 8.8 (Steel) 93
M10 8.8 (Steel) 54
M8 8.8 (Steel) 27,3
M6 Stainless Steel A2 5,9-max. 11,3
We recommend an unique control of the screw connections
approximately 6 months after installation.
Comments:
All connection elements for parts of the tracker: steel, zinc coated,
strengthening class 8.8
Screws for standard fixation of solar modules: M6, high grade steel A2
All data are standard values in accordance with the producer’s data which are not
obligatory
Table of contents
Other Lorentz Antenna manuals
Popular Antenna manuals by other brands

Enterasys
Enterasys AP2620 Site preparation and installation guide

Philips
Philips SDV7114A user manual

Schwarzbeck
Schwarzbeck XSLP 9142 manual

A.H. Systems
A.H. Systems SAS-517 Operation manual

Shakespeare Electronic
Shakespeare Electronic Style 4328 installation instructions

Clare Controls
Clare Controls CC-EBR-500 Installation sheet

Ciro Mazzoni
Ciro Mazzoni I3VHF LOOP ANTENNA instruction manual

DX Engineering
DX Engineering DXE-RRMX2X8 user manual

NoiseKen
NoiseKen NKU07M32G instruction manual

MotoSAT
MotoSAT HD Universal Mount HD-DP3 Specifications

H3C
H3C ANT-5014P-M4 installation guide

CUSHCRAFT
CUSHCRAFT MA8040V Assembly and installation instructions