6. Attach the dome cover and dome ring. Make sure
the slot on the dome cover is aligned with the lens.
Screw the dome ring onto the base.
Connecting the camera
1. Connect the BNC female video cable from the
dome camera to the supplied BNC/Power
extension cable. Connect the BNC extension
cable to a DVR, observation system, TV, or VCR.
NOTE:
Connect the BNC to RCA Adaptor as needed to allow
for proper connectivity. See figure below.
2. Connect the power cable from the dome camera to
the power extension cable. Connect the power
extension cable to the supplied AC adaptor.
Figure 4.0 Attach the dome cover and screw the dome ring onto the base
Figure 5.0 Full connection diagram
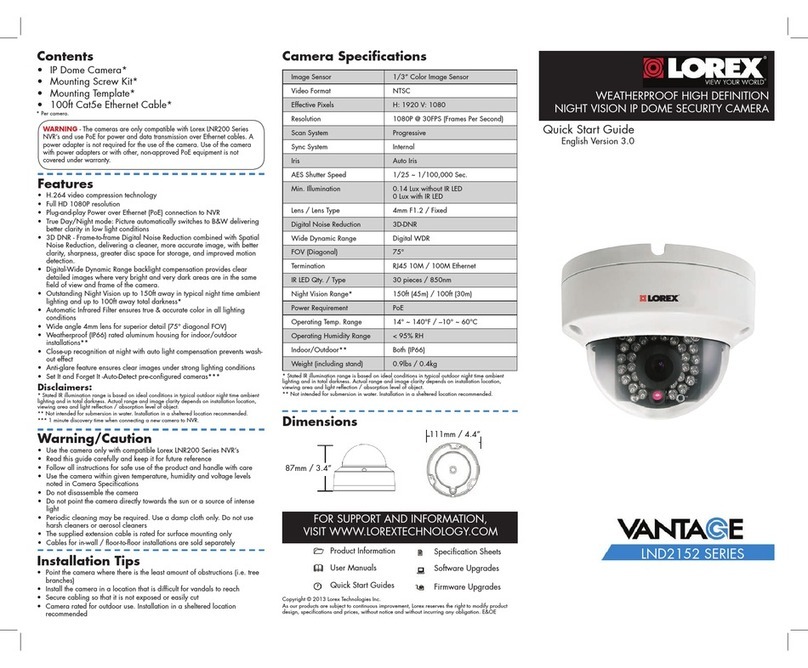
Contents
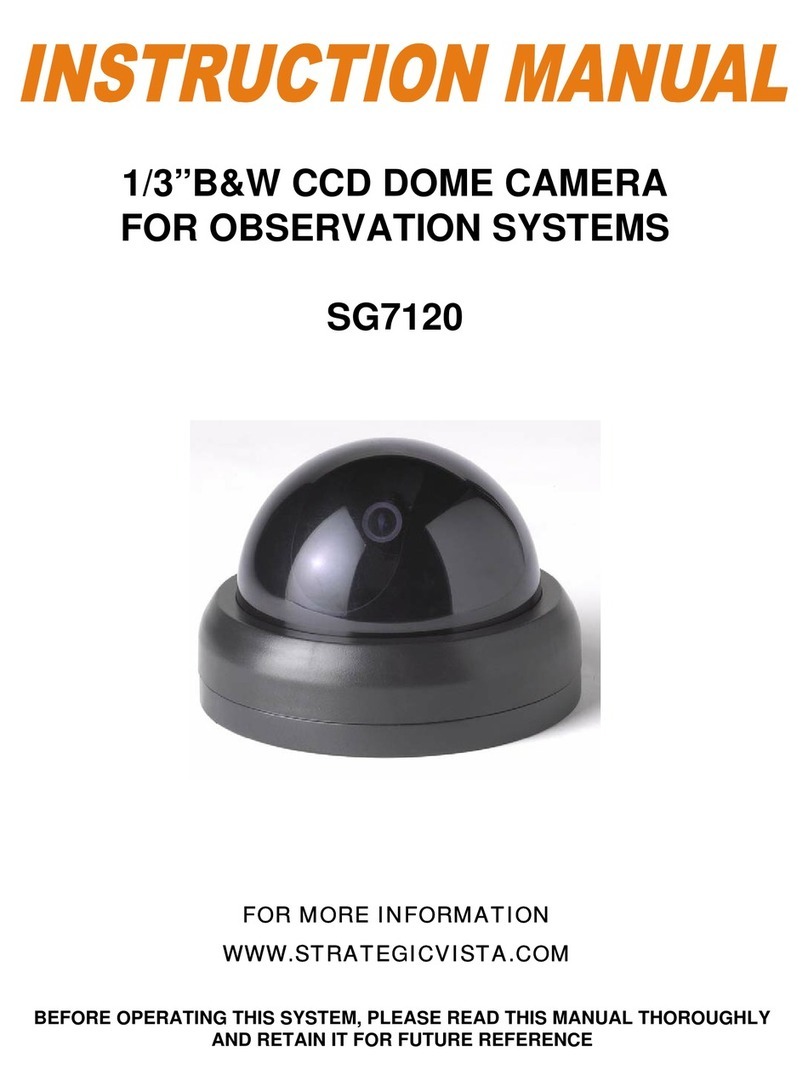
1 x Mini Color Dome
Camera
To mount the camera:
1. First, select the general direction the camera will
be facing.
2. Mount the camera to the desired position on the
ceiling using the provided mounting kit.
3. Using a Phillips screwdriver (not included), loosen
the two screws on the support ring and rotate the
camera horizontally (max. 180º) as needed (see
Figure 2.0).
Note: If you remove the screws from the support ring, you can
rotate the camera up to 180º. If you only loosen the screws, you
can rotate camera up to 90º.
4. Slightly loosen the two screws on the support
arms and angle the lens vertically as needed (see
Figure 3.0).
5. Once you have set the position and angle for the
lens, firmly tighten the screws on the support ring
and support arms.
Figure 1.0 Mount the base
Support
ring
Support
arms
Lens
Figure 2.0 Loosen the screws and rotate the ring
WARNING - A regulated, UL/CSA approved 12V
DC 300mA power supply is required for use with
this camera. Use of a non-regulated, non-
conforming power supply can damage this
product and will void the warranty.
2 x Mounting Screws
Features:
• High Resolution Image Sensor—produces sharp
and clear video
• Fixed IR Filter provides accurate color
reproduction
• 3.6 mm lens provides a wide viewing angle
• Industry standard BNC video connection
• Ceiling mountable
1 x 33ft. BNC/Power
Extension Cable
1x BNC to RCA Adapter
1 x AC Power Adaptor
ATTENTION - Test the camera prior to selecting a
permanent mounting location by temporarily connecting
the cameras to an observation system.
Installing the camera
Figure 3.0 Loosen the screws and adjust the angle of the lens
