2Ranger RIDE - Quick guide
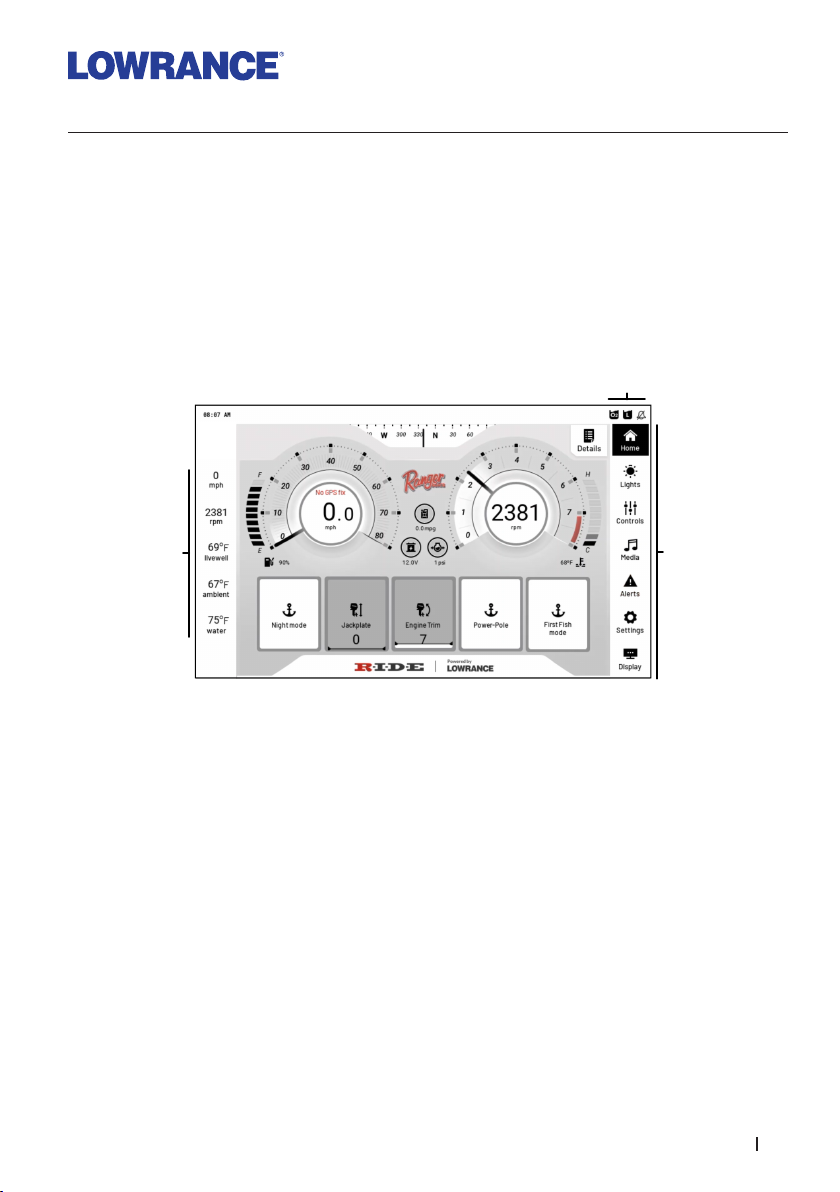
Home screen
The home screen shows engine data and gives access to commonly used functions. The
functions available depend on your boat configuration.
G
BA C D E F
A. Engine data
B. Night mode button – Activates Night mode, lowers screen brightness and turns ON
Nav. and Anchor lights.
C. Jackplate – Pressing the buttons opens the jackplate control page.
D. Engine Trim - Pressing the buttons opens the engine control page.
E. Power-Pole - Pressing the buttons opens the power pole control page.
F. First Fish mode – Turns on the Livewell and after 15 minutes activates high mode and
turns on the oxygen generator.
G. Details - Pressing the buttons display all data reported by the engine over the NMEA
2000 network.
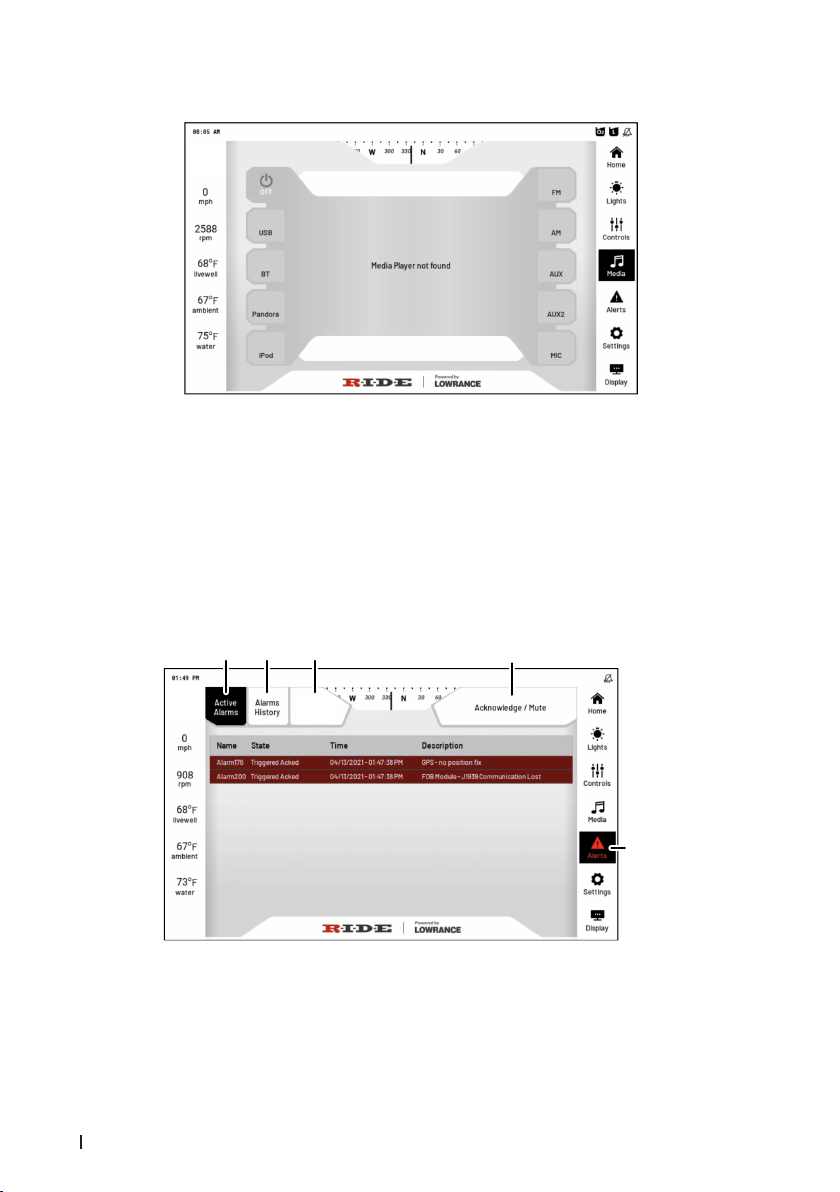
Lights
From the Lights page you can turn lights ON or OFF and check the status of the lights.
¼NOTE: When turning on the Navigation lights, the Anchor lights will automatically
come on and the above gunnel lights turn off. When turning off the Navigation lights,
the Anchor light remains on and the Courtesy light comes back on. If installed, the
option deck LED lights will also turn of with the navigation lights and return to their
current setting when the navigation lights turn off.