manuals.online logo
Brands
  1. Home
  2. •
  3. Brands
  4. •
  5. Lowrance
  6. •
  7. Transducer
  8. •
  9. Lowrance SIMRAD User manual

Lowrance SIMRAD User manual

Other Lowrance Transducer manuals

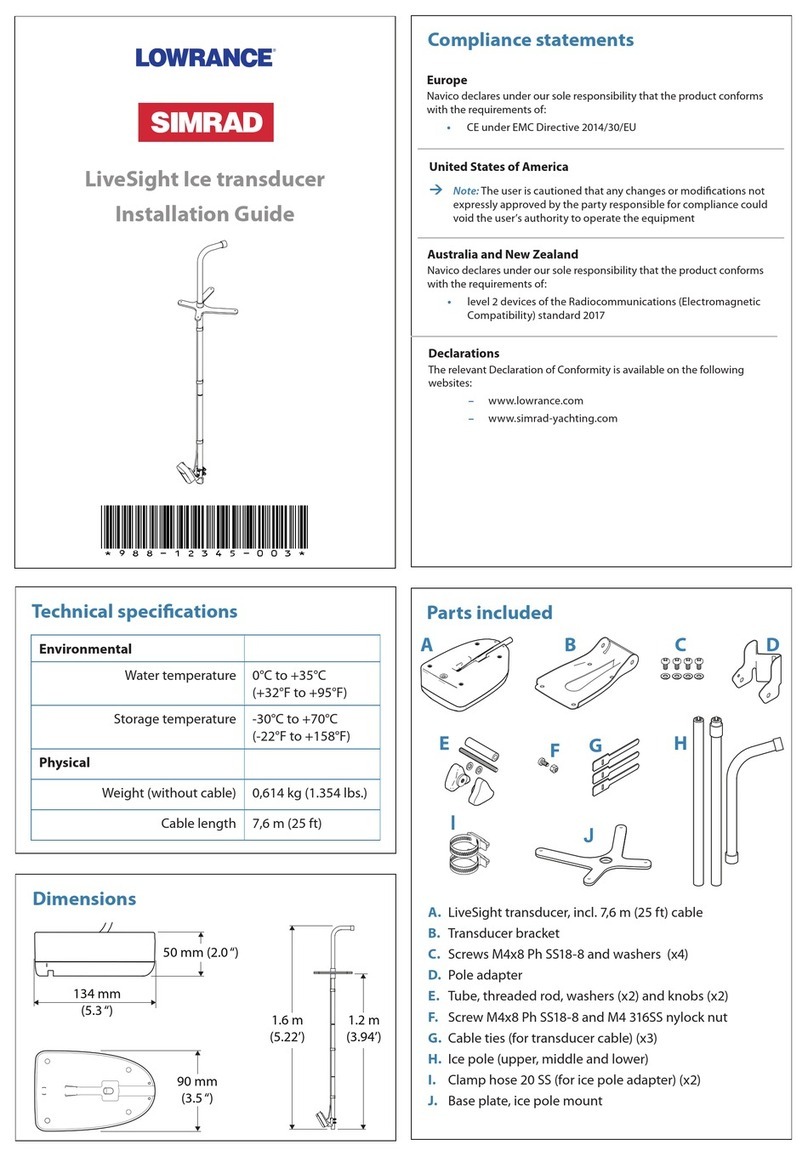
Lowrance SIMRAD Ice transducer User manual

Lowrance

Lowrance SIMRAD Ice transducer User manual

Lowrance 000-15275-001 User manual

Lowrance

Lowrance 000-15275-001 User manual

Lowrance Active Imaging 3-IN-1 User manual

Lowrance

Lowrance Active Imaging 3-IN-1 User manual

Lowrance StructureScan User manual

Lowrance

Lowrance StructureScan User manual

Lowrance Simrad LiveSight Ice User manual

Lowrance

Lowrance Simrad LiveSight Ice User manual

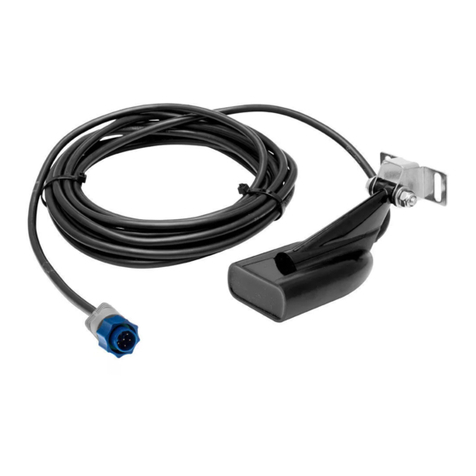
Lowrance Transducer User manual

Lowrance

Lowrance Transducer User manual

Lowrance P66 User manual

Lowrance

Lowrance P66 User manual

Lowrance Simrad LiveSight User manual

Lowrance

Lowrance Simrad LiveSight User manual

Lowrance SpotlightScan User manual

Lowrance

Lowrance SpotlightScan User manual

Lowrance StructureScan 3D User manual

Lowrance

Lowrance StructureScan 3D User manual

Lowrance Skimmer Transducer User manual

Lowrance

Lowrance Skimmer Transducer User manual

Lowrance EP-DDS SKIMMER User manual

Lowrance

Lowrance EP-DDS SKIMMER User manual

Popular Transducer manuals by other brands

LEM DK series installation guide

LEM

LEM DK series installation guide

HBM AD101B quick start guide

HBM

HBM AD101B quick start guide

Camille Bauer SINEAX F534 operating instructions

Camille Bauer

Camille Bauer SINEAX F534 operating instructions

Trane KIT 16724 Installer's guide

Trane

Trane KIT 16724 Installer's guide

Lumel P18 user manual

Lumel

Lumel P18 user manual

B&C Speakers DE75PTN datasheet

B&C Speakers

B&C Speakers DE75PTN datasheet

Mianyang Weibo Electronic WB Series user manual

Mianyang Weibo Electronic

Mianyang Weibo Electronic WB Series user manual

ProMinent Dulcometer DMT operating instructions

ProMinent

ProMinent Dulcometer DMT operating instructions

Camille Bauer SIRAX CH-5610 operating instructions

Camille Bauer

Camille Bauer SIRAX CH-5610 operating instructions

Veris Industries PW Series installation guide

Veris Industries

Veris Industries PW Series installation guide

HBM TJ1-S6 installation manual

HBM

HBM TJ1-S6 installation manual

Simrad ES120-7C -  REV D Dimensions

Simrad

Simrad ES120-7C - REV D Dimensions

HBM C18 Mounting instructions

HBM

HBM C18 Mounting instructions

Spirax Sarco ITV1030 Installation and maintenance instructions

Spirax Sarco

Spirax Sarco ITV1030 Installation and maintenance instructions

MAMAC SYSTEMS PR-243 technical information

MAMAC SYSTEMS

MAMAC SYSTEMS PR-243 technical information

Balluff BTL5-P user guide

Balluff

Balluff BTL5-P user guide

MKS MicroPirani 925 Series Short form manual

MKS

MKS MicroPirani 925 Series Short form manual

WIKA WU-20 operating instructions

WIKA

WIKA WU-20 operating instructions

manuals.online logo
manuals.online logoBrands
  • About & Mission
  • Contact us
  • Privacy Policy
  • Terms and Conditions

Copyright 2025 Manuals.Online. All Rights Reserved.

Dimensions
Parts included
A M8-1.25, ange nut, 316 ss (x2)
B M8 washer, 316 stainless steel (x2)
C M8 washer, nylon, M8, 8.5mm ID, 16mm OD (x2)
D Flange nut, M33
E M33 washer, 316 stainless steel
F M33 fairing isolator washer, nylon
G M8-1.25 x 185 mm stud, 316 ss
H M8-1.25 x 150 mm, stud, 316 ss
I Isolator sleeve, M8 (x2)
J Isolator sleeve, M33
K Fairing block
L LiveSight thru-hull transducer
M Documentation pack
A Drill
B Drill bits 9 mm (3/8”)
C Hole saw 35 mm (1 3/8”)
D Heat gun
E Sandpaper
LiveSight thru-hull transducer
Installation Guide
Technical specications
Environmental
Water temperature for
operation
0°C to +35°C
(32°F to +95°F)
Storage temperature -30°C to +70°C
(-22°F to +158°F)
Physical
Weight 2.3 kg (Thru hull without
fairing block)
0.84 kg (fairing block)
Cable length 7,6 m (25 ft)
Hull requirements
Dead rise angle 0 - 25°
Max hull thickness 5 cm (2”)
The most up-to-date specications are available at the
product web site.
*988-12344-001*
Compliance statements
Europe
Navico declares under our sole responsibility that the product
conforms with the requirements of:
• CE under EMC Directive 2014/30/EU
United States of America
¼Note: The user is cautioned that any changes or
modications not expressly approved by the party
responsible for compliance could void the user’s authority to
operate the equipment.
Australia and New Zealand
Navico declares under our sole responsibility that the product
conforms with the requirements of:
• level 2 devices of the Radiocommunications
(Electromagnetic Compatibility) standard 2017
Declarations
The relevant Declaration of Conformity is available on the
following websites:
• www.lowrance.com
• www.simrad-yachting.com
Address
Navico Logistics Europe B.V.
Laan van Europa 450
3317 DB Dordrecht
The Netherlands
Required tools
M
J
K
A
B
EH
I
I
G
F
D
C
A
B
C
ENGLISH
InstallationManual
bandg.com
L
AB
F
E
G
H
D
C
195 mm
7.7 “
112 mm
4.4 “
370 mm
14.6 “
132 mm
5.2 “
The Fairing block
A Vessels with a dead rise angle > 10°
B Vessels with dead rise angle < 10°
C Minimum fairing thickness = 12 mm (0.5“)
The transducer must be mounted as parallel to the water
surface as possible.
For hulls with a dead rise angle, the fairing block should be
used to compensate for the dead rise angle.
A B
C
C
F Marine grade above
or below waterline
sealant
G 13 mm and 50 mm size
wrench
H Band saw or table saw
Cutting the fairing block
Installation
A
A
Mounting location (guidelines only)
LL/3 LL/3
150 - 300 mm
(6 - 12”)
300 - 600 mm
(12 - 24”)
L
C
L
L
Displacement hull powerboat
The transducer will not work while it is out of the water, ensure that it is in contact with the water at all speeds. The transducer
must be mounted in an area that provides smooth non-turbulent water ow, unobstructed by keel or propeller shafts. On single-
drive vessels, if the propeller is turning clockwise, mount the transducer on the starboard side. If the propeller is turning counter-
clockwise mount the transducer on the port side. On twin-drive vessels, mount the transducer between the drives.
Stepped hull
Mount just in front of the rst step and and between the
centerline and the rst set of lifting strakes.
Planing hull, outboard and stern-drive
Mount well aft, and between the centerline and the rst
set of lifting strakes.
Planing hull, inboard
Mount well ahead of the propeller(s) and shaft(s), and
between the centerline and the rst set of lifting strakes.
Full keel sailboat
Mount in front of the keel at the point of minimum
deadrise angle and close to the centerline.
Fin keel sailboat
Mount to the side of the centerline and 300 – 600 mm
(12 - 24”) in front of the keel.
Attach the fairing block to a piece of wood
using wood screws (not included).
1
Measure the deadrise angle (A) at the transducer
mounting location and adjust your saw accordingly.
2
Cut the fairing block.3
Mark the holes on the outside of the hull using the
mounting template.
1
Drill the holes.2
Screw the M8 studs into the transducer.
Metal hulls only, install the isolator sleeves over the studs.
3
Metal hulls only, make sure that the isolatorsleeves will
cover the contact area between the hull and the studs. Use a
heatgun to shrink the isolator sleevs in place.
4
Use sand paper to remove all burrs and sharp edges to
smooth the installation surface.
5
Apply marine grade sealant or epoxy to the sanded surfaces
and to the mating edges of the fairing block. Push the
transducer through the lower part of the fairing block, and
press the assembly through the holes in the boat.
6
Apply marine grade sealant or epoxy to the sanded surfaces
and to the mating edges of the fairing block. Install the
upper part of the fairing block from the inside of the boat.
7
Apply marine grade sealant or epoxy in and round the holes
of the fairing block. Secure the assembly with the washers
and the nuts.
8