manuals.online logo
Brands
  1. Home
  2. •
  3. Brands
  4. •
  5. Lumena
  6. •
  7. Landscape Lighting
  8. •
  9. Lumena LEDIFICE User manual

Lumena LEDIFICE User manual

R
EDIFICE
Pro Bollard Lighting
Lumena Lights Ltd.
Commercial LED Bollard Light
20w
LED
20w
LED
Domed / Pillar
0.6m, 0.8m, 1.0m approx.
Graphite Black / Garden Green
20w LED Corn Bulb
Warm / Daylight White
www.lumenalights.com
Thank you for your purchase.
Please read these instructions carefully before use to ensure safe and satisfactory
operation of this product and retain for future reference
INPUT: 220-240v - 50Hz
BULB SPECIFICATIONS ON PAGE 3
BULB HOLDER: ES / E27
MAX WATTAGE: 70w
MATERIALS: ALUMINIUM & POLYCARBONATE
PROTECTION: Class 1
Warnings
Please read these instructions carefully before commencing any work.
- This is a Class 1 product and must be earthed.
- This unit must be fitted by a competent and qualified electrician.
- Install in accordance with IEE wiring regulations and current Building Regulations.
- To prevent electrocution switch off at mains supply before installing or maintaining this
fitting. Ensure other persons cannot restore the electrical supply without your knowledge.
- This light fitting should be connected to a circuit with a 30mA RCD fitted.
- If replacing an existing fitting, make a careful note of the connections.
- When changing a bulb, always switch off at the mains and allow the bulb to cool down
before handling.
- Always use the correct type and wattage bulb. Never exceed the wattage stated.
- Waste electrical products should not be disposed of with household waste.
Please recycle where facilities exist. (Check with your local authority).
- The unit may get warm whilst on for a period of time.
BOLLARD GUARANTEE
The Pro-Bollard Lighting Range has been made to the highest of standards. In the unlikely event of a fault
developing within 7 years from the purchase date, please contact Lumena to obtain a returns reference.
You will then be advised of the returns process / requirements. Components will be supplied to repair the
bollard or a full unit will be sent as a replacement.
7Year
Guarantee
BULB GUARANTEE
2Year
Guarantee
In the unlikely event of a fault developing with the 20w LED Bulb within 2 years from the purchase date,
please contact Lumena with proof of purchase to obtain a returns reference. Lumena will replace all faulty
bulbs and will reimburse any return costs where agreed.
Guarantees exclude accidental or malicious damage.
In the case of accidental damage spare parts may be available.
R
RETURNS: Lumena Lights Ltd - Centre 33 - Long March – Daventry – Northamptonshire - NN11 4NR
e: [email protected] t: 01327 871 161
Producer Registration Number:WEE/KC3440XY
www.lumenalights.comwww.lumenalights.com
Safety Information
For your safety, always switch off the supply before changing light bulbs or cleaning the unit.
• The bollard head must be replaced immediately should the polycarbonate lens become cracked or damaged.
• This fitting must not be used without the polycarbonate lens fully intact.
Installation (Surface Mount)
Please refer to separate instructions if a professional root mount system model has been
purchased or J-Bolts are being used to mount into wet concrete.
This bollard should be securely fixed to a concrete base, paving slab, or quality wooden decking. It should not be installed
directly into soil. For fixing to a new concrete base, root fixing bolts will be required (available for sale at Lumena Lights
Ltd). For fixing into existing paving slabs, concrete, or decking, heavy duty fixing screws and bolts will be required. Ensure
the fixing screws / bolts are stainless steel or zinc plated to avoid corrosion.
• Remove 4 x screws at the foot of the bollard with the 3mm Allen Key provided and lift the bollard body from the
base
• Position bollard base in the desired location, ensuring the supply cable is central to the base and sufficient cable is
available to easily connect to the bollard connection box. DO NOT USE IF CABLES ARE DAMAGED.
• Secure the base in place with 4 x heavy duty fixing screws / anchor bolts (available from Lumena) as appropriate
• Replace bollard body
Wiring
Please Note: For models with a Photocell the fourth connection on the connection block will already be
wired to the Photocell and one connector will contain two neutral wires.This should not be changed.
Please test once wired by covering the photocell to turn on.
For standard models, pull the supply wire up through the bollard and connect to the connection block as follows:
• Unscrew the 2 socket screws to remove the bollard head
• Remove the three screws securing the bulb holder in place
• Remove bulb holder and turn over to reveal the black connection box
• Unscrew the 4 screws on the connection box and remove back to open and remove connection block
• Push the cable through the grommet and complete wiring as follows:
- Connect Live input wire to the correct point of the connection block (marked ‘L’)
- Connect Neutral input wire to the correct point of the connection block (marked ‘N’)
- Connect Earth input wire to the correct point of the connection block (marked )
• Check that you have correctly identified the supply wires, the connections are tight, that no loose strands have
been left out of the connection block and all cables are fully intact
• Place terminal block back into the black connection box, replace back and screw in place
• Replace all removed components correctly (as per above) ensuring all screws are tight and secure
NOTE: Some models may include a small length of cable which can be used if desired.
Optional 20w LED Bulb Specifications
Voltage: 220-240V
Lamp Type: LED (Epistar 2835)
Number of LEDs: 135
Wattage: 20W
Colour Temperature: 6500K (Daylight White) / 3000K (Warm White)
Lumen Output: 2100 lumens (Daylight) / 1600 lumens (Warm)
Cap Type: ES / E27
Average Life: 30,000 hours
Fitting / Replacing Bulbs
When changing a bulb, always switch off at the mains and allow the bulb to cool before handling. Use a soft cloth to handle
your light bulb and avoid directly touching the bulb as this may shorten its life. Always handle at the base of the bulb as
this will also prevent breakages. Do not exceed the wattage indicated on the fitting. Dispose of used bulbs carefully and
responsibly (see below for more details).
• Remove the 2 x screws from bollard head using the Allen Key provided.
• Remove head from bollard
• Remove / insert screw base lamp
• Replace head and 2 x screws - ensure screws are secure
Recycling and Disposal Advice
Waste electrical products should not be disposed or with household waste. Please recycle where facilities exist.
Check with your local authority or retailer for recycling advice and waste disposal sites or contact the WeeCare
helpline on: 0844 8002004 quoting our Producer Registration Number: WEE/KC3440XY
Care and Cleaning
• Clean with a soft, dry cloth
• Do not use solvents or abrasive cleaners as these could damage the finish of the bollard
• Do not clean the unit with a high pressure jet washer
Mounting Solutions, Spare Parts,Accessories & Dusk to Dawn options available for all
Lumena LEDIFICE Pro-Bollard Lights
A downloadable PDF of Photometric data compiled by ‘Photometric Testing UK’
is available on www.lumenalights.com
20w
LED
20w
LED
Full
Photometric
Data
Available

Other Lumena Landscape Lighting manuals

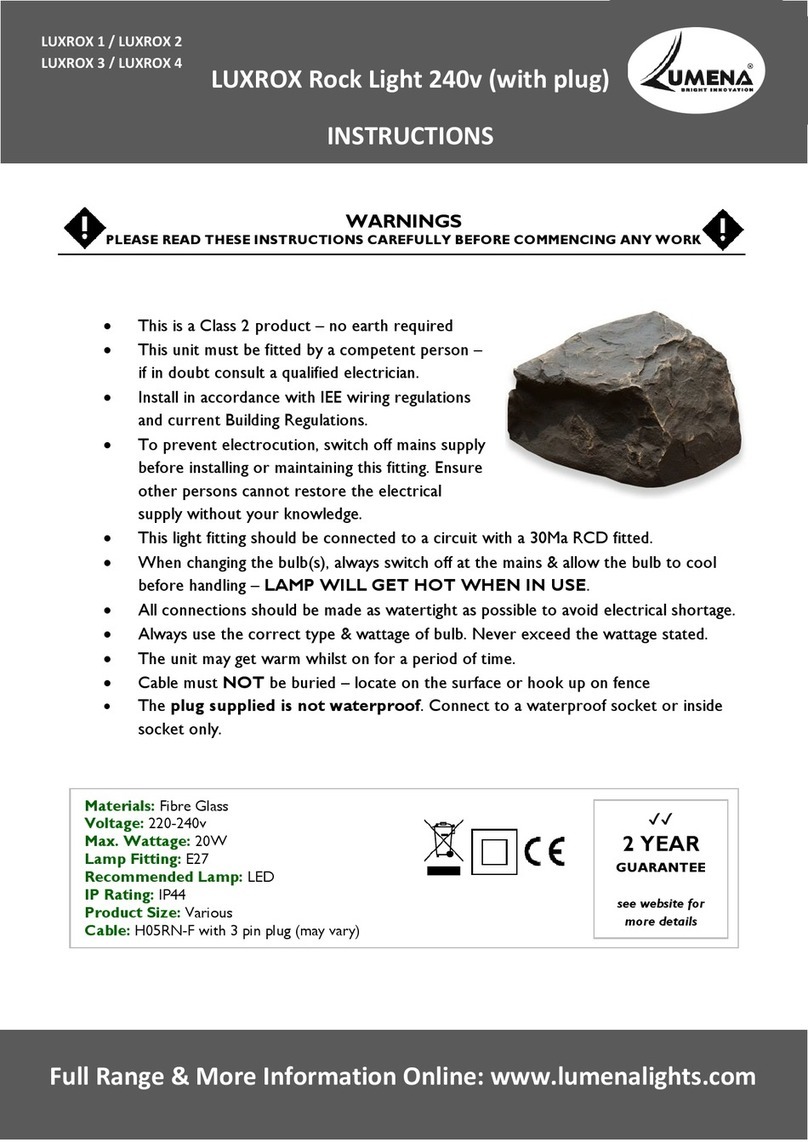
Lumena LUXROX 1 User manual

Lumena

Lumena LUXROX 1 User manual

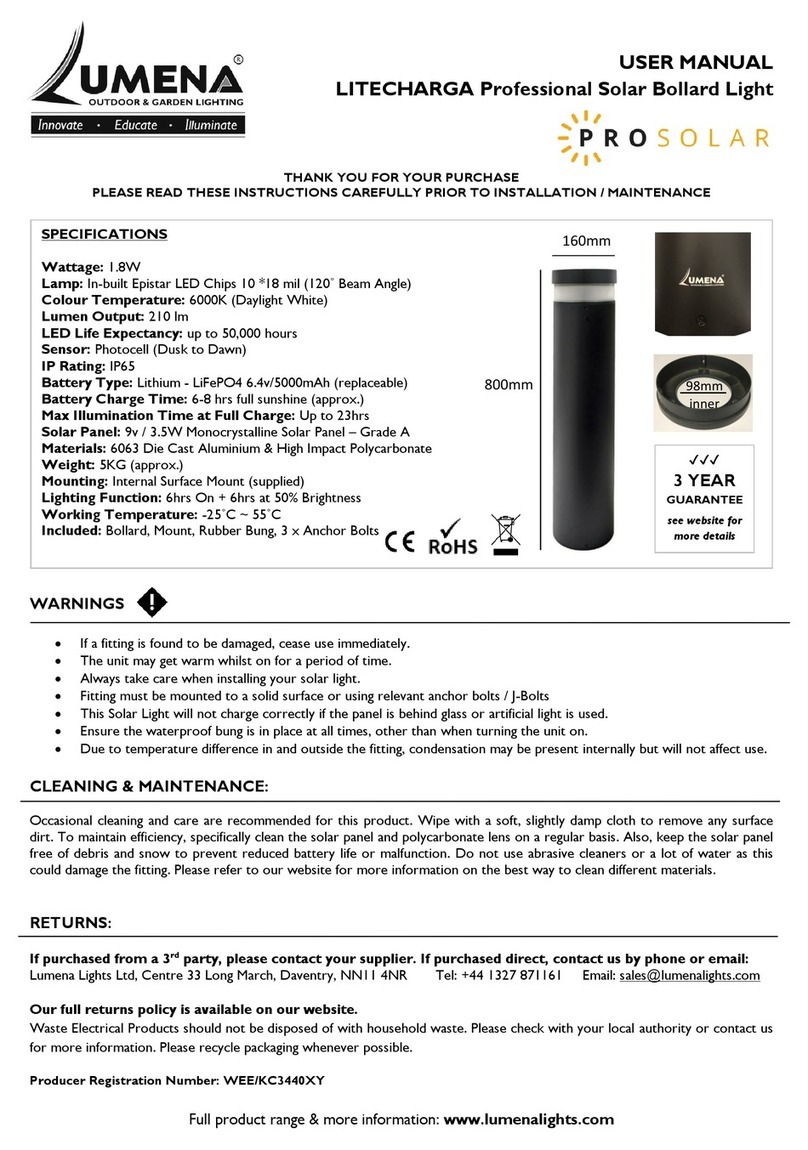
Lumena Pro Solar Litecharga User manual

Lumena

Lumena Pro Solar Litecharga User manual

Popular Landscape Lighting manuals by other brands

Kichler Lighting 15384CO instructions

Kichler Lighting

Kichler Lighting 15384CO instructions

AMP Lighting AAL-1015-40-B-BZ Installation & maintenance guide

AMP Lighting

AMP Lighting AAL-1015-40-B-BZ Installation & maintenance guide

Griven Ruby MC R AL5248 user manual

Griven

Griven Ruby MC R AL5248 user manual

One Stop Gardens 90729 Assembly and operating instructions

One Stop Gardens

One Stop Gardens 90729 Assembly and operating instructions

AL Tech AE-L-ALAS-35 manual

AL Tech

AL Tech AE-L-ALAS-35 manual

superbrightleds PLMB-W2BK instruction sheet

superbrightleds

superbrightleds PLMB-W2BK instruction sheet

superbrightleds PLDT-W4BK instruction sheet

superbrightleds

superbrightleds PLDT-W4BK instruction sheet

HAMPTON BAY HD33013ST quick start guide

HAMPTON BAY

HAMPTON BAY HD33013ST quick start guide

Inlite SWAY installation manual

Inlite

Inlite SWAY installation manual

Delta Light LOGIC S2 93011 Installation instruction

Delta Light

Delta Light LOGIC S2 93011 Installation instruction

LIVARNO LUX 54315 Operation and safety notes

LIVARNO LUX

LIVARNO LUX 54315 Operation and safety notes

LuxenHome WHSL1049 instruction manual

LuxenHome

LuxenHome WHSL1049 instruction manual

Heath Zenith SL-5679 installation instructions

Heath Zenith

Heath Zenith SL-5679 installation instructions

One Stop Gardens 95588 Assembly and operation instructions

One Stop Gardens

One Stop Gardens 95588 Assembly and operation instructions

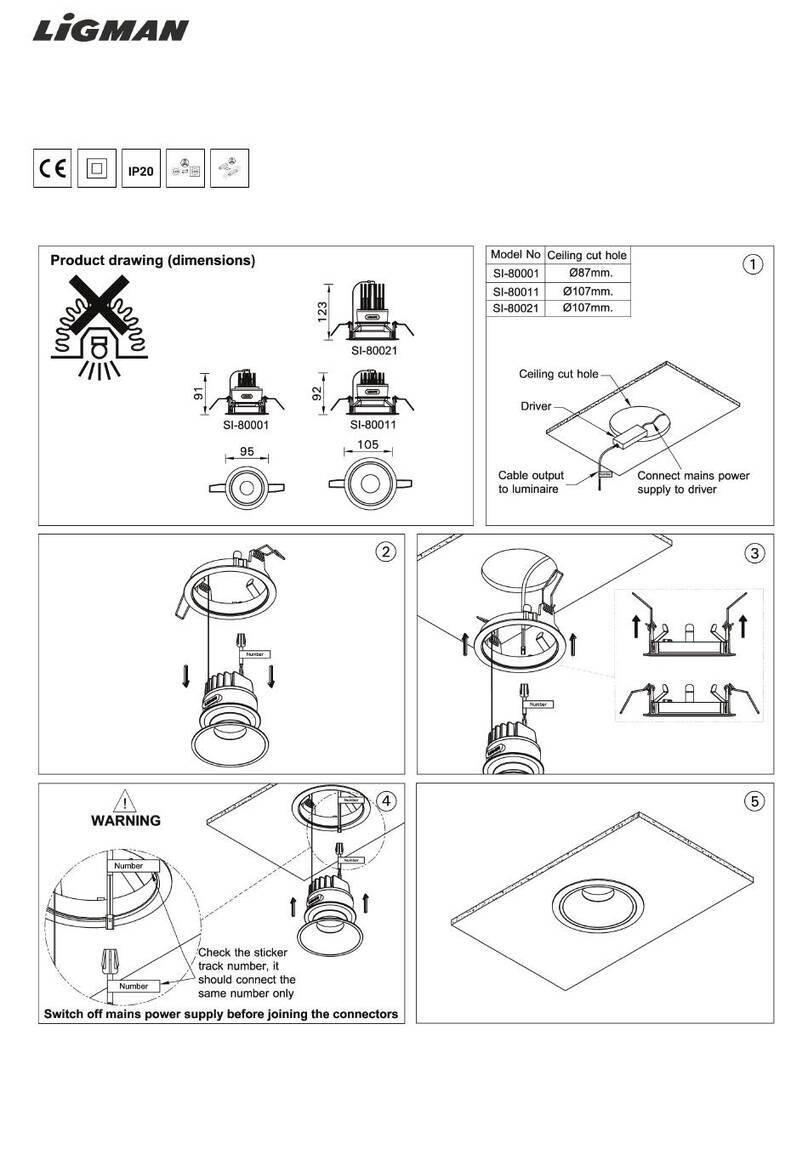
LIGMAN OD-50151 installation manual

LIGMAN

LIGMAN OD-50151 installation manual

Malibu Boats CL507SM instructions

Malibu Boats

Malibu Boats CL507SM instructions

Volt VHS-6720-X-BBZ-R1 installation instructions

Volt

Volt VHS-6720-X-BBZ-R1 installation instructions

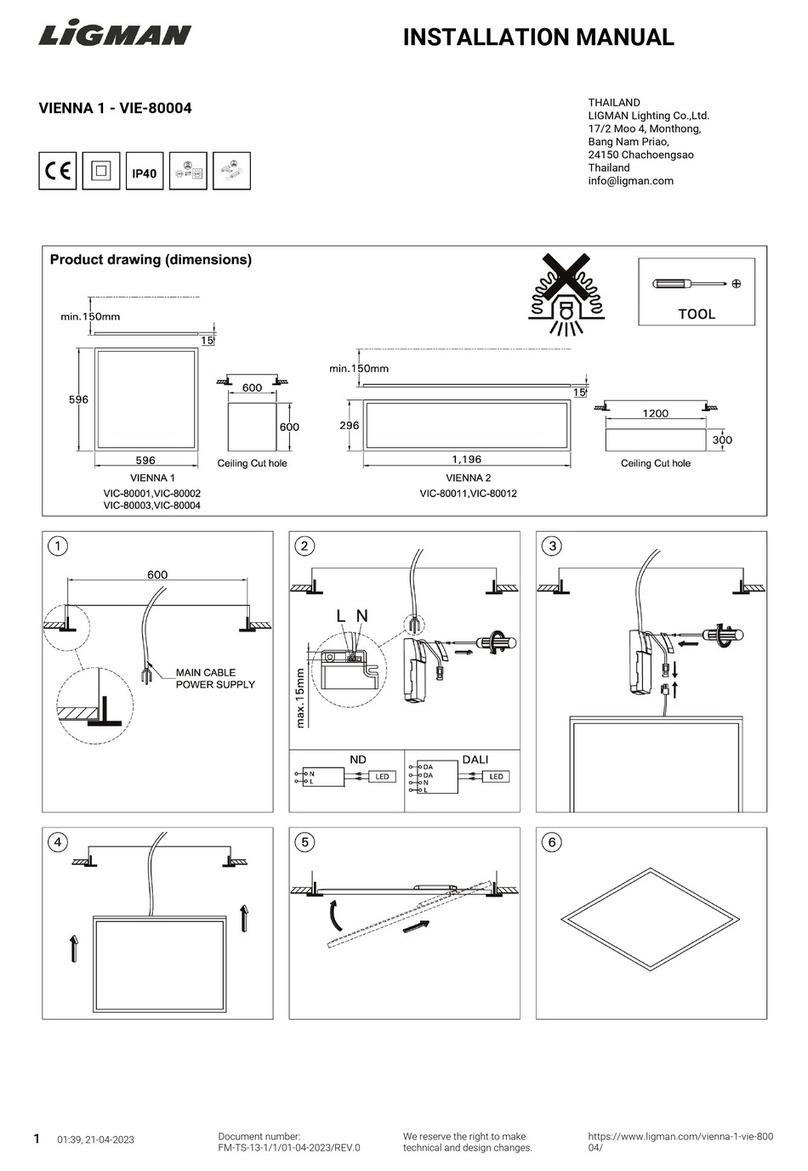
LIGMAN VIENNA 2 installation manual

LIGMAN

LIGMAN VIENNA 2 installation manual

manuals.online logo
manuals.online logoBrands
  • About & Mission
  • Contact us
  • Privacy Policy
  • Terms and Conditions

Copyright 2025 Manuals.Online. All Rights Reserved.