Lusso Filtrata Filtro Series Installation instructions

Lusso Filtrata
Cold Filtered &
Boiling Water Tap
Installation & Operating Manual

2 3
Thank you for purchasing a
Lusso Filtrata Pure Cold & Boiling Water Tap.
We’re excited for you to discover the style and convenience a Lusso Filtrata tap
brings to your kitchen.
We’ve designed and manufactured this product to be easy to install, so you can have
filtered boiling and cold water on tap as quickly as possible.
Please read the installation and operating instructions in this manual before starting to make
sure everything goes smoothly and you’re sipping that first cup of tea or coffee very soon.
Please make sure the water pressure, flow and electrical supply are suitable for this
tap before starting installation.
Your Lusso Filtrata Pure Cold & Boiling water tap conforms to CE regulations and consists
of three packages:
1. Lusso Filtrata 4 in 1 tap (Part Ref: FIL500)
2. Lusso Filtrata Filter Kit (Part Ref: FIL401-CAR)
3. Lusso Filtrata Boiler (Part Ref: FIL402-2.4L)
Contents
Important Safety Information ...................................................................................................................4
Parts & Tools You Will Need...................................................................................................................5
Installation................................................................................................................................................6-9
Operating the Lusso Filtrata Tap............................................................................................................10
Operating the Lusso Filtrata Boiler.................................................................................................. 11-12
Care & Maintenance..............................................................................................................................12
Troubleshooting...................................................................................................................................13-14
Technical Specification ...........................................................................................................................15
Filter Specification....................................................................................................................................16
This product must be installed by a qualified electrician and plumber or
your warranty will be void.

4 5
Parts & Tools You Will Need
Please check you have received all the parts listed below before starting installation. Remove
all packaging and check all parts for damage before installation. We can’t exchange parts
that are reported as being damaged after installation.
Isolation valves (not supplied) should be fitted as close as possible to the inlet connection for
ease of maintenance.
Flush out the water supply before installation to prevent any debris from blocking the filter.
Please ensure that you have a minimum water pressure of 0.2 Bar and maximum water pressure
of 3.0 Bar in order to install this tap.
You will need an electric socket close to where the tap is being installed.
Parts List
Safety
Boiling water can be dangerous if care is not taken. Please take sensible precautions
when operating this tap.
This product is not for use by people with reduced physical, mental or sensory capabilities,
unless supervised by someone who is responsible for their safety.
Do not wash children, pets or your own hair in any sink that is within reach of your boiling
water tap.
This tap is for domestic purposes only.
Only install the boiler in an area that has adequate ventilation.
The boiler must be installed vertically with the inlet and outlet connections at the top of the boiler.
Do not attempt to open or repair the boiling water tank because this will void your warranty.
Never touch the boiler or plug with wet hands.
The filter supplied must be replaced every 6 months or your warranty will
be void. Replacement filters can be found at www.lusso.com
Tools you will need
Pencil
Flat-head
Screwdriver
Pipe & Wire
Detector
Drill
Pipe Cutter
Pliers
Cross-head
Screwdriver
Adjustable
Spanner
Tape
Measure
I. Silicone Tube x1
J. Valve x1
K. Blue PE Pipes x2
L. Pipe Clip x1
M. Spare Gasket x1
N. G ½ inch (Female) & PE Tube Adapter x1
O. G ½ Inch Brass T-Piece x1
P. Hexagon Nut x1
Q. G ⅜ Inch Quick Connector x1
R. Screw x2
S. Nut x1
T. Fastening Plate x1
U. White Plastic Clasp x1
V. Blue Clip x1
A. Lusso Filtrata Tap x1
B. Lusso Filtrata Boiler x1
C. Lusso Filtrata Filter x1
D. Base Plate x1
E. Tap Base Seal x1
F. Locking Nut x1
G. Gravity Ball x 1
H. Locking Gasket x1
1. Yellow + Green Hose x1
2. Pink Hose x1
3. Green Hose x1

6 7
Installation
Your Lusso Filtrata tap requires a standard
35mm diameter hole.
Important: Make sure you have enough
space between the tap and your splashback
or wall to fully operate the tap levers.
HOT
COLD T-PIECE-O
KEY
Instruction
FIG Drawing
Part
FIG 1FIG 3
FIG 4
FIG 2
1
2 Then position the tap through the 35mm
hole. (FIG 1)
3 Working inside the cabinet, slide the
tap locking gasket (H), over the black
pull out the hose and fix it by the
locking nut (F).Then position the tap
through the 35mm hole. (FIG 2)
4 Install the three flexible hoses to the
tap following the matching colour
stickers.
Firstly, feed the pre-attached hoses
through the tap base seal (E)
and base
plate (D).
Position the boiler in a suitable
location. (FIG 12)
5
6 Fix the filter bracket in a suitable location,
8
9
ensuring the pipes from the tap and
boiler can reach it. (FIG 12)
Connect the hot water flexible hose
(Red) to the hot water main isolation
valve. (FIG 3)
Connect the G ½ inch T-piece (O)
to the cold water isolation valve,
then connect the cold water flexible
hose (blue) to the T-piece. (FIG 4)
Screw the white G ½ inch (Female)
and PE tube adapter (N) onto the
brass T-Piece. (FIG 5)
Cut a suitable length of the Blue PE
tube (K). Connect one end of the PE
tube to the filter and the other end
to the PE tube adapter (N). (FIG 5)
7
10
FILTER
FIG 5
N
-
%
N
D
E
D
E
H
F

8 9
You now need to prime the installation
for use.
1. Open the isolation valves to allow the
water to flow to the tap and boiler.
2. Turn the boiling water lever until the
water starts flowing out.
3. Check all connections for leaks.
4. Once you are satisfied there are no leaks,
you can turn on the power to the boiler.
Your Installation is now complete.
Changing the Filter
1. Isolate the water supply.
2. Turn the power off to the boiler
3. Place a bowl under the filter and turn it
clockwise to release it.
4. Dispose of the filter and replace it with
the new one.
5. Turn on the water supply and power.
KEY
Instruction
FIG Drawing
Part
FIG 6
Cut a suitable length of the other blue PE
tube. Connect one end of the PE tube to
the filter, and the other end to the G ⅜
Inch Quick Connector (Q). (FIG 6)
11
12 Then fasten with the blue clip (V) and
connect the G ⅜ Inch Quick Connector
(Q) to the flexible hose which has a
yellow and green colour sticker.
13 Install the nut (S) and white
plastic clasp (U) to the pull out hose
- the side with gaps on the nut
should be facing upwards.
Insert the pull out hose to the valve (J)
and secure the hose with both nuts on
both ends. Tighten the nut (S) by the
fixing plate (T), and tighten the
hexagon nut (P) with a spanner.
(FIG 7)
14
15 Install the gravity ball onto the pull out
hose and save 400mm in length for the
pull-out section. (FIG 8)
16 Connect the two hoses, pink and black,
to the valve (J) following the colour
markings on (J). (FIG 9)
Take out the silicone hose, and secure
one end to the tail of the pull out hose
that is installed to (J). Take the nut from
the boiler carton to install and slide the
pipe clip (L) over the other end to
connect the tube to the outlet on the top
of the boiler. Slide the clip down to the
boiler to keep the hose in place.
(FIG 9 & FIG 11)
17
18 Connect the green flexible pipe to the
inlet on top of the boiler, using an
adjustable spanner to tighten it. Fix the
filter and install the valve (J) onto the
cabinet. Please note that the installation
position of should be higher than the
boiler. (FIG 10)
FILTER
-
%
FIG 7
FIG 8
>=400 mm
FIG 9
Above Boiler
FIG 10
I
L
FIG 11
1
1
-
-
2
2
-
-
3
3
-
-
Q
-
V
J
P
G
S
U

10 11
Operating the Lusso Filtrata Boiler
A. Temperature Control
B. On/Off
C. Confirm Temperature
D. Temperature Display
E. Filter Indicator
F. Heating Indicator
G. Set Temperature Indicator
H. Heating Display
ACTUALHEATING 98
98
SETTINGFILTER
B
C
D
E
F
G
H
Operating the Lusso Filtrata Tap
Please follow the markings on the levers.
Normal hot and cold water
To use normal tap water, push the right-hand lever to the right. Pull it towards you for hot water
and push it backwards for cold water.
Cold filtered water
Pull the left-hand lever towards you without having pushed the lever outwards for cold filtered
water.
Boiling water
Press the safety button on the left-hand lever and push the lever backwards. Turn it forward to
stop.
Lusso Filtrata Cold Filtered &Boiling Water Tap Lusso Filtrata Cold Filtered &Boiling Water Tap
FIG 12
A

12 13
Care & Maintenance
The Lusso Filtrata tap is a high-quality product and should be treated with care.
All surfaces will wear if not cleaned correctly.
Please use a non-abrasive cleaner, such as a soft cloth with warm water and washing-up
liquid. Abrasive cleaners, such as Cif, will scratch the surface.
Troubleshooting
If your tap is not working correctly, check the table below for guidance on how to solve
possible problems. If the problem persists, please contact a member of the Lusso team, who
will be happy to help you.
Symptom Cause Remedy
No boiling
water flowing.
The boiler is empty. Follow the instructions for priming the
installation on page 9.
The boiler isn’t holding water. Check connections for any leaks.
Contact Customer Services.
Touch controls
flashing red.
Boiling water has been running
for too long.
This is a safety feature to prevent
overheating. Turn the power off, wait
for two minutes, then turn the power
back on. If the problem persists, please
contact us.
Frequent switching between cold and
boiling water over an extended period.
Water or steam
is spitting from
the spout.
The unit is boiling.
Press the boiling water touch control
handle and release the water.
Lower the water temperature setting -
see page 12.
Check the aerator at the end of the
spout isn’t blocked.
Follow the priming the installation section
on page 9 to remove any airlocks.
Water is not hot.
The boiler is unplugged.
Make sure the appliance is plugged in
and the display is lit.
Make sure the circuit breaker and fuse
are working correctly.
The boiler is not switched on. Ensure the boiler is plugged in and
turned on as described on page 11.
Wait until the heating display stays lit
before use.
Water hasn’t finished heating up.
No heating option has been selected
or the boiler is airlocked.
Check if all four lights are lit on the
touchscreen. If they are, follow the
priming the installation section on page
9 to remove any airlocks.
Turning instant boiling water boiler on or off
Tap the On/Off button Bonce to switch the boiler on. Tap it again to turn it off.
Setting the water temperature
Tap the temperature button Ato scroll through different temperature settings. When the
change temperature display Gshows the temperature you want, tap the confirm button C
to set. If you don’t tap the confirm button within five seconds, the temperature will revert back
to its previous setting.
Filter signal and reset
There are 6 lines under the FILTER signal that light up automatically when using the boiler for the
first time. Each line represents 1 month’s usage. After 6 months usage, all lights will turn off and
a notification alarm will sound six times and will sound twice every two hours to remind you
to change the filter. Once you have installed the new filter, please press buttons Aand C
together to reset it. To turn off the alarm prior to replacing the filter, please press buttons
Aand Ctogether to reset it.
Please note
The temperature indicator Dalways shows the current temperature of the water in the boiler,
while the change temperature display Gshows your desired temperature.
While the water is heating to the temperature you want, the heating indicator Fwill
illuminate and the heating display Hwill animate.
When the water in the boiler reaches your desired temperature, the hot indicator Ewill
illuminate and the heating display Hwill change to a solid light.
If the change temperature display Gflashes ‘99’, the boiler is working but there is
insufficient water in it. Tap the on/off button B, then prime the boiler as described in
the installation instructions.
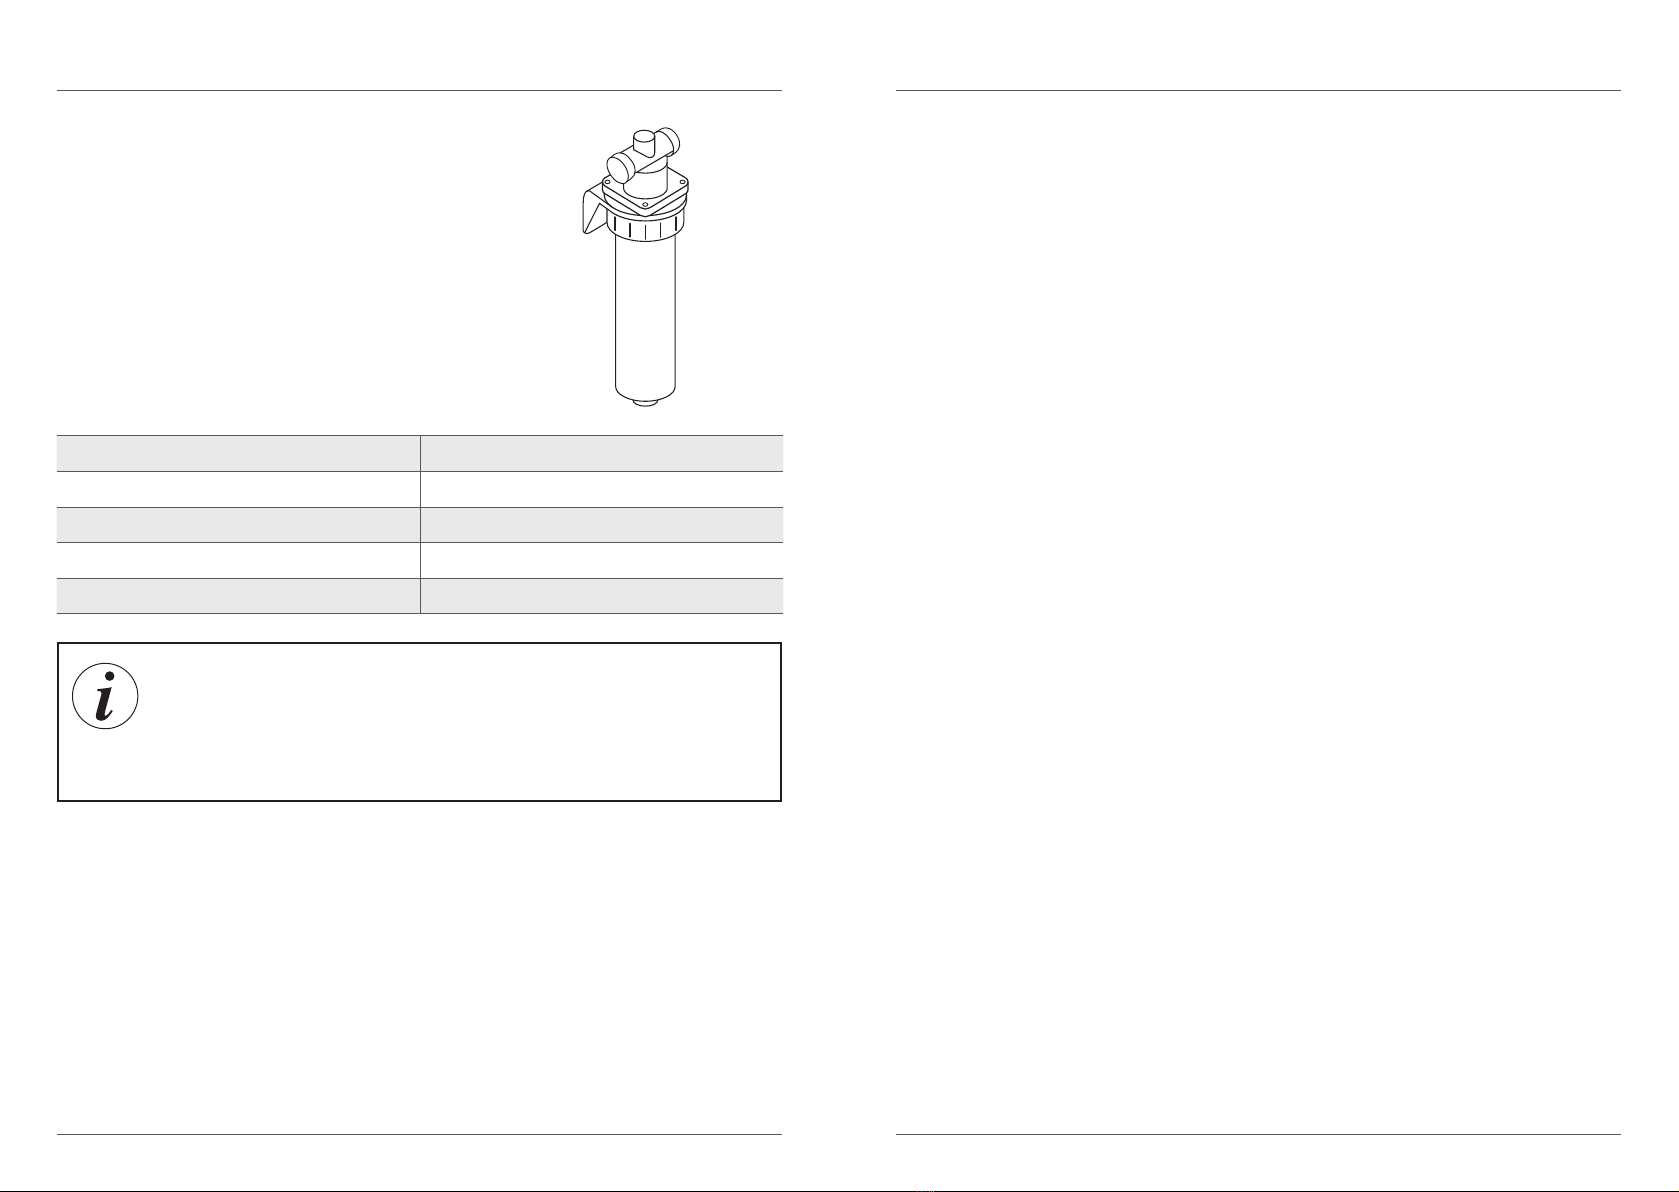
The filter must be changed every 6-12 months.
Replacement filters can be found at www.lusso.com

14 15
Water is too hot. The water temperature is set too high. Lower the water temperature setting -
see page 12.
Water is dripping
from the spout.
The expansion chamber isn’t
draining correctly.
Run 500ml of water from the tap to
clear and prime the system. Avoid
drawing off less than 150ml per use.
Blocked spout.
Clean the aerator with a non-abrasive
cleaner, such as a soft cloth, warm
water and washing-up liquid.
Slow flow from
the spout. Water filter needs changing.
Change the water filter (see page 9).
Change the filter every 6-12 months or
your warranty will be void.
Water doesn’t flow
straight away.
As a safety feature, water is drawn
into the tank after each use to prevent
accidental scalding. There will be a slight
delay before the boiling water appears.
After you’ve run a large volume of
water, there may be a slightly longer
delay in water appearing from the
boiling water spout.
No water flowing.
Closed or partially closed
isolation valves.
Make sure isolation valves are
fully open.
Flexible hoses kinked or blocked. Ensure pipes are not twisted or
restricting flow.
Boiler blocked. Contact us.
Need help? Give us a call on 0203 370 4057 to speak to one of
our trained advisors.
Technical Specification
Product Type Kitchen Taps
Main Construction Material Brass; ABS
Mount Type Deck
Lever Type 1 Hot and Cold and Filter Water Lever,
1 Automatic Rebound Boiled Water Lever.
Connection Inlet G 1/2” BSP Flexi Tails
Number of Tap Holes 1
Tank Capacity 2.4 Litres
Temperature Settings 6 Settings; 75oC, 85oC, 95oC, 96oC, 97oC, 98oC
Plumbing System Requirements Normal Pressure System
Working Pressure Range Min: 0.2 bar; Max: 3 bar
Maximum Hot Water Temperature Maximum Boiler Temperature 100oC
Hot Water Flow 98oC
Maximum Static Pressure 4 bar
Flow Type Dual
Isolation Included Yes
Power Rating 1.5kW
Electrical Supply Requirements 220V-250V

16 17
Filter Specification
Benefits:
• Removes limescale, magnesium and particles.
• Removes lead, protozoan cysts and organic compound.
• Reduces chlorine taste.
• Reduces sediment to 1 micron.
• Easy installation & replacement.
Please mark the installation date and change the filter every 6 months to
protect your tank from limescale build up. In hard water areas the filter may
need to be replaced more often.
Failure to maintain the filters and the quality of water entering
the heating tank may affect your warranty.
Product Type Carbon Filter
Maximum Flow Rate 3.8 l/m
Maximum Pressure 2.5 Mpa
Applicable Temperature 4-38oC
Life Cycle 7,200 litres

18 19

Lusso
Lusso House
Princetop Drive,
Thornaby,
Stockton-on-Tees
TS17 6AJ
Email: [email protected]
Tel: 0203 370 4057
WWW.LUSSO.COM
Table of contents
Popular Water Dispenser manuals by other brands

Hellenbrand
Hellenbrand Iron curtain System 2.0 owner's manual

Follett
Follett 12 Series Installation, operation and service manual

Everpure
Everpure EV9273-93 Specification sheet

Forgast
Forgast FG00408 instruction manual

Culligan
Culligan Medallist 8" Programming instructions

entegris
entegris Chemlock PFA Installation and use manual

Ecodyne Water Systems
Ecodyne Water Systems IDP30S owner's manual

Pentair
Pentair Fleck 6700XTR Service manual

Renfert
Renfert POWER manual

Carel
Carel ROC025500N user manual

Parker Hiross
Parker Hiross Hyperchill HLS022 user manual

Apec Water
Apec Water Hydro Express Water Softener 30 Installation instructions & owner's manual