Luxafor Bluetooth User manual

Luxafor Bluetooth
User Manual

Luxafor Bluetooth Package Contents
1x Luxafor Dot
1x Luxafor Power Bank
1x Luxafor Dongle
1x USB Charging Cable
Product Specifications
Luxafor Dot with
Luxafor Power Bank
Dimensions: 124 x 24 x 23 mm
(4.88 x 0.94 x 0.90")
Weight: 70g
Light: 2 x RGB LEDs
Consumption: Rated power up to 80 mA
Charging:
Power Bank: With a standard micro USB
data cable
Built-in 2600 mAh battery
Working time:25h - 6 months
depending on brightness and working
mode1
Dot: USB powered
Luxafor Dongle
Dimensions: 42 x 18 x 8 mm
( 1.65 x 0.70 x 0.31" )
Weight: 8g
Light: 2 x RGB LEDs
Consumption: Rated power up to 80 mA
USB powered
Contact us at support@luxafor.com or call +371 27755544
1

Charging Instructions
1. Prior to use, charge the Power Bank unit by connecting the included charging cable
into a USB power outlet2such as a USB charger and plug the other end into the Power
Bank’s micro USB charging port.
2. The LED indicator on the Power Bank will blink red showing that the unit is being
charged. You can find an LED behind the magnet and it is best seen in the dark. When
charging is complete, the LED indicator will go solid red. Charging time approx. 3 - 5h.
Getting Started
You can choose to control your Luxafor Bluetooth from a computer or with an Android
mobile device.
Connecting Luxafor Dot to a Computer
Connecting Luxafor Dot to an
Android Device
1. Download and install Luxafor desktop
software for your OS from
https://luxafor.com/download/ .3
2. When the Power Bank unit is fully
charged, plug the Luxafor Dot unit into the
Power Bank.4
1. Download the app to your device
from
https://play.google.com/store/apps/de
tails?id=com.greynut.luxafor.bt_luxof
or&hl=en
3. Remove the plastic from the double-sided
tape that is on the magnet and attach the
magnet to the surface on which you would
like to place the Luxafor Dot with the Power
Bank. (Bluetooth range without obstacles -
25 m (82 feet)).
4. Launch Luxafor software on your
computer.
3. Turn on the Bluetooth on your
mobile device.
4. Open the app and press “Connect”.
5. Choose the closest “Luxafor Dot”
from the list.
6. Wait for the devices to connect.
7. Enjoy!
5. Plug the Dongle in the computer from
which you will be controlling your Luxafor
device.
6. Wait for the devices to connect5& enjoy!
Contact us at support@luxafor.com or call +371 27755544
2

Luxafor Power Bank Battery Duration
The battery duration for Luxafor Power Bank varies depending on multiple variables,
including the colors used, the brightness of LEDs, and if used continuously or
infrequently.
The Power Bank working time on continuous use:
●1300h: Patterns only;
●163 h: Basic colors (Red, Green, Blue) on lowest brightness;
●145 h: Mixed colors (Yellow, Cyan, Magenta, etc) on lowest brightness;
●45 h: Basic colors (Red, Green, Blue) on maximum brightness;
●25 h: Mixed colors (Yellow, Cyan, Magenta, etc) on maximum brightness.
When not in use, disconnect the Dot unit from the Power Bank to ensure the longest
battery duration on one charge.
How To Use Luxafor Desktop Software
General
In the General section of the Luxafor software, you can choose in which mode you want
to use Luxafor. Each mode takes control of your Luxafor, so only one tab (mode) can be
active at a time.
Solid Color mode
Choose from pre-set colors like Red for Busy and
Green for Available, or define other color meanings
with Custom Color by using the slider to choose
from 16M available colors.
Available on:
Contact us at support@luxafor.com or call +371 27755544
3

Timer mode
With the Timer, you can plan and schedule your
tasks throughout the day. Set the times when you
can’t be disturbed and when you’re available.
Just press “Add new timer”, input the times,
choose a color and Luxafor Bluetooth will change
the lights accordingly.
Available on:
Pomodoro mode
Change Pomodoro time and length of breaks to fit
your work pace. Luxafor notifies you of the
beginning of a session with a blinking pattern of
your choosing.
Luxafor will automatically turn red when you are
on your Pomodoro session and do not wish to be
disturbed. It will turn green when you are on your
break.
It is possible to Start, Pause or Reset your
Pomodoro sessions.
Available on:
Contact us at support@luxafor.com or call +371 27755544
4

Webhook mode
Study, alter and develop new solutions, integrations,
and services!
Control other devices and create more features by
calling Luxafor Web API! (More information here:
https://luxafor.com/webhook-api/)
Available on:
Skype Business
(Microsoft Teams) mode
Choose “Automatic”, and Luxafor device will indicate
your availability status according to Microsoft Teams
status, enjoy incoming call notifications (blinks Red
during an incoming call and for the whole duration of
the call taken, then changes back to indicate the color
of your status immediately after the call has ended).
Works in all “Coexistence modes” except “Teams
only”4.
Or select “Available”, “Away” or “Busy” manually in and
it will also change the setting on your Skype for
Business app.
Follow these instructions to connect Luxafor and
Skype for Business with Microsoft Teams:
https://luxafor.com/microsoft-teams/
Available on:
Zapier mode
You can choose from 3 types of actions: Play Pattern,
Solid Color, or Blink Color, and choose from a variety of
colors or modes for each action.
Copy your unique Luxafor ID from this tab when
Contact us at support@luxafor.com or call +371 27755544
5

creating a zap on Zapier, test the connection there and
enjoy your new workflow!
Get early access here: https://zapier.com/apps/luxafor/
Read more detailed instructions on Zapier integration
here: https://luxafor.com/zapier/
Available on:
Cisco Jabber mode
Reduce delays in communication - allow Luxafor
Bluetooth to change color according to Jabber
presence status and blink red during a call!
Follow these instructions to connect Luxafor with
Cisco Jabber:
https://luxafor.com/luxafor-cisco-jabber-presence/
Available on:
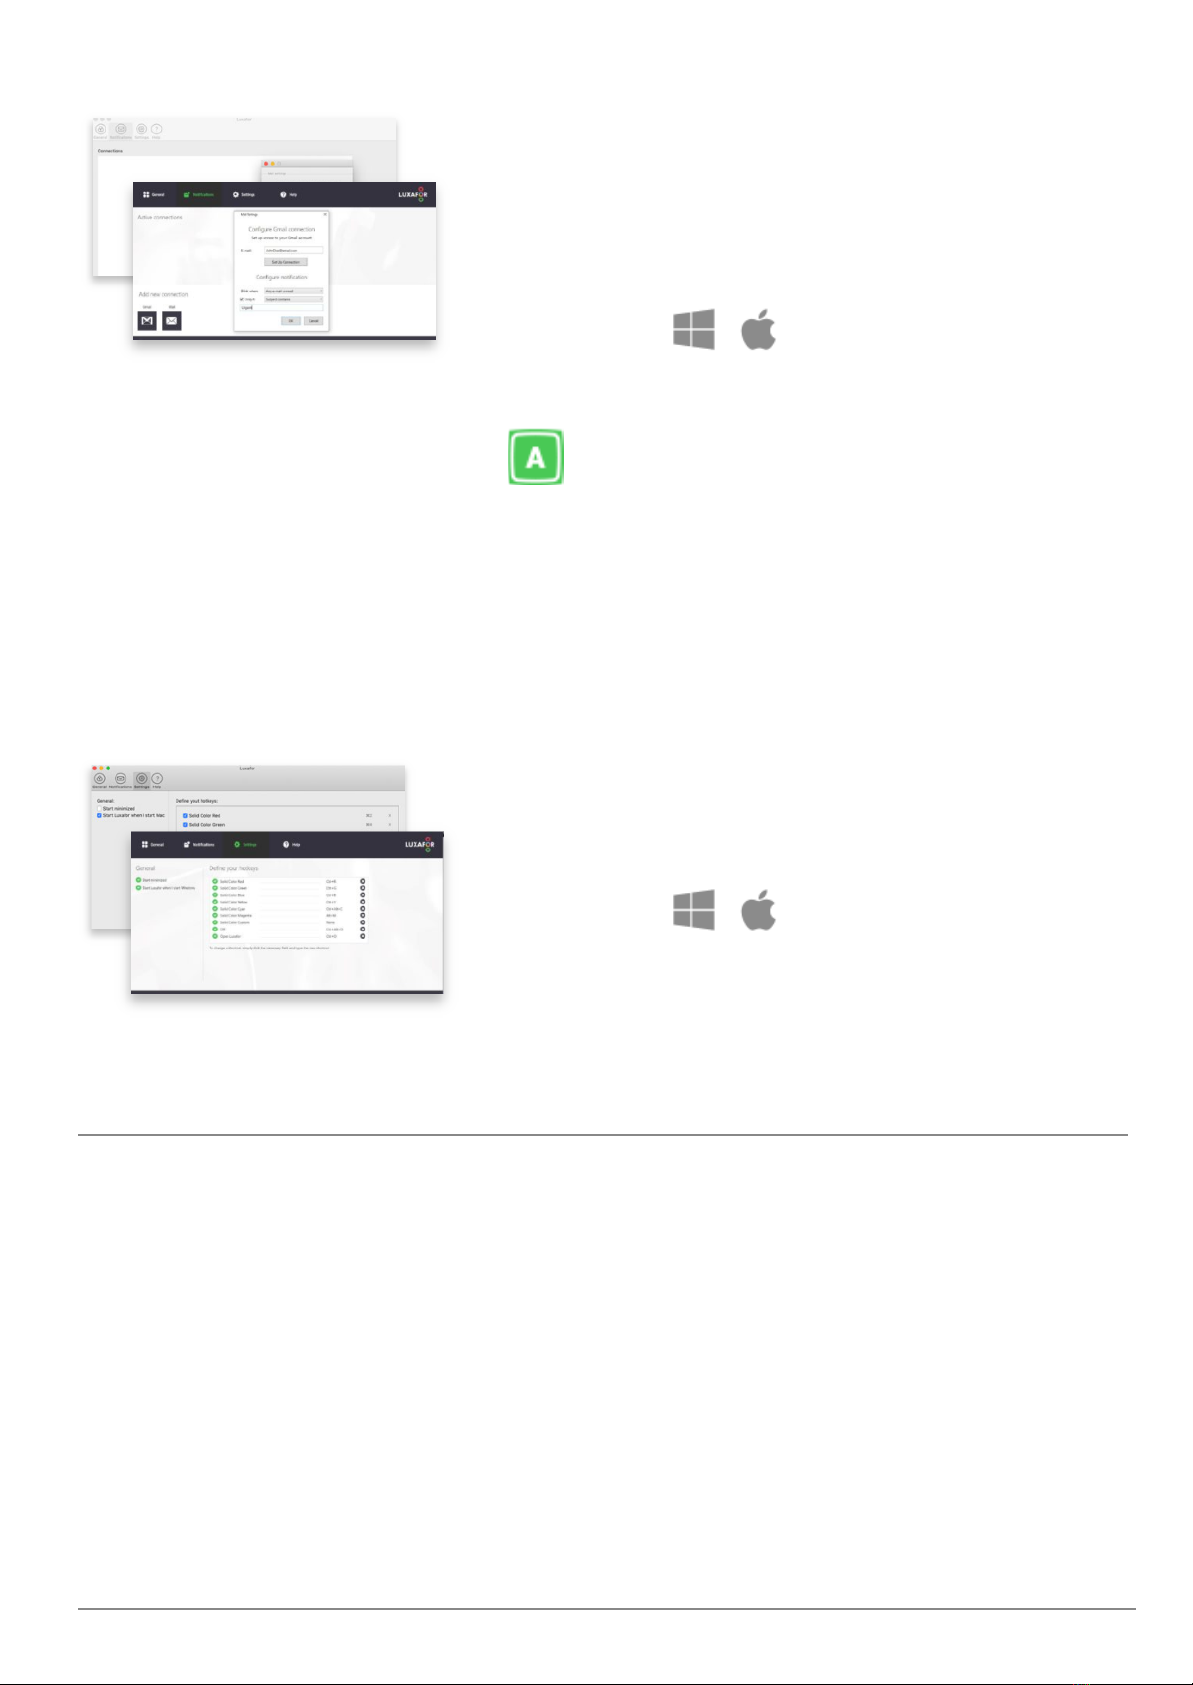
Notifications
Set Luxafor Bluetooth to blink when there is an unread email in your inbox or blink
only on the arrival of a new email. You can even set up notifications for emails
containing specific keywords.
To connect your email choose “Gmail” if you have a
Gmail account or “Mail” for any other email. To set
up a connection, fill out the required fields in the
pop-up.
You can set notifications to blink when there is an
unread email in your inbox or to blink only on the
arrival of a new email.
Contact us at support@luxafor.com or call +371 27755544
6
You can even set up notifications for emails
containing specific keywords. For example, receive
notifications only when you receive an email
containing the word “order” to keep up to date with
your sales.
Available on:
Hotkeys
You can define Hotkeys in the “Settings” section of Luxafor Software.
Save more time with Hotkeys - switch colors even faster without opening the
application. This way you can control the Luxafor Bluetooth color without taking your
mind off of tasks.
Simply type in the shortcut you wish to use and the
light will change according to your defined
preferences!
Available on:
Additional Remarks
1See “Luxafor Power Bank Battery Duration” on page 3 of this manual for detailed
working hours variation.
2Do not use computer USB ports to charge Luxafor Power Bank, as this can result in a
much slower and less energy-efficient charging process.
3You can use Luxafor Bluetooth with any computer that runs the following OS:
Windows: Windows 7; Windows 8; Windows 8.1; Windows 10, Windows 11.
Contact us at support@luxafor.com or call +371 27755544
7

Mac: Mountain Lion; Mavericks; Yosemite; El Capitan; Sierra; Mojave; Catalina; Big Sur,
Monterey.
Android: Android 5.0 and more recent versions.
4Always plug the Luxafor Dot unit into the Power Bank first, and the Dongle unit into
the computer afterward.
5It can take up to 2 minutes for the devices to connect. When the devices are not
connected, the Dot unit will blink red every 2 seconds waiting for connection and the
Dongle unit will blink in the color you have set in the software every 5 seconds.
Contact us at support@luxafor.com or call +371 27755544
8

Troubleshooting Steps for Known Issues
●“I plug the Dongle unit into my computer/hub, but nothing happens.”
1. Make sure you followed the instructions correctly by plugging the Luxafor Dot
unit into the Power Bank first, and the Dongle unit into the computer/hub
afterward.
2. Make sure you allow up to 2 minutes for the devices to connect4.
3. Make sure you have installed the latest Luxafor software version. It’s v.2.1.0.20
for Windows and v.2.0.10 for Mac.
4. Make sure you are using the Luxafor Dongle provided.
5. Test if the USB port on your computer or hub is working correctly by plugging
other devices, such as a keyboard or a memory stick, in the same port.
6. Test other USB ports on your computer or hub by plugging in the Luxafor Dongle.
7. Test other computers with the same operating system (and its’ version) by
plugging in the Luxafor Dongle.
8. Make sure the Power Bank is fully charged. Please refer to “Charging
Instructions” on page 2 of this manual for more information.
9. Ensure that the Dongle unit and Dot unit are not further than 25 m (82 feet)
apart. This is the maximum Bluetooth operating range for these devices without
any obstacles between them. Check if there aren’t any obstacles, such as a thick
concrete wall or dense metallic objects that could potentially block the signal.
10. Make sure the tab of your choice is active on the software for it to work. For
example, if you wish Luxafor to display your connection on Zapier, then the
“Zapier” tab must be open on Luxafor software. Notifications and Settings
(Hotkeys) can work simultaneously with the 6 modes of the General section.
11. Test if your Luxafor Dot works together with the Android App (Please refer to the
“Getting Started - Connecting Luxafor Dot to an Android Device” section on page
2 of this manual)
●“My Luxafor Bluetooth does not work at startup after a cold start, what should I do?”
1. Make sure you have enabled “Start Luxafor when I start Windows” in the
“Settings” tab of Luxafor Software for Windows or Mac.
2. Make sure the Power Bank is fully charged. Please refer to “Charging
Instructions” on page 2 of this manual for more information.
Contact us at support@luxafor.com or call +371 27755544
9
Table of contents


