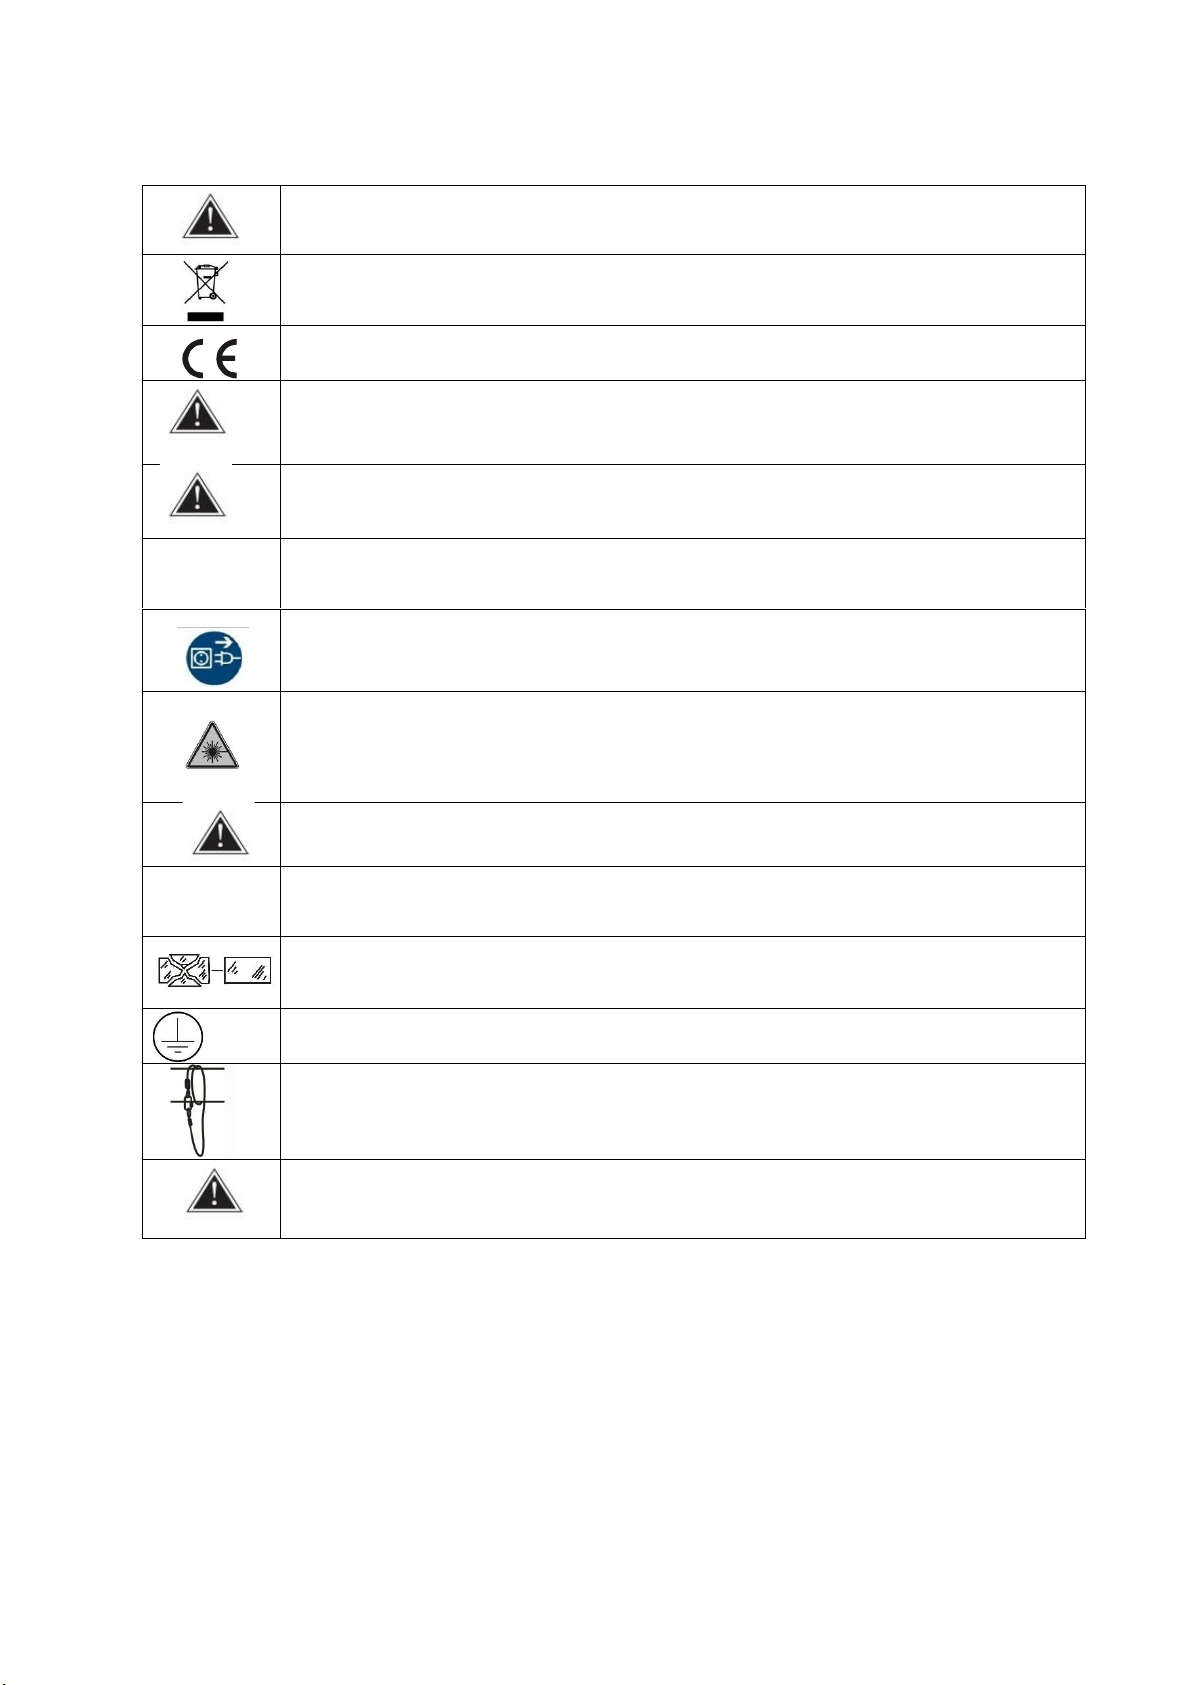
Luxibel B PAR180RGBW V2 IP66 User manual

1
B PAR180RGBW V2 IP66
User manual

3
Product introduction
Thank you for purchasing our product. Before carrying out any
operations with the product, carefully read this instruction manual and
keep it with you for future reference. It contains important information
about the installation, usage and maintenance of the unit. Please strictly
follow it.
Before unpacking the fixture, please make sure that the packaging is in
good condition and that the following items will be found in the box:
•B PAR180RGBW V2 IP66 fixture
•Powercable with bare ends
•Tophat
•Omega Bracket
One of the changes between the original B PAR180RGBW and the B
PAR180RGBW V2 is the humidity extractor. This humidity extractor
ensures that water/condensation is reduced inside the unit. As long as
the unit has power, the humidity extractor is activated.
The humidity extractor is working most efficiently
if the LEDs in the fixture are turned off.
This product is intended for use in the audiovisual industry.

4
Description of the B PAR180RGBW V2 IP66
1. LED-Lensset
2. Menu Button
3. Display
4. Up Button
5. Down Button
6. Tilt Lock
7. Enter Button
8. Yoke
9. DMX Output 5 pin
10. Safety attachment point
11. Mains output
12. Air vent
13. Mains Input
14. DMX Input 5 pin
15. Humidity extractor
1
8
6
14
2
10
4
9
13
12
5
3
7
11
15

5
Safety Instructions
WARNING:Do not look at the light source when the device is on.
CAUTION: This housing may be hot during and after operation.
•To reduce the risk of an electric shock, do not open the device.
•Install this device in a location with adequate ventilation, at least 20 inch
(50cm) from adjacent surfaces.
•Do not leave any flammable material within 20 inch (50cm) of this device
while operating or connecting to power.
•Do not cover any ventilation openings as this may result in overheating.
•Keep the unit away from children.
•The electric connection should be carried out by a qualified person only.
•Make sure that the available voltage is not higher than the one stated in
this manual.
•The power cord should always be in perfect condition. Switch the device
immediately off when the power cord is squashed or damaged. It must
be replaced by the manufacturer, its service agent or similarly qualified
persons in order to avoid a hazard.
•Do not connect this device to any dimmer pack.
•ONLY connect this device to a grounded and protected circuit.
•The maximum ambient temperature is 104° F (40° C). Do not operatethis
device at higher temperatures.
•Always disconnect from the mains when installing, maintaining or
cleaning the unit.

6
Before operate this unit, please carefully read this users guide and keep if
needed in future. It’s necessary to respect following rules.
The disposal of the device after lifecycle could damage the environment, need to
take it to special company for recycling or return to authorized dealer.
The products referred to in this manual conform to the European Community
Directives and are therefore marked with CE logo.
Keep this device away from children and unauthorized users, the manufacturer
will not take responsibility for the damage due to any disregard of the
information provided in this manual and wrong operation.
Before operate the device, please make sure the fixture is in good housing,
ensure pan and tilt can rotate in its complete range.
--0.5m
Please make sure minimal 0.5m distance need to kept between the fixture to
any flammable material.
The device can only run with 100-240V voltage, 50/60 Hz power, don’t connect
to any other wrong power. Disconnect the device from main power before open
the shield or maintenance.
Never look directly into the projecting lens when the fixture is power on, the light
may trigger epileptic seizures in photosensitive persons or persons with
epilepsy. Especially at beam effect, extreme caution and observance of these
safety instructions is mandatory.
Don’t put or install the device on a surface that subject to vibration or bumps.
Ta=45℃
The device is supposed to work in the temperate range -15° C and +45° C, do
not use the device when the temperate exceed this range.
The lens, shield need to be replaced when obviously broken, never use the
device when the shield is not completed closed.
Safety I class device, need to be earth connected.
When the fixture is hanged overhead, the safety rope must be fixed to the
bottom of the device to the appropriate fixing point.
Always carry the device by the bracket, do not take the head directly for
transportation.

7
Overhead Rigging
The installation of the device has to be done in such a way that it can
hold 10 times the weight for 1 hour without any deformation.
The operator has to make sure that all safety-related and machine-
technical installations are approved by an expert, before taking the unit
in operation for the first time.
Professional truss system or similar licensed suspension systems have
to be used if the spotlight is used in suspension from ceiling or other
constructions.
Please note: for overhead rigging in public or industrial areas, a series of
safety instructions as double safety have to be followed.

8
Electrical Operation
IMPORTANT: The electrical installation should be carried by a qualified
person only.
Please note the wire color code while connecting the 2x mains cable:
EU
G: green/yellow color = Ground earth connection
N: blue color = Neutral
L: brown color = Live
US
G: green color = Ground earth connection
N: white color = Neutral
L: black color = Live
This device must be earthed to comply with regulations!
This device can NOT be dimmed, do not connect on a dimmer pack!
Maintenance and Cleaning
The following points have to be considered during the inspection:
* All screws and parts of the device have to be tight and may not be
corroded.
* There may not be any deformations on the housing, color lenses,
fixations and installation spots (ceiling, suspension, trussing).
* The electric power supply cables must not show any damage, material
fatigue or sediments.
In order to maintain the device in good condition and extend the life time,
we recommend to clean the device frequently.

9
The cleaning of the heat sink and all external optical lenses must be
carried out periodically to optimize the light output. The frequency of
cleaning depends on the environment in which the fixture operates.
A detailed electric check by a certified electrician every three months, to
make sure that the circuit contacts are in good condition, prevents the
circuit from overheating due to poor contact.
Clean with a soft cloth using glass cleaning products. Never use alcohol
or solvents. Always dry the parts carefully.

10
Control Menu
1) Menu tree
Default settings shadowed.
DMX Address
1-512
Channel Mode
4/6/8/9/14 CH
DMX Curve
1/2/3/4
DMX State
DMX Hold/black out
Manual Mode
Red
0-255
Green
0-255
Blue
0-255
White
0-255
Color
color 1-70
Slave Mode
Slave
Chase Mode *1
1-11
Edit Chase *1
PR 1-11
SC 1-32
Upload Chase *1
Passcode:
UP/Down/UP/DOWN/Enter
Set Up
Passcode
Passcode:
UP/Down/UP/DOWN/Enter
Working Mode *2
Standalone (Default)
Master
Max Temp
0-65°
Humidity Extractor
AUTO (Default)
ON
Dimmer all
0-255
Factory Reset
Passcode:
UP/DOWN/UP/DOWN/ENTER
White Balance
Red
0-255
Green
0-255
Blue
0-255
White
0-255
Info
Hardware V2
Software V***
Humidity
** %
RDM
** %
Working Time
5100:********
******H
*1 for more information about the chase menu see ‘Control Menu (3) Chase function’.
*2 By default the working mode is standalone. When you want to use one par as a master,
change working mode to master. We recommend always switching back to standalone when
using DMX.

11
2) Master/Slave Function
When fixtures are connected with the signal power, there is an automatic function of
master/slave build in.
When there is no DMX signal, the first fixture will act as master, and all other fixtures
connected in the signal line will follow as slave. When a DMX signal is put on, it will
disable the master/slave function automatically.
3) Chase Function
The chase function has 3 options:
Chase mode:
- Here you can choose between 11 different chases editable in ‘Edit Chase’ mode.
Edit Chase:
- Here you can edit 11 different chases (these are the same as the 11 editable modes
from Chase mode.
oSC-01 through SC-32. (this means you can make 32 scenes for every chase)
oEach of these 32 scenes have the following options:
Red 1-255
Green 1-255
Blue 1-255
White 1-255
Fade 1-255 (You can use this to fade between different scenes)
Flash 1-255
Strobe1-30
Time 1-30 (has to be at least 1-30 in order to use chase function)
Upload chase:
Here you can upload the 11 chases you made to other pars
- Step1: Go to the Set-up menu and under “Working mode” make sure you are on
Standalone on all pars (Passcode up/down/up/down)
- Step2: Put the par you want to upload the chase from on Slave mode
- Step3: Put the other pars you can to put the chases on also on Slave mode
- Step4: On the par you want to upload the chase from go to “Upload Chase” and enter
the passcode up/down/up/down enter
Chase mode macro’s DMX channel:
- The 11 chases can also be used as a macro via DMX you can see this in the DMX
chart under 9ch & 14ch mode in these channel modes is the last channel the Chase
mode macro’s channel.

12
DMX Mode
DMX addressing
The device is controlled by the universal DMX 512 protocol, the DMX address is the start
channel used to receive instructions from the external controller. For independent control,
each fixture must be assigned its unique address control channels. For example, this device
has three channel modes: 4/6/8. If we set the mode at standard 4 channels mode and there
are several models need to be independently controlled, we just simply address first fixture at
1, and second fixture at 5, third one at 10, etc.
If the devices have the same address, they will behave synchronically.
Connection
Use DMX cable with 5-pin XLR-plugs to connect the controller with the fixture or one fixture
with another.

13
Technical Specifications
Dimensions drawing

14
Physical
Dimensions (WxHxD): 280 x 288 x 143 mm
Packaging dimensions (WxHxD): 280 x 305 x 280 mm
4 pcs packing dimensions (WxHxD): 575 x 320 x 575 mm
Net weight: 4.7 kg
Gross weight: 5.7 kg
4 pcs packing gross weight: 24.5 kg
Mounting options
Hanging: 1 omega bracket with 2x ¼ turn quick-lock fasteners & 1 M12 hole in the
middle of the omega brackets
Standing: Double bracket –adjustable opening angle
2nd suspension / safety wire: 1x molded eye on the housing to pass a safety wire or
carabiner
Control
Menu control: via TFT display with 4 buttons
Control: DMX512, manual, master/slave
Dimmer mode: 0 - 100% - 8 bit
In/link: XLR 5 pin
DMX mode: 4/6/8/9/14 channels
Tilt Movement: One hand tilt locking
Optical
LED Sources: 12x 15W LED RGBW
Beam angle: 25° (fixed)
Strobe: 0-20 Hz
Dimming curves: 3
Colors: Red, Green, Blue and White | 8-bit color mix
Photometric data
Light output RGBW @ full (without tophat)
Lux @ 2m: 6210 lux
Lux @ 4m: 1523 lux
Lux @ 6m: 622 lux

15
Electrical
Fixture rated power: 165W
LED engine: 12 x 15W SMD LED | RGBW 4 in 1
Input power: 100-240V ~ 50/60Hz | Auto switching power supply
In/Link: PowerCON TRUE1 | max link current: 10A
IP rating: IP66
Cooling: electronic heat control (no fans)
Refresh rate: 1.200 Hz
Accessories
1x Tophat
1x Omega Bracket
Contact
Luxibel
Bedrijvenpark De Veert 13/004
2830 Willebroek
Belgium
+32 3 60 76 50
info@luxibel.com
www.luxibel.com
2022
Table of contents
Other Luxibel Floodlight manuals

Luxibel
Luxibel LX103 User manual

Luxibel
Luxibel B Flood DL60 User manual

Luxibel
Luxibel LX116 User manual

Luxibel
Luxibel LX119 User manual

Luxibel
Luxibel EXPO350A User manual

Luxibel
Luxibel LX111 User manual

Luxibel
Luxibel LX140 User manual

Luxibel
Luxibel LX200Z User manual

Luxibel
Luxibel Nuxiled 1000 User manual

Luxibel
Luxibel LX306 User manual