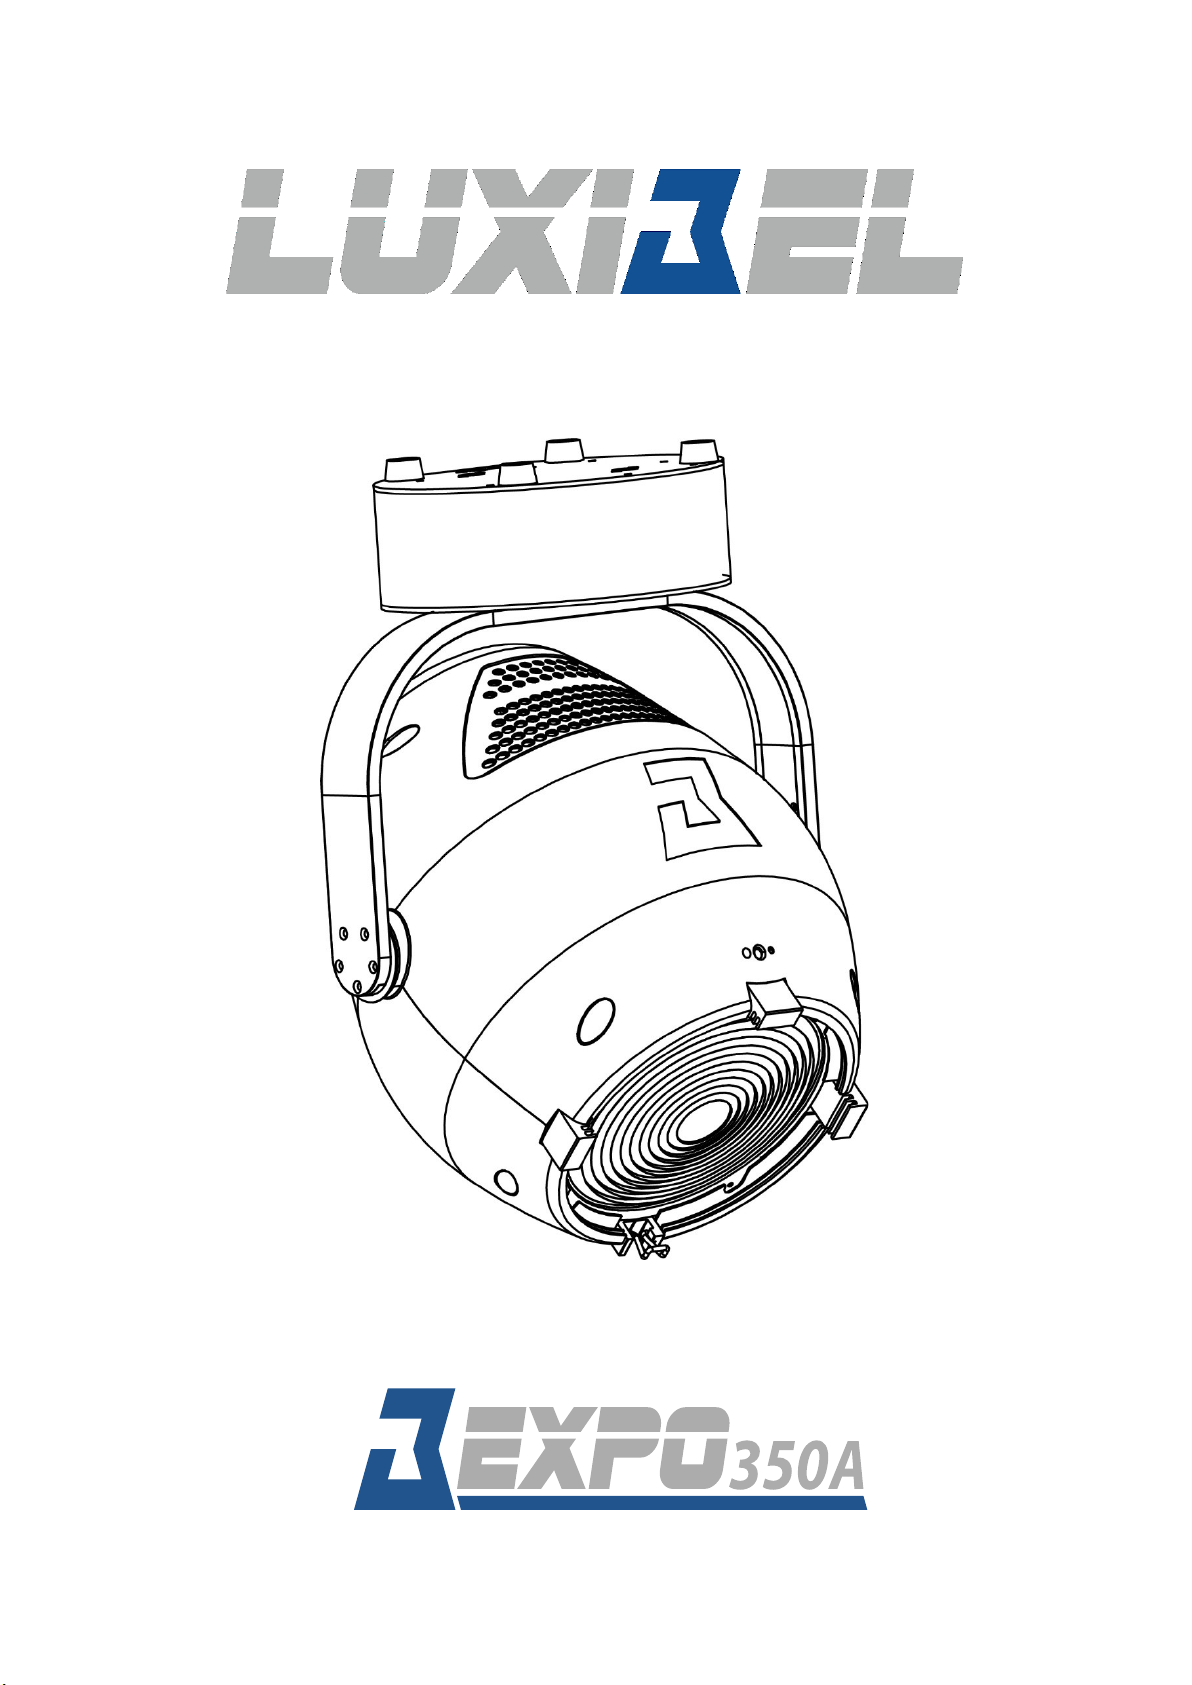
Luxibel EXPO350A User manual

1

3
Product introduction
Thank you for purchasing this Luxibel product.
For your own safety, please read the instruction manual carefully before turn on the product
for the first time.
Before unpacking the fixture, please make sure that the packaging is in good condition and
that following items will be found in the box:
•B EXPO350A fixture
•3m DMX cable
•1.5m power cable with powercon
•Omega bracket for hanging installation
•Safety chain
Description of the B EXPO350A
1. Powercon In
2. Powercon Out
3. 5Pins DMX In
4. 5Pins DMX Out
5. Buttons
6. Display
7. Base
8. Arm Yoke
9. Head
10. Front lens
11. IR Signal Receiving port

4
Safety Notes
Each person which is responsible for the installation, the usage of service of this unit must be
qualified and has to follow the instruction in this manual.
Be careful when using the device. You risk an electrical shock from high voltage, if you touch
the wires! The device has left our company in manufactured proofed state. To maintain this
status and to ensure a permanent safe operation, it is absolutely necessary to follow the
safety instructions and warnings in this manual.
Errors caused by not following these instructions are not covered by the warranty. The
manufacturer will not accept liability for any resulting defects or problems.
•Keep the unit away from radiators or other heat sources!
•If the unit has been exposed to tremendous temperature changes (e.g. after
transportation), do not turn the device on immediately. The resulting condensation
could damage the unit. Don’t switch the unit on until the device reaches room
temperature.
•This device belongs to protection class I. Therefore, it is imperative that the
green/yellow wire is connected to the earth contact or plug. The electrical connection
must be made by a qualified person.
•Make sure that the cable has never been squeezed or damaged by sharp objects.
Check the device and the cables regularly.
•If the cable is damaged, it must be replaced immediately by the manufacturer, its
service agent or a qualified person in order to avoid danger.
•Lenses, glasses or UV filters must be replaced if they are visually damaged, or their
effectiveness is impaired, e.g. by broken glass or by deep scratches.
•Ensure that wires never come in contact with other wires! Handle the power cord and
all connections with caution!
•Make sure that the line voltage is not higher than the voltage specified in this manual.
•Disconnect the unit from the AC mains when it is not in use or when cleaning it.
Disconnect the connection only by pulling the cable plug.
•Using the fixture for the first time, can result in light smoke and odors. This is a
normal process and does not constitute a defect.
For a Class B digital device or peripheral, the instructions furnished the user shall include the
following or similar statement, placed in a prominent location in the text of the manual:
NOTE: This equipment has been tested and found to comply with the limits for a Class B
digital device, pursuant to part 15 of the FCC Rules. These limits are designed to provide
reasonable protection against harmful interference in a residential installation. This
equipment generates, uses and can radiate radio frequency energy and, if not installed and
used in accordance with the instructions,
may cause harmful interference to radio communications. However, there is no guarantee
that interference will not occur in a particular installation. If this equipment does cause
harmful interference to radio or television reception, which can be determined by turning the
equipment off and on, the user is encouraged to try to correct the interference by one or
more of the following

5
measures:
Reorient or relocate the receiving antenna.
Increase the separation between the equipment
and receiver.
Connect the equipment into an outlet on a
circuit different from that to which the receiver
is connected.
Consult the dealer or an experienced radio/
TV technician for help.
Risk of burns!
Do not touch the unit during operation! The housing may reach high temperatures!
Risk to health!
Never look directly into the light source. Especially epileptics risk an epileptic shock.
Disconnect the unit from the AC mains when not in use or when cleaning it.
Defects caused by modifications of the device by unqualified handling or an unqualified
person are not covered by the warranty.
Keep the product away from children and unskilled people.
There are no wear parts in the device. Maintenance and service must be performed only by
an authorized service partner.
Before operate this unit, please carefully read this users guide and keep if
needed in future. It’s necessary to respect following rules.
The disposal of the device after lifecycle could damage the environment, need to
take it to special company for recycling or return to authorized dealer.
The products referred to in this manual conform to the European Community
Directives and are therefore marked with CE logo.
Keep this device away from children and unauthorized users, the manufacturer
will not take responsibility for the damage due to any disregard of the information
provided in this manual and wrong operation.
Before operate the device, please make sure the fixture is in good housing,
ensure pan and tilt can rotate in its complete range.
--0.5m
Please make sure minimal 0.5m distance need to kept between the fixture to any
flammable material.

6
The device can only run with 100-240V voltage, 50/60 Hz power, don’t connect
to any other wrong power. Disconnect the device from main power before open
the shield or maintenance.
The device is designed only for indoor usage, please keep it away from
moisture. Do not expose the device under the sun or directly to any other lighting
source.
Never look directly into the projecting lens when the fixture is power on, the light
may trigger epileptic seizures in photosensitive persons or persons with
epilepsy. Especially at beam effect, extreme caution and observance of these
safety instructions is mandatory.
Don’t put or install the device on a surface that subject to vibration or bumps.
Ta=45℃
The device is supposed to work in the temperate range -15° C and +45° C, do
not use the device when the temperate exceed this range.
The lens, shield need to be replaced when obviously broken, never use the
device when the shield is not completed closed.
Safety I class device, need to be earth connected.
When the fixture is hanged overhead, the safety rope must be fixed to the bottom
of the device to the appropriate fixing point.
Always carry the device by the bracket, do not take the head directly for
transportation.

7
Maintenance
Operation only allowed to qualified person, damages due to unprofessional operation or
remove of any parts inside will not be considered in warranty service. There are no
serviceable parts inside the device or package, service only leaves to authorized dealers.
Never allow the optical components contact with oil, fat or any other liquid.
A regular clearance of the device is needed for long-term usage, this is very helpful to
maintain the lifetime and brightness need to use a soft and lint-free cloth to clean the optical
system, fan and air flowing tunnel.
Trouble shooting
Problems
Possible reasons
Solutions
Device not
power up
Powercon or power cable
damaged
Faulty power supply
Change a good power cable to try
Replace new power supply
LED off
Temperature protection
Fan not working
Faulty LED
Dimmer and strobe set at 0
Faulty power supply
Check the temperature from menu
Check the fan speed info from menu
Replace new LED
Set dimmer channel at 255 and strobe
channel at 0~5
Replace new power supply
Device not
response to
DMX
Faulty communication IC
Faulty display PCB
Wrong DMX addressing
Faulty DMX cable
Replace the IC with back-up one in the
display PCB
Replace new display PCB
Check the address and setting
Change to a good DMX cable
Fans not
working
properly
Head cover is pushing up to
the fan and hereby blocking
movement
Check if it’s possible to unblock the fan
Replace head cover
Light goes out
One or more fans are not
working properly
Set Fan mode to high, now check in
information the fan speed
this cannot be close to 0, if this is the case:
Check if the fan is blocked
Check the fan cable connections
Replacement of the fuse
Step 1: Unplug power cable from main power
Step 2: Unscrew the fuse holder out of the housing with a screwdriver
Step 3: Remove the broken fuse and replace with an exact same type of new fuse
Step 4: Insert the fuse holder back to the housing and screw tight and reconnect power

8
Installation
There are specific regulations like BGV C1 (old VBG 70) or country related regulations which
need to attend during the installation. The installation has to be handled by skilled persons
only!
Suspension device hast to be built and calculated in order to handle up to 10 times its
specific load limit over a time of one hour without permanent or harmful deformation.
Installation has to be done with a separate, independent suspension device like a safety
chain. A second suspension device has to be built in order to assure that in case of error no
part of an installation can fall off.
Trespassing the danger zone below the installation during the assembling is prohibited.
Installer has to take care of all safety and machinery installations are approved by authorized
persons before first operation or after changes before restarting.
Installer has to take care of all safety and machinery installations are approved by skilled
persons at least once a year.
Installer has to take care of all safety and machinery installations are approved by authorized
persons every four years during the acceptance inspection. Spotlight should ideally installed
outside peoples lounge area.
Attention
Installation overhead needs a high level of experience. This includes (but is not just limited
to) calculation and definition of load capacity, used installation material and regular safety
inspections of used material and the fixture itself. Never try to do the installation by yourself if
you are not qualified, instead you have to instruct a skilled installer. Inappropriate
installations can cause injuries and/or damage of property. Spotlight has to be installed
outside areas where people can touch it.
Professional truss system or similar licensed suspension systems have to be used if the
spotlight is used in suspension from ceiling or other constructions. Spotlights can never be
installed freely suspended!
Spotlights can cause injuries when fall off. If you are not trained in questions of safety for the
different kinds of installation do NOT install the spotlight! Assure that the mounting surface
can hold at least ten times the point load of the spotlight before installing the fixture.
Assure the specified safety distances to flammable material.
Attach the spotlight with its yoke and the use of a suitable hook/clamp to your truss system.
The therefor used opening has a diameter of about 12 mm. According to your installation
also similar but approved suspension devices are possible.
When installing the spotlight overhead make sure to safe the fixture by a safety chain which
is specified at least with a load limit of 12 times of the spotlights weight. Only safety chain
with approved connective can be used. Attach the safety chain to its designated opening and
attach it to the truss system or a similar and safe attachment point. Assure to close the
fasteners as specified.
To adjust the angle of the fixture open the locking screw, set the fixture in its position and
close it by hand.

9
Installation of the B EXPO350A
The device could be either put on a solid and even surface, or mounted upside down or
sideways like left picture.
The mounting place must be sufficient stable and be able to support a weight of 10 times of
the unit’s weight. When the fixture is hanged, always additionally secure the device with the
safety chain, fasten the safety rope at a suitable position so that the maximum fall of the
projector will be 20 cm.

10
Control Menu
Menu tree
Default settings shadowed.
MODEL NAME:B EXPO350A
DMX
DMX Addr①
XXX
dmx mode
8ch /9ch
Man Control
Max Temp①
80~130℃/176~266℉(85℃)(185F)
Dimmer①
0-255
dimmer fine
...
zoom
...
tilt
...
pan
...
strobe
...
Information
Lamp Temp
XXXC
FAN Speed
FAN1: XXXR
FAN2: XXXR
FAN3: XXXR
soft version
V1.0
Settings
fixture Set
Temper. C/F①
Fahrenheit /Celsius (Celsius)
Fans Mode①
Auto/High
Theatre
ON/OFF (OFF)
Hibernation
0FF,0~495(S)(OFF)
Backlight①
0FF,0~495(S) (10s)
Flip Display①
ON/OFF (OFF)
rdm settings
Rdm Name

11
-Password-
PID Code
Freq rate
600Hz
1200Hz
2000Hz
2400Hz
4000Hz
Reload Def
Basic Reload(①)
ON/OFF (OFF)
---Password---
XXX
All Reload
ON/OFF (OFF)

12
DMX Mode
DMX addressing
The device is controlled by universal DMX 512 protocol, DMX address is the start channel
used to receive instructions from the external controller. For independent control, each fixture
must be assigned its unique address control channels. For example, this device has four
channel modes: 20/21/15/17, if we set the mode at standard 18 channels mode, and there
are several models need to be independently controlled, we just simply address first fixture at
1, and second fixture at 21, third one at 41, etc.
If the devices have the same address, they will behave synchronically.
DMX addressing is limited, don’t set the address so high that without enough control
channels for the fixtures.
Display is flashing when no DMX signal is received.
Connection
Use DMX cable with 5-pin XLR-plugs to connect the controller with the fixture or one fixture
with another.

13
Unique features
RDM, stand for “Remote Device Management”, with this function, users can realize remote
control of the device, such as remotely changing DMX address, check a lot of useful
information such as temperature, power consumption, fan speed. Etc. Every single device
has a unique RDM code before left factory to distinguish from each other, usually not
suggest users change this code freely.
Software upgrade function via DMX cable, if there is any new firmware for this device come
out, it can be upgraded simply via a software upgrade box, no need to change any
mechanical parts. The upgrade box is not included in the package, if need any further
assistance please just contact authorized dealers.
Hibernation, the device will enter sleeping mode if activated after a period of disconnecting
DMX signal to save the power consumption, and will return immediately as soon as the DMX
signal is sent again.
Display battery, this function is prepaid in the display PCB, users just need to install a normal
10440 600mAh 3.7V rechargeable lithium battery, then users could power on the display and
do setting without connect to main power.
Display back-up communication IC, there is a back-up communication IC installed in the
display PCB, so users could replace at once if the working one is broken, no need to wait
long time from service.
Display flip, by press up and down button for more than 3 seconds, the display will flip
automatically, this function is useful to read menu conveniently when device is hanged.

14
Technical Specifications
Dimensions drawing
Physical
Dimensions (WxHxD): 36,2 x 32 x 46.8 cm | 14,3” x 12,6” x 18,4”
Packaging dimensions (WxHxD): 43.9 x 386 x 51.1 cm | 17.3” x 15,2” x 20,1”
Net weight: 11 kg | 24,3 lbs
Gross weight: 12 kg | 26,5 lbs
Mounting options
Hanging: 3x M12 hole
Standing: On the base
2nd suspension / safety wire: 1x sleeve in base of the unit to pass carabiner
Control
Menu control: OLED display with 4 buttons
Control: DMX/RDM, manual, Remote operated
In/Link: XLR 5-pin
DMX Mode: 8/9 channels
Dimmer mode: 16-bit dimming
Zoom: Automated 15° - 45°
Movement: Max pan: 150° - max tilt: 150°

15
Optical
Beam angle: 15°- 45°
Colours: 3000°K (WW) –5.600K (CW)
Refresh rate: adaptable 600 Hz –4000 Hz
Strobe: 0-20 Hz
CRI: 97.4 Ra (WW) –95.8 Ra (CW)
TM30 : Rf = 94 & Rg = 102 (WW) –Rf = 90 & Rg = 101 (CW)
Photometric data B Expo350AWW
Light output @ 15°
Lux @ 5m: 4630 lux
Lux @ 10m: 1190 lux
Lux @ 15m: 582 lux
Light output @ 45°
Lux @ 5m: 881 lux
Lux @ 10m: 395 lux
Lux @ 15m: 137 lux
Photometric data B Expo350ACW
Light output @ 15°
Lux @ 5m: 5400 lux
Lux @ 10m: 1480 lux
Lux @ 15m: 834 lux
Light output @ 45°
Lux @ 5m: 975 lux
Lux @ 10m: 369 lux
Lux @ 15m: 202 lux
Electrical
Fixture rated power: 320W
LED engine: 350W - 3000°K (WW) - 350W 5.600K (CW)
Input power: 100 - 240V ~ 50/60Hz Auto switching power supply
In/Link: PowerCon TRUE 1 / max. link current 10A
Environmental
Cooling: Heat pipe + air cooling
IP rating: IP20
Table of contents
Other Luxibel Floodlight manuals

Luxibel
Luxibel LX140 User manual

Luxibel
Luxibel LX103 User manual

Luxibel
Luxibel B PAR180RGBW V2 IP66 User manual

Luxibel
Luxibel LX119 User manual

Luxibel
Luxibel Nuxiled 1000 User manual

Luxibel
Luxibel LX306 User manual

Luxibel
Luxibel LX111 User manual

Luxibel
Luxibel LX200Z User manual

Luxibel
Luxibel B Flood DL60 User manual

Luxibel
Luxibel LX116 User manual
Popular Floodlight manuals by other brands

JB Systems Light
JB Systems Light Publi Spot Operation manual

STEINEL
STEINEL XLed home 1 Information

Francis Searchlights
Francis Searchlights A2213 User instruction & installation manual

Skil
Skil LH5533-00 owner's manual

Bartec
Bartec FEAM RCDE500L Instructions for use

BARTEC FEAM
BARTEC FEAM SFLJ Series Instructions for use