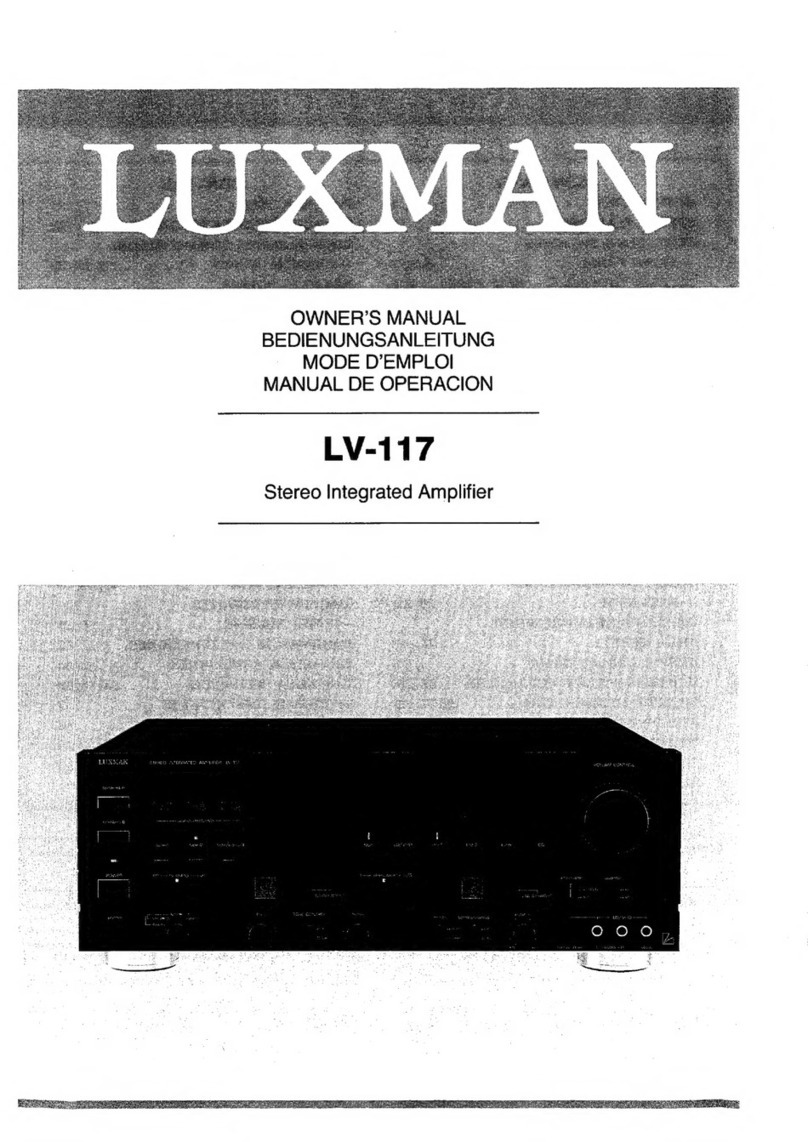
Luxman C-03 User manual

OWNER'S MANUAL
BEDIENUNGSANLEITUNG
MODE D'EMPLOI
MANUAL DE OPERACION
C-03
Stereo Preamplifier
bII"'~
A
O·.···.··.••
·.A.
~ ~'U~
IB
,·,:,,·OI·
," n
';;'~;:;)I
"
~
• l CC_rJ><:>N>

· TABLE OF CONTENTS
CONTENTS
INTRODUCTION . . . . . . . . . . . . . . . . . . . ..
3
CONTROLS
&
SWITCHES
- FRONT PANEL 4,5
JACKS &TERMINALS - REAR PANEl.
6,
7
CONNECTION DIAGRAM . . . . . . . . . . . . ..
8
CONNECTION GUIDELINES. . . . . . . . . . ..
9
OPERATION GUIDELINES .. . . . . . .. 10, 11
CARE AND MAINTENANCE . . . . . . . . . .. 12
SPECIFICATIONS . . . . . . . . . . . . . . . . . .. 12
BLOCK DIAGRAM. . . . . . . . . . . . . . . . . .. 45
INHALT
EINFUHRUNG . . . . . . . . . . . . . . . . . . . . .. 13
REGLER
&
SCHALTER
- FRONTSEITE 14,15
STECKER &ANSCHLUSSE
- RUCKSEITE
16,17
DIE DEUTSCHE BUNDESPOST
INFORMIERT 18,19
ANSCHLUSSDIAGRAMM. . . . . . . . . . . .. 20
VORNEHMEN DER ANSCHLUSSE . . . . .. 21
BEDIENUNGSANLEITUNG . . . . . . . ..
22, 23
PFLEGE
&
UNTERHAL T . . . . . . . . . . . . .. 24
TECHNISCHE OATEN . . . . . . . . . . . . . . .. 24
BLOCKDIAGRAMM. . . . . . . . . . . . . . . . .. 45
CONTENU
INTRODUCTION . . . . . . . . . . .. 25
COMMANDES ET COMMUTATEURS
- PANNEAU AVANT
26,27,28
PRISES ET BORNES
- PANNEAU ARRIERE . . . . . . . . . . ..
28, 29
DIAGRAMME DES BRANCHEMENTS. . .. 30
DIRECTIVES DE BRANCHEMENT. . . . . .. 31
DIRECTIVES D'EXPLOIT ATION. . . . ..
32, 33
SOIN ET ENTRETIEN 34
SPECIFICATIONS 34
DlAGRAMME DES BLOCS . . . . . . . . . . .. 45
MATERIAS
INTRODUCCION . . . . . . . . . . . . . . . . . . .. 35
CONTROLES E INTERRUPTORES
- PANEL FRONTAL
36,37, 38
TOMAS V TERMINALES
- PANEL TRASERO . . . . . . . . . . . . ..
38, 39
DIAGRAMA DE LAS CONEXIONES . . . .. 40
GUIA DE LAS CONEXIONES 41
GUIA DE LA OPERACI6N . . . . . . . . .. 42, 43
CUIDADO V MANTENIMIENTO . . . . . . .. 44
ESPECIFICACIONES . . . . . . . . . . . . . . . .. 44
DIAGRAMA DE BLOQUE. . . . . . . . . . . . .. 45
IIHMIIIIIII+*lIItlll'B¥i!iIl%#III*IINlilii¥k¥!lFIilii¥MlllwHIIII¥&IIIFiIll'SIIIIIIIHlIIselll¥III*Hi¥illl'&lII
h
wi¥i¥+i.ii!i!IiIii¥ •• '
2 ••
·P*i'ifili#@i#¥*'••••
iB9M¥M¥¥Wi
ei
¥¥i*NM¥iWPW
WARNING:
To reduce the risk of fire or electric shock, do not
expose this appliance to rain or moisture.
CAUTION:
To prevent electric shock, do not use this (polar-
ized) plug with an extension cord, receptacle or
other outlet unless the blades can be fully inserted
to prevent blade exposure.
AVIS:
Pour evlter tout risque d'electrocution, n'exposez
pas cet appareil
cl
i'humidite.
ACHTUNG:
Zur Verhlitung von Branden und elektrischen
Schlaqen, dieses Gerat weder Regen noch
Feuchtigkeit aussetzen.
ATTENTION:
Pour prevenir les chocselectriques, ne pas utilis-
er cette fiche polarisee avec un prolongateur, une
prise de courant ou une autre sortie de courant,
sauf si les lames peuvent etre inserees
cl
fond
sans en laisser aucune partie
cl
decouvert,
ADVERTENCIA:A
fin de prevenir incendios y descargas electri-
cas, no exponga este aparato a la lIuvia ni a la
humedad.

INTRODUCTION
WELCOME!
Luxman welcomes you to the growing num-
ber of discerning audiophiles who own and
operate Luxman Audio and Audio-Video
Products. We take great pride in the long
tradition of excellencein sonic quality that the
Luxman name represents. This manual has
been prepared to help you to maximize your
enjoyment of the outstanding performance
and features of your new Luxman C-03.
TheLuxman C-03stereo preamplifier, as the
control center of your sound reproduction
system, employs some of the most refined
and advanced technology available to
achieve
iuxmen's
constant quest for sonic
quality.
WHEN YOU OPEN THE BOX
Before any Luxman product leaves the factory it is
carefully inspected for physical imperfections as a
routine part of Luxman's systematic quality control.
This, along with full electrical testing, should insure
quality craftsmanship and performance. After you
have unpacked the unit, inspect it for any physical
damage. Save the shipping carton and all packing
materials, as they are essential to reduce to a mini-
mum the possibility of transportation damage, should
the product ever need to be shipped again. In the
unlikely event that damage has occurred, notify your
dealer immediately and request the name of the car-
rier so that a written claim to cover shipping damages
can be initiated.
THE RIGHT TO ANY CLAIM AGAINST A PUBLIC CAR-
RIER CAN BE FORFEITED IF THE CARRIER IS NOT
NOTIFIED PROMPTLY AND IFTHE SHIPPING CARTON
AND PACKING MATERIAL ARE NOT AVAILABLE FOR
INSPECTION. SAVE ALL PACKING MATERIALS UNTIL
THE CLAIM HAS BEEN SETTLED.
To realize the exceptional performance for
which thispreamplifier is capable,it is neces-
sary that all signal sources, power amplifiers
and speaker systems used with it are of the
highest sonic quality. We recommend
complementary Luxman components wher-
everpossible.
Please study this manual carefully and
become acquainted with all features, opera-
tion and capabilities of your new Luxman
C-03. Should you have any questions, or
desire information on other Luxman
products, please contact your local Luxman
dealer.
INSTALLATION AND PLACEMENT
Because some heat is generated by the C-03, adequ-
ate air circulation must be provided to maintain cool
operation. Leave adequate space around the
preamplifier (at least 3 inches on the top and 1 inch on
the sides and rear) for proper air circulation. Also, the
Luxman C-03 should not be completely enclosed with
other heat producing components. If the Luxman
C-03 is going to be mounted in an enclosed cabinet, it
is recommended that the back of the cabinet have
vents to allow air to circulate around the preamplifier.
With these considerations implemented, the Luxman
C-03 should provide exceptional performance in any
reasonable environment.
Of course, such normal considerations as protection
from excessive dust and moisture should always be
observed. The Luxman C-03 preamplifier has been
carefully designed with high quality components so
that long term undiminished performance may be
expected when it is operated in accordance with the
instructions provided .
••••••••••================~3 •••••••••••••••••••••••••••••

, "~,~C¥ONTROLS
&
SWITCHES - FRONT PANEL
1. POWER Switch (POWER)
The push-type switch will turn the power on and off.
When it is pressed in and the power is on, the OPERA-
TION indicator (item #2) will illuminate. The built-in
time delay muting circuit will be on for approximately
6 seconds. The C-03 will be put into the operational
condition in about 6 to 9 seconds.
2. OPERATION Indicator (operation)
The OPERATION indicator will light up when the
POWER switch is pressed in, indicating that the
power is on.
3. BASS Control (bass)
This control will increase or decrease low frequency
content in the program material. At the center detent
position, a flat frequency response results.
NOTE: The TONE IN button must be depressed to the
"ON" position to activate the BASS Control.
4. TREBLE Control (treble)
This control will increase or decrease high frequency
content in the program material. At the center detent
position, a flat frequency response results.
NOTE: The TONE IN button must be depressed to the
"ON" position to activate the TREBLEControl.
f
,_UoO;I
.,,·,...,;r.l
·••••.••.·o,>1
,.,
5. BALANCE Control (balance)
Adjust for equal volume level between channels. Nor-
mally, with today's high quality sources, it is seldom
necessary to move this control from its precision
center detent position.
6. TAPE MONITOR Button and Indicator (tape
monitor)
Activates the tape/OAT button (item #7) for monitor-
ing or playback operations of tape/OAT-1 or
tape/OAT-2 decks.
NOTE: This button overrides all INPUT SELECTOR
sources (item #14). Always leave in the OFF
(out) position when not in use.
7. TAPE/OAT Button and 1/2 Indicators (tape/
OAT)
For selection of connected tape/OAT decks 1, or 2 for
monitoring or playback purposes.
The tape monitor button (item#6) must be depressed
for this button to operate.
8. STRAIGHT IN Button and Indicator (straight in)
When depressed, prior to tape monitor and INPUT
Selector Buttons, the straight selector button (item
#9) will be activated.
4 _

,,~ ~ « ,.
CONTROLS
&
SWITCHES - FRONT PANEL
&
~I, ~
9. STRAIGHT SELECTOR Button and Indicators
(straight selector)
Selects CD or phono for STRAIGHTIN mode reproduc-
tion. Subsonic, mode, tone and balance circuits will
be by-passed. The straight in button (item #8) must
be depressed for this to operate.
10. VOLUME Control (VOLUME CONTROL)
Allows precision, low noise adjustment of volume
level. It is recommended that the volume control be
set to a low position prior to power turn on and when
switchinq between sources.
11. CARTRIDGE Selector (cartridge selector)
Allows the use of either a moving magnet (MM) or a
moving coil (MC) magnetic phono cartridge. For MM
cartridges, the two (CAP. 1 and CAP.2) positions will
be used. For MC cartridges, three (100 ohm, 40 ohm
and 3 ohm) positions must be used.
12. RECOUT Selector (rec out selector)
This selector allows dubbing between decks in two
ways:
1) from tape/DAT/video-2 to tape/DAT/video-1 ( 2
~ 1 position).
2) from tape/DAT-1 to tape/DAT-2 (1 ~ 2 position).
When placed in the SOURCE position, audio signals
selected by the INPUT SELECTOR(item #14) can be
recorded at each of the 3 decks (TAPE/DAT-1, TAPE/
DAT-2 and VIDEO-1).
Video copies can only be made from a VCRconnected
at the VIDEO-2jacks to a 2nd VCRat the VIDEO-1jacks
in 2 ~ 1 position.
Place this in the off position when not in use.
While dubbing from VIDEO-2 deck to VIDEO-1 deck (2
~ 1 position), you can monitor the VIDEO-2 source
by pressing the VIDEO-2 INPUT Selector button.
13. LOUDNESS Button (loudness)
Depressing this button introduces a moderate boost
of the very low and high frequencies. This compen-
sates for the human ear's characteristic at low
listening levels.
14. INPUT SELECTOR Buttons and Indicators
These select audio and video sources, a total of 5 as
follows: VIDEO-1, VIDEO-2, TUNER, CD and PHONO.
15. SUBSONIC Button (subsonic)
When depressed, a subsonic filter suppresses very
low frequency rumble, below the audible range, to
prevent excessive woofer cone excursions and distor-
tion.
16. MONO Button (mono)
Place in MONO (in) position for mono sources, for bal-
ance control adjustment, for lower noise operation
from high noise stereo sources, or for checking
speaker phasing. Otherwise, leave it in the STEREO
(out) position.
When recording a source selected by INPUT Selector
with VIDEO-1 VCR (or tape/DAT deck), placing this
button in MONO position, monaural recording can be
made. Place this in STEREO position for stereo
recording.
17. TONE IN Button (tone in)
When depressed, the bass and treble tone control cir-
cuits are activated. In the "OFF" position, the tone
circuits are completely bypassed, resulting in ruler-flat
frequency response.
18. OUTPUT Selector (OUTPUT SELECTOR)
Two stereo power amplifiers may be used with the
C-03; A, 8 and A
+
8 positions corresponding with A
and 8 PREOUT jacks on the back panel (item #29).
You may choose independent or simultaneous opera-
tion of the two power amplifiers by using this selector.
In the phones position, only the phones jack output is
available for private listening.
19. PHONES Jack (phones)
Connection of stereophonic headphones to this jack
allows private listening. There is signal at the jack
when placing the OUTPUT SELECTOR in the phones
position, will allow private listening.
NOTE: Place the VOLUME CONTROL at the lowest
level position when switching the output
selector. DO NOT USE the A
+
8 output posi-
tion when only one power-amplifier is
connected to the C-03.
5 •••••••••••••••••••••••••••••••
JACKS
&
TERMINALS - REAR PANEL
20. GNO Terminal 24. TAPE/OAT-2 REC OUT and MONI Jacks
Connect the common (ground) wire of your record
player to this terminal. Connect a 2nd tape (or OAT) deck to these jacks in the
same manner as item #25.
21. PHONO Jacks 25. TAPE/OAT-1 REC OUT and MONI Jacks
An MC or MM type cartridge may be connected to
these inputs. Be sure to set the front panel CAR-
TRIDGE selector (item # 11) to match the cartridge
type (MC or MM) and impedance being used.
Connect the LINE IN and LINE OUT jacks of your audio
tape (or OAT) deck to these REC OUT and MONI jacks
respectively.
26. VIOEO-2 PLAY Jacks
22. CO Jacks
This set of jacks are for connection of a compact disc
(CD) player. They may also be used for any other high
level signal source.
Connect a VCR, LaserIVideo Disc Player, etc., to these
input jacks for playback purposes only. Connect the
audio LINE OUT and VIDEO OUT jacks of the VCR, LD,
etc. to these AUDIO and VIDEO PLAY jacks respect-
ively.
23. TUNER Jacks
These input jacks are for connection to the output
jacks of your FM/AM tuner, such as Luxman's T-117.
6

27. VIDEO-1 REC OUT and PLAY Jacks
Use these for the connection of a video cassette recor-
der (VCR). Be sure to correctly connect the audio LINE
IN and LINE OUT jacks of the VCR to the VIDEO-,
AUDIO REC OUT and PLAY jacks of the C-03 and the
VIDEO IN AND VIDEO OUT jacks of the VCR to the
VIDEO-, VIDEO REC OUT and PLAY jacks of the C-03
respectively.
28. VIDEO MONITOR Jack
Connect this video output jack to the video input jack
of a video monitor or to a TV receiver that has a video
input jack.
29. PRE OUT Jacks
You may connect 2 stereo power amplifiers to the
C-03 with these jacks.
The PREOUT jacks may be switched on and off by the
front panel OUTPUT SELECTOR.
30. Extra AC Outlets (Canadian Models)
You can get supplemental AC power from these out-
lets for your tuner. deck, etc.
But in some countries these are prohibited by law, and
the unit is delivered without such outlet.
31. AC Power Cord
Connect the AC plug of the AC Power Cord into an AC
household power outlet.
NOTE: See CONNECTION DIAGRAM, page 8, for typi-
cal connections to all jacks and terminals
(items #20 through 31).
7
EM,
kill?.
fM
HMS
PM
M'A
e

"~l" ~ ~ ~" " ""
CONNECTION DIAGRAM' "
MONITOR TV
LASERIVIDEO DISC PLAYER (or 2nd VCR)
VIDEO OUT Hi"Fi VCR
AUDIO OUT
VIDEO IN
TUNER
OUTPUT
VIDEO/AUDIO IN VIDEO/AUDIO OUT
AC LINE
GROUND WIRE
RECORD PLAYER
SPEAKERS SPEAKERS
C"03 C-03
SPEAKERS SPEAKERS SPEAKERS
8

BEFORE MAKING CONNECTIONS
It is always wise to ensure that all AC power cords of
the various components that you are interconnecting
are unplugged from the wall outlets during the hook-
up process. This will prevent any inadvertent damage
to your speakers or amplifiers from incorrect control
settings or connections.
BASIC OUTLINE
The C-03 is a pre-amplifier, and as such is the control
center of your sound reproduction system. However,
for a complete function stereo system, a power ampli-
fier to drive your speakers must be connected to the
C-03, and a record player, tape/OAT recorder, VCR,
tuner, etc. must be connected to the inputs of the
C-03. Thus, the connections of these components will
form the basis for your sound reproduction system.
CONNECTING A POWER AMPLIFIER
The C-03 is equipped with two sets of output jacks.
Using a set of pin plug cords, connect the output jacks
of the C-03 to the input jacks (INPUT) of your power
amplifier, taking care not to confuse the left and right
channels. (Use PRE-OUT A for normal stereo play-
back.) Using different pin plug cords for the left and
right channels facilitates easy checking of the unit
connections.
INTERCONNECTING LEADS (Patch Cords)
Be sure that left and right channel identification is cor-
rect when making interconnections. Most patch cords
are color coded with REOends for the right channel
and BLACK or WHITE ends for the left channel, to
make this job easier.
In addition, all jacks on the rear of the C-03 have red
centers for right channel, white for left channel and
yellow for each video jack.
CONNECTION OF AUDIO AND VIDEO TAPE DECKS
One of the common problems in connecting tape/
video decks is confusing the LINE IN and LINE OUT
connections to the pre-amplifier, resulting in no output
even in the SOURCEmodes. To prevent this, always
connect the LINE OUT jacks of the deck to the MONI
(monitor) input jacks of the pre-amplifier and connect
the LINE IN jacks of the deck to the RECOUT (record
out) jacks on the pre-amplifier.
CONNECTION OF VIDEO EQUIPMENT
Follow the connection diagram carefully when con-
necting video equipment to the C-03. In addition, be
sure to read the owner's manuals of such equipment
fully, to ensure proper operation.
It is recommended that only the highest quality TV
monitor, Hi-Fi VCR, LO, etc. be used to complement
the high performance standards of the Luxman C-03.
CONNECTING THE RECORD PLAYER (TURNTABLE)
In addition to the audio lead connections, be sure to
always connect the ground wire from the player to the
GNO terminal (item #20) on the C-03.
When making connections, follow the connection dia-
gram referring also to the descriptions for items #20
through #30 on page 6, 7.

POWER AND SOURCE SWITCHING
To prevent the possibility of excessive, sudden sound
levels, it is recommended that the volume control be
placed at a low level position each time the power
switch is turned on or when switching between
sources.
TAPE RECORDING OPERATIONS
To make a tape recording of any source, proceed as
follows:
(1) Depress the INPUT SELECTOR button for the
source you wish to record.
(2) Place the RECOUT Selector in source position.
(3) The source signal will now be fed to each of the
two tape recorders (tape/DAT-1 and tape/DAT-2)
(to all RECOUT Jacks), if connected.
Follow the recording instructions for the tape deck
in use.
(4) If you have a 3-head deck, you can monitor the
actual recording by depressing the tape/OAT but-
ton PLUS the TAPE MONITOR button (item #6).
The MONITOR position must also be selected on
your tape deck.
TAPE PLAYBACK
Playback from each of the two tape decks can be
heard by depressing the corresponding tape/OAT but-
ton, PLUS the TAPE MONITOR button (item #6).
NOTE:
The Straight In button (item #8) must be in
the OFF (out) position for each of the above
operations.
TAPE DUBBING (Audio)
Tape copies (or dubs) can be made between the 2
decks as follows:
(1) If you wish to copy from deck 2 to deck 1 , place
the RECOUT selector (item # 12) in the TAPE 2 ~
1 position.
(2) In like manner, if you wish to copy from deck 1 to
deck 2, set the REC OUT Selector accordingly
(1 ~ 2 position).
(3) If the copy deck is a 3-head machines, the actual
recording can be monitored by depressing the
TAPE MONITOR button (item #6) PLUS the tape/
OAT button (item #7) to desired TAPE-1 or -2
position.
(4) You may make dubs while simultaneously listen-
ing to any source selected by the INPUT
SELECTOR (item #14). Simply place the TAPE
MONITOR button (item #6) in the ON position
during the dubbing operation.
OAT (Digital Audio Tape) DECKS
When using the analog (audio) inputs and outputs of
such machines, you would connect them and use
them with the C-03 in the same manner as you would
for any audio tape deck.
NOTE:
The C-03 has not digital input jack.
VIDEO PLAYBACK
Both audio and video playback from the connected
AN systems can be selected by depressing the
VIDEO-1 or VIDEO 2 button on the INPUT SELECTOR.
VIDEO TAPE RECORDING AND DUBBING
Both the audio sound tracks and video signals from
any AN source can be recorded by a video cassette
recorder (VCR)through the C-03.
To record a laser disc (LD), a TV stereo tuner or a VCR
connected to the VIDEO-2 inputs, proceed as follows:
(1) Place the RECOUT Selector in source position.
(2) Depress the VIDEO-2 INPUT SELECTOR button to
the "ON" position.
(3) The AN signals will now be fed to the VCR con-
nected to the VIDEO-1 jacks. Follow the recording
instructions for the VCR in use, being sure to set
its input selector to "EXTERNAL" position.
(4) For Dubbing, place the RECOUT selector in video
2 ~ 1 position.

TV OPERATIONS
You can watch and/or record off-the-air (or cable) TV
programs with high quality sound, using a HI-FI VCR.
With a video monitor or TV receiver connected
according to the CONNECTION DIAGRAM, page 8 pro-
ceed as follows:
(1) Set the INPUT SELECTOR of the HI-FI VCR, con-
nected to the VIDEO-1 inputs, to the TV or TUNER
position.
(2) Depress the VIDEO-1 INPUT Selector button on
the C-03.
(3) You can now view any channel selected by the HI-
FI VCR's tuner.
(4) A recording of the selected TV program can also
be made, while watching and listening to high
quality sound, by placing the VCR in the RECORD
mode.
If you have a TV monitor with stereo audio outputs,
these may be connected to the VIDEO-2 jacks for inde-
pendent TV operation with high quality stereo sound.
Proceed as follows:
(1) Turn the power OFF to the VCR connected to the
VIDEO-1 jacks on the C-03.
(2) Place the INPUT SELECTOR of the C-03 in the
VIDEO-2 position.
(3) Set the INPUT SELECTOR of the TV to the TV posi-
tion and tune desired channels.
NOTE: Be sure to consult the owner's manuals of the
VCR, TV monitor and other AN units for spe-
cific operational details.
e===============================~11"""""""""""""""".

~
CARE AND MAINTENANCE
CLEANING
The durable finish of the knobs and heavy aluminum
front panel will last indefinitely with proper care and
cleaning. Never use scouring pads, steel wool, scour-
ing powders, or harsh chemical agents, such as lye
solution. These will mar the finish. Clean with a soft,
lint-free cloth or cotton swab slightly dampened with a
mild solution of detergent and water.
REPACKING FOR SHIPMENT
Should it become necessary to ship your C-03 for any
reason, use the original packing materials. If these are
no longer available, be sure that adequate materials,
at least equivalent to the original, are used.
REPAIRS
Only the most competent and qualified service techni-
cians should be allowed to service the C-03. The
Luxman company and its factory-trained warranty
station personnel have the knowledge and special
equipment needed for repair and calibration of this
precision instrument.
In the event of difficulty, call the Luxman Authorized
Service Station nearest your home or business. In
many cases, the dealer where you purchased your
Luxman unit will be equipped to provide service.
, SPECIFICATIONS
Total Harmonic Distortion:
CD-Preout, 2V 0.004%
Phono . MM - Rec out, 5V 0.005%
Phono . MC (100Q) - Rec out, 5V . . . . . . .. 0.Q1%
Frequency Response:
Phono (MM) 20 Hz - 20 kHz
±
0.3 dB
Line. . . . . . . . . .. 10Hz - 100 kHz +0.3, -0.8 dB
Signal to Noise Ratio (lHF-A):
MM 85 dB
MC 68 dB
Line 110 dB
Maximum Output Level/Impedance 1OV/20Q
Input Sensitivity/Impedance:
MM. . . . . . . . . . . . . . . . . . . . . . . . . .. 2.5mV /50kQ
Line 150mV /47kQ
Phono Overload Input at 1kHz. . . . . . . . . . .. 220mV
Dimension . . . . . . . . .. 438(W) x 88(H) x 328(D) mm
Weight (Net) 5.5 kg
Specifications and appearance design subject to
change without notice .
•••••••••••••••••••••••••••••••• 12 ••••••••••••••••••••••••••••••••
••-~~~o~,~s~~~~!!~~~o~~~~~
r.
Phone: 03-493-4381 Facsimile: 03-494-8426
68P83710F05-A
Printed in Japan
lrnprirne au Japon
Other manuals for C-03
1
Table of contents
Other Luxman Amplifier manuals

Luxman
Luxman SQ507X User manual

Luxman
Luxman M-02 User manual

Luxman
Luxman CL-38uSE User manual

Luxman
Luxman MQ-88uC User manual

Luxman
Luxman C-02 User manual

Luxman
Luxman SQ-N150 User manual

Luxman
Luxman LV-117 User manual

Luxman
Luxman L-505uX User manual

Luxman
Luxman LV-100 User manual

Luxman
Luxman L-550AXII User manual

Luxman
Luxman EQ-500 User manual

Luxman
Luxman CL-38uC User manual

Luxman
Luxman A-371 User manual

Luxman
Luxman CL-1000 User manual

Luxman
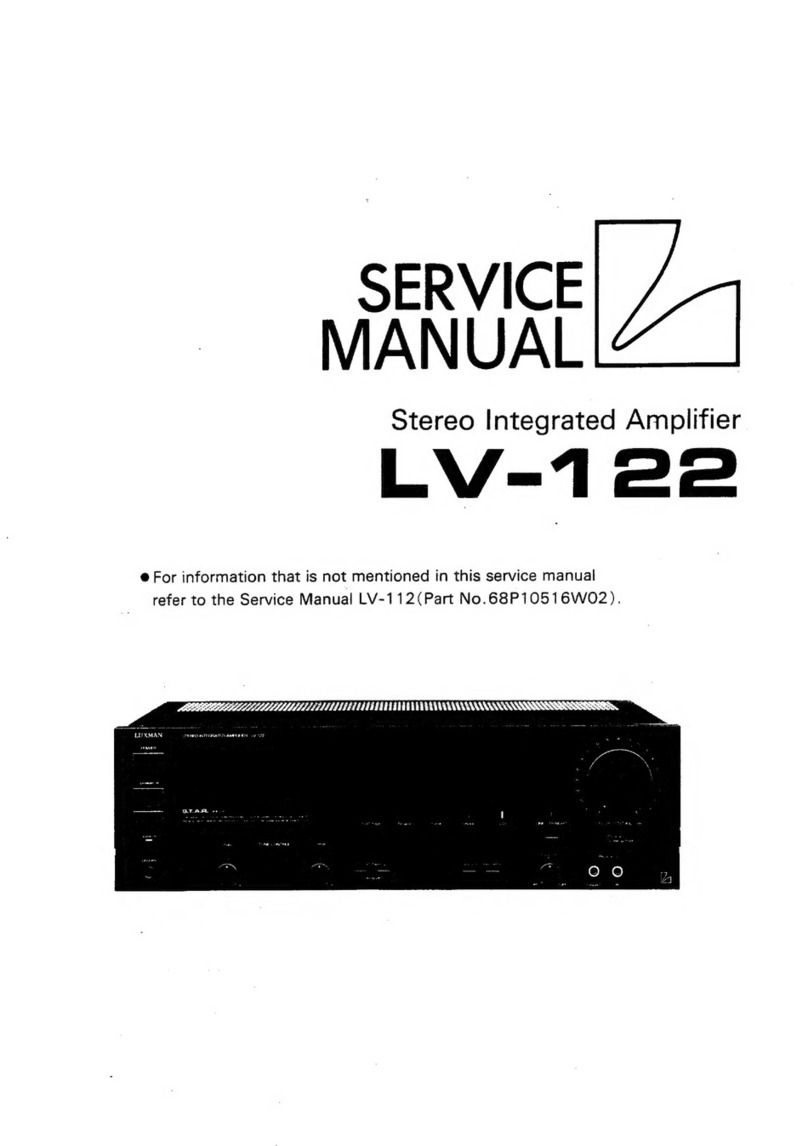
Luxman LV-122 User manual

Luxman
Luxman L-509X User manual

Luxman
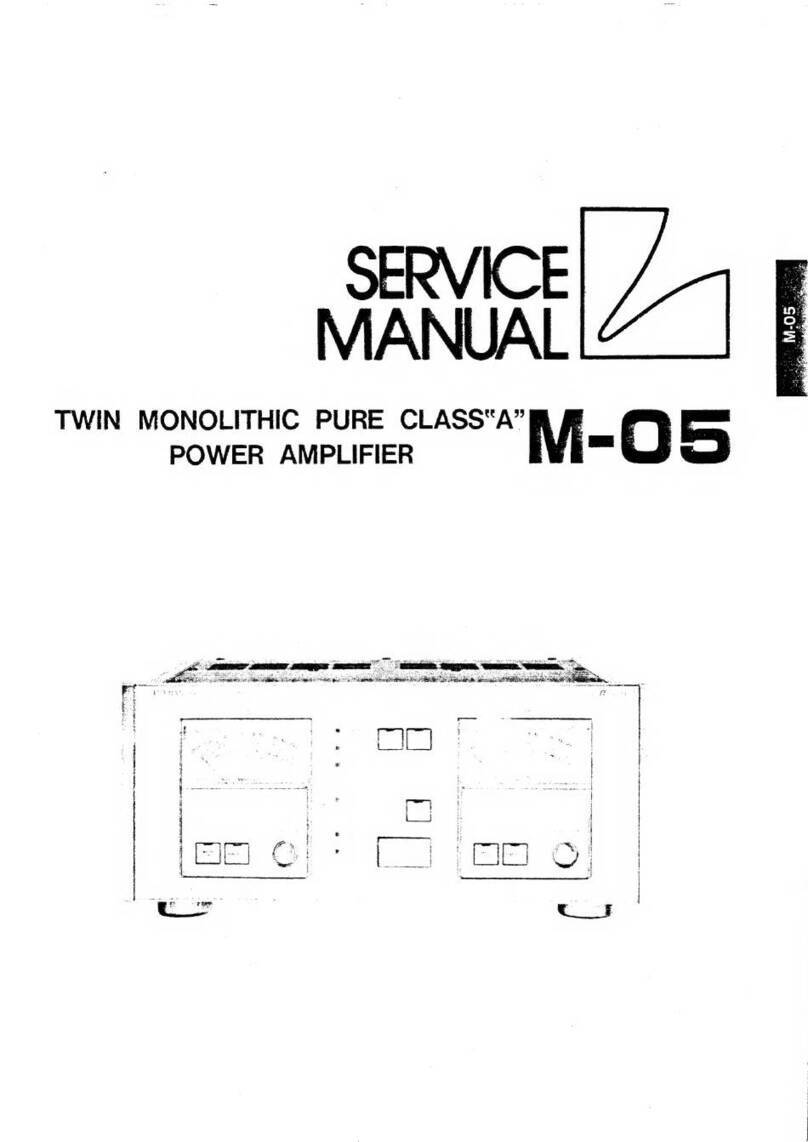
Luxman M-05 User manual

Luxman
Luxman LV-117 User manual

Luxman
Luxman L-595ASE User manual

Luxman
Luxman L116A User manual