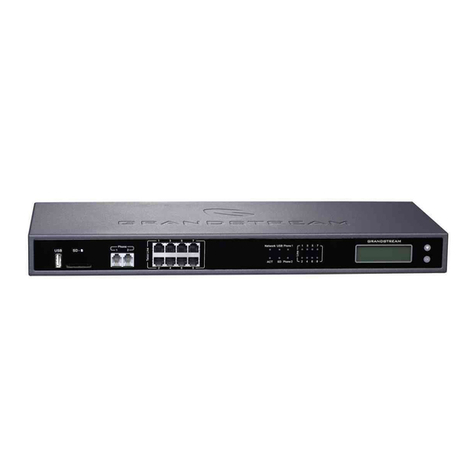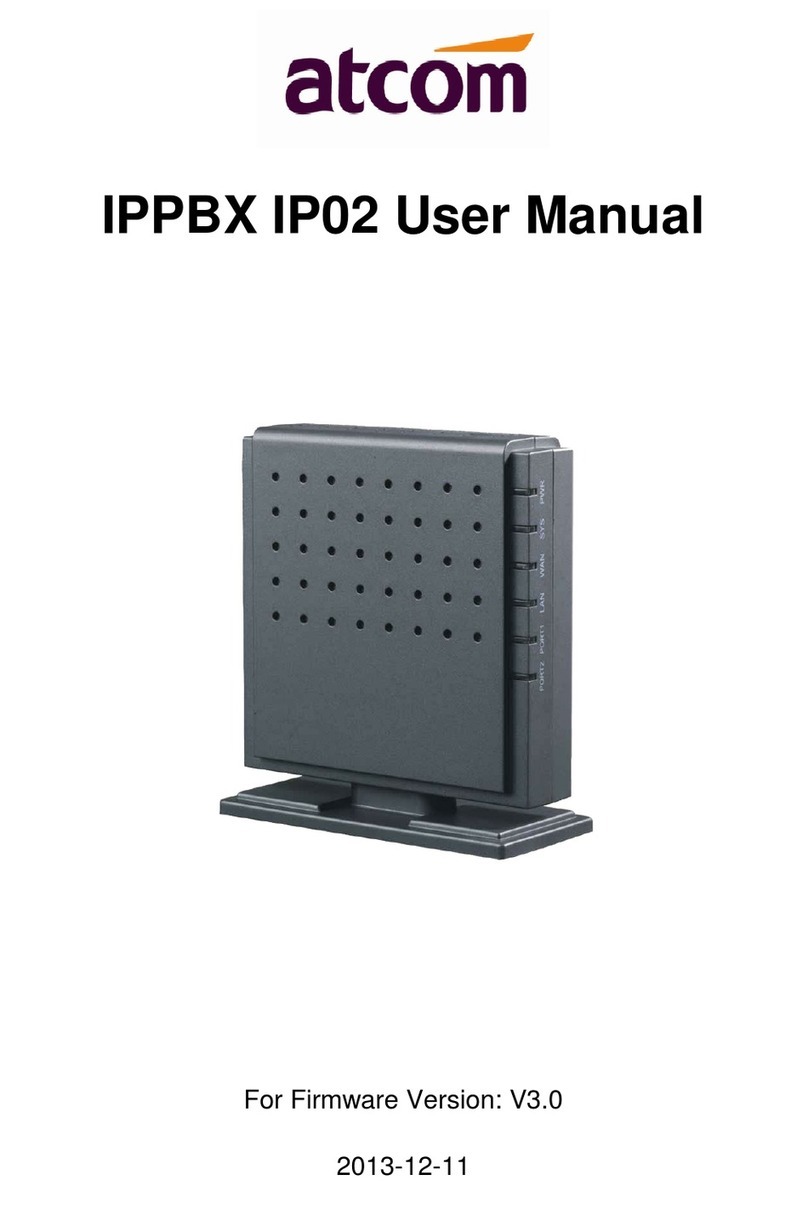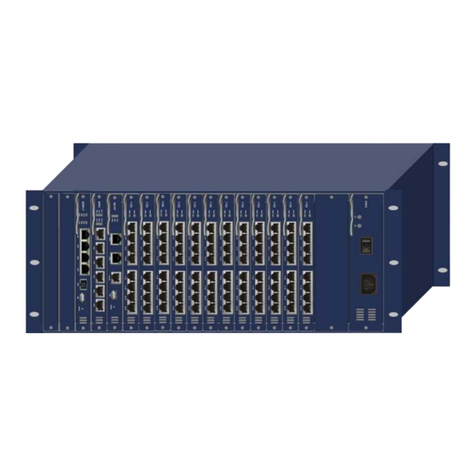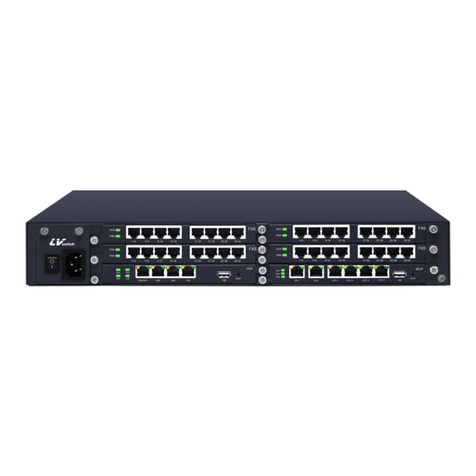
Physical Connection
Equipment power-on self test
It takes 1~2 minutes for the device to startup and the hardware can
self-check status before it running normally. Please be patient. When the
running light changes from constant brightness to blinking, this means the
system is activated.
WEB Administrator system login
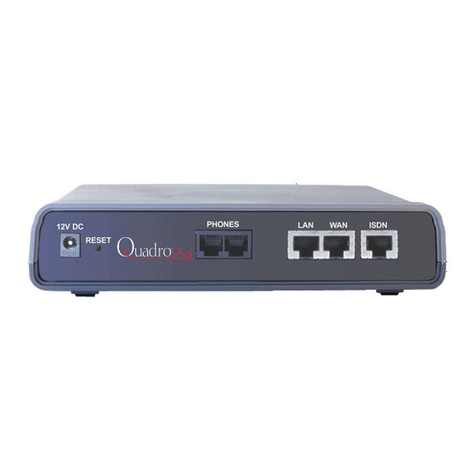
Physical connection: The LAN port of the IPPBX is directly connected to the PC
network port;
1. The PC network port is configured to automatically obtain the IP address
mode or static IP address mode.
2. The user launches the browser on the PC. In the address bar enter
http://192.168.100.1 to log in to the WEB network management.
3. Select the language Chinese or English to log in.
Username:admin
Password:admin
NOTE:The IP address of the PC must be configured with the same network
segment as the LAN2 port to access the WEB page.
Configure Analog Trunk
1. Physical connection: FXO port is connected to the operator's analog exterior line;
2.Path: Click Voiceset>Trunks config> trunk config> analog trunk >Add
Select the corresponding FXO port trunk channel
Configure SIP Trunk
1. Physical connection: WAN port of the device is connected to local area network;
2. Network setting route:network>basic setting>Wan setup>WAN5
3.SIP trunk configure route: Voiceset>Trunks config>Trunk config> SIP trunk>ADD
Please get the the SIP server parameters from the VOIP service provider.
Master Agent Address,port number,transport protocol,DID: select DID
number1,interface type “UNI”(UNI mode is register mode/NNI is IP
docking),Attribute Domain/IP:(IMS operators generally need to fill in)
√ Click: Save setting> Apply
1. Voice set> Trunks config>SIP Registry>Add
Select the sip trunk name,Configure registration authentication user name,
registration authentication password
2. Voiceset>start report>service voice status>sip show registry to check the SIP
registry status
Configure outbound call
1.Route:Voiceset>Trunks config> Outbound call
Default setting:Analog trunk outgoing prefix local call:0
Domestic call:00 International call:000
SIP trunk local call outgoing prefix:9
Domestic call outgoing prefix:90
International call outgoing prefix:900
Configure Inbound call
1. Configure inbound route for analog trunk
Route:Voiceset>Trunks config>Inbound call
Click add: inbound call operations can select to automatic transfer to
extension,IVR or automatic transfer to operator.(The transfer priority is higher
than binding FXO channel)
2. SIP trunk inbound call :
Route:Voiceset>User config>Users> fill in DID number
An extension can bind the incoming and outgoing calls of the SIP relay
account by filling in the DID number 1. One SIP account corresponds to one
extension. If one SIP account is used for multiple extensions, the incoming call
will not take effect, and the incoming call can only be configured with the
DNIS rule
Route:Voiceset>Trunks config>DNIS
Fill in:DNIS number( SIP trunk register user name), the incoming
operation can be transfer to extension/IVR/Queue/Hang up/Conference/Wait/
etc(Priority is higher than DID number1 ).
Configure user extension
1. Route: Voiceset> users config>user> click search/export
2. Batch modify type: FXS user name,FXS channel,permission,user
account,extension number etc.
3. Tips:When registry of analog or SIP user,remember to check the term
enable extension setting, SIP USER NAME,extension number and registry
account must be the same. The primary registry password of sip user is
Aa111111, Permitted Registry Address Range:not checked this term.And also
pay attention to the user permission of the extension.
IPPBX Users self-service system login
IPPBX single user can log in users self-service system by entering
address http://192.168.100.1/users.php in browser.
User name:user such as 6001,8001
Password:111111
