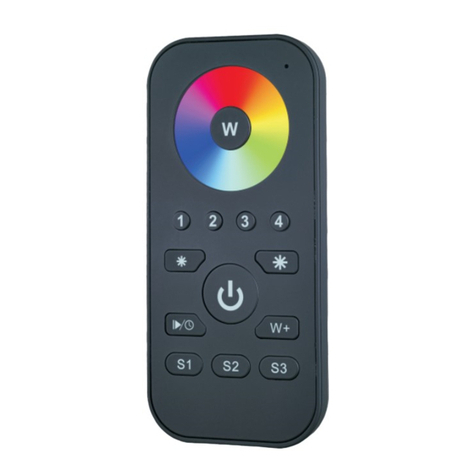
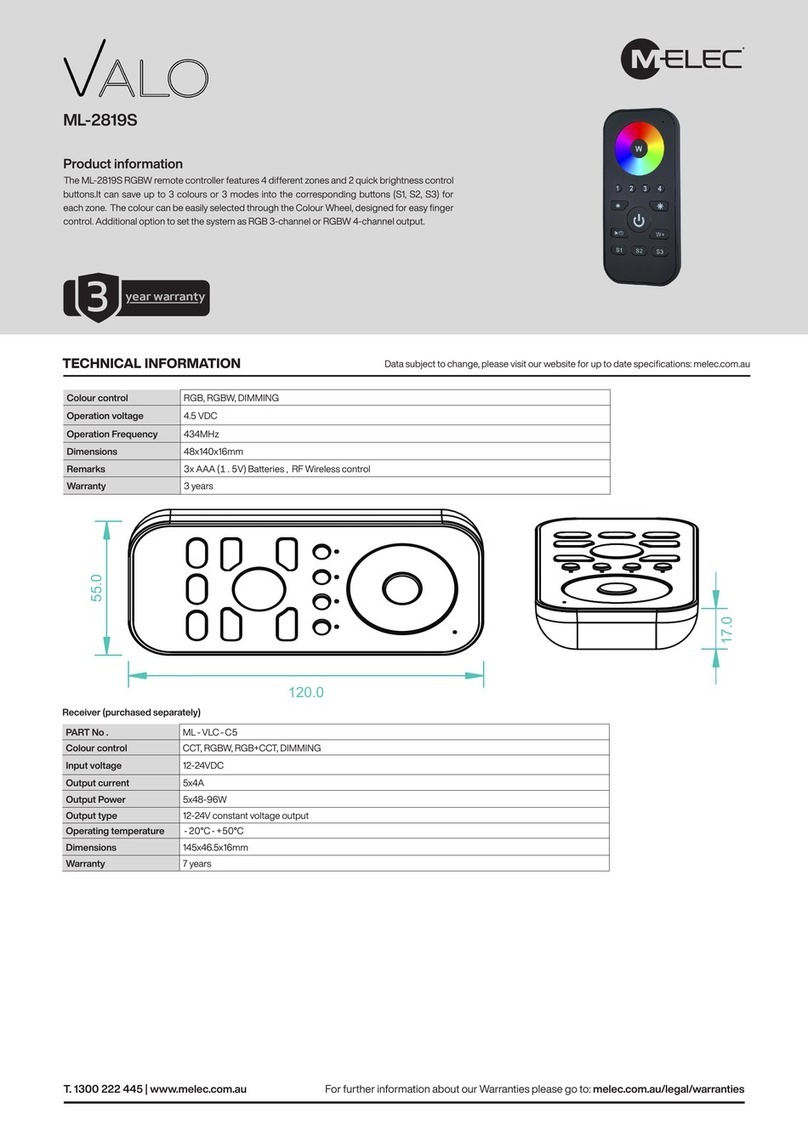
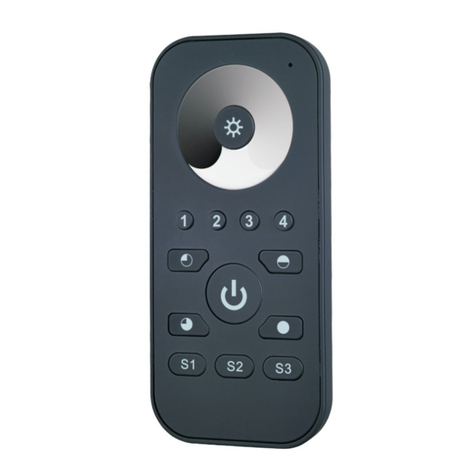
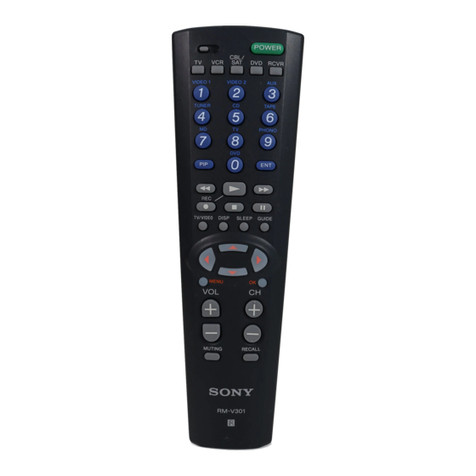
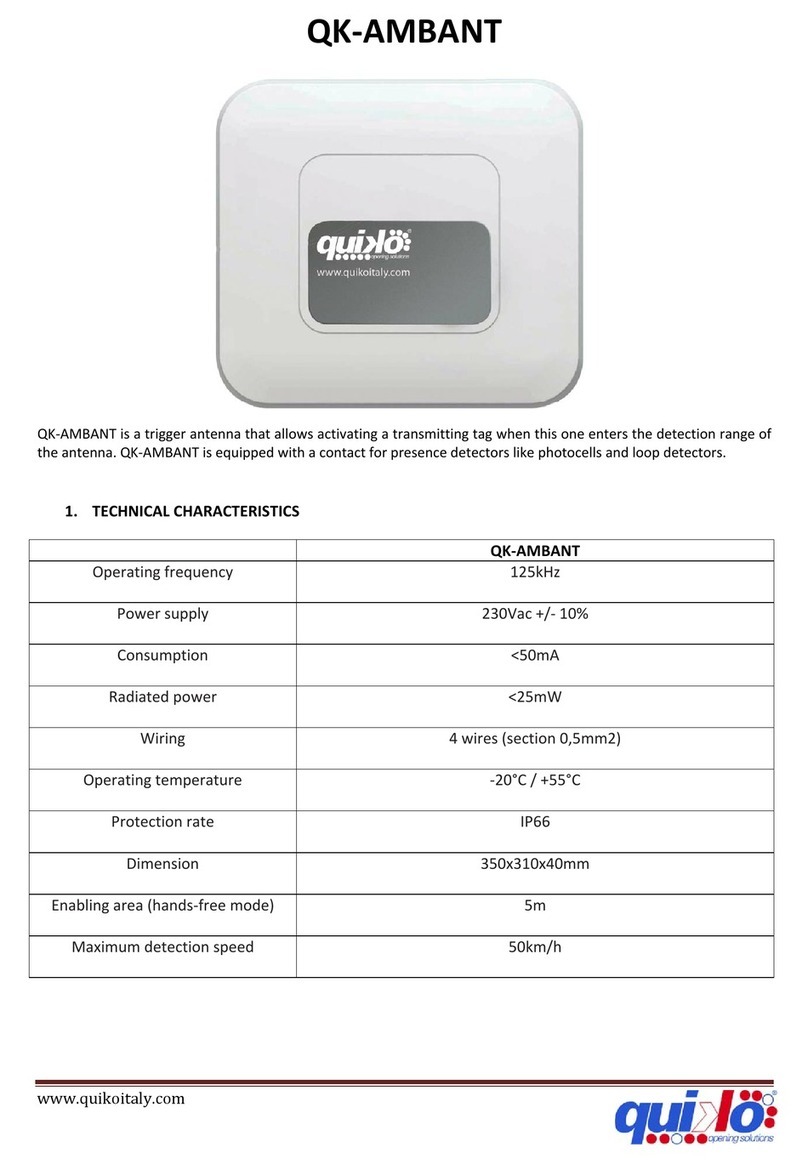
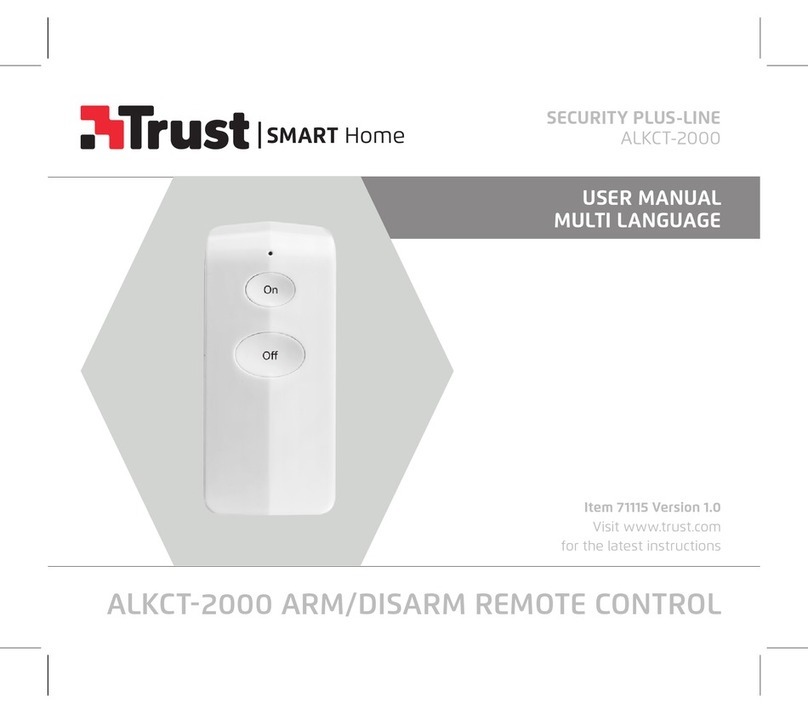
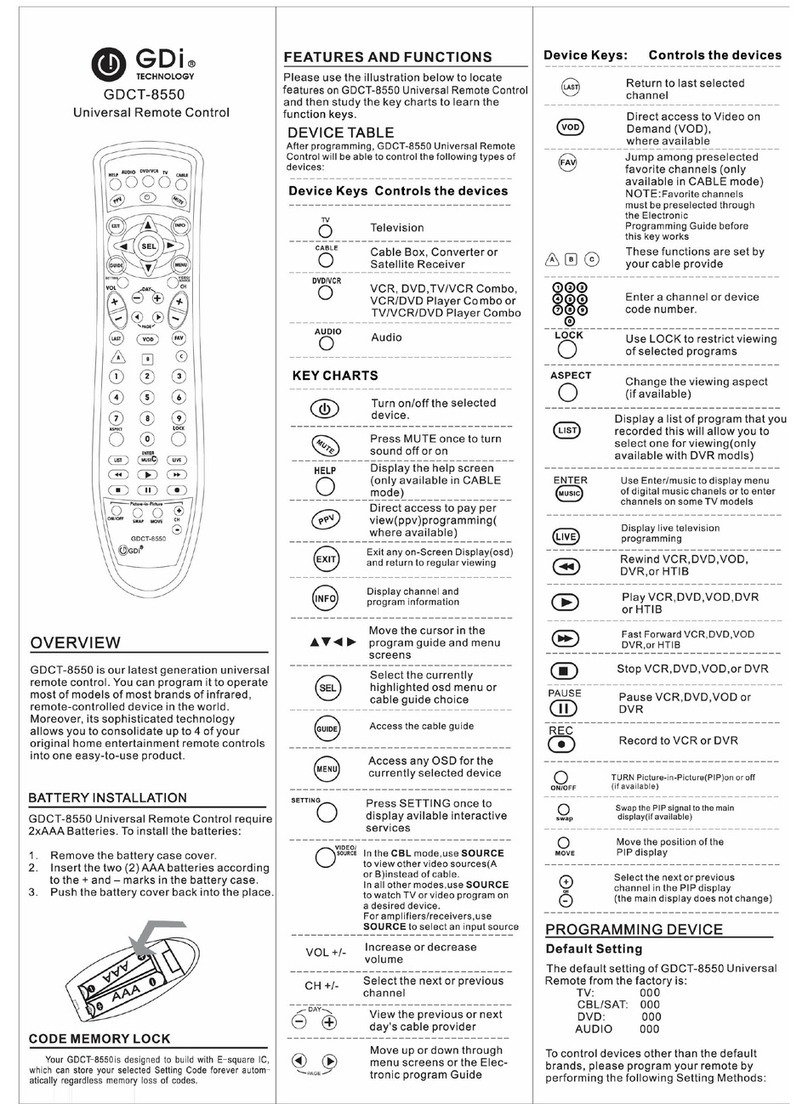
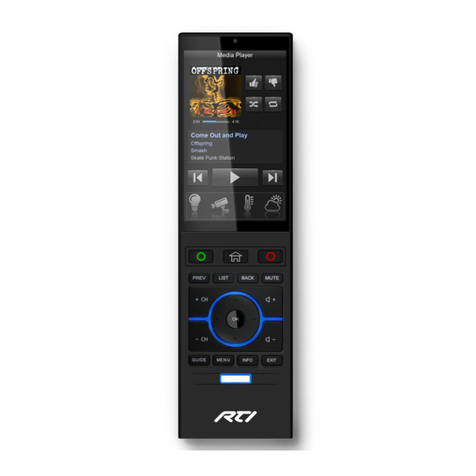
M-Elec Valo ML-2819T8 User manual

This RGBW wireless remote offers up to 8 zones of RGBW all in 1 remote. Working wirelessly
with the ML-VLC-C5 receiver this remote has full control of all colours individually and allows both
speed and brightness control of the various modes. Supplied with storage cradle.
ML-2819T8
Product information
Colour control RGB, RGBW, DIMMING
Operation voltage 4.5 VDC
Operation Frequency 434MHz
Dimensions 43.8x131.6x24.5mm
Remarks
Warranty
TECHNICAL INFORMATION
T. 1300 222 445 | www.melec.com.au melec.com.au/legal/warranties
PART No.
Colour control CCT, RGBW, RGB+CCT, DIMMING
Input voltage 12-24VDC
Output current
Output Power 5x48-96W
Output type 12-24V constant voltage output
Operating temperature °°C
Dimensions 145x46.5x16mm
Warranty 7 years
Receiver (purchased separately)
3
RF RGBW Controller
ML-2819T8 works with ML-1009FAWi
Parameter
Wiring diagram
Product Size
Part No. Iuput Voltage Remarks
Current
ML-1009FAWi 12-36VDC Constant voltage
4x(60-180)W
4x5A
Output
Remote
Part No. Operation Voltage DIMENSIONS
ø/h (mm)
Operation
Frequency
ML-2819T8 4.5VDC 43.8x131.6x24.5
434MHz
Receiver(purchased separately)
43.8
131.6
24.5
Brief introduction of buttons
R G Short press: switch on/off each channel;
Long press: dim up/down each channel
B W
Working status indicator, the sender is in dormant status when the indicator is off. The
sender is under working when the indicator is flashing rapidly. If the indicator continues
flashing at the frequency of 1 second, it indicates that the sender batteries are low and
needs replacement new batteries.
S- Speed down when color is changing S+ Speed up when color is changing
B- Brightness down B+ Brightness up
Turn ON/OFF
Touch wheel for selecting R/G/B colors
R G B W
S- S+W+
B- B+
P- P+
5 6 7 8
P- P+
1 2 34
Build-in 10 Dynamic modes,P- is previous mode,P+ is next mode.
are zone numbers,long press switch on/off each zone.Short press is to choose a
zone.To synchronize several zones,short press 2 or more buttons one after another.
Press-button RGBW controller
Receivers work with WIFI-RF convertor to be controlled by smart phone
1 2 3 4
8 zones,long press can turn on/off each zone
5 6 78
Note: If you press R, then press G, then it is mix color of R and G. If you want
to get G color directly, please press R to switch off of R first. Then press G.
Power Supply
12-36VDC
LN
110V-230VAC
RGB/W or CDW LED strip
PRI:
Uin=12-36VDC
Iin=20.5A
SEC:
Uout=4x(12-36)VDC
Iout =4x5A
Pout=4x(60-180)W
ML-1009FAWi
12-36VDC
W
TEMP RA NGE:-20℃- +5 0℃
Learning
Swi tch
Reset
Swi tch
S C
1. Do wiring according to connection diagram and install battery into remote control.
2. How to learn&delete ID process?
a. Turn on the remote by .
b. Short press at Learning Key on receiver.
c. Press any zone button(which you desire to control) on remote, for example .
d.Then touch color wheel.
e.Connected LED light will blink to confirm zone designation.
How to reset to factory default: Long Press Learning Key on receiver for over 5 seconds until connected LED light
flash off,to delete the learned ID, the receiver will be reset to factory default. If you want to learn receiver into
another zone, please follow learning ID process operation 2.
Operation
1
5

T. 1300 222 445 | www.melec.com.au melec.com.au/legal/warrantiesT. 1300 222 445 | www.melec.com.au melec.com.au/legal/warranties
BUTTON GUIDE
WIRING DIAGRAM (ML-VLC-C5)
WARRANTY
OPERATION
1. Learning (matching)
A: Connect the ML-VLC-C5 according to the wiring diagram.
B: Power on the ML-2819S by pressing the ON/OFF button.
C:Short press “Prog.” key on the ML-VLC-C5 3 times (or reset power 3 times) to set it to RF
pairing mode.
D:Touch any zone button on the remote control, for example ❶.
E: Then touch the color wheel
F. The LED lights connected to the ML-VLC-C5 will blink to show successful pairing & zone
designation
Delete pairing to RF receiver:
PLEASE NOTE
• Read instructions carefully before attempting to install the fitting. Retain this guide for future reference
• Disconnect power before installing or servicing
• This fitting is for indoor use and should not be used in areas with limited ventilation or high ambient temperatures
•
• Be careful not to damage or destroy conductive paths on the circuit board
• 000
• Correct electrical polarity must be observed as the wrong polarity may destroy the product and is not covered under warranty
• Damage by corrosion will not be honoured as a material defect claim. It is the user’s responsibility to provide suitable protection against
corrosive agents such as moisture, condensation and other harmful elements
RF RGBW Controller
ML-2819T8 works with ML-1009FAWi
Parameter
Wiring diagram
Product Size
Part No. Iuput Voltage Remarks
Current
ML-1009FAWi 12-36VDC Constant voltage
4x(60-180)W
4x5A
Output
Remote
Part No. Operation Voltage DIMENSIONS
ø/h (mm)
Operation
Frequency
ML-2819T8 4.5VDC 43.8x131.6x24.5
434MHz
Receiver(purchased separately)
43.8
131.6
24.5
Brief introduction of buttons
R G Short press: switch on/off each channel;
Long press: dim up/down each channel
B W
Working status indicator, the sender is in dormant status when the indicator is off. The
sender is under working when the indicator is flashing rapidly. If the indicator continues
flashing at the frequency of 1 second, it indicates that the sender batteries are low and
needs replacement new batteries.
S- Speed down when color is changing S+ Speed up when color is changing
B- Brightness down B+ Brightness up
Turn ON/OFF
Touch wheel for selecting R/G/B colors
R G B W
S- S+W+
B- B+
P- P+
5 6 7 8
P- P+
1 2 34
Build-in 10 Dynamic modes,P- is previous mode,P+ is next mode.
are zone numbers,long press switch on/off each zone.Short press is to choose a
zone.To synchronize several zones,short press 2 or more buttons one after another.
Press-button RGBW controller
Receivers work with WIFI-RF convertor to be controlled by smart phone
1 2 3 4
8 zones,long press can turn on/off each zone
5 6 78
Note: If you press R, then press G, then it is mix color of R and G. If you want
to get G color directly, please press R to switch off of R first. Then press G.
Power Supply
12-36VDC
LN
110V-230VAC
RGB/W or CDW LED strip
PRI:
Uin=12-36VDC
Iin=20.5A
SEC:
Uout=4x(12-36)VDC
Iout=4x5A
Pout=4x(60-180)W
ML-1009FAWi
12-36VDC
W
TEMP RAN GE :-20℃-+ 50℃
Learning
Swi tc h
Reset
Swi tc h
S C
1. Do wiring according to connection diagram and install battery into remote control.
2. How to learn&delete ID process?
a. Turn on the remote by .
b. Short press at Learning Key on receiver.
c. Press any zone button(which you desire to control) on remote, for example .
d.Then touch color wheel.
e.Connected LED light will blink to confirm zone designation.
How to reset to factory default: Long Press Learning Key on receiver for over 5 seconds until connected LED light
flash off,to delete the learned ID, the receiver will be reset to factory default. If you want to learn receiver into
another zone, please follow learning ID process operation 2.
Operation
1
5
Other M-Elec Remote Control manuals
