M1-Sporttechnik Spitzing Pedelec User manual

M1 mid-drive bikes with TQ motor
Drive system operating manual
Powered by Fritzmeier.
M1 - Sporttechnik GmbH & Co. KG • Am Weiglfeld 15 • D-83629 Weyarn • www.info@m1-sporttechnik.de

3rd Edition www.m1-sporttechnik.de

3
Index
Foreword 4
E-bike classications 5
Pedelec . . . . . . . . . . . . . . . . . . . . . . . . . . . . . . . . . 5
S-Pedelec . . . . . . . . . . . . . . . . . . . . . . . . . . . . . . . 6
R-Pedelec . . . . . . . . . . . . . . . . . . . . . . . . . . . . . . . 6
Safety Notices 7
General safety notices . . . . . . . . . . . . . . . . . . . . . . . 7
Technical safety notice . . . . . . . . . . . . . . . . . . . . . . . 7
Bike Functions 8
Display . . . . . . . . . . . . . . . . . . . . . . . . . . . . . . . . . 9
Sensors . . . . . . . . . . . . . . . . . . . . . . . . . . . . . . . . . 9
Controls . . . . . . . . . . . . . . . . . . . . . . . . . . . . . . . . 9
Push/start assist . . . . . . . . . . . . . . . . . . . . . . . . . . 12
Cycling without batteriy . . . . . . . . . . . . . . . . . . . . . 12
Removing the seat support from the s-pedelec . . . . . . 12
Loading the battery . . . . . . . . . . . . . . . . . . . . . . . . 13
Battery storage . . . . . . . . . . . . . . . . . . . . . . . . . . . 15
Battery safety notices . . . . . . . . . . . . . . . . . . . . . . . 15
Chassis . . . . . . . . . . . . . . . . . . . . . . . . . . . . . . . . 17
Maintenace of the driver components . . . . . . . . . . . . 17
Warranty/guarantee statement 17
Technical Data 20

4
Dear Client,
Congratulations on purchasing a high quality electro bike from M1-Sporttechnik.
You have chosen the perfect combination of a reliable frame, high quality compo-
nents and high performance drive technology.
To ensure the electronic drive components always stay operational, it is essential to
perform regular care and maintenance.
For this reason, we ask you to please read through these operating instructions
very carefully, and to follow the instructions which explain how to use the elec-
tric drive functions, how to take care of the battery and use the charger.
If even after you nish reading the operating manual, you still have some questions
that remain open, your M1-Sport-Technik team is naturally available to you at all
times. Thank you having shown condence in us and we wish you lots of fun and
always a safe journey with your M1-Pedelec, S-Pedelec or R-Pedelec.
Your M1-Sporttechnik team

5
e-bike calssication | safety notices | bike functions | guarantee statement
E-BIKE CLASSIFICATIONS
Because in some countries the type of drive assistance is important for driving licen-
ses, distinctions are made between the following classes:
Pedelec - 25 km/h
Electro bikes with pedal assist up to 25 km/h
S-Pedelec (Speed Pedelec) - 45 km/h
Electro bikes with pedal assist up to 45 km/h
R-Pedelec (Race-Pedelec)
Electro bikes with pedal assist, which does not switch o at a dened speed limit.
The key dierence between M1-Pedelecs, M1-S-Pedelecs and M1-R-Pedelecs is basi-
cally only the legal framework, as there practically is no dierence between the bike
models, other than the speed.
THE PEDELEC
An electro bike with limited pedal assist up to 25 km/h.
In an electro bike with limited pedal assist, the motor only has an eect when you
apply a certain force on the crank lever. The motor only assists you when you pedal.
Pedelecs are exempt from the EU motor vehicles directive if they are limited to an
average engine power of 250 W and the power assist is limited to 25 km/h. As a
result, Pedelecs do not require an operating permit, and in Germany users are freed
of the obligation to wear a helmet, to have insurance or a driver’s license. That being
said, the M1-Team recommends wearing a helmet as a general rule! Under the terms
of the German Highway Code, these “normal” Pedelecs are considered as bicycles.
Please follow the regulations that apply in each individual country for
using a Pedelec.

6e-bike calssication | safety notices | bike functions | guarantee statement
THE SPEDELEC
An electro bike with limited pedal assist up to 45 km/h.
In the S-Pedelec also, the motor only has an eect when you apply a certain force on
the crank lever. So in S-Pedelec too, the motor only assists you when you pedal. In
Germany, a bike helmet must be worn on electro bikes with pedal assist up to 45 k/h,
and a moped driver’s license (at least) is required. S-Pedelecs also have to be insured
and they can only be used on bicycle paths if these are permitted for mopeds, for
example with the added “Mofa frei” sign and always only outside the town limits. In
precise legal terms, S-Pedelecs are small, low power motorbikes”in vehicle class L1e
in European Union.
When using an S-Pedelec, please follow the regulations that are applicable in each
individual country.
THE RPEDELEC
Electro bike with pedal assist that has no limit on its maximum speed.
In R-Pedelecs also, the motor only has an eect when you apply a certain force on
the crank lever. So in S-Pedelecs too, the drive only assists you when you pedal.
R-Pedelecs are not authorized for use on public roads, and are not in conformance
with Highway Trac Act! You can only use them on private land or racetracks that
are available for this purpose. If you ride an R-Pedelec on the public road you can be
charged with driving without insurance, driving without a license or other oenses.
The vehicle class of an R-Pedelec is L3e in European Union.
When using an R-Pedelec vehicle class L3e, please follow the regulations that are
applicable in each individual EU country.

7
e-bike calssication | safety notices | bike functions | guarantee statement
SAFETY NOTICES
Highway Traffic Act
The general terms of the Highway Trac Act apply to the use of electro bikes on the
public highway. The following regulations also apply to the use of your M1-Pedelec
or S-Pedelec.
Please respect the current restrictions in individual townships and states relating to
the use of forest paths or trails, as many regions have specic rules.
GENERAL SAFETY NOTICES
Respect the rules for cycling safely, just like with other sports, the danger of injury is
always present. Even if you feel fully condent, you should still ride with caution, and
avoid taking risks. And for your own safety, don’t overestimate yourself. Always wear
suciently protective clothing and a helmet, as this is the best way to protect your
head from injury. Please keep this in mind even on trips that may not see dangerous.
The M1-Team recommends always wearing a helmet!
TECHNICAL SAFETY NOTICE
This original operating manual contains useful information for correctly using and
regularly maintaining the drive components.
We recommend you to have proper servicing or repair done only by your authorized
M1 dealer. Installation or repair that is improperly carried out can lead to malfunc-
tions and accidents.
Neglecting the instructions and safety notice could damage the product and cause
an electric shock, re and/or serious injuries.
Damage caused by non respect of the instructions in this manual, as well as impro-
perly executed installation or repairs invalidates the warranty and guarantee.
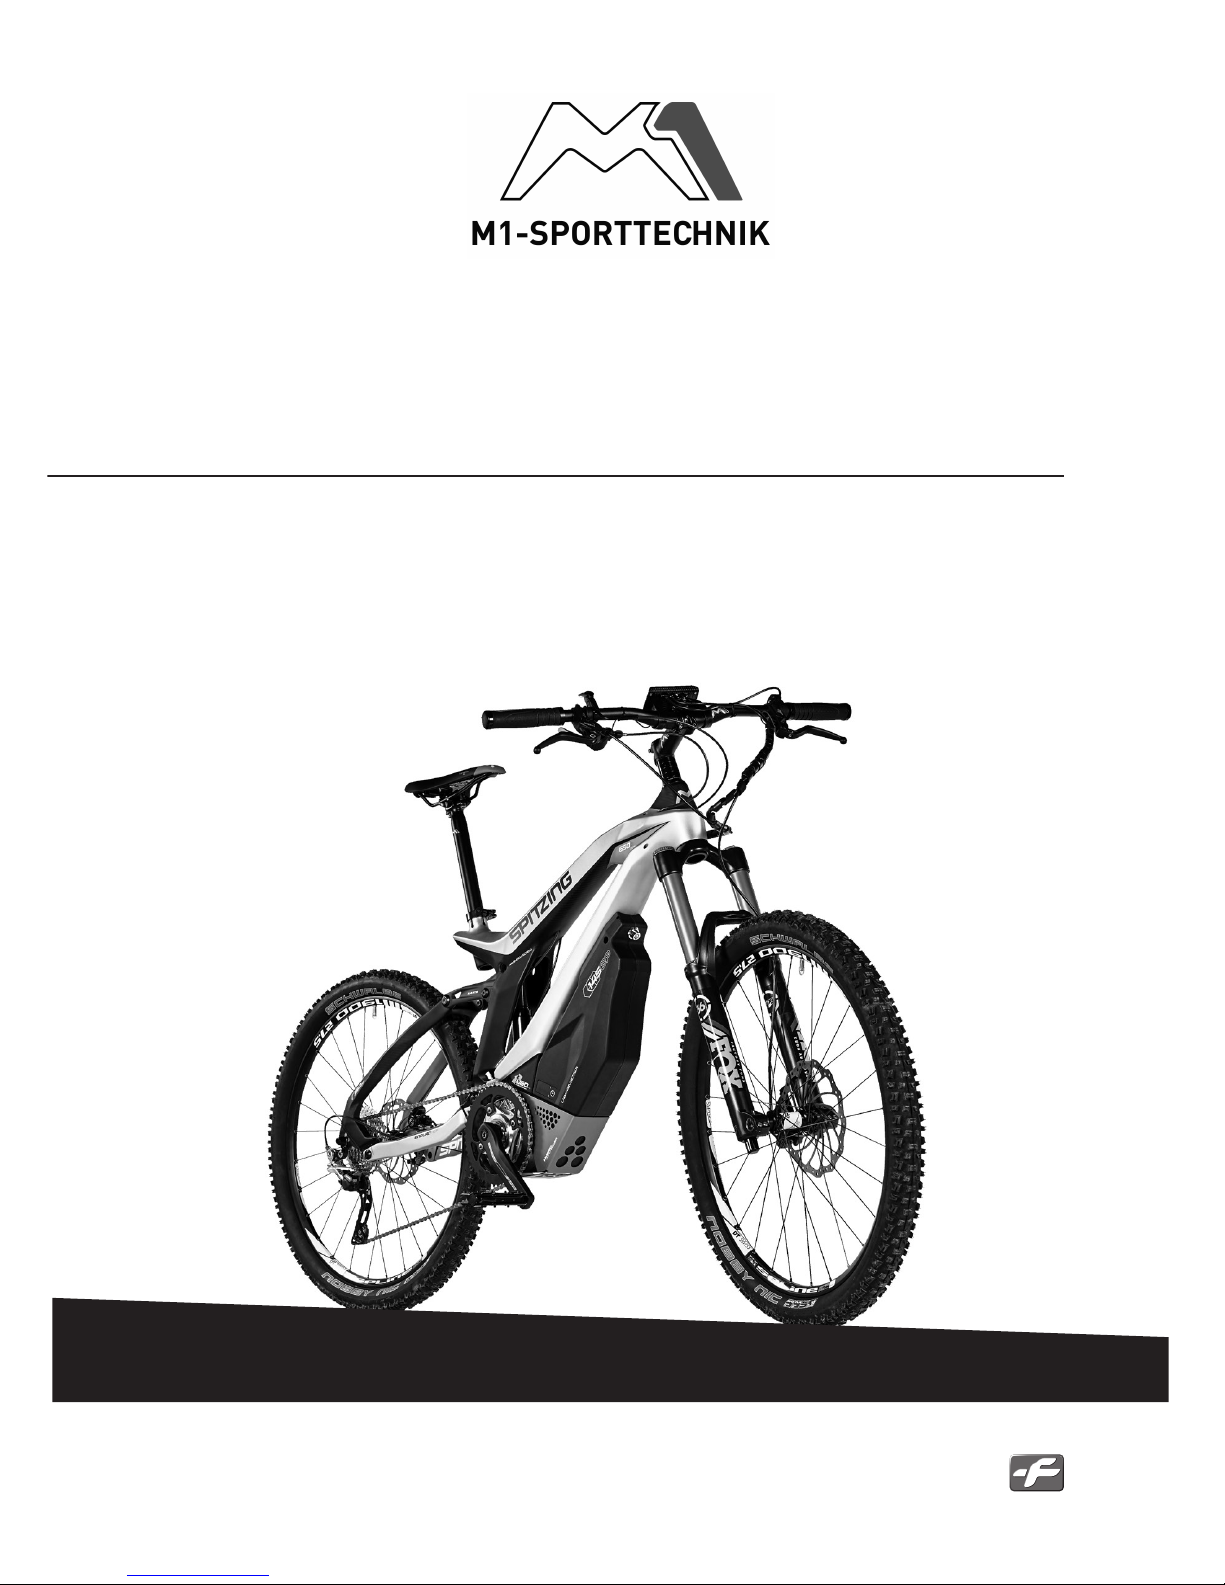
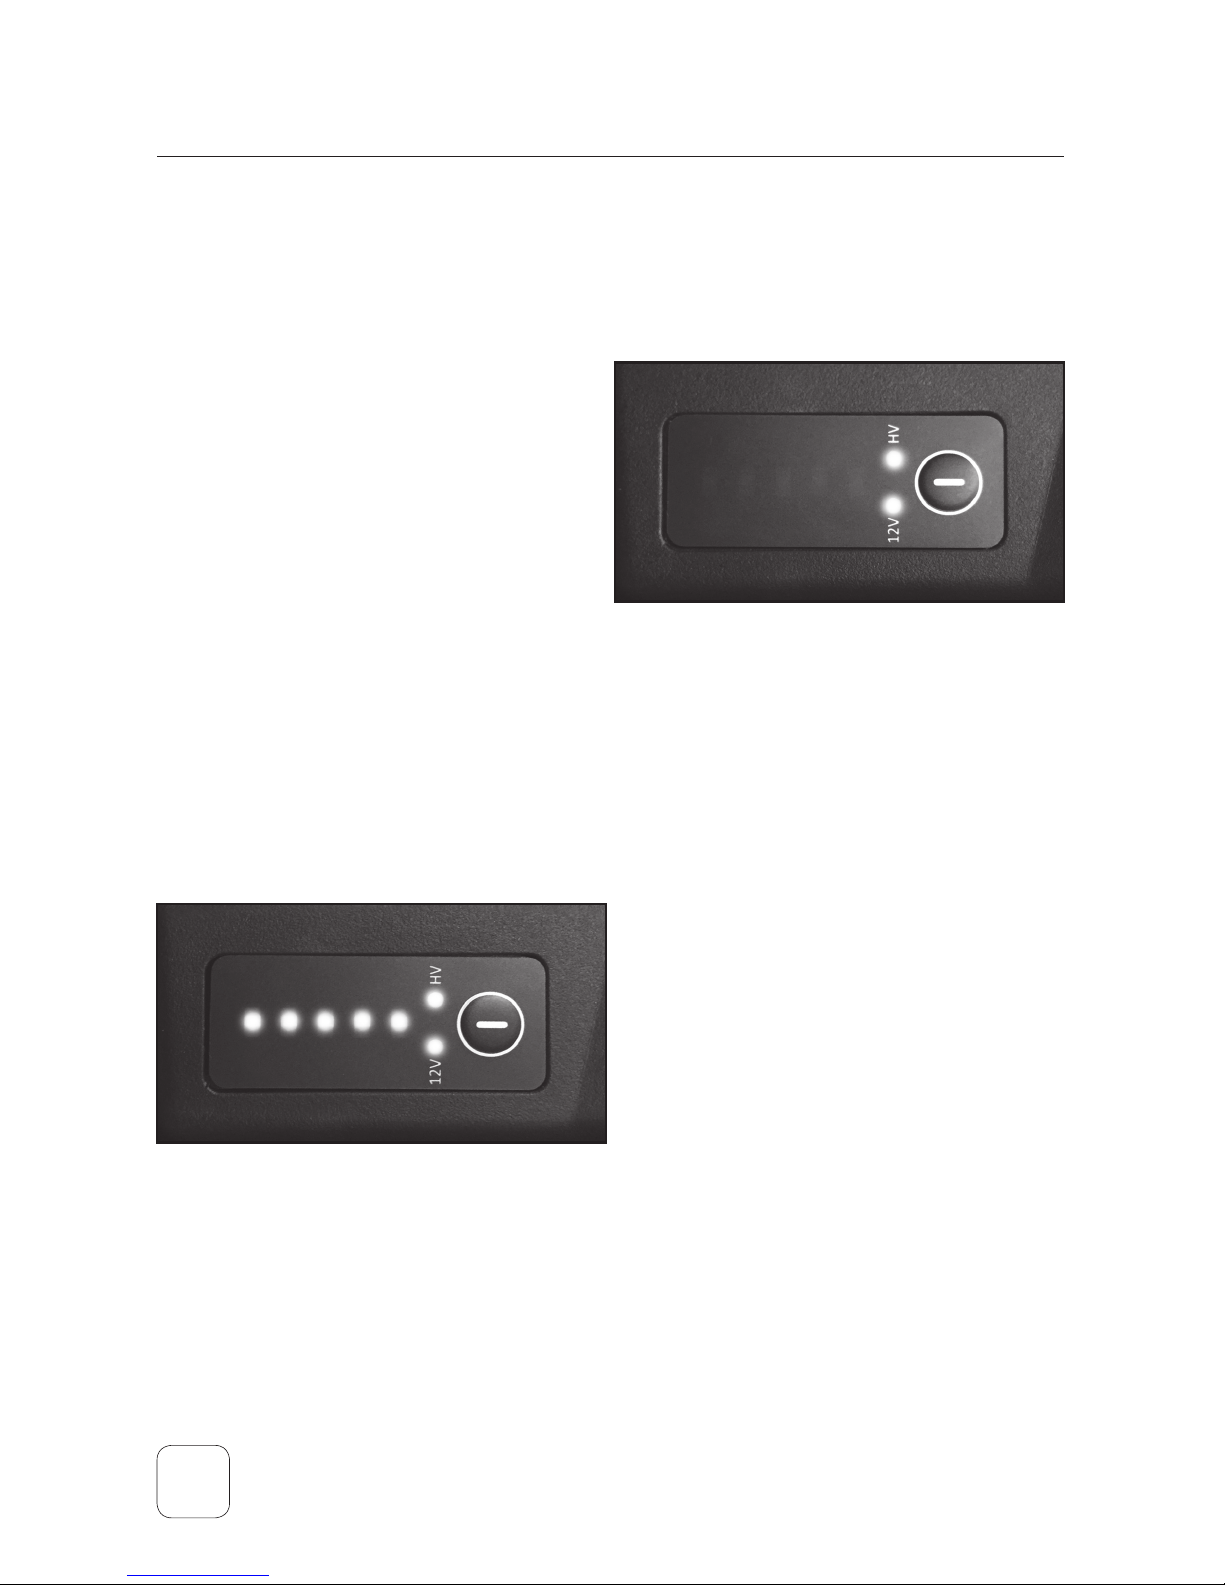
For transport-related technical reasons the battery is not fully charged when it is de-
livered. As the battery in any case discharges by itself due to technical and physical
causes, you must charge the battery once fully before you use it for the rst time.

8e-bike calssication | safety notices | bike functions | guarantee statement
BIKE FUNCTIONS
PUSHBUTTON FUNCTIONS
Switching-on: To activate the system, press 1x briey on the button to the right of
the battery enclosure. 2 small green LEDs now light up next to the button (see gu-
re). If only one LED lights up, check that
the battery is correctly inserted by pus-
hing it out and in again to the bracket
on the frame. The connector must create
contact between the battery and the ca-
ble harness. The left LED (12V) indicates
that the 12 V supply for the lights and
the internal system power is available.
The right LED (HV) indicates that the 48
V supply for the drive has been released
and the battery is correctly installed in the bike.
Battery capacity: A short press on the push-button on the battery enclosure briey
displays the current capacity of the battery on the LEDs next to the push-button.
These 5 LEDs indicate as follows:
5 LEDs on: 81 % - 100%
4 LEDs on: 61 % - 80%
3 LEDs on: 41 % - 60%
2 LEDs on: 21 % - 40 %
1 LED on: 6 % - 20 %
0 LED on: less than 5%
Switching off: Press the push-button for at least 1 second, this causes the whole
system to switch itself o. A moving LED appears briey on the display panel
indicating that you can release the button. When the system has been unused
for 15 minutes, it switches itself o automatically.

9
e-bike calssication | safety notices | bike functions | guarantee statement
DISPLAY
Here you can see the information that can be shown on the display. The display is
xed in place and is not removable.
YOUR M1 BIKE’S SENSORS
Your M1- product is equipped with high-quality sensors.
The switch sensor monitors the action of the switch and ensures the motor is cut o
immediately during the switching process in order to minimize wear on the switch
components. Additionally both brake levers are equipped with sensors, which ensu-
re that the motor is cut o immediately during the braking process. A torque sensor
in the motor enclosure measures the force you apply on the pedals and automatical-
ly computes the amount of motor power to be injected for the selected drive level
(see drive level table). A speed sensor measures the actual speed and outputs this on
the display.
CONTROLS
The control keypad on the handlebar:
Speedometer
Fuctions
Velocity
Monitor
Assist
Level
Battery
Capacity
Key 1: Up arrow key
Key 2: MODE key
Key: 3 Down arrow key

10
By pressing briey on Key 1, you activate assist level 1. Each additional key-press
switches to level 2, level 3 level 5 and level 5. By pressing Key 3 you switch in the
opposite direction.
The 6 drive levels and 5 assist modes:
Drive level Name Drive assist
(percentage of your pedal force)
0No assist -
1 Range-Extender 45 %
2Eco 45 %
3 Tour 110 %
4 Sport 195 %
5Power 550 %
In Level 1 (Range Extender) the speed is limited to 20 km/h in the Pedelec, and 30
km/h in the S-Pedelec and R-Pedelec.
e-bike calssication | safety notices | bike functions | guarantee statement
Key 1
Key 3
If you intend to ride on assist level 0 for a longer time the system will switch o automatically
after 15 minutes. The 48V systems is inactive in this riding situation. To avoid the automati-
cally switch o during your ride, please switch to assist level 1 at least one time during 15
minutes to reactivate the 48V system and restart the time window.

11
Using Key 2 (Mode Key) you scroll through the tachometer functions. The ve func-
tions available are as follows:
total kilometers
Display: ODO
trip kilometers
Display: TRIP
remaining range
Display: DST. TO GO
average speed
Display: AVG SPEED
maximum speed
Display: MAX SPEED
By holding down the Mode Key you can reset the current“Maximum Speed”,”Trip
Kilometers”and “Average Speed”values to zero. The bike‘s total kilometer display
cannot be reset, in order to avoid any tampering with the S-Pedelec’s odometer data.
The remaining range is constantly updated during the trip and computed with
reference to the selected assist level. When you switch on the system and select
the remaining range display, the correct value will not be displayed. After you have
cycled for a short distance, then the system can compute the value again from the
current parameters and you will see the up to date value in the display. In the of bike
that are new are used for the rst time, this display rst has to learn by itself, in other
words, the remaining range display can under some circumstance only work reliably
after the rst time the battery has been fully emptied.
Recommendation: Always start cycling in a low/easy gear even when you are
using pedal assist; just as you would if you were cycling without pedal assist. This
reduces wear on the chain, the cogs and the freewheel. You can buy the smaller cogs
separately (11th, 12th 13th) so that you don’t have to buy the complete cog set if the
gears are creaking from worn cogs.
e-bike calssication | safety notices | bike functions | guarantee statement

12
PUSH/START ASSIST
The system has a push/start assist that ac-
celerates the bike up to 6 km/h without pe-
daling. The push/start assist is activated by
holding down Key 3 (arrow down key) and at
least drive level 1 is selected (Figure shows
drive level 2). In drive level 0 the push/start
assist cannot be activated. Push/start assist
stops only when you release key 3 again. The
push/start assist also stops immediately if
you put on the brake.
Do not press the push/start assist inadvertently but only if you actively
want to start. If you inadvertently activate the push/start assist, this can
lead to a fall.
CYCLING WITHOUT BATTERY
Riding the bike is also possible without the battery. In this case you will have no
speedometer display. Also if you have completely emptied the battery during a trip
the display will not show anything.
REMOVING THE SEAT SUPPORT FROM THE SPEDELEC
To remove the seat post of your S-Pedelec, you have to disconnect the connector of
the cable to the rear light (next the suspender). To do this, gently press the connec-
tor with your ngernail at the spot marked with an arrow, and pull it out.
e-bike calssication | safety notices | bike functions | guarantee statement

13
To reassemble it, take care to thread the connector and cable through the seat pillar.
The connector locks into place when plugged in and the rear light, brake lights and
license plate light are active again when the system is switched on.
LOADING THE BATTERY
An charger is supplied with the electro bike. Abo-
ve the power cable connector in the charger you
will nd a switch which you can use to switch the
charger on and o.
During charging process with assembled battery
the display shows up“CHr6”. This is a blocker to
avoid a systems run during charging. After cut-o
of the charger the battery needs to get switched
o and on one times.
Only the original charger delivered with the
electrobike should be used to charge the battery!
Otherwise damage can occur to the system and
worst case, cause a re in the battery.
On the left side of the battery you will nd a
magnetic protective cap that covers the charger
socket. Pull this o before you plug in the charger
connector.
Simply insert in the plug in the battery. The plug
and the socket stay together, held automatically
by a magnet. Slots in the connector prevent you
connecting it with the wrong polarity (see Figure).
Take care that the plug and the socket contacts
are both dry and clean. Please also make sure
that there are no metal shavings on the contacts.
Remove them if needed.
Now you can charge the battery with power from
a regular domestic power plug (110 V AC – 240 V
AC). To do this, turn on the switch on the charger.
e-bike calssication | safety notices | bike functions | guarantee statement

14
The system can be charged either when it is
switched on when it is o, and while the battery
is either installed or uninstalled. The charger has a
status LED which blinks orange while charging is
in progress and displays green when charging has
nished. The charger can then be removed. Char-
ging lasts about 3.5 hours if the battery has been
completely discharged beforehand. After about
1 hour of charging, the battery already reaches
80% of capacity. If charging does not start after
connecting the charger to the electric supply,
switch o the charger switch, wait for the LED to
go o, and switch it on again.
During charging you will hear a fan humming in
the charger. Never let your Li-ion battery charge
without supervision. After charging is complete,
switch o the charger using the on/o switch, pull
the plug out of the charger socket and the power
plug out of the domestic power socket.
To uninstall the battery, unlock the battery lock
and pull out the lock cylinder in the direction
shown by the black arrow. Now grip the cylinder
and the lower part of the enclosure and push the
battery forward in the direction shown by the
white arrows. After about 10 cm the battery will
come free. Take care that the battery does not fall
out of your hands at this point!
To re-install the battery, proceed in the opposite
order and take care that the T-bracket of the bat-
tery ts into the slide and that the battery is not
held only by the motor shield. The battery is sti
to insert and remove, which ensures that it does
not rattle and there is no loss of electrical contact
due to vibrations while riding.
The memory eect does not exist in lithium-ion batteries. Consequently you can
charge the battery anytime without impairing the charging capacity. The charger
can stay connected to the battery for an unlimited time, without problems occur-
ring. However we ask you to please disconnect the battery from the power supply
after it is charged in order to conserve precious resources. Charging can also be
interrupted at any time.
e-bike calssication | safety notices | bike functions | guarantee statement

15
The battery reaches its maximum capacity after about 5 charge and discharge cycles,
and overall battery life will be maximized if you charge it in an ambient temperature
of +10°C and +30°C.
On cold days especially, do not charge your battery in the open air.
When you take the accumulator out of its holder and leave your M1 bike
outside, you should protect the connectors from rain, moisture, humidity
and dirt, with a plastic bag for example.
BATTERY STORAGE
- Store the battery in a dry place with an ambient temperature of approx. 20°C.
- Avoid very low and very high temperatures. Otherwise you will shorten the
life of the battery.
- Store the battery for long periods with a charge level of 50- 60%.
It is mandatory to ensure that if the bike is not used for long periods that
the battery is connected to the charger for 1 hour from time to time. Du-
ring a three month period the battery must be charged for 1 hour to avoid
a deep discharge!
Also, never put an empty battery into storage without rst recharging it for 1 hour. If
the empty battery is not recharged, a deep discharge can occur even quicker in this
case. A deep discharged battery can only rarely be recharged, and no warranty claim
is possible. The battery electronics show in the system readout, among other things,
if the battery has been deep discharged during its operating life.
BATTERY SAFETY NOTICES
Never open the drive unit components and above all not the battery!
Improper opening of the battery or intentional damage to it carries the risk of serious injury.
Opening or manipulating the electrical and mechanical components of the drive, the battery
to the charger and manipulating the software invalidates any guarantee and warranty claims.
Do not on any account use a defective battery or a defective charger. Defective electrical
components and cables can lead to short circuits and must be immediately replaced by an
appropriate dealer. If you are not absolutely sure or if you have questions, contact your
authorized M1 dealer.
e-bike calssication | safety notices | bike functions | guarantee statement

16
Charge your battery exclusively with the charge supplied with it. Do not use another charger
from another manufacturer, even if the connecter ts in your battery. The battery can heat up,
catch re or even explode!
Do not charge any other device with the charger supplied with the battery, only charge the
M1 product that you received with this charger. Use the battery you purchased only with the
M1 product you purchased with it.
Never charge your battery without supervision and never at night. It is best to charge your
battery during the day and only in a dry, non ammable room. Preferably in rooms that are
equipped with a smoke or re alarm, but not in your bedroom.
Place your battery on a large non ammable support, for example made of ceramic or glass
while it is charging and do not place the battery or the charger in strong sunlight. Risk of
explosion!
Take care that the battery and charger to not get into the hands of children!
The battery and the charger must not get wet and above all, never get dipped in water! Risk of
explosion! Never clean the battery with a steam cleaner or garden hose.
The motor must not be washed with a steam cleaner or garden hose, to avoid any water
penetrating inside.
If you transport your bike on a car bike rack, avoid driving in the rain, because the rainwater on
the journey has the same eect as a steam cleaner.
In the case of fast changing temperatures from cold to warm, there is a danger of condensa-
tion forming on the charger. It is recommended to connect the charger to the power source
only when it has reached the temperature of the warm room.
The charger must only be connected to a 100-240 Volt socket. You must please check impera-
tively if the available supply voltage is identical to the voltage input of the charger before you
connect the charger to the electrical supply. You can also nd the input voltage of the charger
on the serial number plate on the rear side of the device.
Never place the battery near a re or very hot object such a radiator for example, because
enormous heat can lead to explosion of the battery. Furthermore high temperature reduces
the useful life of the battery. For this reason you should ensure there is sucient air circulation
while it is charging.
If you detect smoke or an unusual smell, please pull the power plug of the charger out of the
socket and move the battery away from the charger. Then contact your authorized M1 dealer
immediately.
If the battery or charger needs to be replaced, please only use original replacement parts. Do
not use other spare parts or accessories, as this increases the risk of damage or malfunction
and invalidates any claims under the warranty or guarantee.
Disposing the battery in the household refuse container is forbidden! The battery must be
disposed of in conformance with the battery disposal regulations. For this reason the seller of
a new battery must take back your old battery and dispose of it properly.
e-bike calssication | safety notices | bike functions | guarantee statement

17
CHASSIS
Please refer to the manufacturer’s descriptions
provided with the fork and shock absorber. You
will nd the valve for attaching a high pressu-
re shock at the position marked in the photo
(IMPORTANT: Never use a compressor to ll
it up). As a rule of thumb for the right pressure
value, set it so that you need about 1 centime-
ter travel for the shock absorber if you sit on the
bike while it is standing still (negative spring
path/ sag). For the fork, you can assume 1.5 to
2 cm travel when sitting on the bike while it is
standing still.
Always pay attention to enough pressure in the shock absorber and fork. If
you step with too little pressure (too much negative spring path / sag) in a
slanting position the pedal may hit the ground and you could fall.
MAINTENANCE OF THE DRIVE COMPONENTS
Maintenance work should always only be done by an authorized M1 dealer. If used
carefully and properly the electric drive does not require any maintenance. However,
every 1000 km or at least once a year you should have a safety inspection carried
out by an authorized M1 dealer. He will check the attachments of cables and parts as
well as the electrical system functions and the operational safety of the battery.
WARRANTY / GUARANTEE STATEMENT
M1-SPORTTECHNIK GMBH & CO. KG manufacturer’s guarantee
a) 10-year M1-Sporttechnik guarantee for the frame
M1-Sporttechnik guarantees frames labeled with the M1 logo for a total of 10 years
against defects in materials and workmanship.
This guarantee only applies to privately-owned M1 products.
A prerequisite of this guarantee is registration of the product, immediately after
purchase, in the“Service”area of the M1 website www.M1-sporttechnik.de and yearly
service by a specialist dealer which must be recorded in the service log on the back
page of the cycle handbook delivered with the product.
e-bike calssication | safety notices | bike functions | guarantee statement

18 e-bike calssication | safety notices | bike functions | guarantee statement
At its own discretion, M1-Sporttechnik will repair the defective component or
repla-ce it with the same or at least equivalent products or more recent products;
reworks are also permitted. The warranty does not include attached parts such as
mudgu-ards, kickstands, etc., and extra costs such as alterations or freight cost. For
wear parts and safety related components like handlebars and those listed in the
cycle handbook supplied with the product, the legal warranty applies.
From the 5th up to and including the 10th year after the product registration date,
we charge a 50% share of the current sales price for the replacement part or rework
cost; in exchange the customer receives the latest technology.
b) No M1-Sporttechnik guarantee for other manufacturer’s components
The legal guarantee applies to components from other manufacturers such as
Shi-mano, Sram, Magura, Mavic etc. Some manufacturers also offer an extended
manu-facturer’s guarantee.
If the bike is not purchased directly from M1-Sporttechnik, then the guarantee is
handled exclusively though the seller.
c) The M1-Sporttechnik guarantee is invalidated if:
• Proof of regular service by a specialist dealer is lacking
• There was improper use and or non respect of the original operating manual and
cycle handbook, including all care and maintenance instructions.
• There is (prior) damage due to fall, accident or transport damage
• Defects are present that result from the fact that the original defect was not
immediately examined by M1-Sporttechnik or a specialist firm. The specialist firm
has to use its expertise to decide how to proceed and if needed forbid further use
of the bike for safety reasons.
• Defects are due to force majeure such as events beyond the control of
M1-Sporttechnik
• Defects are caused by modifications to the bike’s specifications, not in the parts list
supplied with the product (or your configurator order) for example by subsequent
installation of components not expressly released by M1-Sporttechnik
• The defect is in wear parts like chains, cog sets, brake linings, disc brakes, tires,
tubes, brake and shifter cables including sleeves, bulbs, batteries etc.
• There is a change of ownership; Defect caused during participation in competitions
All moveable parts of your bike must be frequently maintained, checked and in case of
damage they have to be replaced. It’s especially important for wheelsets, tires, tubes,
sprockets, derailleurs, dampers and forks, bearings and other parts which are under
mechanical loads during riding. In normal case this check should be done all 500km
or latest time after 6 month at M1-Sporttechnik or in an authorized bicycle workshop.

19
e-bike calssication | safety notices | bike functions | guarantee statement
CRASH REPLACEMENT
M1-Sporttechnik accompanies its products even in cases of damage that are not
within the terms of the M1-Sporttechnik guarantee, for example due to accident or
misuse. We oer an attractive exchange price for all M1 products.
In such cases M1-Sporttechnik guarantees a crash replacement discount of 50%
to each registered customer for a period of 10 years. The discount of 50% is given
on the current sales price of the frame. In exchange the customer must send in the
defective frame and describe the circumstances of the damage.
DECLARATION OF CE CONFORMITY
The products described below
Product name: M1-Spitzing Pedelec, M1-Spitzing S-Pedelec, M1-Spitzing R-Pedelec
Of the manufacturer:
M1-Sporttechnik GmbH & Co. KG
Forststraße 2
85653 Großhelfendorf
Conforms to the regulations and norms of the
CE conformity declaration.
ENVIRONMENTALLYFRIENDLY DISPOSAL
The components of the M1-Spitzing models and the battery must not be
disposed of in household refuse bins.
- In Germany dispose metal and plastic components in the local recycling center
- In other EU countries follow the national regulations.
- In Germany, dispose of electrical components in accordance with the Electrical
and Electronic Equipment Law (ElektoG). In other EU countries follow the
national laws based on the Waste Electrical & Electronic Equipment directive
2002/96/EC (WEEE).
- In Germany dispose of batteries and accumulators in accordance with
the Battery Law (BattG).
- In other EU countries follow the national laws based on the Directive
2006/66/EU on Waste Batteries and Accumulators.
- Take care to also respect the laws and regulations on waste disposal
in your country.

TECHNICAL DATA
TEST STANDARD EN14766
DISPLAY
LCD Display
DRIVE
Drive type: Mid drive Clean Mobile by TQ-Systems Germany
Drive performance: 48V
250 W nominal (Pedelec)
500 W nominal (S-Pedelec)
800 W nominal (R-Pedelec)
Speed: max. 25 km/h (Pedelec), max. 45 km/h (S-Pedelec), No limitation (R-Pedelec)
Torque: max. 120 Nm; Guarantee: 2 years:
BATTERY
Type: Lithium-Ion
Capacity: 18.27 Ah, 877 Wh or 20.8 Ah, 1,048 Wh
Nominal voltage: 48 V
Operating temperature range: - 15°C to + 60°C
Guarantee: 2 years or 500 complete charging cycles within 2 years
CHARGER
Charge duration: approx. 3.5 h for 100 %, approx. 1 h for 80 %
Charger: 110 / 240 Volt AC, 5A, built-in fan
M1 - Sporttechnik GmbH & Co. KG
Forststraße 2, D-85653 Großhelfendorf
Tel.: +49 (0) 8020 / 9089 1170
Fax: +49 (0) 8020 / 9089 1177
www.M1-Sporttechnik.de
This manual suits for next models
2
Table of contents
Other M1-Sporttechnik Bicycle manuals