NOTICE
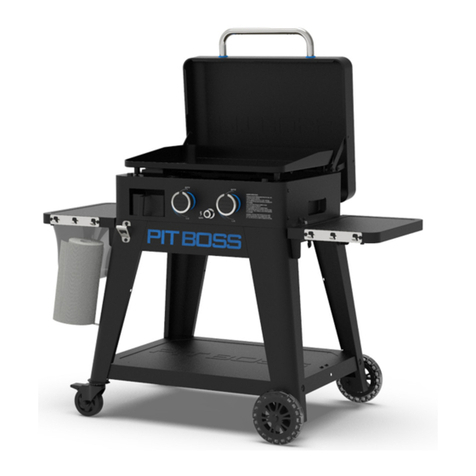
When this appliance is installed with casters, it must be installed with the casters supplied. A connector complying with
ANSI Z21.69-CGA-6.16 and a quick disconnect device complying with ANSIZ21.41/CAN 1-6.9. It must also be installed
with restraining means to guard against transmission of strain to the connector, as specified in the appliance
manufacturer’s instructions.
CAUTION
Only two of the four casters supplied have brakes. Be sure to install the two casters with the brakes at the front of the
unit. NOTE: Front brakes should be locked before unit is placed into operation.
GAS HOOK UP:
An adequate gas supply is imperative. Undersized lines or low-pressures will restrict the volume of gas required for
satisfactory performance. A steady supply pressure between 7” and 8” w.c. for natural gas or 11” to 12” for propane gas is
required. With all gas appliances operating simultaneously, the manifold pressure on all gas appliances should not show any
appreciable drop. Fluctuations of more than 25% on natural and 10% on propane gas will create pilot problems and affect
burner operating characteristics. Contact your gas company for correct supply line sizes. After connection, all newly installed
equipment should be checked for correct gas pressure by a certified gas serviceman. The unit should be connected ONLY to
the type of gas for which it is equipped. Check the type of gas on the serial plate.
A. Attach regulator supplied with the appliance to the inlet of the gas manifold. Appliances equipped Matchless Ignition
controls are equipped with a ¾” manual shut off valve at the gas inlet to the appliance. Be sure regulator is connected
so that gas flow is in the direction of the arrow on the bottom of the regulator. Using a regulator other than the one
supplied with the unit will void the warranty.
B. The manifold pressure must be maintained at the pressure marked on the Data plate. For appliances equipped with
Solid State or Electric Thermostat controls the pressure reading is taken at the pressure tap supplied on the ¾” manual
shut off valve.
C. Use pipe joint compound that is suitable for use with LP gas on all threaded connections.
D. Turn off all thermostats.
E. Turn on gas supply and check all connections for leaks using ONLY a leak checking fluid or soapy water. NEVER
use and open flame to check for gas leaks.
F. Provision must be made for adequate air supply for both the appliance and room occupants.
G. Keep area in front of unit free from obstruction that could block flow of combustion and/or ventilation air.
H. Be certain that adequate clearance is maintained so that air openings in front of the unit are not blocked and any
subsequent service can be performed. Ensure that rear and side clearances stated on the serial plate and in the
clearance section of this manual are strictly followed.
GAS SETTINGS:
Orifices are sized to provide proper gas flow to the rated BTU/hr for each model. Regulator pressure must be measured and
adjusted before the unit goes into service, following installation and when operational performance is in question.
LIGHTING INSTRUCTIONS:
A. Turn all thermostat knobs to the “OFF” position.
B. Turn gas shut off valve to “ON” position.
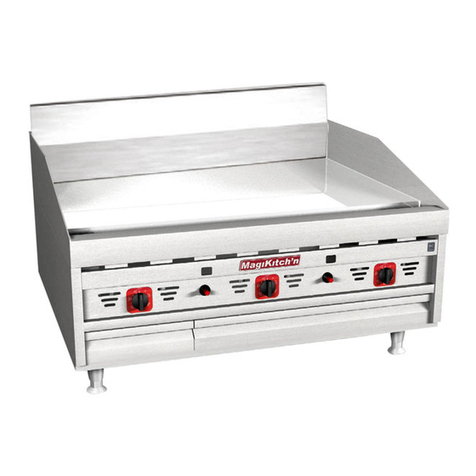
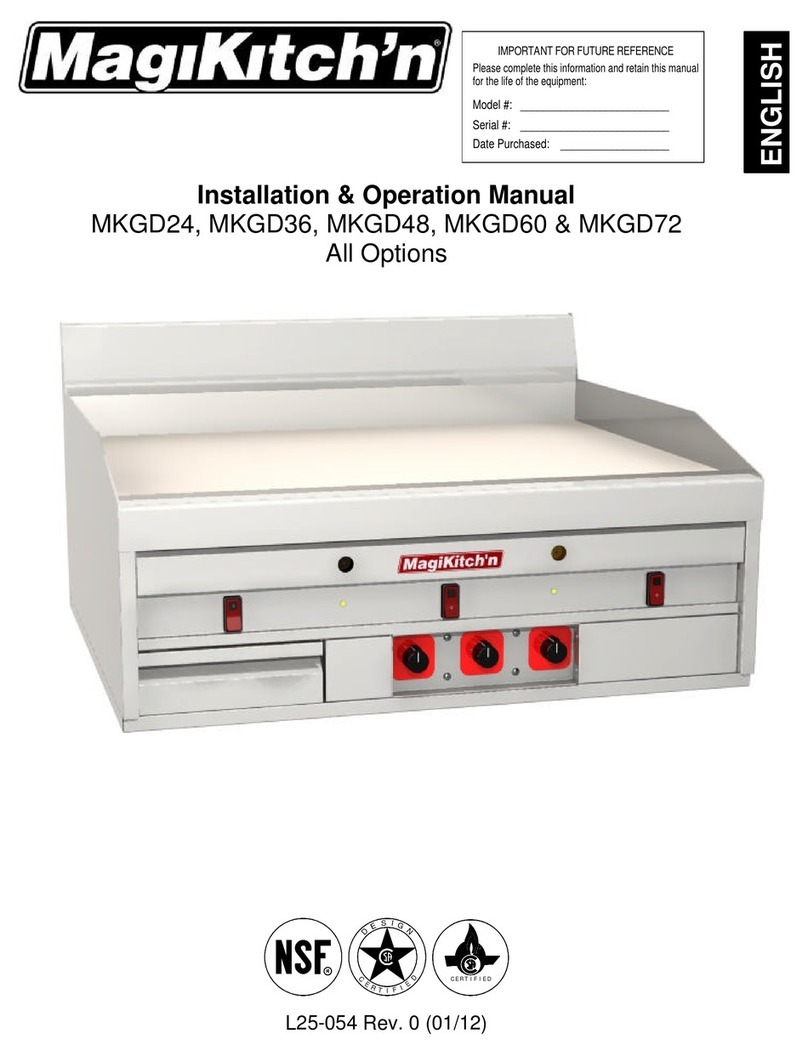
C. A.) For Standard Gas Thermostat appliances- Press and hold left pilot button and light left pilot with a flame source or
depress Piezo ignition control(If Provided). With pilot burning, keep pilot knob depressed for 45 seconds or until pilot
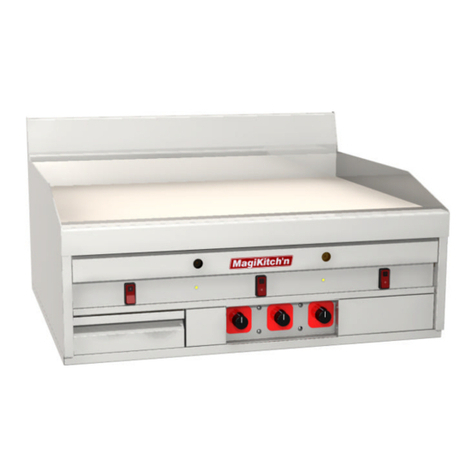
remains lit automatically. B.) For appliances equipped with Matchless Ignition, Turn the I/O switch to the “I” position
for the desired Thermostat, when the Amber (Pilot) light illuminates the pilot is ready. Repeat for all Thermostat
controls to be operated.
D. Repeat previous step for right hand pilot, if present.
E. For Standard Gas Thermostat appliances, Operate thermostats by turning knobs clockwise and insure that burners
light properly. For Matchless Ignition appliances, the I/O switch will illuminate in Red to indicate the burner is
operating for that control.
NOTE (FOR MATCHLESS IGNITION APPLIANCES)
If Pilot light(s) does not illuminate, Turn all Thermostat I/O switches for that pilot to “0”, wait five minutes before
attempting to relight.
NOTE (FOR STANDARD GAS THERMOSTAT APPLIANCES)
If appliance contains more than one pilot, the left-most pilot MUST be lit first or other pilot WILL NOT LIGHT.
