Directory
Briefs.................................................................................................................1
Trademark credit............................................................................................................1
About the software.........................................................................................................1
Features..........................................................................................................................2
Expanded ports ..............................................................................................................3
Safety instructions .........................................................................................................4
Function Introduction......................................................................................5
Brief...............................................................................................................................5
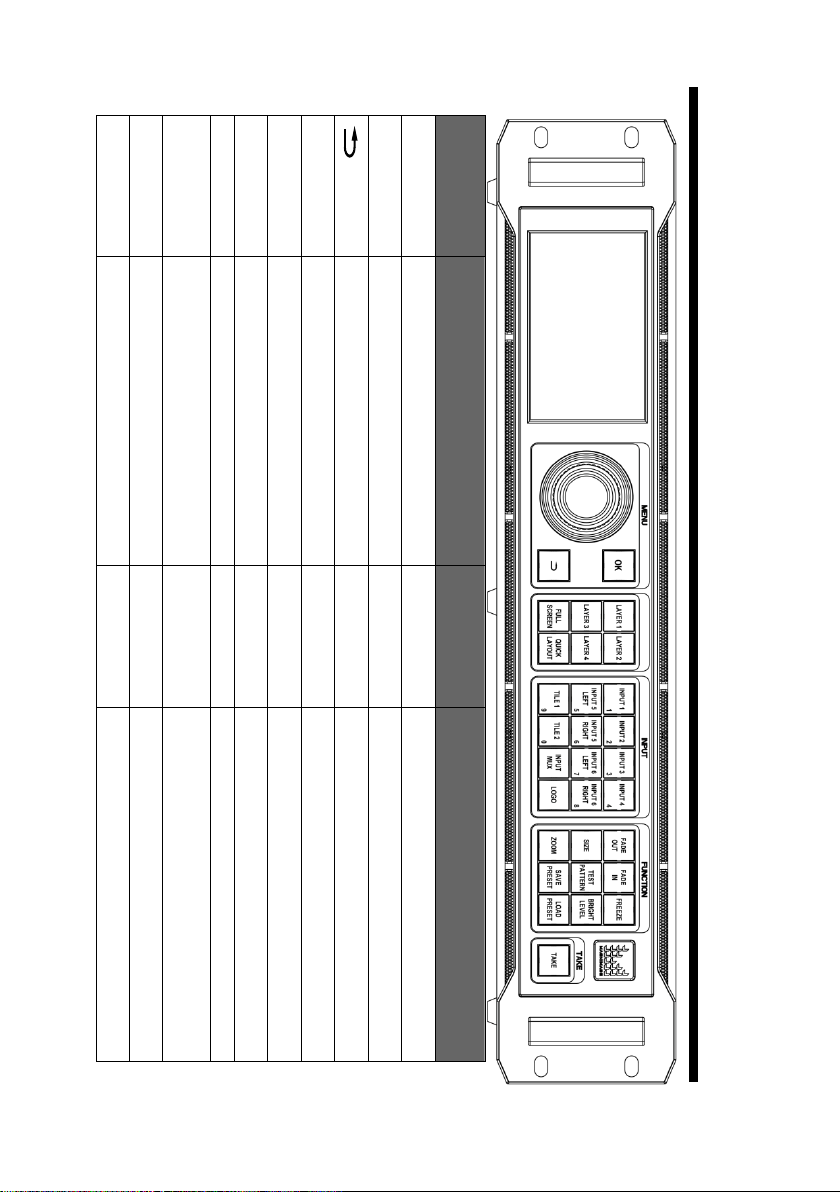
The front panel...............................................................................................................6
The front panel...............................................................................................................7
The rear panel................................................................................................................8
The rear panel................................................................................................................9
Technical specifications............................................................................................... 11
User Menu.......................................................................................................13
How to use the buttons.................................................................................................13
MENU area:......................................................................................................... 13
LAYER area:.....................................................................................................14
INPUT area:......................................................................................................15
FUNCTION area:..............................................................................................15
Default status introduction...........................................................................................16
Main menu introduction...............................................................................................17
Main menu...........................................................................................................20
Picture setting menu.............................................................................................21
Output setting menu.............................................................................................24
Input setting menu ...............................................................................................28
Mosaic setting menu............................................................................................34
Save & Load ........................................................................................................41
EDID setting........................................................................................................43
COM. setting menu..............................................................................................45
MISC. menu.........................................................................................................46
TEST PATTERN.................................................................................................. 55
Language submenu ..............................................................................................58
Quick Use Instructions..................................................................................59
The rear panel introduction.......................................................................................... 59
The front panel introduction ........................................................................................61
Input signal information, TILE function introduction..................................................63
Working mode introduction ......................................................................................... 65
Mosaic mode function..........................................................................................65
Backup mode function introduction..................................................................... 67