manuals.online logo
Brands
  1. Home
  2. •
  3. Brands
  4. •
  5. Marcum Technologies
  6. •
  7. Digital Camera
  8. •
  9. Marcum Technologies PURSUIT HD User manual

Marcum Technologies PURSUIT HD User manual

Warranty
MarCum warranties this product to be free from
defects in materials and workmanship for one year
from the date of purchase. This warranty applies to
customers who properly complete the online product
registration form found on the MarCum Technologies
Website: www.MarCumTech.com
Quick Start Guide
Service
If your unit is malfunctioning, check the support
section of our website. You may find that the solution
to your problem is something you can resolve yourself.
If you need to send it in, there is no need to contact our
office. Getting repairs made is as simple as going to
our website, www.MarCumTech.com clicking the
support tab and then filling out the MarCum Warranty
claim.
MarCum User Manuals are available for download from www.MarCumTech.com
2020-0617
Les manuels d'utilisation de MarCum sont disponibles en téléchargement sur www.MarCumTech.com
www.MarCumTech.com
OSD - On-Screen Display
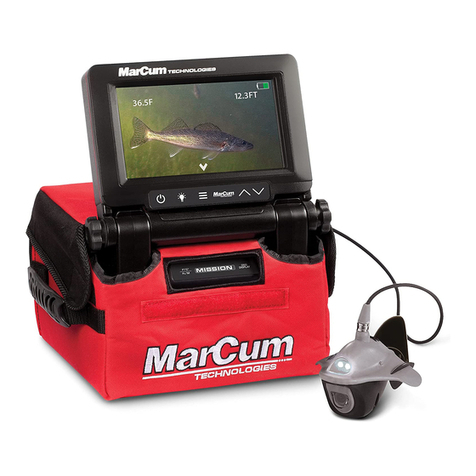
The PURSUIT HD camera system features Five
On-Screen Displays (OSD), Depth, Camera Direction,
Temperature, Battery Indicator, and Recording Status.
Depth
A depth OSD will display in the lower right hand corner
of the screen. This feature alerts the user of the depth
of the camera. Camera depth will only show when in
the water. Outside of water it should read 0.
Camera Direction
The direction the camera is facing is displayed in the
upper right hand corner of the screen. This direction
will display as directions of the compass (N, NE, E,
etc.) If the camera direction is not accurate it can be
calibrated by following the instructions in the SYSTEM
SETTING menu.
Temperature
The current temperature of the water will display in the
lower left hand corner of the screen. The units can be
changed from Fahrenheit to Celsius, or vice versa in
the MONITOR SETTING menu. The camera will not
detect the air temperature correctly.
Battery Status Indicator
The PURSUIT HD has an on-screen display of the battery
status found in the upper left side of the video image. Once
the video image starts the battery status indicator will detail
a series of green bars. Three full green bars will indicate a
full charge.
Recording Status
The PURSUIT HD has an on-screen display of the battery
status found in the upper left side of the video image. Once
the video image starts the battery status indicator will detail
a series of green bars. Three full green bars will indicate a
full charge.
HD Video Out Capable
The PURSUIT HD comes with an HD Viceo Out adapter
cable so you can watch the action on your big screen inside
of a hard sided house.
Charging
To charge the PURSUIT HD, power the system off (5
second hold of power button) and locate the rubber
cap on the leftt side of the monitor. Lift the rubber cap
to expose the USB Charging port. Insert the supplied
USB cable and connect it with the supplied charger, or
any USB port. Once the charger is connected to either
the wall outlet or USB port, the charge indicator light
(next to the USB port) will illuminate.
Accessing Media
Previously recorded videos and photos can be
accessed by pressing MENU and then selecting
LIBRARY by pressing the MENU/ENTER button.
Once in the Library sub-menu, you can select either
PHOTO or VIDEO. Use the Up and Down arrows to
cycle through the saved media. All video files will
automatically start when selected.
Recording Video In MP4 Format
To record a video, press and hold the record button for
approximately 3 seconds until a Red Camera with a
blinking red circle icon appears in the upper left hand
corner of the screen. The recording time will on the
top-middle of the screen. To stop the recording, press
the REC button again. Once the icon disappears, the
unit is no longer recording.
Taking a Photo
The PURSUIT HD has the ability to take a screen shot
photo of what is currently visible on the screen. To take
a picture, complete a quick press of the REC button. A
red camera icon will momentarily appear in the upper
left hand corner of the screen and then disappear,
indicating that a picture was taken.
Power Button
The bottom button powers the system on and off.
Press the power button to turn the system on. A start
up screen with the MarCum logo will briefly show,
followed by the video image. To turn the system off,
press and hold the power button for 5 seconds until the
system shuts down.
LED / Up Arrow Button
The LED/Up arrow button serves a dual purpose.
When selected it will turn on and increase the intensity
of the LED lights. An on-screen display will be shown
momentarily to indicate the light intensity level
selected. There are four intensity levels and an off
selection. When in the menu section of the system,
this button serves as an up selection.
IR / Down Arrow Button
The IR/Down arrow button serves a dual purpose.
When selected, it will turn on and increase the
intensity of the Infrared lights. An on-screen display
will be shown momentarily to indicate the light intensity
level selected. There are four intensity levels and an
off selection. When in the menu section of the system,
this button serves as a down selection.
Menu / Enter Button
The Menu/Enter button serves a dual purpose.
Pressing once accesses the Menu system.
Once inside the menu system, it functions as the enter
button.
Depoly The Camera
Managing 50 feet of cable just got easier with our new
Integrated Cable Cord Reel. To deploy the camera,
simply unlock the spool, detach the camera cable from
the cable reel and start spooing off line. A slow and
steady pace will keep the cable from unspooling. Once
you have reached your desired depth, relock the spool
and reconnect the cable to the notch to hold it in place.
Select a Viewing Angle
Our redesigned camera head comes with multiple
locking locations for adjustable camera viewing
angles. To acheive a new position, simple attach the
cable to the appropriate tab or remove it to achieve a
vertical body angle. Note, the Up View allows the
camera to gather more light to better view the water
column in low light situations such as dawn/dusk.
Accessing The micro-SD Card
To access the micro-SD card slot, open the rectangu-
lar rubber cap on the left side of the unit. The card can
be inserted by placing it into the slot and pressing
downwards until it clicks into place. To remove the
micro-SD card, press down on the card. The PURSUIT
HD will support up to a 128GB Class 10 micro-SD card
(be sure the card has a class 10 symbol like the
example above).
Record Button
The Record button serves a dual purpose to both take
a picture (JPEG) and record video (MP4). The
PURSUIT HD has a built-in DVR that allows you to
capture all the action below. All recorded media is
saved to a micro-SD card (not included).
Other Marcum Technologies Digital Camera manuals

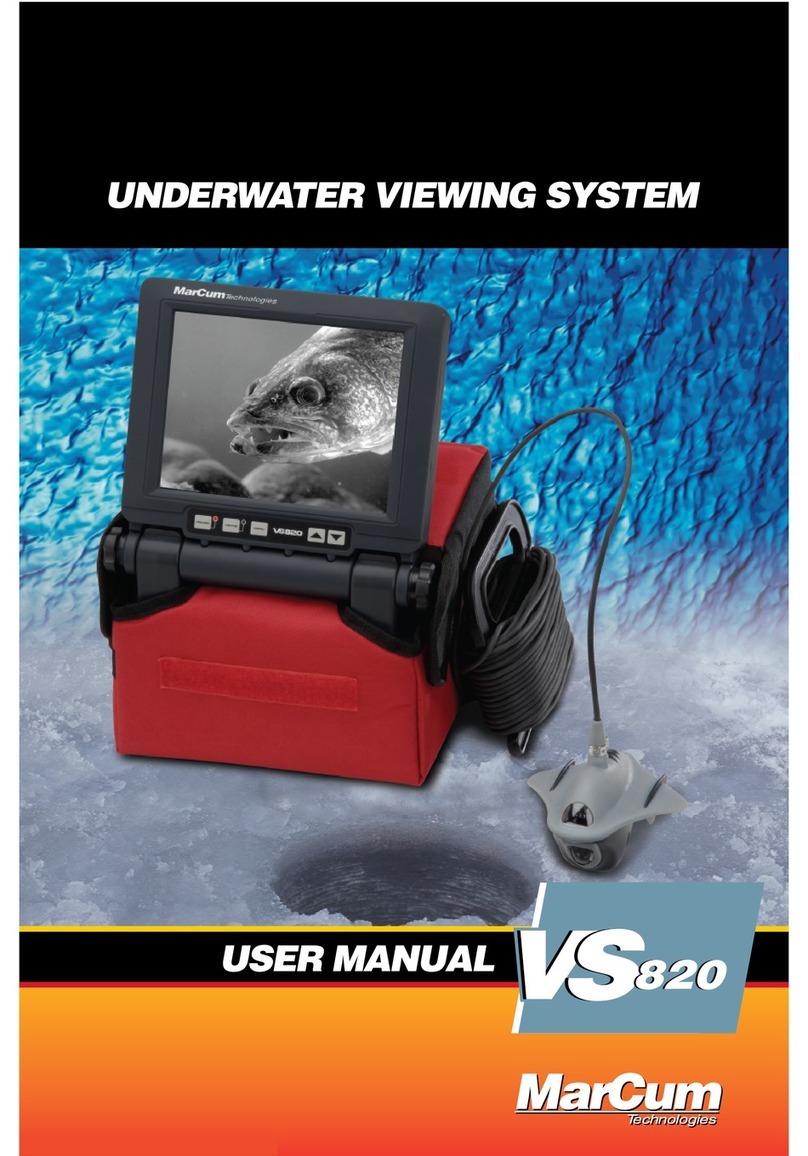
Marcum Technologies Underwater Viewing System VS820 User manual

Marcum Technologies

Marcum Technologies Underwater Viewing System VS820 User manual

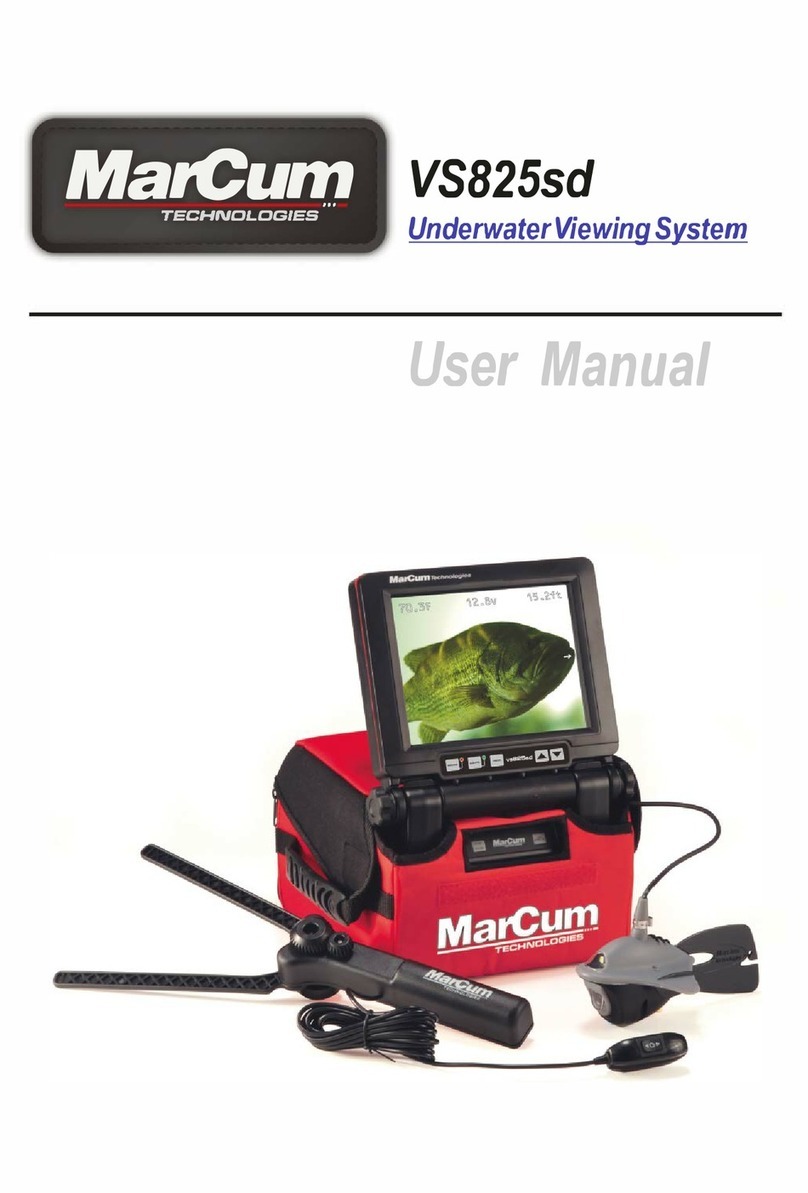
Marcum Technologies VS825sd User manual

Marcum Technologies

Marcum Technologies VS825sd User manual

Marcum Technologies VS825sd User manual

Marcum Technologies

Marcum Technologies VS825sd User manual

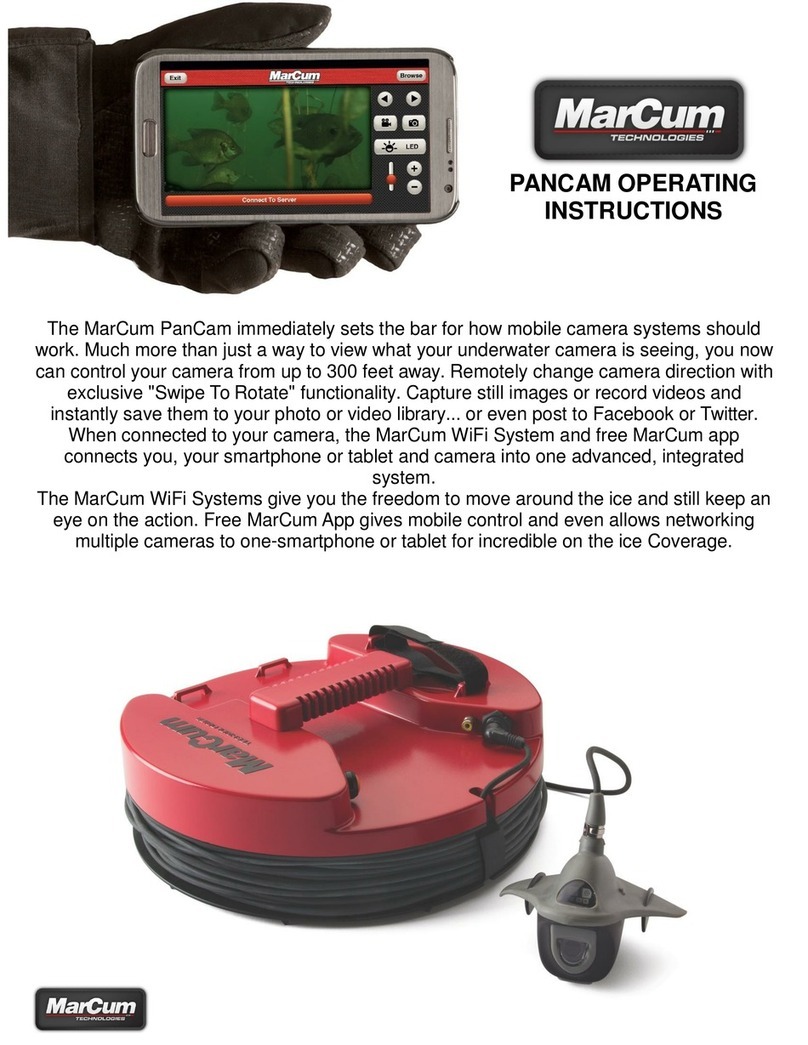
Marcum Technologies PANCAM User manual

Marcum Technologies

Marcum Technologies PANCAM User manual

Marcum Technologies VS460 User manual

Marcum Technologies

Marcum Technologies VS460 User manual

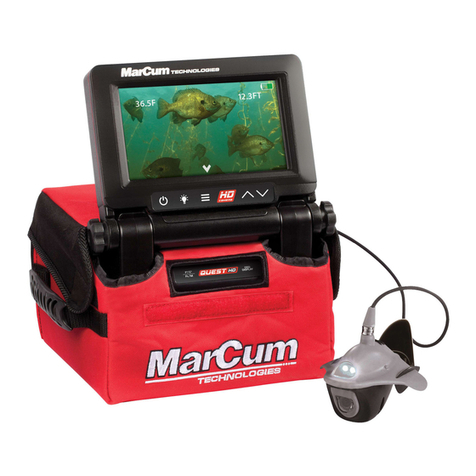
Marcum Technologies Quest HD User manual

Marcum Technologies

Marcum Technologies Quest HD User manual

Marcum Technologies RECON5+ User manual

Marcum Technologies

Marcum Technologies RECON5+ User manual

Marcum Technologies UNDERWATER VIEWING SYSTEM VS250 User manual

Marcum Technologies

Marcum Technologies UNDERWATER VIEWING SYSTEM VS250 User manual

Marcum Technologies Underwater Viewing System VS380 User manual

Marcum Technologies

Marcum Technologies Underwater Viewing System VS380 User manual

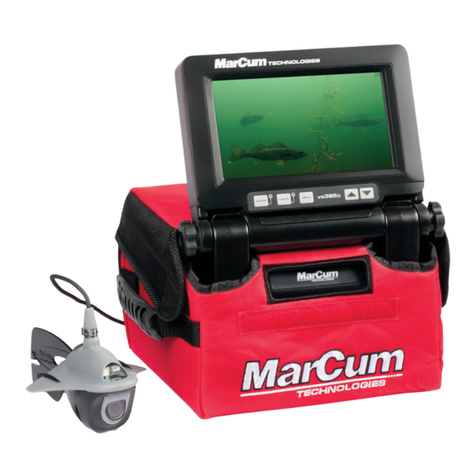
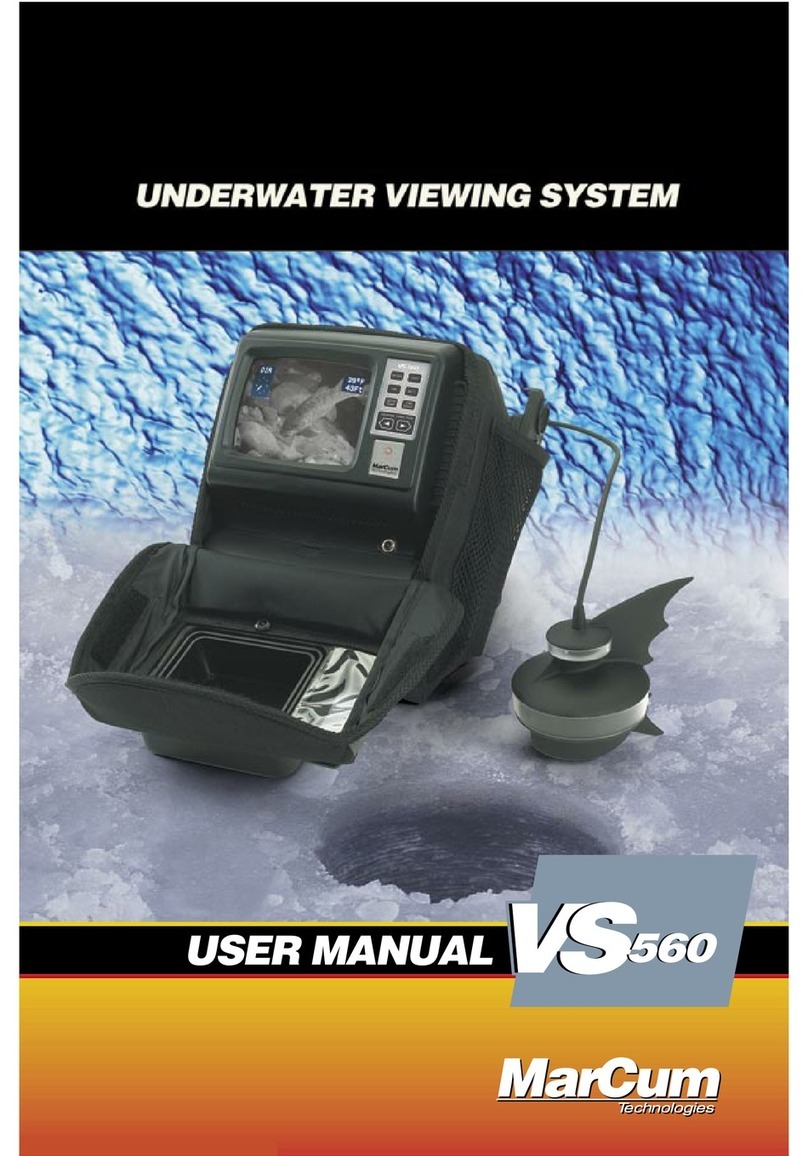
Marcum Technologies Underwater Viewing System VS560 User manual

Marcum Technologies

Marcum Technologies Underwater Viewing System VS560 User manual

Marcum Technologies Mission SD User manual

Marcum Technologies

Marcum Technologies Mission SD User manual

Marcum Technologies VS385C User manual

Marcum Technologies

Marcum Technologies VS385C User manual

Marcum Technologies VS485C User manual

Marcum Technologies

Marcum Technologies VS485C User manual

Marcum Technologies VS350 User manual

Marcum Technologies

Marcum Technologies VS350 User manual

Popular Digital Camera manuals by other brands

Wiseup CUP 100 user guide

Wiseup

Wiseup CUP 100 user guide

Olympus D-360L - 1.2MP Digital Camera Mode d'emploi

Olympus

Olympus D-360L - 1.2MP Digital Camera Mode d'emploi

Ricoh Caplio R2 Specifications

Ricoh

Ricoh Caplio R2 Specifications

Olympus E-500 - EVOLT Digital Camera Specifications

Olympus

Olympus E-500 - EVOLT Digital Camera Specifications

GE A1050 quick start guide

GE

GE A1050 quick start guide

Sony MHS-CM1/D - Webbie Hd™ Mp4 Camera manual

Sony

Sony MHS-CM1/D - Webbie Hd™ Mp4 Camera manual

Provision ISR DI-380A-MVF user manual

Provision ISR

Provision ISR DI-380A-MVF user manual

Nac HotShot user manual

Nac

Nac HotShot user manual

Nikon Coolpix S200 user manual

Nikon

Nikon Coolpix S200 user manual

Canon PowerShot SX610 HS user guide

Canon

Canon PowerShot SX610 HS user guide

OM SYSTEM OM-5 instruction manual

OM SYSTEM

OM SYSTEM OM-5 instruction manual

Olympus Stylus 850 SW Advance manual

Olympus

Olympus Stylus 850 SW Advance manual

SIIG CE07xx Quick installation guide

SIIG

SIIG CE07xx Quick installation guide

Sony A900 - Alpha 24.6MP DSLR Camera manual

Sony

Sony A900 - Alpha 24.6MP DSLR Camera manual

Sony DSC-T200/R Cyber-shot® Brochure & specs

Sony

Sony DSC-T200/R Cyber-shot® Brochure & specs

AgfaPhoto DC-830s user manual

AgfaPhoto

AgfaPhoto DC-830s user manual

Richter Optica HDCAM3B manual

Richter Optica

Richter Optica HDCAM3B manual

Ganz ZC-Y15PH4 Instructions for use

Ganz

Ganz ZC-Y15PH4 Instructions for use

manuals.online logo
manuals.online logoBrands
  • About & Mission
  • Contact us
  • Privacy Policy
  • Terms and Conditions

Copyright 2025 Manuals.Online. All Rights Reserved.