manuals.online logo
Brands
  1. Home
  2. •
  3. Brands
  4. •
  5. Maretti
  6. •
  7. Outdoor Light
  8. •
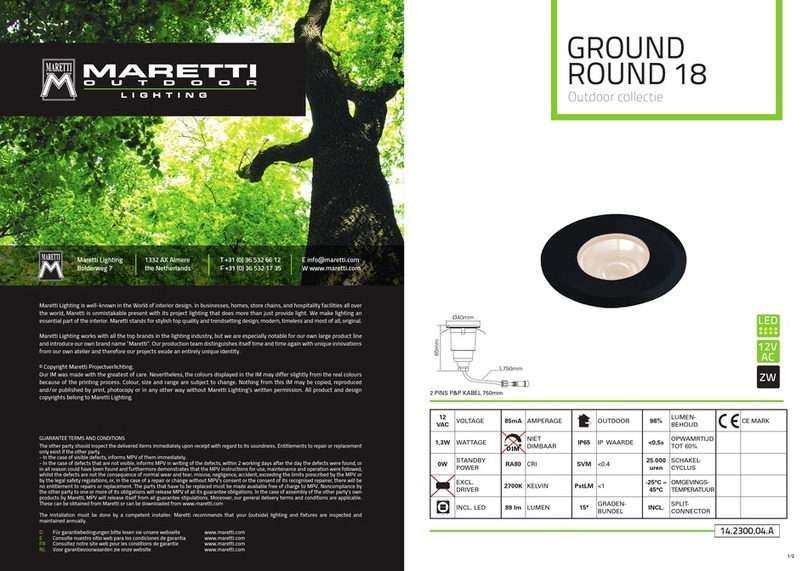
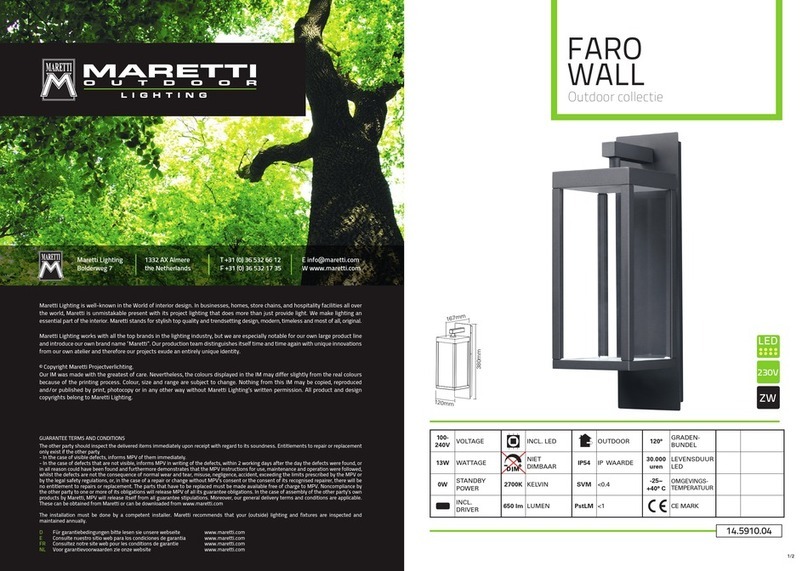
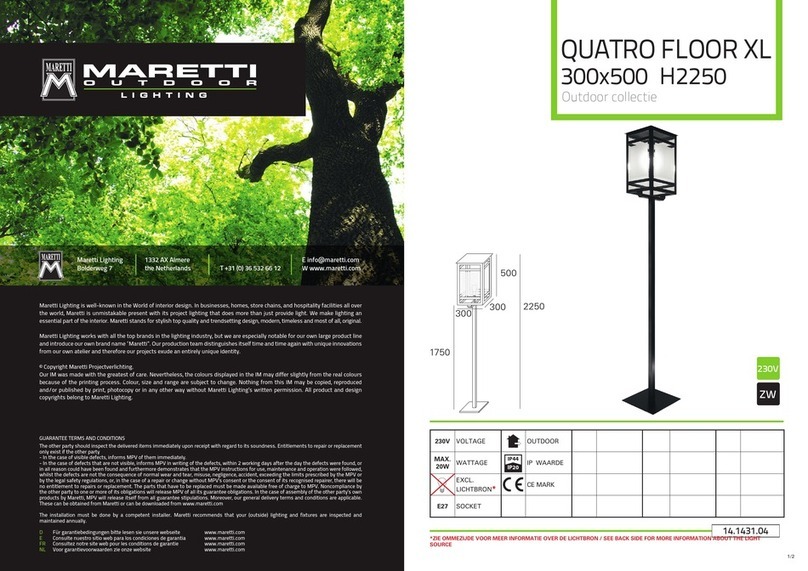
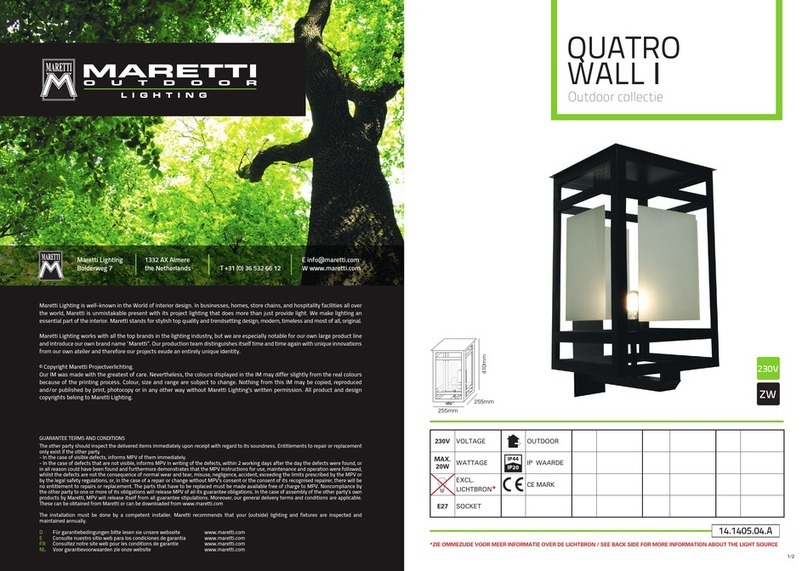
  9. Maretti CASIOPEA 14.6395.04 User manual

Maretti CASIOPEA 14.6395.04 User manual

1/2
GUARANTEETERMS AND CONDITIONS
The other party should inspect the delivered items immediately upon receipt with regard to its soundness. Entitlements to repair or replacement
only exist if the other party
- In the case of visible defects, informs MPV of them immediately.
- In the case of defects that are not visible, informs MPV in writing of the defects, within 2 working days after the day the defects were
found, or in all reason could have been found and furthermore demonstrates that the MPV instructions for use, maintenance and operation
were followed, whilst the defects are not the consequence of normal wear and tear, misuse, negligence, accident, exceeding the limits
prescribed by the MPV or by the legal safety regulations, or, in the case of a repair or change without MPV’s consent or the consent of its
recognised repairer, there will be no entitlement to repairs or replacement.The parts that have to be replaced must be made available free
of charge to MPV. Noncompliance by the other party to one or more of its obligations will release MPV of all its guarantee obligations.
In the case of assembly of the other party’s own products by Maretti, MPV will release itself from all guarantee stipulations.
Moreover, our general delivery terms and conditions are applicable.These can be obtained from Maretti or can be downloaded from www.maretti.com
The installation must be done by a competent installer. Maretti recommends that your (outside) lighting and fixtures are inspected and
maintained annually.
D: Für Garantiebedingungen bitte lesen Sie unsere Webseite www.maretti.com
E: Consulte nuestro sitio web para los condiciones de garantia www.maretti.com
FR: Consultez notre site web pour les conditions de garantie www.maretti.com
NL: Voor garantievoorwaarden zie onze website www.maretti.com
Maretti Lighting
Bolderweg 7
1332 AX Almere
the Netherlands
T+31 (0) 36 532 66 12
F+31 (0) 36 532 17 35
Einfo@maretti.com
Wwww.maretti.com
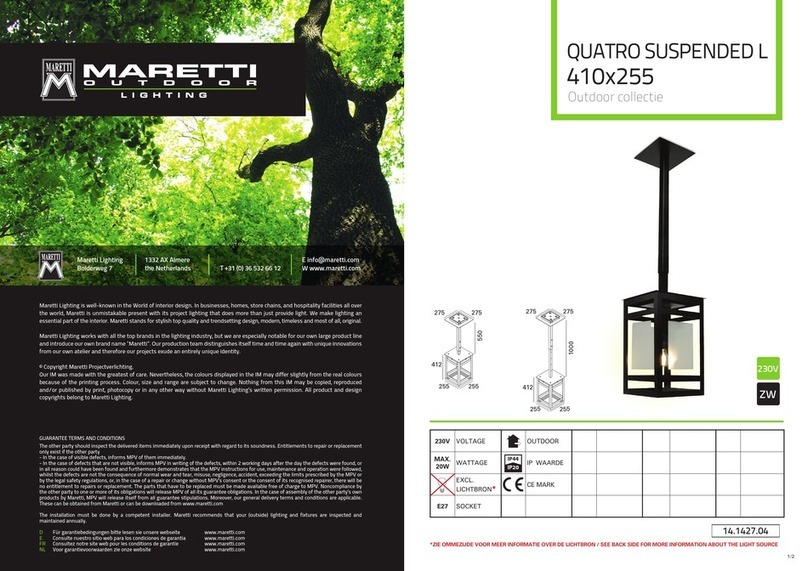
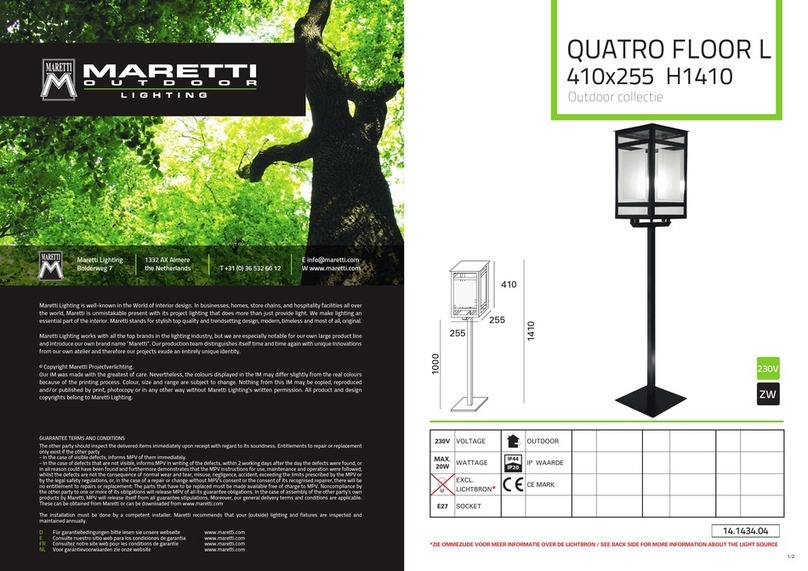
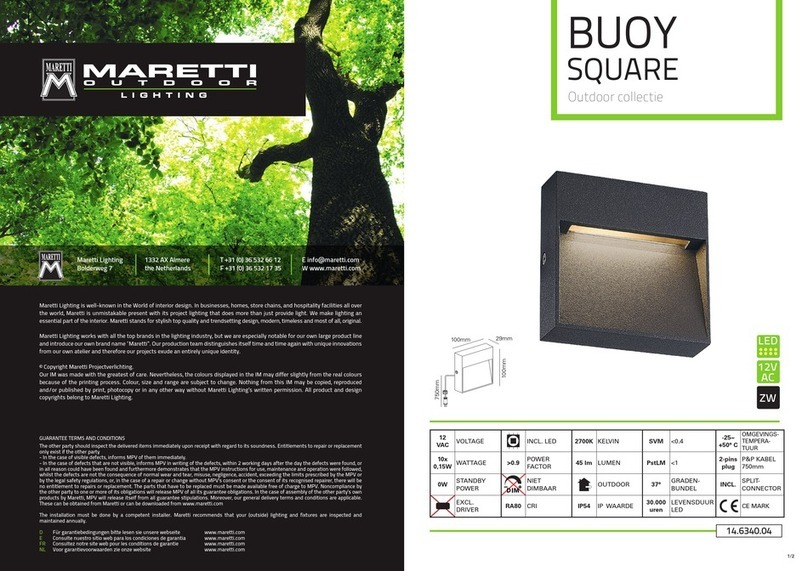
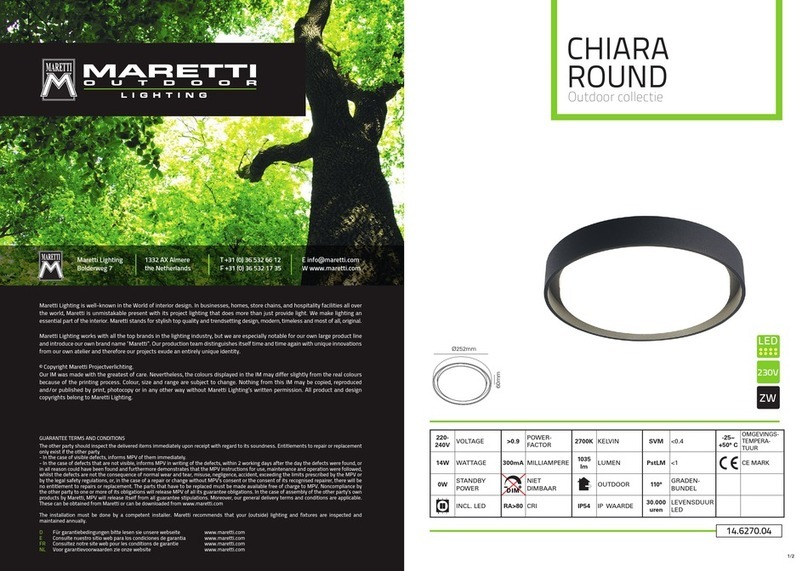
Maretti Lighting is well-known in the World of interior design. In businesses, homes, store chains, and hospitality facilities
all over the world, Maretti is unmistakable present with its project lighting that does more than just provide light. We
make lighting an essential part of the interior. Maretti stands for stylish top quality and trendsetting design, modern,
timeless and most of all, original.
Maretti Lighting works with all the top brands in the lighting industry, but we are especially notable for our own large
product line and introduce our own brand name “Maretti”. Our production team distinguishes itself time and time
again with unique innovations from our own atelier and therefore our projects exude an entirely unique identity.
© Copyright Maretti Projectverlichting.
Our IM was made with the greatest of care. Nevertheless, the colours displayed in the IM may differ slightly from the real
colours because of the printing process. Colour, size and range are subject to change. Nothing from this IM may be copied,
reproduced and/or published by print, photocopy or in any other way without Maretti Lighting’s written permission. All
product and design copyrights belong to Maretti Lighting.
CASIOPEA LED
PLAFONNIÈRE
14.6395.COLOUR
05
BLACK WHITE
100-
240V VOLTAGE LED INCL.
(SMD)
3000
KKELVIN DEGREE
BEAM ANGLE 99% 1000H LUMEN
MAINTENANCE
20W WATTAGE >0,9 POWER-
FACTOR
1500
lm LUMEN 30.000
hours LIFETIME LED EARTHING
0W STANDBY
POWER
NOT
DIMMABLE OUTDOOR 25.000 SWITCHING
CYCLES
-20~
60°C
ENVIRON.
TEMPERATURE
DRIVER
INCL.
Ra
>80 CRI 65 IP RATING <0.5s WARM-UP
TIMETO 60% CE MARK
125°
WWW.MARETTI.COM
2/2
Schakel altijd eerst de stroom uit
voordat u installatie-, onderhoud of
reparatiewerkzaamheden uitvoert.
Always switch off the mains voltage
before carrying out installation,
maintenance and repair work.
1- Remove the trim cover by turning anti-clockwise.
2- Gebruik een inbussleutel om
de onderdelen los te draaien.
3- Monteer het chassis met behulp van drie
bevestigingsschroeven, sluit de voedingsdraden
correct aan op de aansluitklemmen stekker.
Rubber
ring
Metal
ring
1- Draai de deksel los door tegen de klok
in te draaien, verwijder de deksel.
2- Use an Allen key to unscrew the PC diffuser. 3- Mount the chassis using three fixing screws,
the connect the power wires to the terminal
connector correctly.
4- Gebruik de inbussleutel om de onderdelen vast te draaien. 5- De deksel vast draaien zoals hierboven vermeld. Installatie positie tekening.
4- Use the Allen key to screw on the PC diffuser. 5- Put on the trim and lock tight as mentioned above. Installation position drawing.
Let op! / Notice:
Ø 300mm
66mm
12
“No rights can be derived from the information provided on this Instruction Manual. Information on the Instruction Manual has been compiled with the utmost care and is updated on a continuous basis. Nevertheless Maretti cannot guarantee that all information is free of errors, complete or fully up to date.”
14.6395.COLOUR
CASIOPEA LED PLAFONNIÈRE
INSTRUCTIONS
!
LET OP:
- Volg en bewaar deze gebruiksaanwijzing.
- Zorg ervoor dat de netspanning uitgeschakeld is voor installatie, reparatie of onderhoud. (Installatie, reparatie en onderhoud uitsluitend door gekwalificeerde personen).
- Om waterdichtheid te verzekeren dient u alle onderdelen handvast aan te draaien.
- Armatuur en keerringen moeten bij montage geheel schoon en droog zijn.
- Dit armatuur niet openen of installeren tijdens regen of hoge luchtvochtigheid.
De fabrikant aanvaardt geen enkele aansprakelijkheid voor letsel of schade als gevolg van een verkeerde toepassing van het armatuur. De fabrikant aanvaardt
geen garantie in geval van het niet behandelen van de lampen volgens de richtlijnen van de fabrikant. Als er schade aan elektrische onderdelen te vinden zijn,
vraag dan een elektricien om het te vervangen.
Onderhoud is behoud:
Een goede instandhouding van het armatuur is sterk afhankelijk van omgevings- en onderhoudsfactoren. Hierop kunnen wij geen invloed uitoefenen.
- Schakel de elektriciteit uit!
- Gebruik geen bijtende, chemische middelen of schurende schoonmaakmiddelen.
- Armaturen kunnen het beste schoongemaakt worden met een zachte licht vochtige doek en direct daarna met een zachte licht droge doek wrijven i.v.m. “opdroog plekken”.
NOTE:
- Follow and keep this instructions manual.
- Make sure that the mains voltage is switched off for installation, reparation or maintenance. (Installation, reparation and maintenance only by qualified persons).
- Make sure all parts are turned hand tight to be sure the item is waterproof.
- Lighting fixture and retaining rings must be clean and dry before assembly.
- Do not open or install this luminaire during rain or highly humid condition.
The manufacturer accepts no liability for any injuries or damages resulting from the incorrect use or installation of the fixture. Any operation performed on
the fixture that is not in accordance with instructions will void manufacturer’s warranty. If you find any damage to the electrical parts, please ask a qualified
electrician to replace it.
Maintenance is preservation:
A good preservation of the fixture is highly dependent on environmental factors and maintenance. We cannot exercise any influence on this.
- Switch off the mains voltage before you begin.
- Do not use strong, chemicals or abrasive cleaners.
- Luminaires are best cleaned with a slightly damp soft cloth and then immediately wipe with a dry soft cloth to prevent stains.
1. Installatie, reparatie en onderhoud uitsluitend door gekwalificeerde
elektriciens, volgens de NEN-bedradingsregels.
2. De stroomtoevoerkabel door de rubberen klier mag geen openingen
rond het uitlaatgat hebben, waardoor er water kan binnendringen
en de IP-classificatie ongeldig maken.
3. Monteer de fitting via de drie bevestigingsschroefgaten op de
onderkant van het chassis. Zorg ervoor dat er geen waterlekkage
plaatsvindt.
4. Nadat u het chassis en de diffusor hebt geïnstalleerd, plaatst u de
vier palen op de binnenste deksel in lijn met de sleuven van het
chassis en past u deze in de richting van de wijzers van de klok om
ze vast te zetten. Zorg ervoor dat deze stevig genoeg is vergrendeld
om te voorkomen dat de deksel eraf valt.
1. Must be installed by qualified electriciansaccording to NEN wiring rules.
2. Power inlet cable through the rubber gland must not leave gaps
around inlet hole, which can allow water to get in and void
the IP rating.
3. Mount the fitting via the three fixing screw holes on the base of
chassis. Make sure no water can leak in.
4. After installing the chassis and diffuser, align the four poles on
the inner trim cover with the slots of the chassis, then fit in and
turn trim clockwise to lock in, make sure it is locked tight enough
to avoid trim cover from falling off.
Replaceable control gear
by a professional
Replaceable (LED only) light source
by a professional

This manual suits for next models

1

Other Maretti Outdoor Light manuals

Maretti ECLIPSE ROUND User manual

Maretti

Maretti ECLIPSE ROUND User manual

Maretti QUATRO FLOOR XL H2250 User manual

Maretti

Maretti QUATRO FLOOR XL H2250 User manual

Maretti TIDE User manual

Maretti

Maretti TIDE User manual

Maretti ECLIPSE FLOOR IV User manual

Maretti

Maretti ECLIPSE FLOOR IV User manual

Maretti VIBE S 14.6080.04.A User manual

Maretti

Maretti VIBE S 14.6080.04.A User manual

Maretti VIBE XL User manual

Maretti

Maretti VIBE XL User manual

Maretti MARRIOTT FLOOR 13.1442.02.A User manual

Maretti

Maretti MARRIOTT FLOOR 13.1442.02.A User manual

Maretti 14.1405.04.A User manual

Maretti

Maretti 14.1405.04.A User manual

Maretti BUOY SQUARE 14.6340.04 User manual

Maretti

Maretti BUOY SQUARE 14.6340.04 User manual

Maretti VIBE M User manual

Maretti

Maretti VIBE M User manual

Maretti FLOOD I User manual

Maretti

Maretti FLOOD I User manual

Maretti FARO 14.5920.04.A User manual

Maretti

Maretti FARO 14.5920.04.A User manual

Maretti QUATRO FLOOR L H710 User manual

Maretti

Maretti QUATRO FLOOR L H710 User manual

Maretti PIETBOON KLAARTJE WALL User manual

Maretti

Maretti PIETBOON KLAARTJE WALL User manual

Maretti CHIARA ROUND User manual

Maretti

Maretti CHIARA ROUND User manual

Maretti STRETTO 14.1806 User manual

Maretti

Maretti STRETTO 14.1806 User manual

Maretti TUBE CUBE WALL 14.4998.04 User manual

Maretti

Maretti TUBE CUBE WALL 14.4998.04 User manual

Maretti QUATRO FLOOR M User manual

Maretti

Maretti QUATRO FLOOR M User manual

Maretti QUATRO CEILING 255X255 User manual

Maretti

Maretti QUATRO CEILING 255X255 User manual

Maretti GROUND ROUND 18 User manual

Maretti

Maretti GROUND ROUND 18 User manual

Maretti Stone base PENTHOUSE 18 User manual

Maretti

Maretti Stone base PENTHOUSE 18 User manual

Maretti RIVINGTON 13.3590.04 User manual

Maretti

Maretti RIVINGTON 13.3590.04 User manual

Maretti QUATRO FLOOR L 410x255 H1410 User manual

Maretti

Maretti QUATRO FLOOR L 410x255 H1410 User manual

Maretti BUONY ROUND 14.6345.04 User manual

Maretti

Maretti BUONY ROUND 14.6345.04 User manual

Popular Outdoor Light manuals by other brands

Pontec PONDOSTAR 20 Directions for use

Pontec

Pontec PONDOSTAR 20 Directions for use

Renkforce 1361116 operating instructions

Renkforce

Renkforce 1361116 operating instructions

muuto TIP WALL LAMP quick start guide

muuto

muuto TIP WALL LAMP quick start guide

Beacon RWL1 installation instructions

Beacon

Beacon RWL1 installation instructions

HEPER PUNTO Installation & maintenance instructions

HEPER

HEPER PUNTO Installation & maintenance instructions

Prilux Icon PAR56 instruction manual

Prilux

Prilux Icon PAR56 instruction manual

Kichler Lighting 15382BK instructions

Kichler Lighting

Kichler Lighting 15382BK instructions

Stahl 6147 operating instructions

Stahl

Stahl 6147 operating instructions

Harbor Freight Tools luminar OUTDOOR Owner's manual & safety instructions

Harbor Freight Tools

Harbor Freight Tools luminar OUTDOOR Owner's manual & safety instructions

IFM O2D93 Series operating instructions

IFM

IFM O2D93 Series operating instructions

Quoizel DE8959IB Assembly instruction sheet

Quoizel

Quoizel DE8959IB Assembly instruction sheet

LIGMAN AR-21012 Installation and service manual

LIGMAN

LIGMAN AR-21012 Installation and service manual

Access Lighting 20370MG Installation & operation instructions

Access Lighting

Access Lighting 20370MG Installation & operation instructions

Allen + Roth RDY1740-01-ORB manual

Allen + Roth

Allen + Roth RDY1740-01-ORB manual

Heitronic 35864 Installation and operating instructions

Heitronic

Heitronic 35864 Installation and operating instructions

Thorn CIVITEQ installation instructions

Thorn

Thorn CIVITEQ installation instructions

Hess CITY ELEMENTS 180-2 Installation and operating instructions

Hess

Hess CITY ELEMENTS 180-2 Installation and operating instructions

Vaxcel T0366 Assembly and installation instructions

Vaxcel

Vaxcel T0366 Assembly and installation instructions

manuals.online logo
manuals.online logoBrands
  • About & Mission
  • Contact us
  • Privacy Policy
  • Terms and Conditions

Copyright 2025 Manuals.Online. All Rights Reserved.