MarineTech Panther 55-0416 User manual
55-0416
ALUMINUM BRACKET
DESIGNED FOR 4-STROKE
MOTORS UP TO 35 HP
AND 263 LBS
INSTRUCTION MANUAL
REV. 12/15

4-Stroke Auxiliary Outboard Motor Bracket
Mounting and Operating Instructions
For the following products only:
55-0407AL, 55-0408SS, 55-0410, 55-0416
AUXILIARY OUTBOARD MOTOR BRACKET CAUTION GUIDELINES
1. Always r emove your motor from br acket when tr ailer ing. Failur e to do so may r esult in
damage to boat, motor, or bracket.
2. Do not exceed the stated H.P. rating or weight.
3. Verify that the motor clamps are tight before every use.
4. You must “Always” use a safety cable when operating your motor.
5. Operate motor at low speed. Avoid turning motor at full throttle. Refrain from sharp turns.
6. Operate your motor in lowest position possible for best performance.
7. Raise and tilt motor ONLY when motor is NOT in use or running.
8. Do not alter the motor mounting plate or bracket in any way.
9. Occasional greasing of the pivoting bolts will provide a smoother operation of the bracket.
10. To avoid personal injury, do not contact moving parts and observe all of the above guidelines.
The completed installation should result in the cavitation plate of the outboard motor being two inches
(2”) below the surface of the water. The height of the outboard bracket on the power boat should
be located so that the cavitation plate is 2” below that portion of the bottom of the boat closest to
the engine being mounted. The following instructions should be followed to achieve these re-
sults:
Determine the distance from the outboard motors, clamp screw bracket to the cavita-
tion plate. (See Diagram A). Now subtract 2” from that amount.
After subtracting the 2” from the measured distance, add x inches (get the value of x
from the chart below) to get your TOTAL distance.
55-0407AL & 55-0410 X = 10” 55-0408SS X = 11” 55-0416 X = 16”
Attach (or tape) a yardstick to the black plastic mounting board of the Panther
bracket, at the previously determined TOTAL distance. (See Diagram B).
(See Diagrams next page) Example: The measurement from the clamp bracket to the cavitation plate of
your outboard is 16 inches in this example. Subtract 2 inches and add the bracket travel from the chart
above (example 1188005 x = 10”). The TOTAL distance is 24 inches (16 -2 +10 = 24”). Therefore, at-
tach the yardstick so the 24 inch mark is even with the top of the Panther black plastic mounting board.
(As per Diagram B). See Next Page

DIAGRAM A DIAGRAM B
2. Posion the outboard motor bracket on the transom of the boat on either the starboard or port side. Care
should be exercised to make sure that the bracket will not interfere with the movement of the exisng engine
or a rudder. The heights of the bracket should be posioned so that the end of the yardsck is ush with the
boom of the boat on powerboats or at the waterline on sailboats (See Diagram C). Have a helper mark four
holes for the aachment of the bracket to the boat. The primary holes to be used are the extreme top and
boom holes on each side of the mounng bracket. In the event of obstrucons on the inside of the transom,
alternave holes are provided. Always use the holes closet to the top and boom of the bracket as possible.
Check again to make sure that there are no obstrucons on the inside of the transom and then drill four
3/8” holes at the marked locaons. Aach the outboard bracket to the transom with 5/16 stainless steel
fasteners. For transoms that are 2” or less in thickness a backing plate should be used. When ghtening
the locking nuts on the aachment bolts, there should be at least two threads of the bolts protruding
through the nut to insure good locking characteriscs.
3. Trim adjustment should now be made to insure that the engines cavitaon plate is parallel to the boom of the
boat and 2” below the waterline. While standing on either side of the boat, sight down the boat boom
and compare with the plane of the cavitaon plate. If more adjustment is needed then remove the ad-
justment bolt from the mounng board bracket and swivel this bracket as necessary. Be sure to reinstall
the bolt in the same manner as it was removed. Do not over ghten as this will cause the bracket to bind
and not move up and down smoothly. Also make sure that the nylon locking nut on this bolt has at least
two threads protruding through the nut.
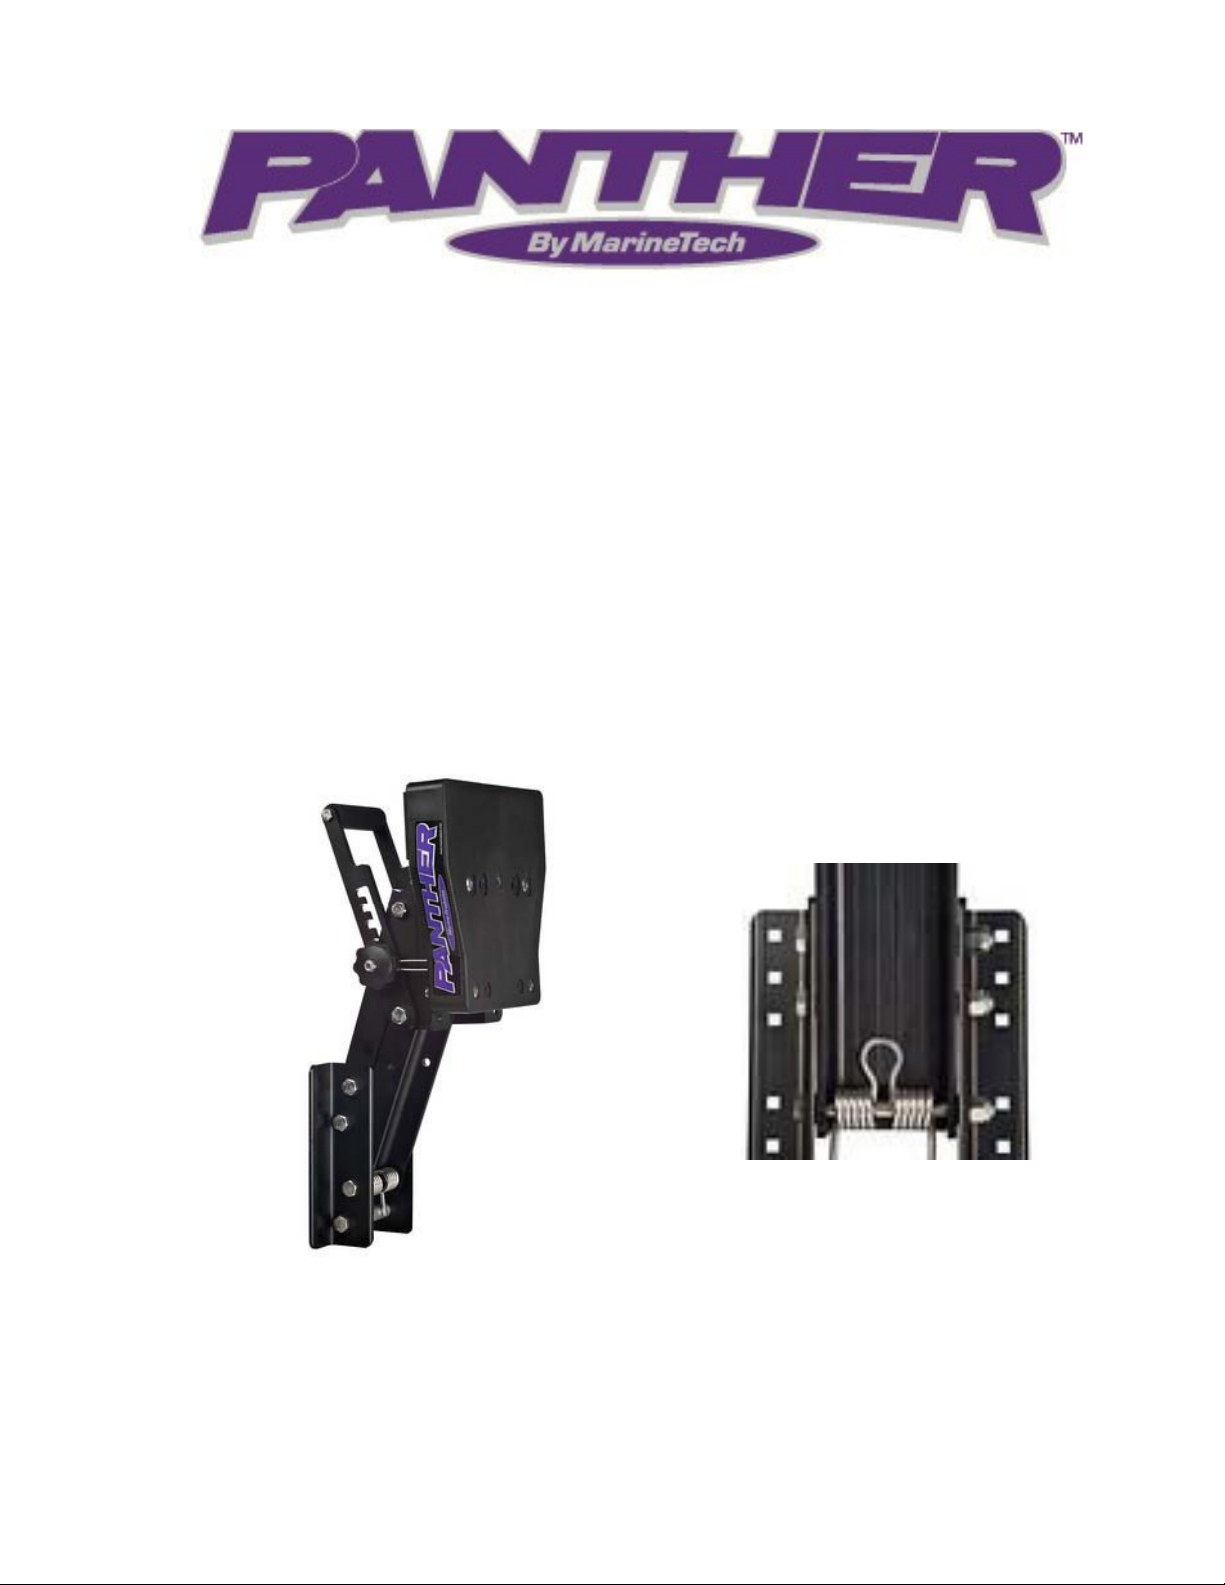
This bolt
adjustment is
only available
on Model
55-0408SS


SERVICE AND WARRANTY
Should your unit ever require service, please do not return the product to your dealer. Please call the number below for spe-
cial instructions on shipping and handling. Please call between 9:00 am - 3:00 pm (Central Standard Time) Monday through
Friday. If service is required and covered by warranty, it will be repaired or replaced as described below. If service is required
and not covered by warranty, (such as damage caused from improper trailering or from water intrusion through the breather
tube), replacement parts are available for purchase and may be paid for by Visa or MasterCard.
The warranty coverage on this equipment is limited to the terms set forth below:
MarineTech Products, Inc. warrants this product to be free of defects in material and workmanship for a period of ONE (1)
YEAR from the date of original retail purchase. Positive proof of date of purchase is required for warranty service. If service is
required and covered by warranty, the unit will be repaired or replaced with new or factory rebuilt parts at no charge. The defec-
tive components must be returned to the address specified, with shipping charges prepaid. Be sure to include your name, ad-
dress, telephone number and a copy of the sales receipt showing the date of original retail purchase. All sales receipts are sub-
ject to verification.
This warranty does not apply if the unit has been damaged by accident, abuse, misuse, poor installation or misapplication, or if
it has been modified from its original condition, or if any serial number has been removed or defaced or altered. This warranty
does not cover any expense to remove or reinstall the unit or any of its components. If a r etur ned unit is not covered by
warranty, the sender will be notified and given an estimate of the charges to repair or replace the unit, together with the return
shipping charges.
THIS WARRANTY DOES NOT COVER SPECIAL, INCIDENTAL, OR CONSEQUENTIAL DAMAGES RE-
SULTING FROM ANY BREACH OF WARRANTY, OR UNDER ANY OTHER LEGAL THEORY, INCLUD-
ING BUT NOT LIMITED TO DAMAGE TO OR REPLACEMENT OF OTHER EQUIPMENT AND PROPER-
TY. THE WARRANTY AND REMEDIES SET FORTH ARE EXCLUSIVE AND IN LIEU OF ALL OTHERS,
WHETHER ORAL OR WRITTEN, EXPRESS OR IMPLIED. DUE TO THE SPECIAL AND UNIQUE CONDI-
TIONS THAT MAY EXIST IN EACH APPLICATION, THE MANUFACTURER SPECIFICALLY DISCLAIMS
ANY AND ALL IMPLIED WARRANTIES OF MERCHANTABILITY AND FITNESS FOR A PARTICULAR
PURPOSE. NO DEALER, AGENT OR EMPLOYEE IS AUTHORIZED TO MAKE ANY MODIFICATION, EX-
TENSION OR ADDITION TO THIS WARRANTY.
Some states do not allow exclusion of incidental or consequential damages, so the above exclusions may not apply to you. This
warranty gives you specific legal rights, and you may also have other legal rights, which may vary from state to state.
FOR SERVICE :
send an email to
info@marinetechproducts.com
or call 651.486.2010
MARINETECH PRODUCTS, INC
1360 East County Road E
VADNAIS HEIGHTS, MN 55110
www.marinetechproducts.com

MarineTech Products, Inc. is proud to offer these fine lines
:
SOLUTIONS FOR MOTOR MOUNTING, REMOTE STEERING, TILT & TRIM, SHALLOW
WATER ANCHORS, AND SECURITY SYSTEMS
THE ORIGINAL ENGINE-MOUNTED ELECTRIC TROLLING
MOTORS—HIGH THRUST WITH WHISPER-QUIET EFFICIENCY
ROD HOLDERS, TROLLING MOTOR SUPPORTS, AND
GPS/SONAR MOUNTS
AUXILIARY OUTBOARD MOTOR STEER SYSTEMS
THROTTLE CONTROL FOR GAS POWERED AUXILIARY MOTORS
www.marinetechproducts.com
Table of contents
Other MarineTech TV Mount manuals


