manuals.online logo
Brands
  1. Home
  2. •
  3. Brands
  4. •
  5. Mark Bass
  6. •
  7. Music Pedal
  8. •
  9. Mark Bass Ground Stereo Pre User manual

Mark Bass Ground Stereo Pre User manual

v. 04.may.2011
owner’s manual
02
1. IMPORTANT SAFETY INSTRUCTIONS
1) Read these instructions;
2) Keep these instructions;
3) Heed all warnings;
4) Follow all instructions;
5) Do not use this apparatus near water;
6) Clean only with dry cloth;
7) Install in accordance with the manufacturer’s instructions;
8) Do not install near any heat sources such as radiators, heat registers, stoves, or other apparatus (including ampliers) that produce heat;
9) Protect the power cord from being walked on or pinched, particularly at plugs, convenience receptacles, and the point where they exit from the apparatus;
10) Only use attachments/accessories specied by the manufacturer;
11) Unplug this apparatus during lightning storms or when unused for long periods of time;
12) Refer all servicing to qualied service personnel. Servicing is required when the apparatus has been damaged in any way, such as when the power-supply cord or plug is damaged, liquid has been spilled or objects have fallen
into the apparatus, or when the apparatus has been exposed to rain or moisture, does not operate normally, or has been dropped;
13) “Warning: to reduce the risk of re or electric shock, do not expose this apparatus to rain or moisture; and objects lled with liquids, such as vases, should not be placed on this apparatus”;
14) The socket outlet shall be installed near the equipment and shall be easily accessible;
15) The power cord must be unplugged prior to servicing.
1. PRÉCAUTIONS D’EMPLOI
1) Lire ces instructions;
2) Conserver ces instructions;
3) Suivre tous les conseils d’utilisations;
4) Suivre toutes les instructions;
5) Ne pas utiliser cet appareil au bord de l’eau;
6) Nettoyer uniquement avec un chion humide;
7) Ne pas bloquer le système de ventilation. Installer conformément aux instructions du fabricant;
8) Ne pas installer l’appareil près d’une source de chaleur tel qu’un radiateur, un fourneau, ou bien un autre appareil qui produit de la chaleur;
9) Protéger le cordon d’alimentation an qu’il ne soit pas piétiné ou écrasé tout particulièrement au niveau des ches, des prises de courant femelles, et des parties qui sortent de l’appareil;
10) Utiliser uniquement les accessoires recommendés par le fabricant;
11) Ne pas branché l’appareil en cas d’orage accompagné d’éclairs. Le débrancher en cas de non utilisation prolongée;
12) S’adresser à un service assistance agréé si l’appareil a subi des dommages, si le cordon d’alimentation ou la che a été endommagé, si un liquide a été renversé sur l’appareil ou bien si un object est tombé dans l’appareil,
si ce dernier a été exposé à la pluie ou à l’humidité, s’il ne fonctionne pas correctement ou s’il est tombé;
13) “Avertissant: pour réduire le risque du feu ou de décharge électrique, n’exposez pas cet appareil à la pluie ou l’humidité et les objets remplis de liquides; tels que des vases, ne devraient pas être placés sur cet appareil”;
14) La prise de courant doit être installée près de l’appareil et doit être facilement accessible;
15) La che principale doit être débranchée avant toute opération d’entretien.
MORE INFORMATION
For warranty and service information, please contact your local Markbass distributor (contact information available at www.markbass.it). For more technical information, please visit us at www.markbass.it and ll out the form on the
Contact Us page. We hope you enjoy your eect pedal and use it to make great music!
“The Lightning Flash with arrowhead symbol within an equilateral triangle, is intended to alert the
user to the presence of uninsulated“dangerous voltage” within the product enclosure that may be of
sucient magnitude to constitute a risk of shock to persons.”
“The exclamation point within an equilateral triangle is intended to alert the user
to the presence of important operating and maintenance (servicing) instructions
in the literature accompanying the product.”
03
2. CONTENTS
INTRODUCTION 3
FUNCTIONS OVERVIEW 4
CONNECTIONS OVERVIEW 5
TECHNICAL SPECS 6
3. INTRODUCTION
Congratulations on your purchase of the Markbass GROUND STEREO PRE.
It’s not easy to create truly innovative products in a market in which everything seems to be already available. Working closely with bass legend Alain Caron, we decided to design a stereo
preamp that is both innovative and useful, and above all, truly unique in the market.
It’s a foot pedal preamp—giving you convenient access to your sound at the front of the stage along with your eect pedals, and allowing you to travel worldwide without compromising
your sound anywhere.
You can also use the headphone output for private practicing in your home or hotel room, and you can connect an iPod or MP3 player to the aux input, for learning recorded music or playing
with backing tracks. Although it can be used mono, the Ground Stereo Pre is designed to be used in stereo with two powered cabinets, and stereo eects. Each channel includes 4-band EQ. If
you need to travel light, you can leave your cabinets at home but always have your pre with you. It’s an essential tool on stage, and a reliable musical friend in your hotel room!
Like all our pedals, the GROUND STEREO PRE features high-end components for top-quality sound.
This manual will help you get the most out of your pedal. If you have any questions after reading it, please feel free to contact our online customer service department at [email protected].
Thank you again, and enjoy your Markbass GROUND STEREO PRE!
04
4. FUNCTIONS OVERVIEW
• LEFTCHANNEL
GAIN LEFT (1) - Controls the level of input into the pedal, from -60÷ +23 dB. If playing through the preamp causes the blue “CLIP” (2) light to turn on at all, you should turn down the
GAIN (1) control to avoid distortion. When you rst plug into the amp, start with the GAIN (1) and MASTER (10) controls set at their lowest levels, in other words turned all the way counter-
clockwise. Then, turn your instrument’s volume up to its full level and play as hard as you do in your most aggressive moments, and turn up the GAIN (1) control until the blue light starts
illuminating. Next, back o on the GAIN (1) just enough so that the light stays o as you play. This method will result in the optimal gain setting for the bass you’re playing. Once you’ve set
the GAIN (1) level, use your MASTER (10) knob to control the volume of your bass.
Markbass amps are designed to faithfully reproduce the natural sound of your bass. If you have a good instrument, very little equalization (EQ)—if any—should be required.
TheLOW(3)EQcontrolisashelfequalizationcontrolat60Hz.Thismeansthatiteitherboostsorcutsthevolumeofthefrequenciesaround60Hz,toamaximumof16decibels.
LOW frequencies constitute music’s sonic foundation they give power to your sound, physically resonating your listeners’ bodies… and yours!
TheMLOW(MIDLOW)(4)EQcontrolboostsorcutsthefrequenciesaround360Hz,byasmuchas16decibels.M LOW makes your bass sound loud, projecting the sound over long
distances, lling the room.
TheMHIGH(MIDHIGH)(5)EQcontrolboostsorcutsthefrequenciesaround800Hz,byasmuchas16decibels.M HIGH conveys the pitch of the notes that you play. Clarity of this
range ensures that the melodies in your bass lines are heard. If detail is missing in this
range, your melodic contribution to the music will suer.
TheHIGH(6)EQcontrolboostsorcutsthefrequenciesaround5kHz,byasmuch
as 16 decibels.
HIGH frequencies carry the percussive content of your playing, the attack of your
notes, the sound of your nger or pick passing over the string, fret noise, and in the
case of slap bass, the ‘tick’ noise produced when the strings bounce o the frets.
Since the GROUND STEREO PRE has been designed to give you clear, detailed and
musical sound at all frequencies, when the EQ section is set‘at’ with all EQ knobs
at 12 o’clock you should hear a very true mirror of the sound of your bass. However,
if and when equalization is required, you will nd this preamp’s EQ controls to be
powerful.
• RIGHTCHANNEL(same as LEFT CHANNEL)
The MASTER (10) volume regulates how much output comes out of the preamp into
your power amp/ powered speaker/s, mixer, etc.
MUTELEFT(11)/MUTERIGHT(12)-Toggles between “on”and mute mode. The
mute LEDs(7-8) illuminate when the channel/s is/are muted.
FX BYPASS (10) – This switch allows you to bypass the FX loop.
5.CONNECTIONSOVERVIEW
INPUT(LEFT–RIGHT)(14-15)Connect your instrument/s to the 1/4” input jack/s.
SEND(LEFT–RIGHT)(16-17)/RETURN(LEFT–RIGHT)(19-20)You can route your stereo eects through the pedal by connecting the eect inputs to the SENDS (16-17) and the eect
outputs to the RETURN (19-20) jacks on the rear panel of the preamp. The eects loop is bypassable using the FX BYPASS (13) switch.
TUNEROUT(18)sends an unbalanced signal that can be sent to a tuner, allowing you to tune as you play without passing your sound through pedals, which can degrade the quality of
your signal. The signal continues to be sent to the tuner output even when the mute switches (11-12) are activated, allowing you to tune discreetly during live performance.
The unbalancedOUT(LEFT–RIGHT)(21-22)allow you to send your stereo signal to combos / powered speakers and other devices that don’t require a balanced signal.
The balancedLINEOUT(LEFT–RIGHT)(23-24)XLR jacks allow you to connect your GROUND STEREO PRE directly to a mixing console (either in live situations or in a recording studio), a
stereo power amp or powered speakers.
The PREEQ/POSTEQ(25)switch determines whether the signal that leaves the LINE OUTs (23-24) is aected by your preamp’s EQ settings or not. In most cases, you will nd that sound
engineers prefer to receive a pre-EQ signal. The line out signal includes whatever eects you’ve connected through the eects loop, and the eects are bypassable using the FX BYPASS
(13) switch.
The PRE MASTER / POST MASTER (26) switch allows you to choose if the signal level from the LINE OUT is controlled only by the GAIN (1) level (PRE MASTER mode) or from the MASTER
(10) control (POST MASTER mode).
PHONES(27)For quiet practicing, plug headphones into this 1/4”jack.
AUX(28)Use this jack to plug in a CD player, MP3 player, iPod, etc. using a mini plug (1/8”). The signal mixes in evenly with your instrument input; use the volume knobs on your bass and
your CD/MP3 player to achieve the right mix.
GROUNDLIFTCONTROLSWITCH(29)Occasionally when you’re playing live and using the LINE OUT (23-24), the soundman will detect a hum from your amp’s signal. This is almost
always due to a grounding problem related to your power source; you will likely eliminate this hum simply by ipping the GROUNDLIFT(29) switch.
THESTEREO/MONO(30)switch allows to choose between STEREO and MONO
modes.
DC IN (31) - External power supply connection: 12VDC (120 mA minimum) PSU.
05
6. TECHNICAL SPECS
CHANNELS: left / right
GAIN CONTROL RANGE L/R: –60 ÷ +23 dB
INPUTS: 2x ¼”jacks (L/R)
IMPEDANCE / MAX. VOLTAGE: 500 Kohm / 4 Vpp
OUTPUTS
SPEAKER OUTS: 2x 1/4” jacks (L/R)
LINE OUT: 2x XLR (L/R)
TUNER OUT: 1x 1/4” jack
EQ FOR EACH CHANNEL
LOW shelf: 60 Hz;
level: ±16 dB
M LOW center frequency: 360 Hz;
level: ±16 dB
M HIGH center frequency: 800 Hz;
level: ±16 dB
HIGH shelf: 5 kHz;
level: ±16 dB
SWITCHES: mute L / mute R
FX loop bypass
line out: pre/post EQ,
pre / post master
GND lift
stereo / mono
POWER SUPPLY: IN: 100V ÷ 240V AC; 50Hz/60Hz
OUT: 12V DC; 1.5 A
POWER ABSORPTION: 120mA
06
Via Po, 52 - 66020 San Giovanni Teatino (Ch) - Italy - Tel. +39 085 446 3755 - Fax +39 085 440 7764
www.markbass.it - [email protected]
Product specifications are subject to change without notice

Other Mark Bass Music Pedal manuals

Mark Bass MB Octaver User manual

Mark Bass

Mark Bass MB Octaver User manual

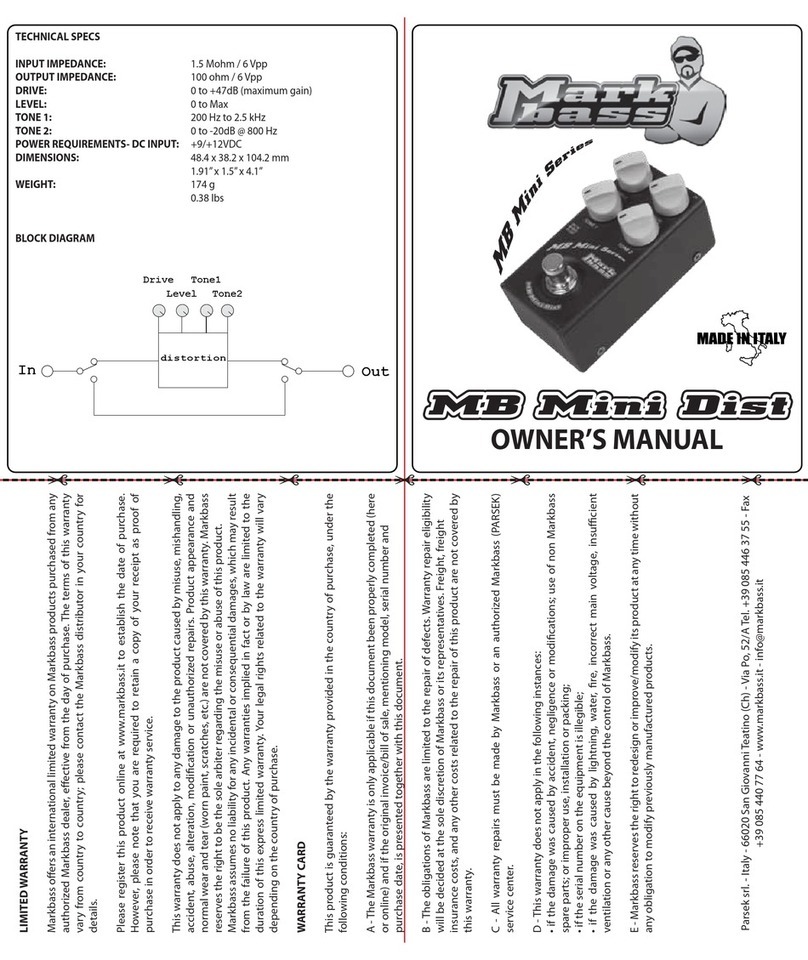
Mark Bass MB Mini Dist User manual

Mark Bass

Mark Bass MB Mini Dist User manual

Mark Bass MB 7 Booster User manual

Mark Bass

Mark Bass MB 7 Booster User manual

Mark Bass KCO273SS User manual

Mark Bass

Mark Bass KCO273SS User manual

Mark Bass Super Synth User manual

Mark Bass

Mark Bass Super Synth User manual

Mark Bass MARK VINTAGE PRE User manual

Mark Bass

Mark Bass MARK VINTAGE PRE User manual

Mark Bass Super Booster User manual

Mark Bass

Mark Bass Super Booster User manual

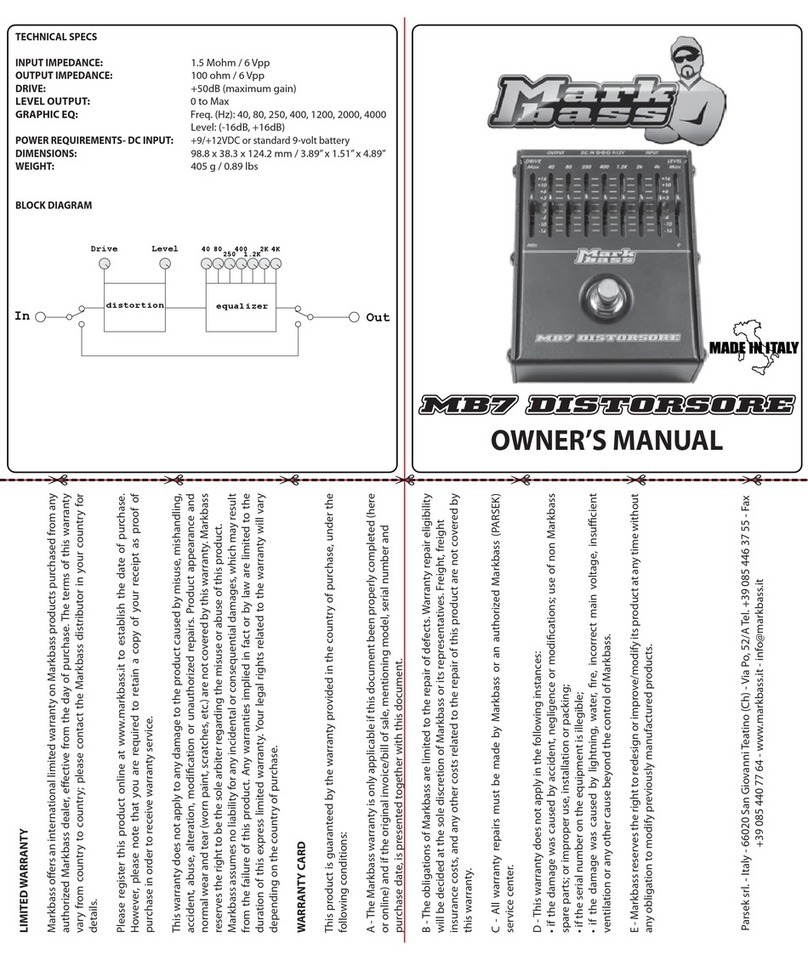
Mark Bass Distorsore User manual

Mark Bass

Mark Bass Distorsore User manual

Mark Bass Super Pro DI Box User manual

Mark Bass

Mark Bass Super Pro DI Box User manual

Mark Bass Bass Tube Marker User manual

Mark Bass

Mark Bass Bass Tube Marker User manual

Mark Bass MB Mini Boost User manual

Mark Bass

Mark Bass MB Mini Boost User manual

Mark Bass Chorus User manual

Mark Bass

Mark Bass Chorus User manual

Popular Music Pedal manuals by other brands

Fender LEVEL SET BUFFER quick guide

Fender

Fender LEVEL SET BUFFER quick guide

Dunlop FUZZFACE FFM2 MINI manual

Dunlop

Dunlop FUZZFACE FFM2 MINI manual

Donner BELTWAY owner's manual

Donner

Donner BELTWAY owner's manual

Soundblox SB2 OFD Bass microMODELER user guide

Soundblox

Soundblox SB2 OFD Bass microMODELER user guide

BYOC Bass Chorus instructions

BYOC

BYOC Bass Chorus instructions

PedalPCB Duck Box Filter Wiring diagram

PedalPCB

PedalPCB Duck Box Filter Wiring diagram

Vox Tonelab ST Service manual

Vox

Vox Tonelab ST Service manual

Strymon Iridium quick start guide

Strymon

Strymon Iridium quick start guide

Behringer DW400 user guide

Behringer

Behringer DW400 user guide

Roland V-Guitar System VG-99 Workshop manual

Roland

Roland V-Guitar System VG-99 Workshop manual

Whirlwind Rochester Series user manual

Whirlwind

Whirlwind Rochester Series user manual

Electro-Harmonix SOUL FOOD manual

Electro-Harmonix

Electro-Harmonix SOUL FOOD manual

EarthQuaker Devices Speaker Cranker Operation manual

EarthQuaker Devices

EarthQuaker Devices Speaker Cranker Operation manual

Voodoo Lab TREMOLO II user manual

Voodoo Lab

Voodoo Lab TREMOLO II user manual

TONE WEAL AT-Series owner's manual

TONE WEAL

TONE WEAL AT-Series owner's manual

PuzzleSounds RC Booster manual

PuzzleSounds

PuzzleSounds RC Booster manual

mxr ZW-44 Wylde Overdrive Specifications

mxr

mxr ZW-44 Wylde Overdrive Specifications

Starr Labs Ztar Setting up

Starr Labs

Starr Labs Ztar Setting up

manuals.online logo
manuals.online logoBrands
  • About & Mission
  • Contact us
  • Privacy Policy
  • Terms and Conditions

Copyright 2025 Manuals.Online. All Rights Reserved.