Martin Audio ENGINEER User manual

The Martin Experience
Engineer
User’s Guide
All material © 2007. Martin Audio Ltd. Subject to change without notice.

All material © 2007. Martin Audio Ltd. Subject to change without notice.
2
Index
Index 2
1. Important Safety Warnings ..................................................................... 4
2. Unpacking the unit ................................................................................... 5
3. Introduction ............................................................................................. 6
3.1 Features........................................................................................... 7
4. Connections.............................................................................................. 8
4.1 Power .............................................................................................. 8
4.2 Audio............................................................................................... 8
4.3 RS-485 ............................................................................................ 8
4.4 RS-232 ............................................................................................ 8
5. Using the software ................................................................................... 9
5.1 Installation ....................................................................................... 9
5.2 Synchronization ...............................................................................10
5.3 Initializing communication .................................................................11
6. Software features................................................................................... 12
6.1 Master Mute ....................................................................................13
6.2 The communications status indicator ..................................................13
6.3 The taskbar .....................................................................................13
6.4 Input routing ...................................................................................13
6.5 The routing matrix............................................................................14
6.6 In- and output labels ........................................................................14
6.7 Equalizers........................................................................................15
6.8 Crossovers ......................................................................................16
6.9 Output settings ................................................................................17
7. Basscreator ............................................................................................ 18

All material © 2007. Martin Audio Ltd. Subject to change without notice.
3
8. Engineer ................................................................................................. 21
8.1 Concept ..........................................................................................21
8.2 Engineer simple ...............................................................................24
8.3 Engineer advanced ...........................................................................26
8.4 Automated Volume...........................................................................28
8.4.1 28
8.4.2 Delta Gain.............................................................................28
8.4.3 Delta T..................................................................................28
8.4.4 Min RMS. ..............................................................................28
8.4.5 Max Gain. .............................................................................28
8.4.6 Side Chain Frequencies...........................................................29
8.5 Automated EQ Low...........................................................................30
8.5.1 Speed .................................................................................30
8.5.2 Delta Gain.............................................................................30
8.5.3 Delta T..................................................................................30
8.5.5 Max Gain. .............................................................................30
8.5.6 Min Gain. ..............................................................................30
8.5.7 X-frequency ..........................................................................31
8.6 Automated EQ High ..........................................................................32
8.6.1 Speed .................................................................................32
8.6.2 Delta Gain.............................................................................32
8.6.3 Delta T..................................................................................32
8.6.4 Min RMS. ..............................................................................32
8.6.5 Max Gain. .............................................................................32
8.6.6 Min Gain. ..............................................................................32
8.6.7 X-Frequency..........................................................................33
8.7 Limiter ............................................................................................34
9. Project-and preset management ........................................................... 35
10.The Scheduler ........................................................................................ 39
10.1 One-time events ..............................................................................40
10.2 Weekly events .................................................................................41
10.3 Daily events ....................................................................................42
11.Zoning .................................................................................................... 43
12.Remote control.........................................................................................45
12.1 Recalling presets ..............................................................................45
12.2 Changing volumes............................................................................45
12.3 Connection ......................................................................................45
12.4 Wiring.............................................................................................46
13.Security .................................................................................................. 47
14.Technical Specifications......................................................................... 48
15. Known issues in software release 0.9.5………………………………………..51

All material © 2007. Martin Audio Ltd. Subject to change without notice.
4
1. Important Safety Warnings
It is extremely important to read ALL safety information and instructions
provided in this manual and any accompanying documentation before
installing and operating the products described herein.
Heed all cautions and warnings during installation and use of this product.
Keep this instruction manual for future reference.
This unit does not contain any user serviceable parts.
Do not open this unit. Doing so will void warranty and might present a risk. Servicing must
be performed by qualified personnel only. Servicing is required when the apparatus has
been damaged in any way, such as power-supply cord or plug being damaged, liquid has
been spilled or objects have fallen into the apparatus, the apparatus has been exposed to
rain or moisture, does not operate normally, or has been dropped.
This unit is designed for indoor use. Do not use this unit in a wet or damp environment or
near water.
Do not install near any heat sources such as radiators, heat registers, stoves, or other
apparatus (including amplifiers) that produce heat.
This unit is not designed for residential use.
Do not block any ventilation openings. Install in accordance with the manufacturers
instructions.
Do not defeat the safety purpose of the polarized or grounding-type plug. If the provided
plug does not fit into your outlet, consult an electrician for replacement of the obsolete
outlet.
Unplug this apparatus during lightning storms.
CAUTION
RISK OF ELECTRIC SHOCK
DO NOT OPEN
DO NOT EXPOSE TO RAIN, MOISTURE,
DRIPPING OR SPLASHING
ATTENTION
RISQUE DE CHOC ELECTRIQUE
NE PAS ENLEVER
NE PAS EXPOSER A LA PLUIE NI A L’HUMITE

All material © 2007. Martin Audio Ltd. Subject to change without notice.
5
2. Unpacking the unit
After unpacking the unit, please check it carefully for any damage. If any is found,
immediately notify the carrier concerned - you, the consignee, must instigate any claim.
Please retain all packaging in case of future re-shipment.
Please think of our environment and don’t bin any materials, including this manual.
When the product has reached the end of its useful life, please dispose of it responsibly
through a recycling centre.

All material © 2007. Martin Audio Ltd. Subject to change without notice.
6
3. Introduction
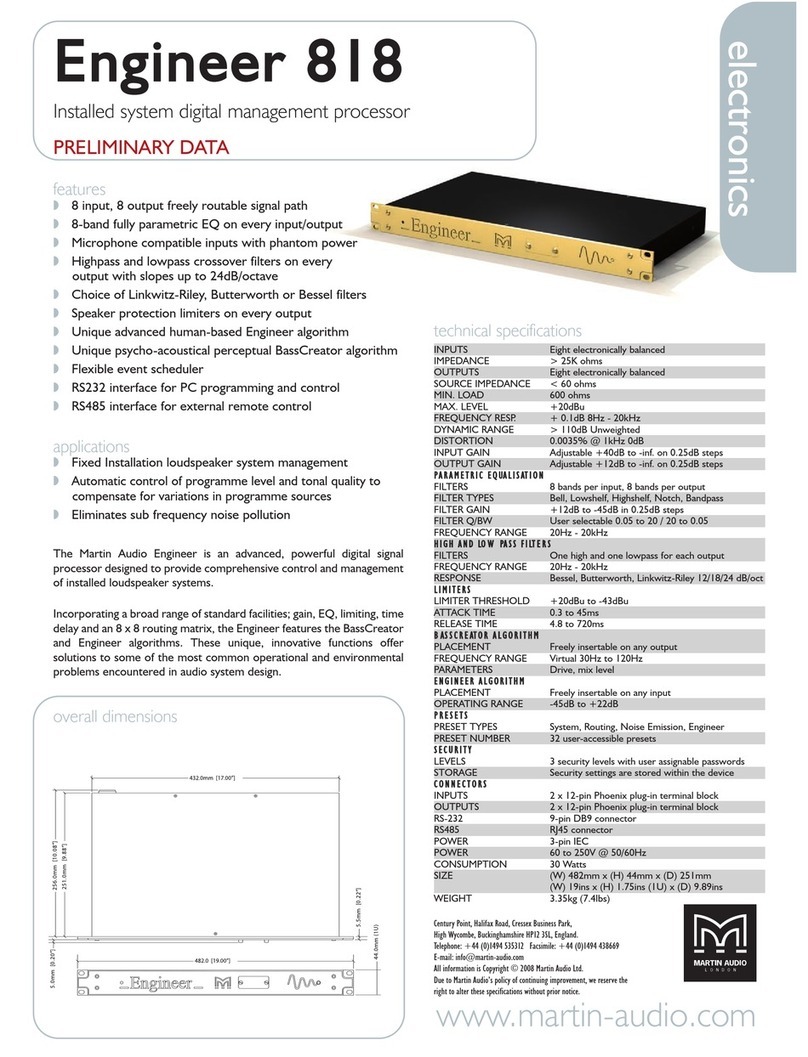
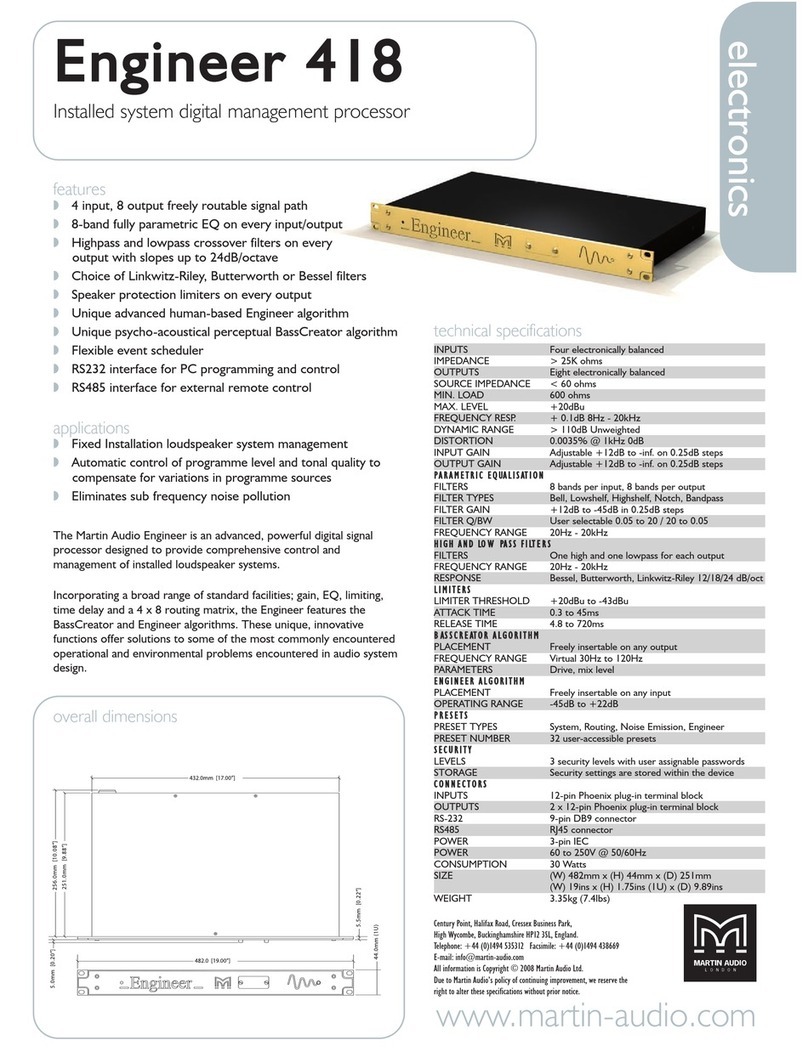
Thank you for choosing the Martin Audio Engineer for your application. The Martin Audio
Engineer is a powerful, advanced DSP platform designed for audio installations. It features 4
inputs and 8 outputs with extensive, flexible routing and x-over functionality.
On top of the ‘normal’ x-over functionality it features two unique highly advanced specialist
audio algorithms. The first one being the dream of every installer: an automated sound
engineer-in-a-box called ‘The Engineer’, working 24-7 to keep a pleasant, consistent sound
in the venue. The second one being the Basscreator algorithm, a psycho-acoustical effect to
make small speakers sound like they are a lot bigger, with unexpected amounts of perceived
low-frequency output from a small speaker.
The unit also features an advanced scheduler, to automate preset recall and make sure the
correct preset is triggered at any time.
These combined features make the Martin Audio Engineer an outstanding one-box problem
solver for any installation where high quality and “no-fuzz” operation are important factors.
Please take the time to read this manual carefully, as it will enable you to get the best out of
the product.

All material © 2007. Martin Audio Ltd. Subject to change without notice.
7
3.1 Features
- 4 inputs and 8 outputs with complete & freely routable signal path.
- 8-band fully parametric EQ on every input.
- 8-band fully parametric EQ on every output.
- Highpass and Lowpass filters on every output with slopes up to 24 dB/oct. featuring
L-R, Butterworth and Bessel filters
- Speaker alignment delays of up to 10ms on every output.
- The most musical-sounding speaker protection limiters in the business on every
output.
- Very high, musical sound quality throughout.
- Unique Engineer DSP algorithm, working 24-7 to keep a consistent sound in your
venue.
- Unique Basscreator algorithm, gives small speakers the perceived low frequency
response of a large speaker.
- Flexible built-in scheduler for automated preset recalling.
- RS-232/485 interface for extensive computer-based control.
- Programmable remote control with RS-485 interface on industry-standard RJ-45
connector, for long cable runs.
- Up to 4 remote controls can co-operate on one Engineer through the use of a HUB.

All material © 2007. Martin Audio Ltd. Subject to change without notice.
8
4. Connections
4.1 Power
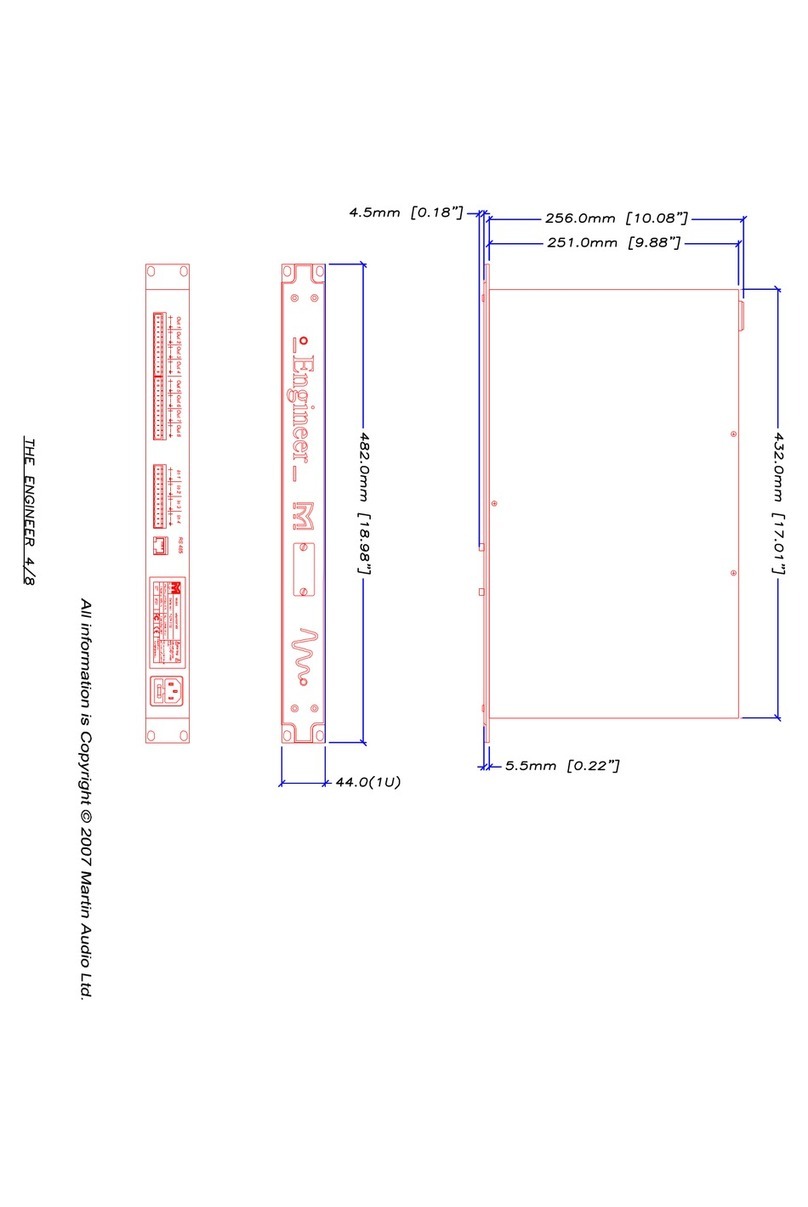
The power connection is located on the back of the unit in the right corner. This device
should always be used with an earthed power connection. The blue LED on the front of the
device indicates that the device is powered. The power switch is located on the front of the
device behind the small hole on the left side. Operate the power switch carefully by the use
of a small screwdriver.
4.2 Audio
The audio connections are located on the backside of the device. The connections are
balanced “Phoenix” connectors. From left-to-right are OUTPUT 1-8 and INPUT 1-4. The
connections are labelled:
+for audio hot
- for audio cold
for audio ground
4.3 RS-485
On the back of the device, next to the audio inputs, is the powered RS-485 connection for
connecting the Engineer Remote on a RJ-45 connector. For wiring scheme, please see the
chapter ‘Remote Control’.
4.4 RS-232
On the front of the device, behind the cover plate in the middle, is the RS-232 connection
for remote control of the device with a PC. For connection with a PC use a fully wired 1:1
DB09-DB09 M/F cable only. The cable may have a maximum length of 45 feet.

All material © 2007. Martin Audio Ltd. Subject to change without notice.
9
5. Using the software
To use the software, your computer has to meet the following requirements:
- Intel x86 Pentium 3 compatible computer with RS232 port or RS232 USB dongle
- Windows XP with service pack 2
- Microsoft .Net framework version 2.0 or higher
5.1 Installation
To install the Martin Audio Engineer control software, insert the CD-ROM and follow the
Autostart EngOpen.htm instructions.
If the disk doesn't autostart, open the "my computer" dialog, located on your desktop or
start menu. Select the CD or DVD drive containing the Martin Audio Engineer software and
double-click on the "Engineer.msi" or "Setup.exe" file. You should now see the installation
screen. Please follow the instructions on your screen to complete installation.
After installation, a new program group called "Martin Audio Engineer" will be available from
the programs folder in your start menu. To start using the Engineer software for the first
time, simply click the Engineer icon.

All material © 2007. Martin Audio Ltd. Subject to change without notice.
10
5.2 Synchronization
As soon as the Engineer software starts up, it will ask in which way you want to synchronize
the software. Synchronization is an important concept within the software: Always make
sure your software is synchronized with the device when working with the system. This
ensures correct functioning of the device (more importantly, it ensures that what you hear is
actually a representation of what you see on your screen). Also, when used correctly, this
will prevent you from losing that precious device setting that you worked on for hours.
On start up, you're presented with the following screen:
Loading the current project from the device is the safest way when it comes to making sure
the current project stored in the device isn't lost: The Engineer will send the currently loaded
settings to the software, and you can take it from there. In case you have an existing
project in an Engineer file, select the "load project from file" option. This will load the stored
project in the software and send it straight to the device, discarding all data previously
stored in the unit.
As you can see in the image above, saving the current project to the device is disabled on
start-up, for the obvious reason that there's no project yet. The last option, starting a new
project, is mainly available for convenience when working offline. The device will not be
synchronized with the project in your software, so this isn't recommended. Synchronization
will have to be handled manually, which can be done from the file menu. For now, please
select the first option.

All material © 2007. Martin Audio Ltd. Subject to change without notice.
11
5.3 Initializing communication
Once you've chosen in which way you want to synchronize, you'll be presented with the
communications dialog:
All available RS232 ports will be shown here, in this examples port 1, 2 and 4. Note the
check box in the bottom-left corner. Selecting this will prevent this dialog box from showing
up in the future, and set the communications port you select as the default. Make sure your
Engineer is connected to the port you select and hit "Connect" to start the synchronization.
During the synchronization process a progress bar will be shown. Please be patient while this
operation completes; this can take a few minutes in the case of many stored presets. Since
this is the first time though, only the factory defaults will be downloaded, which will be
relatively quick.

All material © 2007. Martin Audio Ltd. Subject to change without notice.
12
6. Software features
Now that we're done synchronizing we can really start using the software. You should be
seeing the following screen (without the arrows of course).
Beside the "Levels" window which -obviously- represents the current signal on the Engineer
in- and outputs, there's a window called "Routing and settings". Take some time getting to
know this window: Most of your work within the software will start from here. After
synchronization it will always show the currently active settings in the engineer.

All material © 2007. Martin Audio Ltd. Subject to change without notice.
13
6.1 Master Mute
Before you start experimenting with the software, you'll want to be sure to know where the
mute button is located. After all, everyone makes mistakes and you wouldn't want to have
to unplug the whole device. Hit the mute button in the top menu-bar to mute all outputs on
the system. This button will always be above any other window, so you won't have to look
far when you need it. The background of your screen will turn red if the master mute is
engaged.
6.2 The communications status indicator
If you're not sure whether you're connected to the Engineer, you can check the status of
your connection at any time in the bottom-left corner of your screen. Don't worry about it
too much though: Should the connection drop for any reason, a notification window will
appear informing you of the problem.
6.3 The taskbar
See the grey bar to the right side of your application? This is where minimized windows will
appear. You'll want to make use of this when configuring complex projects where dozens of
windows might clog your workspace with excess information, preventing you to focus on the
job at hand. When you minimize a window it'll appear in the taskbar as an orange button,
which you can click on to restore its window. Use the small blue buttons on the top to rid
your workspace of all windows at once, or to restore them all.
6.4 Input routing
Each of the orange buttons in the routing and settings window opens up a separate window,
allowing you to control the specified feature. These buttons are placed within a routing grid
(marked input routing in the image above), and they allow you to route the input signal
through a number of junctions towards the main routing matrix. Simply press a routing
junction to enable the source audio signal to flow through. The route travelled by your audio
signal will light up in green.
Note that you can also adjust the gain of your signal on each routing junction: Right click
the junction to open up a small gain adjustment dialog. Use the keyboard or the scroll-wheel
on your mouse to make an adjustment. Boosting the signal will be represented by a small
plus within the junction marker, while cutting it will produce a minus.

All material © 2007. Martin Audio Ltd. Subject to change without notice.
14
6.5 The routing matrix
When your input routing has been connected to the routing matrix, you can select to which
output(s) you route using this nifty control. Just like with the input routing, simply click a cell
in this matrix to route the audio signal from the inputs on the left toward the outputs on the
bottom right of the screen. Note that the path of your audio signal lights up in the matrix. If
configured correctly the whole audio path through the system will now be marked in green,
including the input and output labels. An example of 2 complete audio paths can be seen
below.
Each separate matrix cell can be right clicked to produce dialog that controls the gain of
your signal. As with the input routing, a plus represents an audio boost while a minus
represents a cut.
6.6 Input and output labels
For your convenience, the input and output labelling can be changed to whatever name you
want: Simply click on the label and type any name you like, with a maximum of 12
characters. The labels will be saved when saving your project to file or synchronizing it to
the Engineer.

All material © 2007. Martin Audio Ltd. Subject to change without notice.
15
6.7 Equalizers
The Engineer features stereo equalizers on each input and the Engineer algorithm, as well as
mono equalizers on each output. Open one by simply clicking on the button that represents
it.
As you can see, the 8-band parametric equalizers can be configured by either text input or
by using your mouse. The type of equalizer can be selected by clicking on the arrows beside
the type name. You can select Bell-filters, shelving filters and band-pass/reject filters. Select
"none" to bypass the selected filter. Frequency, gain and Q/bandwidth values can be
selected by typing them in the boxes. Note that the band you're working on lights up in
yellow.
When using the mouse to configure a filter, simply drag the graphical markers around while
holding the left mouse-button to select the gain and frequency. While dragging, you can
use the scroll-wheel of your mouse to change the Q/bandwidth/slope factor of the
selected filter. While dragging, holding down the CONTROL key locks the gain value,
and holding down the SHIFT key locks the frequency value.
You can use the reset button to bypass each filter's type. All other parameters will remain
the same, meaning you only have to change each filters type to get your original settings
back. By default, the graphical view is set to a maximum of -12/+6 dB. Click the "Large
scale" button to change this to -45/+12 dB. Clicking the button a second time will revert
back to the original view. Note that you can resize the entire window to get a better view of
your settings by dragging the arrow mark in the bottom right corner. You can even hide the
text input on the right of the screen by pressing the "<<" button. This way you can easily
leave it in a corner of your workspace, as a reminder of your settings. You might want to
copy the settings for a specific EQ to another channel. To do this, simply right click
anywhere in the window, or even the button that opens the window, and select paste in the
target window.

All material © 2007. Martin Audio Ltd. Subject to change without notice.
16
6.8 Crossovers
For every output channel a crossover filter can be set. Click on one of the crossover buttons
from the routing and settings window to open the crossover window.
This window is pretty straightforward: Select a high and/or low-pass filter from a variety of
filter-types and set its frequency by using mouse or keyboard. The steepness of the filter
can be selected in the "Slope" selection box. Like equalizers, crossovers can be copied and
pasted by right clicking on their respective windows or buttons.

All material © 2007. Martin Audio Ltd. Subject to change without notice.
17
6.9 Output settings
You may have already taken a look at the output parameters screen accessible from routing
and settings window, if you haven't please do so now.
As you can see above, all important settings to make sure your speakers stay intact and
sound their best are here: Gains, delays, phase inverts and limiters.
The limiters come with reduction indicators and the current level of each channel is also
visible. Each channel also features an output mute, click the speaker-icon beside the
channels label to (de)activate them. Note that the attack time for the limiter is set as a
function of its release time.
All output parameters can be copied and pasted to any of the other outputs in the same way
as the Crossover and EQ parameters. Place the cursor over the label at the top of the
channel you wish to copy, right click and select Copy. Move to the output channel to which
you would like to paste the settings and again right click on the label and select Paste.
In addition it is possible to copy and paste all output parameters; crossover, EQ, gain, delay
and limiter simultaneously. Hold the Control button down before right clicking over the label
of the output channel to be copied and select Copy Channel. Keep the Control button down
and right click over the label of the channel to which you would like the parameters pasted
and select Paste Channel.

All material © 2007. Martin Audio Ltd. Subject to change without notice.
18
7. Basscreator
The Basscreator algorithm creates a virtual bass based on the "lost fundamental" principle:
It creates a range of higher harmonics of a narrow frequency band around a used specified
centre frequency. This is a psycho-acoustical effect that fools your brains to think something
is going on in the bass frequency range. There are numerous advantages to the algorithm,
you can:
-Replace some of the original bass in the signal with virtual bass to avoid noise
emission problems
-Beef up small speakers to give a sense of low end that couldn't be achieved normally
on the same speaker
-Reduce the amount of sub-woofers needed to save space and money
-Use the Basscreator for infill systems to maintain a consistent sound field with the
added advantage of avoiding interference problems with the main systems sub-
woofers (the perceived bass is in a different frequency range)
-Use the Basscreator on small line-array systems to bring the bass in the frequency
range where the line-array is actual capable of behaving as a line-array.
The pictures below give an impression of what happens within the Basscreator algorithm.
If we put in a sine wave with a frequency of 50 Hz and we put the output of the device in an
analyzer, we see the sine wave as a single spike.

All material © 2007. Martin Audio Ltd. Subject to change without notice.
19
Now if we put that same 50 Hz sine wave through the Basscreator algorithm and analyse its
output we then see the picture below. We see that the original 50 Hz sine wave has been
replaced with higher harmonics on 100,150,200 and 250Hz in a certain ratio. To our brains,
this harmonic pattern will “sound” as if there was a 50 Hz tone.
To start using the basscreator you should first route the inputs you want to use it on toward
the Basscreator module in the Routing and settings window. Then click the "BCR" button in
the same window to open up the Basscreator control window.

All material © 2007. Martin Audio Ltd. Subject to change without notice.
20
First, select the frequency you want to set as the perceived bass. The best value for this
setting depends on the genre of music you'll be playing most regularly and the size of your
speaker system.
A rule of thumb for this is to choose the frequency about one octave below the low
frequency cut-off of your speaker. This means that if you have a speaker which is capable of
producing 100 Hz, you should use the 50HZ setting on the Basscreator as a starting point.
If you have set the frequency, set the drive and mix levels. The drive level determines the
amount of harmonics generated by the algorithm and determines the sound it will produce
for a large part. The mix level sets the amount of added effect (the amount of virtual bass
added to the original signal).
Other manuals for ENGINEER
1
Table of contents
Other Martin Audio Computer Hardware manuals