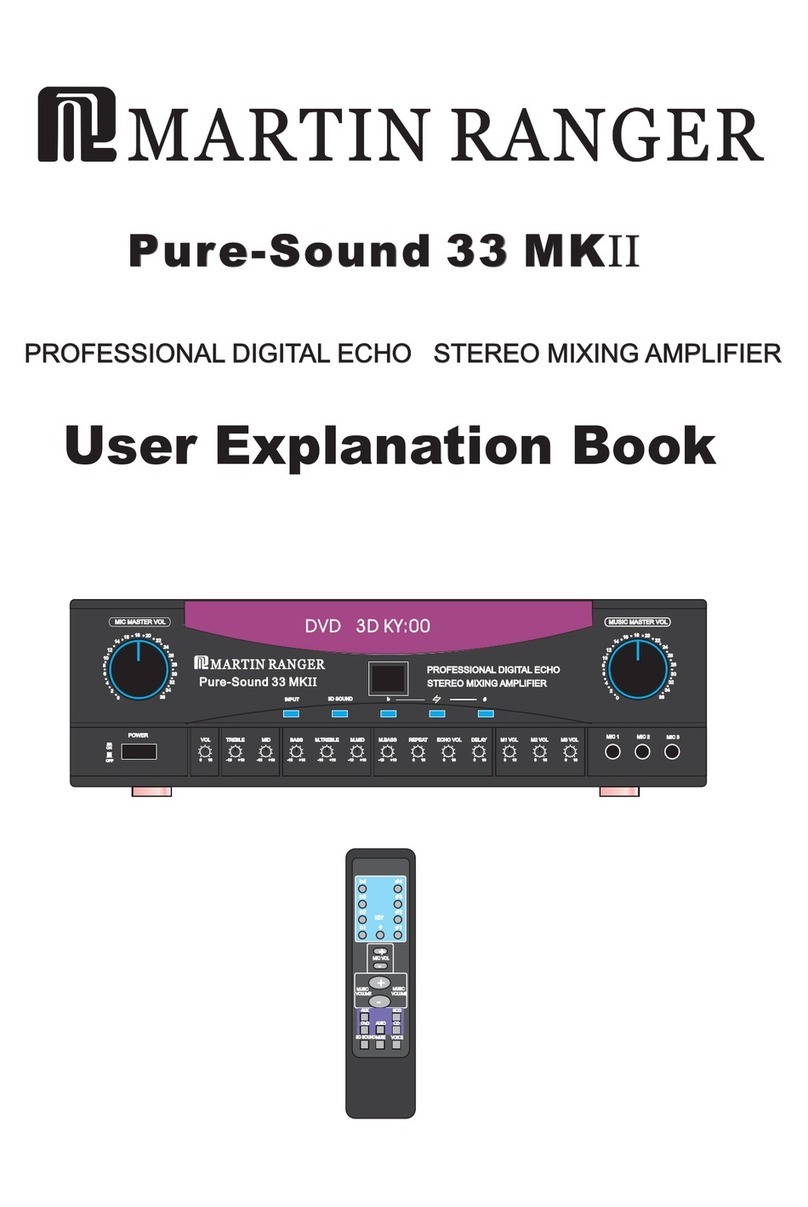
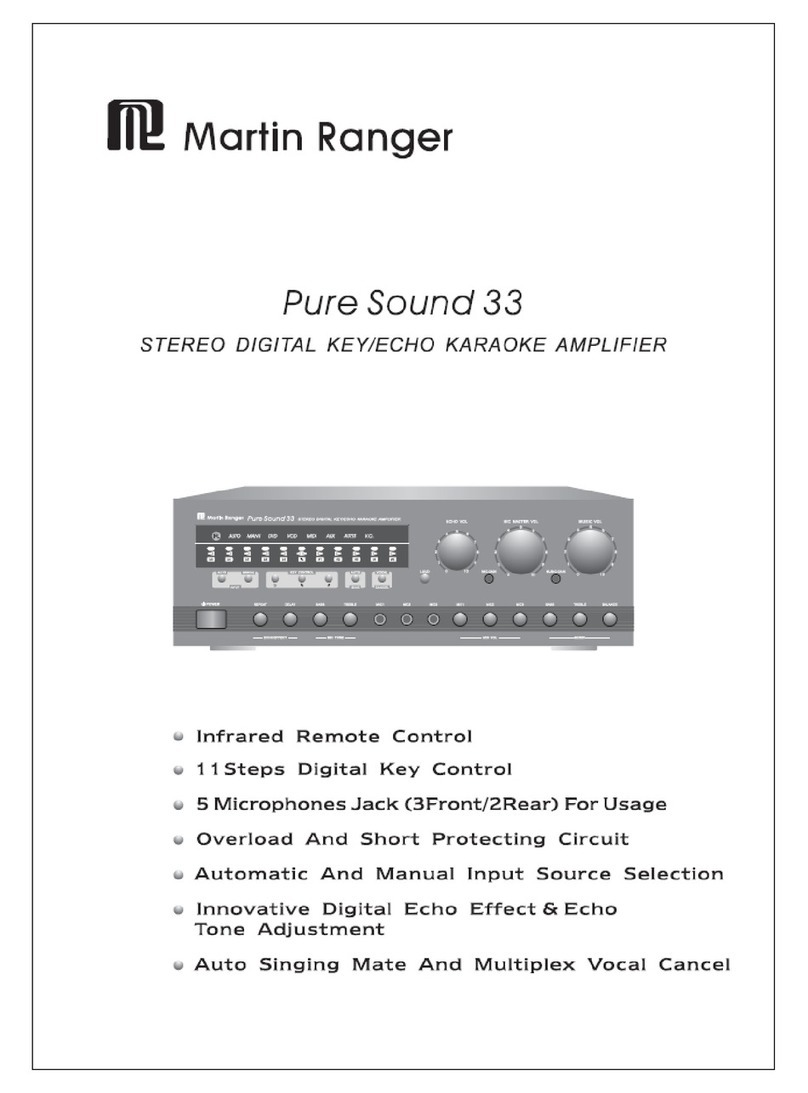
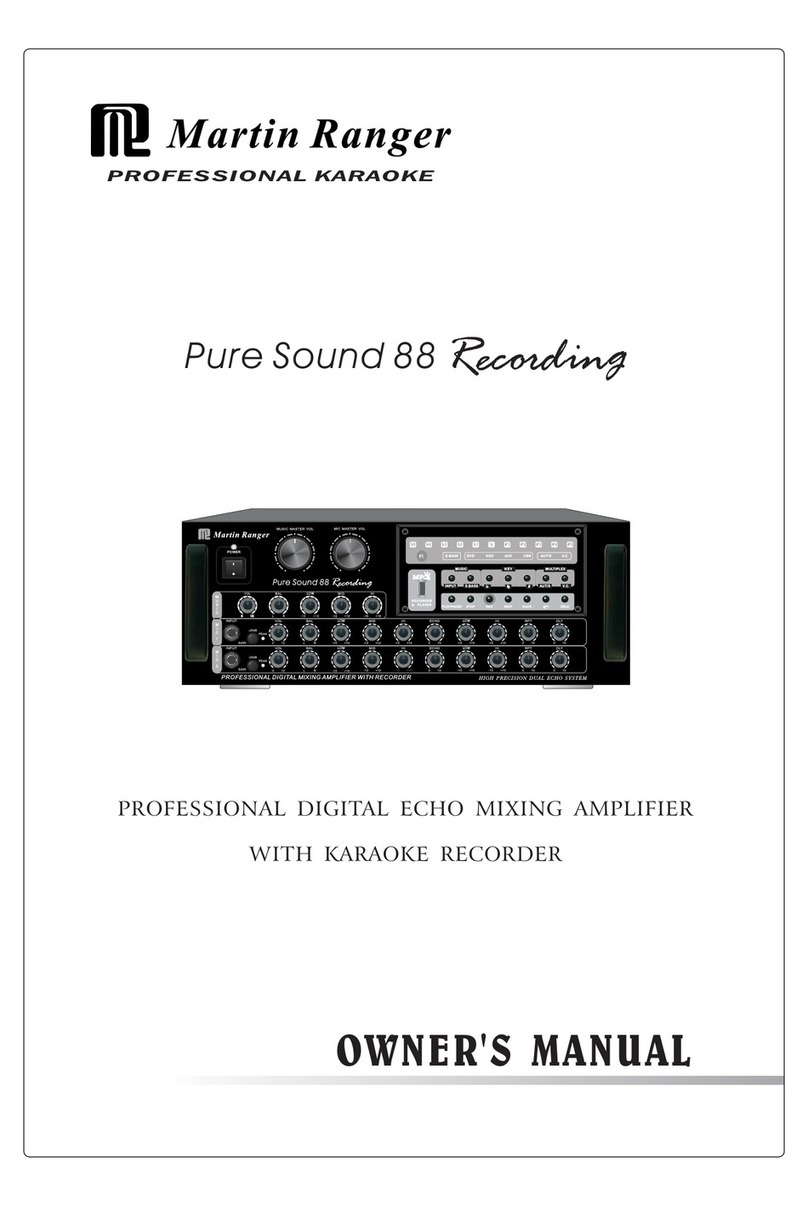
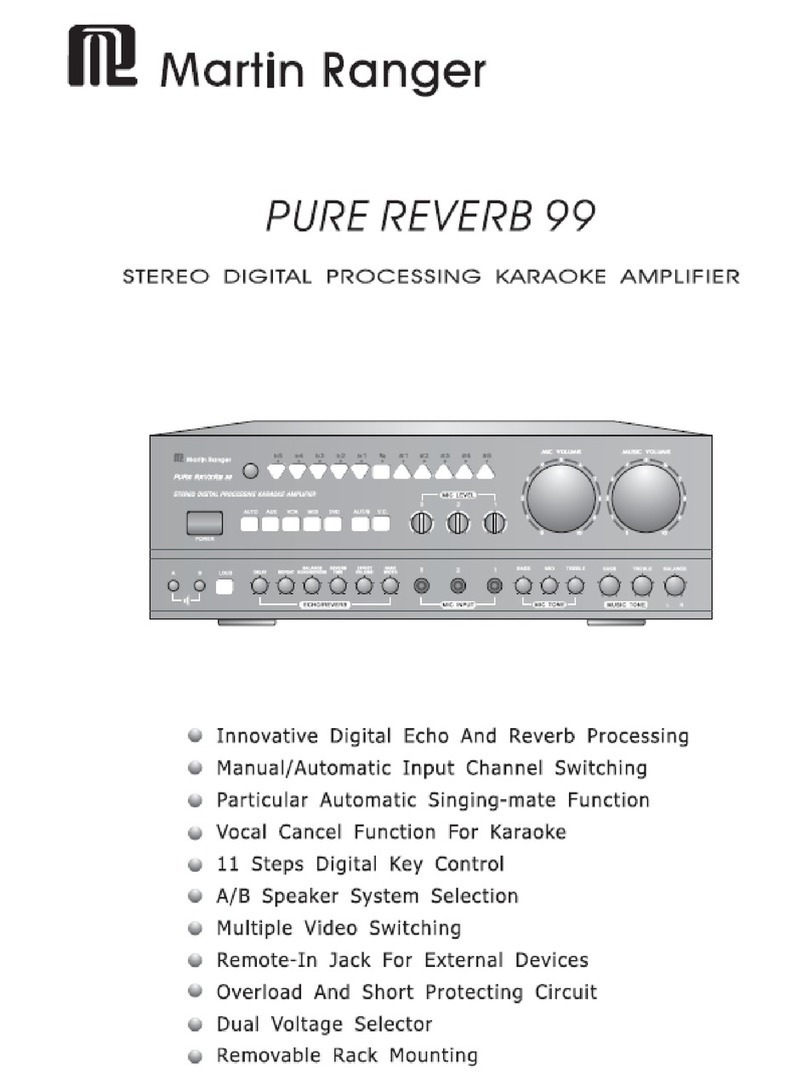
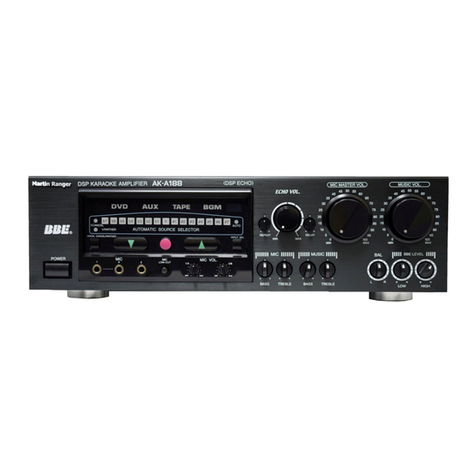
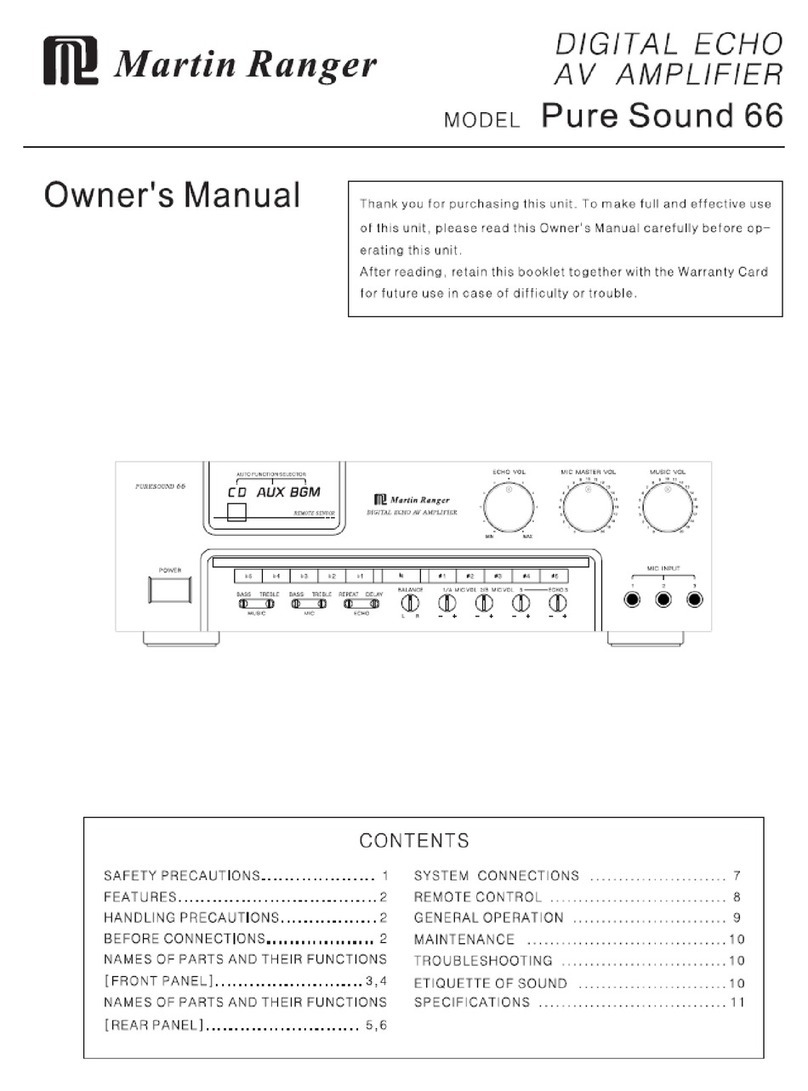
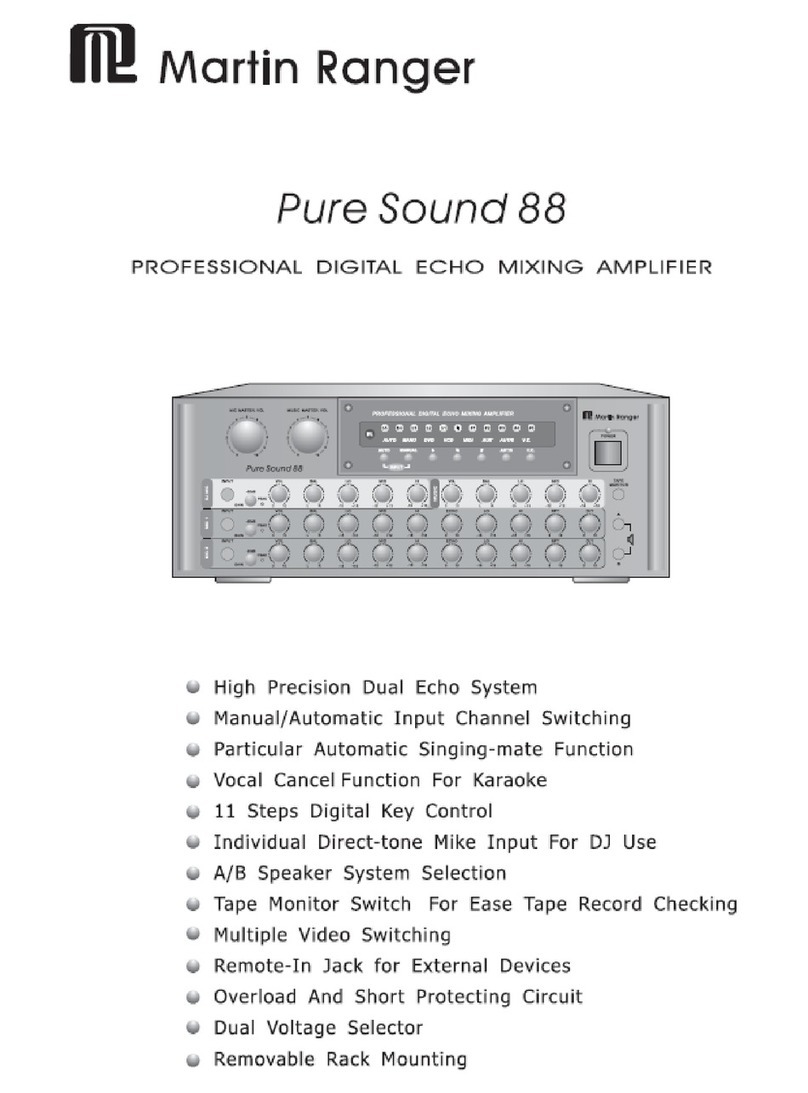
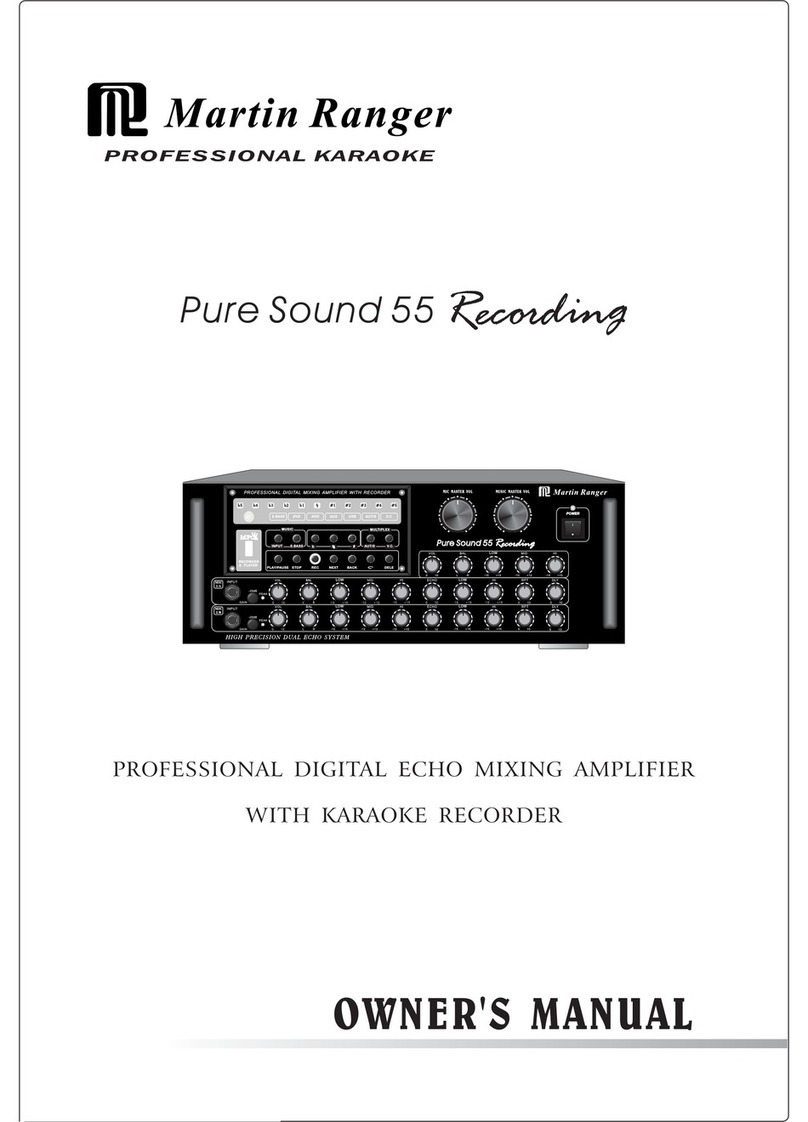
Martin Ranger Pure Sound 11 Recording User manual

MUSIC
ECHO
VOL LOW HI RPT DLY
010 -15 +15 -15 +15 010 010
VOL BAL LOW MID
010 LR
-15 +15 -12 +12
HI
-15 +15
MIC
1/A
MIC
1/A
VOL
PEAK
BAL ECHO LOW HI
010 L5 R5 010 -15 +15 -12 +12
MID
-15 +15
GAIN
-20dB
VOL
PEAK
BAL ECHO LOW HI
010 L5 R5 010 -15 +15 -12 +12
MID
-15 +15
-20dB
GAIN
MIC
2/B
MIC
2/B
MUSIC INPUT
SELECTOR
USB
AUX
RECORDER
& PLAYER
MP
MIC MASTER VOLMIC MASTER VOL MUSIC MASTER VOLMUSIC MASTER VOL
POWER
#4
b4 b3 b2 b1 #1 #2 #3
b #
BACKNEXT
PLAY/
PAU SE
STOP REC DELE
Pure Sound 11Pure Sound 11 Recording
PROFESSIONAL DIGITAL MIXING AMPLIFIER WITH RECORDER
Pure Sound 11 Recording
PROFESSIONAL KARAOKEPROFESSIONAL KARAOKE
OWNER'S MANUAL
PROFESSIONAL DIGITAL ECHO MIXING AMPLIFIER
WITH KARAOKE RECORDER

CAUTION:
TO REDUCE THE RISK OF ELECTRIC SHOCK,
DO NOT REMOVE COVER (OR BACK). NO
USER-SERVICEABLE PARTS INSIDE, REFER
SERVICING TO QUALIFIED SERVICE PERSONNEL.
CAUTION
DO NOT OPEN!
RISK OF ELECTRIC SHOCK,
The exclamation point within an equilateral triangle is
intended to alert you to the presence of important
operating and maintenance (servicing) instructions
in the literature accompanying the appliance.
The lightning flash with arrowhead symbol, within an
equilateral triangle, is intended to alert you to the
presence of uninsulated "dangerous voltage " within
the product's enclosure that may be of sufficient
magnitude to constitute a risk of electric shock to
persons.
Explanation of Graphical Symbols
WARNING:
TO REDUCE THE RISK OF FIRE OR ELECTRIC SHOCK.
DO NOT TO RAIN OR MOISTURE.EXPOSE THIS UNIT
please record the serial number of this unit in the space
below.
Serial No.:
Retain this Owner's Manual in a safe place for future
reference.
The serial number is located on the rear of the unit.
1 Read instructions- All the safety and operating instructions
should be read before the unit is operated.
2 Retain Instructions - The safety and operating instructions
should be retained for future reference.
3 Heed Warnings-All warnings on the units and in the operating
instructions should be adhered to.
4 Follow Instructions - All operations and other instructions
should be followed.
5 Water and Moisture- The unit should not be used near water-
for example, near a bathtub, washbowl, kitchen sink, laundry
tub, in a wet basement, or near a swimming pool, etc.
6 Carts and Stands - The unit should be used only with a cart or
stand that is recommended by the manufacturer.
6A A unit and card combination should be moved
with care. Quick stops, excessive force, and
uneven surfaces may cause the unit and cart
combination to overturn.
7 Grounding or Polarization- Precautions should be taken so
that the grounding or polarization is not defeated.
8 Ventilation - The unit should be situated so that its location
or position does not interfere with its proper ventilation.
For example, the unit should not be situated on a bed, sofa, rug,
.
or similar surface, that may block the ventilation openings;
or placed in a built-in installation, such as a bookcase or
cabinet that may impede the flow of air through the ventil-
ation openings.
9 Heat- The unit should be situated away from heat sources
such as radiators, stoves, or other appliances that produces
heat.
10 Power Sources - The unit should be connected to a power
supply only of the type described in the operating instruc-
tions or as marked on the unit.
spilled into the inside of
the unit.
11 Power Cord Protection - Power supply cords should be
routed so that they are not likely to be walked on or pinched
by items placed upon or against them, paying particular att-
ention to cor ds at plugs, convenience receptacles, and the
point where they exit the unit.
12 Cleaning- The unit should be cleaned only as recommended
by the manufacturer.
13 Nonuse Periods-The power cord of the unit should be unplu-
gged from the outlet when left unused for a long period of
time.
14 Object and liquid Entry- Care should be taken so that objects
do not fall into and liquids are not
15 Damage Requiring Service - The unit should be serviced by
qualified service personnel when:
A. The power supply cord or the plug has been damaged; or
B. Objects have fallen, or liquid has been spilled into the
unit; or
C. The unit has been exposed to rain; or
D. The unit does not appear to operate normally or exhibits
a marked change in performance.
E. The unit has been dropped, or the cabinet damaged.
16 Servicing - The user should not attempt to service the unit
beyond those means described in the operating instructions.
All other servicing should be referred to qualified service
personnel.
17 Power Lines - An outdoor antenna should be located away
from power lines.
18 Grounding or Polarization - Precautions should be taken
so that the grounding or polarization is not defeated.
IMPORTANT
Model:
1
Audio output max ................................................................... 300W
Mic input sensitivity ................................................................10mV
External devices sensitivity ..................................................... 200mV
Signal / Noise ratio ( with IHF A Filter ) ...................................... 90dB
T.H.D.(1kHz.AUX 150mV INPUT) ......................................... 0.1%
Frequency Response .............................................................. 25Hz 20KHz
Mic. Tone adjustment .............................................................. 80Hz 15dB
3.5KHz 8dB
12KHz 15dB
Echo tone adjustment ............................................................ 80Hz 15dB
12KHz 15dB
Power source ......................................................................... AC 110V/60Hz
AC 230V/50Hz
Net Weight ............................................................................. 8.5 KGS
Dimension ( WxHxD ) ............................................................... 430X125X330(mm)
10
Be careful when open, otherwise
electric shock or serious damage
maybemadetotheproduct.
Unplug this product from the wall outlet
when not use for a long period of time
Unplug this product from the wall
outlet during lightning
Objects do not fall into the enclosure. Arrange power cords safely.
Do not hold the cord when
pulling out from the wall outlet.
Pull out holding plug.
This product must not touch chemicals
such as benzene. Thinner or alcohol.
This may result in discoloration.
Do not use this product in wet place. This product should be installed in
well-ventilated and cool place.
This product should be installed flatly
and should not be shaken.
Specifications and features are subject to changed without notice.
B
2

MUSIC
ECHO
VOL LOW HI RPT DLY
010 -15 +15 -15 +15 010 010
VOL BAL LOW MID
010 LR
-15 +15 -12 +12
HI
-15 +15
MIC
1/A
MIC
1/A
VOL
PEAK
BAL ECHO LOW HI
010 L5 R5 010 -15 +15 -12 +12
MID
-15 +15
GAIN
-20dB
VOL
PEAK
BAL ECHO LOW HI
010 L5 R5 010 -15 +15 -12 +12
MID
-15 +15
-20dB
GAIN
MIC
2/B
MIC
2/B
MUSIC INPUT
SELECTOR
USB
AUX
RECORDER
& PLAYER
MP
MIC MASTER VOLMIC MASTER VOL MUSIC MASTER VOLMUSIC MASTER VOL
POWER
#4
b4 b3 b2 b1 #1 #2 #3
b #
BACKNEXT
PLAY/
PAU S E
STOP REC DELE
Pure Sound 11Pure Sound 11 Recording
PROFESSIONAL DIGITAL MIXING AMPLIFIER WITH RECORDER
ECHO
KARAOKE RECORDINGKARAOKE RECORDING
1.MIC 1.2: Plug-in the 2 separated microphones for usage.
2.GAIN: Press on this switch, the signal amplification is decreased by 20dB in condition of big input
signal is used.
3.PEAK: Red light goes on in case of excessive mike's voice input.
4.VOL: Adjust to increase or decrease the volume of microphone.
5.BAL: To adjust the relative microphone volume levels of the right and left channel.
6.ECHO: Adjust to control the echo volume of the microphones.
7.LOW: Adjust to strengthen or weaken bass response of the microphone according to singer's tone
quality.
8.MID: Adjust to strengthen or weaken mid-range response of the microphone according to singer's
tone quality.
9.HI: Adjust to strengthen or weaken treble response of the microphone according to singer's tone
quality.
MUSIC
10.VOL: Adjust echo volume.
11.LOW: Adjust echo bass response.
12.HI: Adjust echo treble response.
13.RPT: Adjust echo repeat length.
14.DLY: Adjust echo delay time.
15.MUSIC INPUT SELECTOR for USB/AUX.
16.VOL: Adjust music volume.
17.BAL: To adjust the music volume levels of the right and left channel.
18.LOW: Adjust to strengthen or weaken bass response of the sound of input source.
19.MID: Adjust to strengthen or weaken mid-range response of the sound of input source.
20.HI: Adjust to strengthen or weaken treble response of the sound of input source.
12
345678929 30 31 32 33
10 11 12 13 14
15 16 17 18 19 20 21
MICROPHONE
26 27 28
2522 23 24
3
21.USB port (Match with MP3 format)
22.Play/Pause
23.Stop
24.Record
25.Next
26.Back(Previous)
27.Circulate broadcast
28.Delete

MASTER CHANNELMASTER CHANNEL
POWER
31.POWER:Switch the button will turn on or turn off the main unit.
30.MUSIC MASTER VOL: Adjust the volume of the sound of music.
29.MIC MASTER VOL : Adjust to increase or decrease the volume of the microphones.
KEY CONTROLKEY CONTROL
32.KEY DISPLAY.
33.KEY CONTROL: Adjust to select the music's key according to the singer's tone quality.
4
1.PLAY/PAUSE
Press the button to enter into play/pause mode. Press STOP button, this function will be
cancelled automatically.
(In recording mode, when recording is finished, and then the current
recording will be kept in USB record folder.
Press PLAY/PAUSE button to access to the play record folder.
Press "BACK" button, the current recording will be played.)
press STOP button
2.STOP
In play mode, the set stops playing. In recording mode, the set stops record function and
keeps the current recording.
3.REC
Recording button. Press the button to record the selection.
When recording, the master music and master mic volume of the set does not function to
the recording volume, please adjust the music and microphone volume by the music
volume and the separately microphone volume to get suitable volume for recording.
4.NEXT
The next selection.
5.BACK
The previous selection.
6. PLAY-MODE
Press the button, the selection is circulated. Press and hold for 3 seconds, the whole
folder is circulated.
7.DELE
Delete button. Press the button to delete the current selection in play.
INDICATOR
1.Play/Pause indicator
In play mode, the indicator illuminates steadily. In recording mode, the indicator flickers.
2. Play-mode indicator
The indicator illuminates when the selection circulated, the indicator unilluminated when
the whole folder circulated.
HOW TO OPERATE THE RECORDING
1.Press "MUSIC INPUT" button to get the music source from Auxiliary.
2.Press "REC" button to record the selection.
3.Press "STOP" the recording function stops and the current recording is kept in USB.
4.Press "MUSIC INPUT" button to access to USB.
5.Press "PLAY" button to access to the play record folder in USB.
6.Press "BACK" button, the current recording will be played.
KEY/BUTTON DESCRIPTION

5
RL
SPEAKER IMPEDANCE:
MIN 4 -8 SINGLE SYSTEM
MIN 8 -16 DUAL SYSTEM
AC INPUT FUSE
MUSIC
INPUT
MIC
OUT AUX
OUTPUT PRE
LINE REC INPUT OUT
DISCONNECT POWER
SUPPLY CORD
BEFORE CHANGING
THE VOLTAGE
SPEAKERS
R
L
115V~ 5A 125V115V~ 5A 125V
230V~ 2.5A 250V230V~ 2.5A 250V
L
R
R
L
MUSIC POWER
INPUT VOLTAGE
T. H. D.
300 WATTS
AC 230V/115V
0.05%
LOW HIGH
MIC A MIC B
MIC INPUT
Pure Sound 11
Recording
This terminal connects to the speakers. Make sure polarity is correct connection.
3.SPEAKER
Use the speaker system of impedance 8 -16 ohm, when use speaker system 1
and 2 simultaneously.
This terminal outputs microphones' sound only from the amplifier without
8.MIC OUTPUT
echo effect.
The terminal use to connect sound source, Such as DVD. CDG. KOD or AUX etc.
7.MUSIC INPUT TERMINAL
Use this terminal when connecting external sound-effect devices such as
6.SOUND-EFFECT DEVICE INPUT/OUTPUT TERMINAL
graphic equalizer.
Use this terminal when recording amplifier output at tape deck or MP3 recorder.
5.RECORDING OUTPUT TERMINAL(REC)
This terminal connects amplifier output to the input terminal of external amplifier.
4.AUXILIARY OUTPUT TERMINAL(LINE)
133
24566
89 7
10
10.DUAL VOLTAGE SELECTOR:
Before turn on power switch, be sure the AC voltage selector is
seted to the appropriate AC voltage according to your area.
1.POWER
2.FUSE:
The input voltage is 230V use 250V/2.5A Fuse
AC power input 230V/50Hz 115V/60Hz.
The input voltage is 115V use 250V/5A Fuse
9.REAR MIC INPUT JACKS:
These jacks are also for connecting microphones.
The MIC A is connected to the same circuit as theMIC 1 jack on the
front panel. And the MIC B is connected to the same circuit as the
MIC 2 jack on the front panel.

When using 2 speaker systems, the impedance should
not be lower than 8 ohms for each system, otherwise the
unit may be damaged under high power and long term
operation.
6
RL
SPEAKER IMPEDANCE:
MIN 4 -8 SINGLE SYSTEM
MIN 8 -16 DUAL SYSTEM
AC INPUT FUSE
MUSIC
INPUT
MIC
OUT AUX
OUTPUT PRE
LINE REC INPUT OUT
DISCONNECT POWER
SUPPLY CORD
BEFORE CHANGING
THE VOLTAGE
SPEAKERS
R
L
115V~ 5A 125V115V~ 5A 125V
230V~ 2.5A 250V230V~ 2.5A 250V
L
R
R
L
MUSIC POWER
INPUT VOLTAGE
T. H. D.
300 WATTS
AC 230V/115V
0.05%
LOW HIGH
MICA MICB
MIC INPUT
Pure Sound 11
Recording
DVD/CDG/KOD/AUX
POWER AMPLIFIER
MAIN SPEAKER(A)
LR
MAIN SPEAKER(B)
LR
POWER AMPLIFIER
WIRED/WIRELESS MICROPHONE
RECORDER
#
b
MUSIC
VOLUME
MIC
VOLUME
+
1. Key control
3. Microphone volume control
2. Music volume control

PROFESSIONAL KARAOKE
Martin Roland is constantly striving to maintain the highest quality and standards.
As a result of these efforts, modifications may be made to this product without notice.
Table of contents
Other Martin Ranger Amplifier manuals

Martin Ranger
Martin Ranger Pure Sound 88 Recording Original instructions

Martin Ranger
Martin Ranger Pure REverb 99 User manual

Martin Ranger
Martin Ranger Pure Sound 66 User manual

Martin Ranger
Martin Ranger Pure Sound 33 User manual

Martin Ranger
Martin Ranger Pure-Sound 33 MKII Installation and operation manual

Martin Ranger
Martin Ranger AK-A188 User manual

Martin Ranger
Martin Ranger Pure Sound 55 User manual

Martin Ranger
Martin Ranger Pure Sound 88 Recording User manual