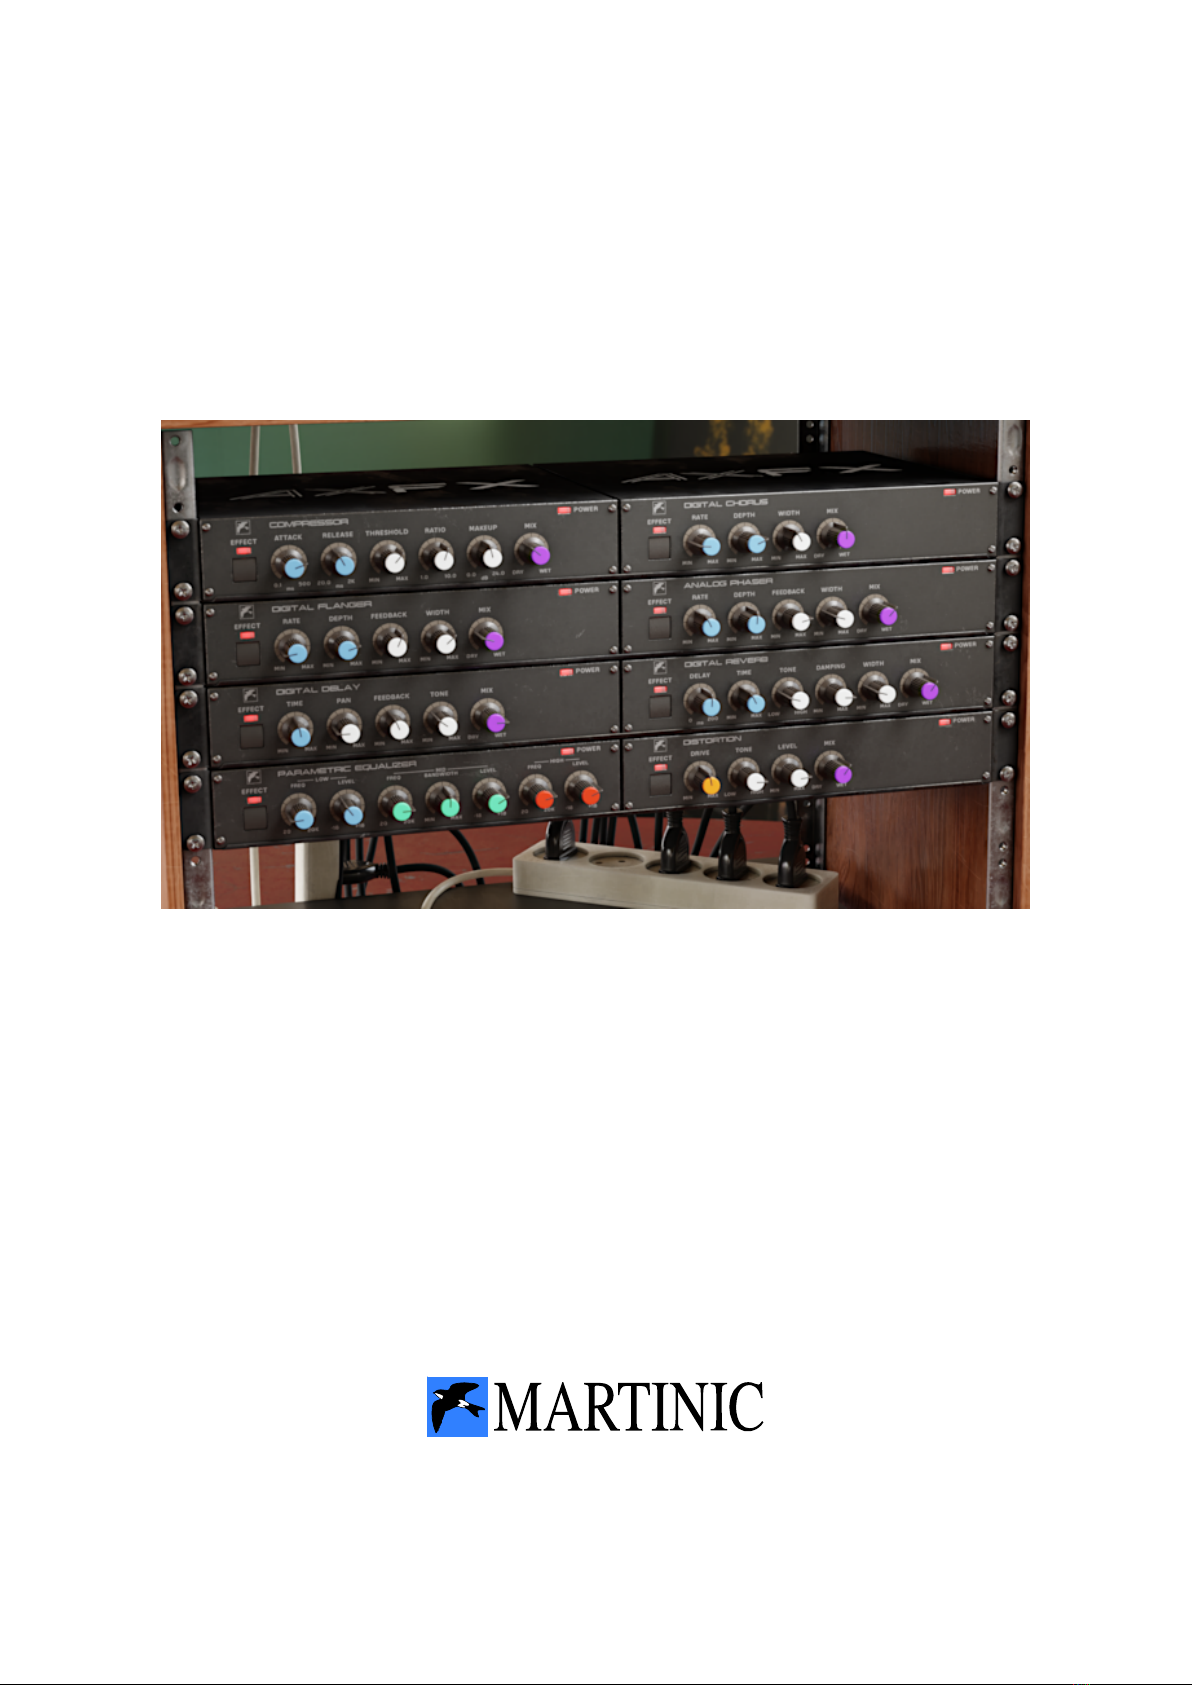
System Requirements
AXFX is available as an AAX, AU (Audio Units), CLAP (CLever Audio Plugin), or VST 2.4
effect plugin, which means it needs to run inside AAX, AU, CLAP, or VST hosting software,
e.g. Pro Tools, Ableton Live, Cubase, GarageBand, Logic Pro, REAPER, Studio One, etc.
Although AXFX should be able to run at any sample rate the host provides, a rate of at
least 44.1kHz is recommended.
The plugin is designed to run on Windows 7 or newer as a 32-bit or 64-bit plugin, or Mac
OS X 10.9 (Mavericks) or newer as a 64-bit plugin.
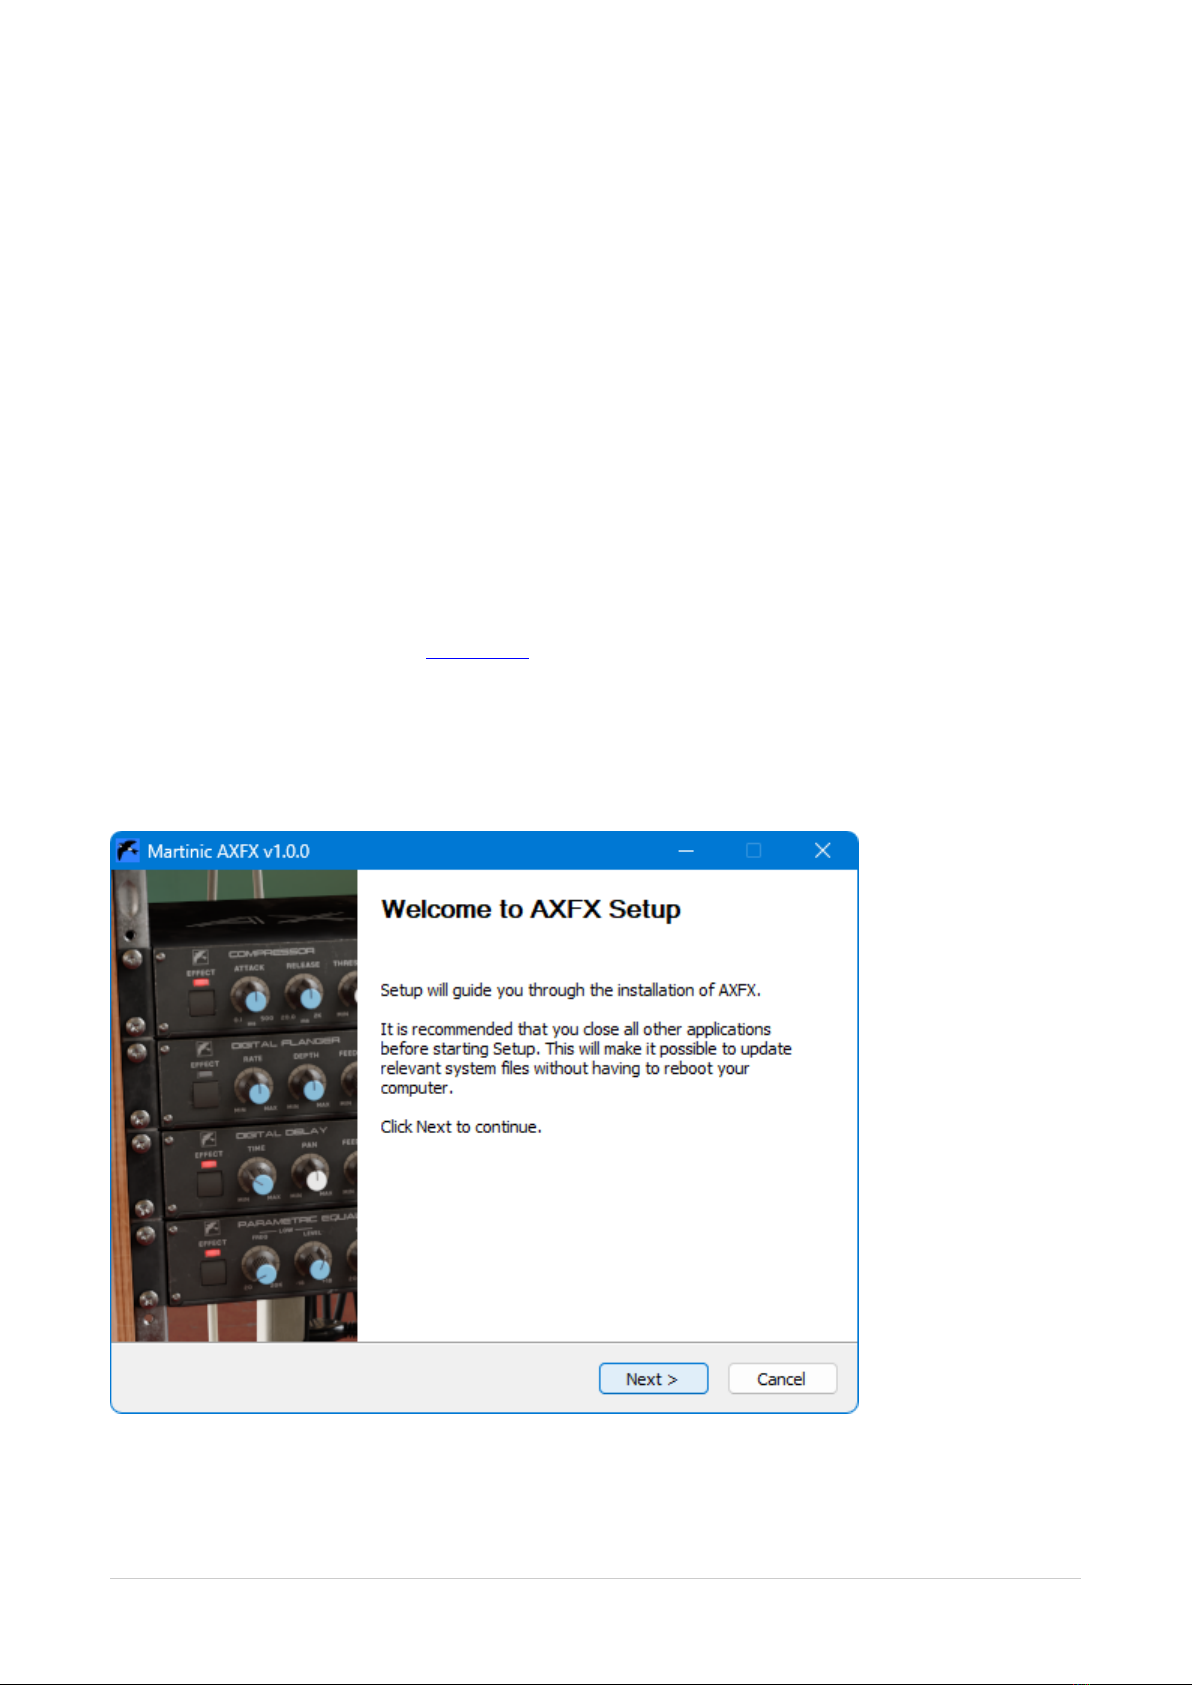
Windows Installation
To install AXFX on Windows, download the Windows 32/64-bit AAX/CLAP/VST installer,
and save it on your computer (e.g. in your Downloads folder).
Navigate to this folder, locate the installer and double-click on it, and then click on the Next
button to start the installation process.
Carefully read the license, and then click on the I Agree button to continue. Next select
which formats of the plugin you want to install. Select Customize GUI Scale to manually
override the scaling factor of the plugin in a later screen. You can select Reset Preset
AXFX 5 / 23 Version 1.0.0