4 Introduction & Installation in Brief
INTRODUCTION & INSTALLATION IN BRIEF
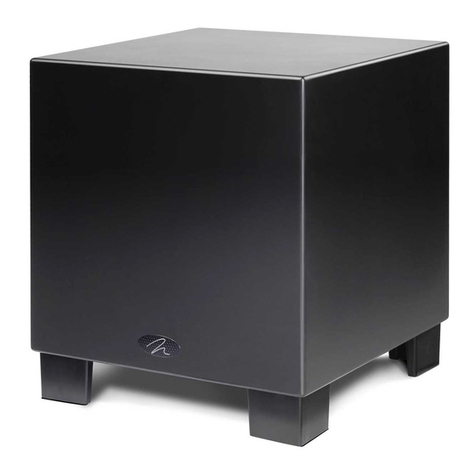
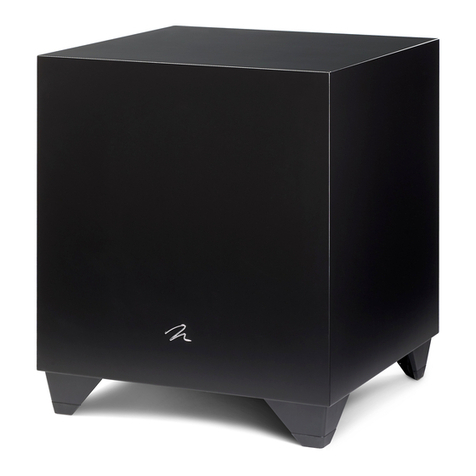
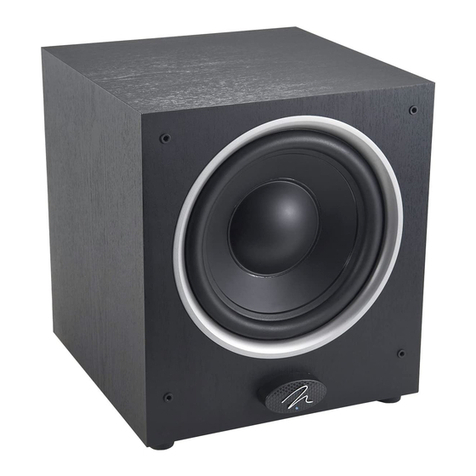
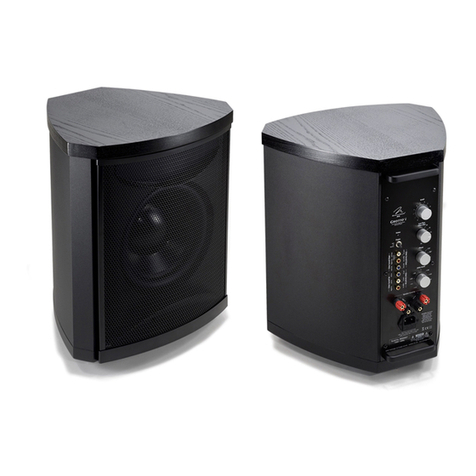
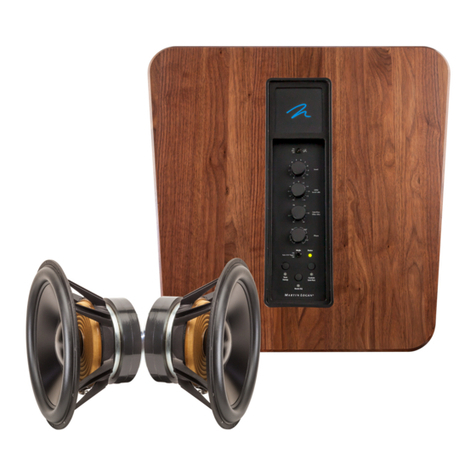
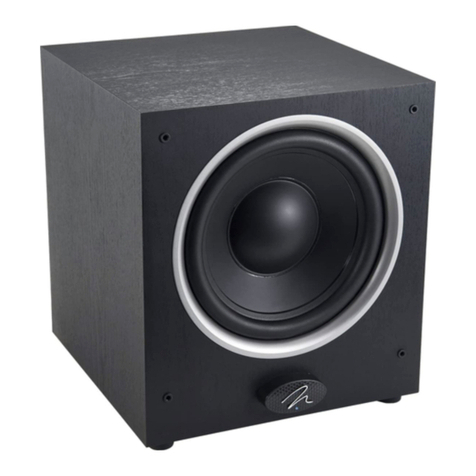
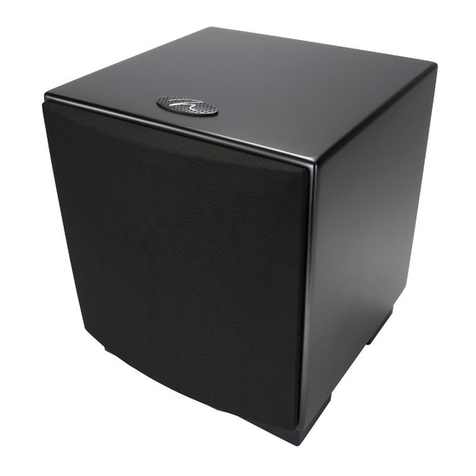
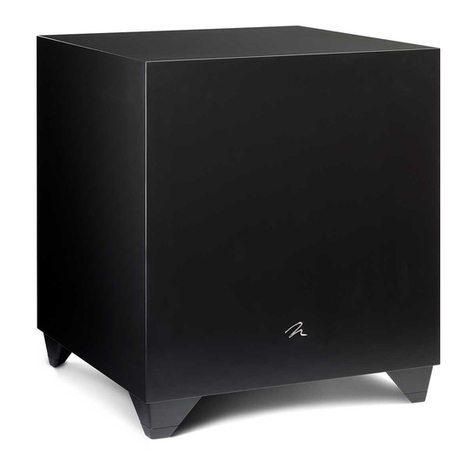
Congratulations! You have invested in one of the
world's premier subwoofers.
7KH0DUWLQ/RJDQ'\QDPRUHSUHVHQWVWKHH[WHQVLRQ
of an intensive, dedicated team research program direct-
ed toward establishing a world class line of reference
subwoofers using leading-edge technology, without com-
promising durability, reliability, craftsmanship or aesthetics.
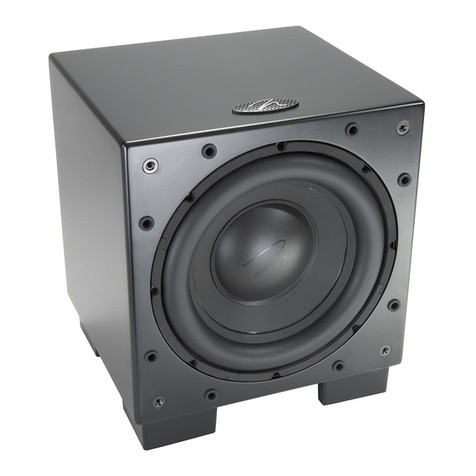
7KH'\QDPRVXEZRRIHUXVHVDLQFKKLJKH[FXU-
sion driver to achieve deep, tight, well-defined bass. A
proprietary amplifier is used to drive the output stage with
SUHFLVLRQDQGH[WUHPHO\KLJKHIILFLHQF\/RZSDVVILOWHULQJ
and phase control have been designed to make integrat-
ing the Dynamo 500 subwoofer with MartinLogan and
non-MartinLogan products both seamless and simple.
The materials in your new Dynamo 500 subwoofer are
RIWKHKLJKHVWTXDOLW\DQGZLOOSURYLGH\HDUVRIHQGXULQJ
enjoyment and deepening respect. The cabinet is con-
structed from the finest composite material for acoustical
integrity and is finished with an attractive custom coating.
7KLV8VHUV0DQXDOZLOOH[SODLQLQGHWDLOWKHRSHUDWLRQRI
your Dynamo 500 subwoofer and the philosophy applied
to its design. A clear understanding will insure that you
REWDLQPD[LPXPSHUIRUPDQFHDQGSOHDVXUHIURPWKLVPRVW
H[DFWLQJVXEZRRIHU
:HNQRZWKDW\RXDUHHDJHUWRKHDU\RXUQHZ'\QDPR
500 subwoofer, so this section is provided to allow fast
and easy
VHWXS2QFH\RXKDYHLWRSHUDWLRQDOSOHDVH
take the time to
read, in depth, the rest of the informa-
tion in this manual. It will give you perspective on how
to attain the greatest possible performance from this most
H[DFWLQJVXEZRRIHUV\VWHP
,I\RXH[SHULHQFHDQ\GLIILFXOWLHVLQVHWXSRURSHUDWLRQRI
WKH'\QDPRSOHDVHUHIHUWRWKH3ODFHPHQW5RRP
Acoustics and Connections and Control Settings sections.
Should you encounter a persistent problem that cannot
EHUHVROYHGSOHDVHFRQWDFW\RXUDXWKRUL]HG0DUWLQ/RJDQ
dealer. They will provide you with the appropriate technical
analysis to alleviate the situation.
Step 1: Unpacking
5HPRYH\RXUQHZVXEZRRIHUIURPLWVSDFNLQJ
Step 2: Placement
Ideally, place the Dynamo 500 in a corner near the front
of the room. This is a good place to start. Please see the
3ODFHPHQWVHFWLRQSDJHRIWKLVPDQXDOIRUPRUHGHWDLOV
Step 3: Signal Connection
8VHWKHEHVWFDEOHV\RXFDQ+LJKTXDOLW\FDEOHVDYDLODEOH
from your specialty dealer, are recommended and will
give you superior performance.
Attach your preamplifier/processor outputs through cables
to the signal input area located on the Dynamo 500’s rear
panel. Please see the Connections and Control Settings
VHFWLRQSDJHV²RIWKLVPDQXDOIRUPRUHGHWDLOV
Step 4: Power Connection (AC) (see warning)
0DNHVXUHWKHOHYHONQRELVVHWDW0LQ3OXJWKH'\QDPR
VXEZRRIHULQWRDZDOORXWOHW5HYLHZWKH$&3RZHU
&RQQHFWLRQVHFWLRQSDJHRIWKLVPDQXDOIRUPRUHGHWDLOV
Step 5: Setting the Controls
6HWWKHOHYHONQREWRDPHGLXPYROXPHSRVLWLRQRFORFN
6HWWKHSRZHUVZLWFKWR¶$XWR2Q
Step 6: Listen and Enjoy
Now, you may adjust your system and enjoy!
Introduction Installation in Brief
