Page 15
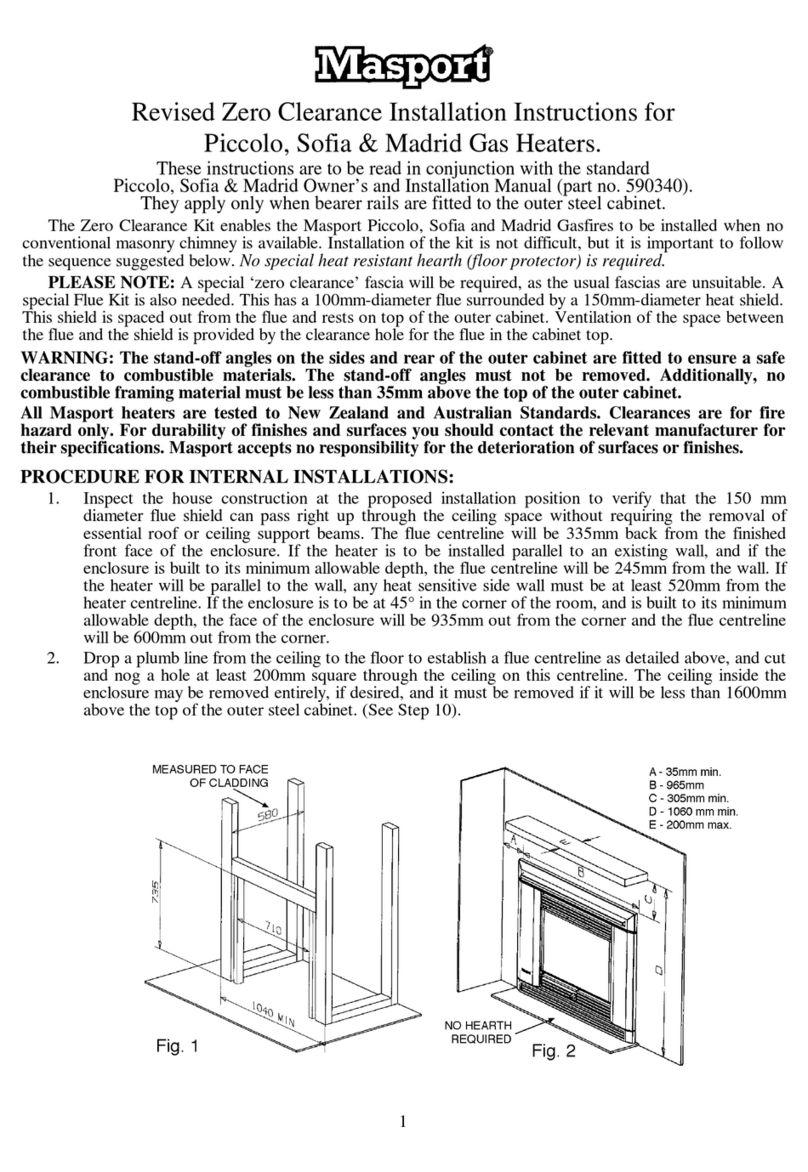
Dia. 3
HORIZONTAL INSTALLATIONS
c) Snorkel Terminations:
For installations requiring a
vertical rise on the exterior of
thebuilding,355mmRiserFlue
asshown in Dia. 2a. Follow the
same installation procedures
asusedforstandardHorizontal
Termination.NEVERinstallthe
snorkel upside down.
Do not attempt to enclose the
Snorkel within the wall, or any
other type of enclosure.
4) Thearrowonthefluecapshould
be pointing up. Insure that the
40mm clearances to combustible
materials are maintained (Dia. 3).
Install the termination cap.
AstroCapTM.
Thefourwoodscrewsprovidedshould
bereplacedwithappropriatefasteners
for stucco, brick, concrete, or other
types of sidings.
Dia. 2a
Installthefluesystemaccordingtothe
manufacturer's instructions included
with the components.
1) Set the unit in its desired location.
Check to determine if wall studs or
roofraftersareintheway whenthe
flueing system is attached. If this is
the case, you may want to adjust
the location of the unit. Rough in
the gas preferably on the right side
of the unit and the electrical
(junction block is on the left side)
on the left.
2) Assemblethe desired combination
ofpipeandelbowstotheappliance
and ensure seal wil Mil-Pac.
Note: Apply sealant "Mill-Pac" to inner
pipe and high temperature
silicone sealant to outer pipe on
every joint.
b) Horizontal runs of flue must be
supported every three feet. Wall
strapsareavailableforthis purpose.
3) Markthewallfora254mmx254mm
square hole. The center of the
square hole should line up with the
centerline of the horizontal pipe.
Cut and frame the 254mm square
hole in the exterior wall where the
flue will be terminated. If the wall
being penetrated is constructed of
non-combustible material, i.e.
masonry block or concrete, a
178mm diameter (191mm dia. for
flex) hole is acceptable.
See Horizontal Termination diagram
on page 13.
Note:
a) The horizontal run of flue must
be level, or have a 6mm for
every 300mm of run towards
thetermination.Neverallow the
fluetorundownward.Thiscould
cause high temperatures and
may present the possibility of a
fire.
b) The location of the horizontal
flue termination on an exterior
wall must meet all local and
national building codes, and
must not be blocked or
obstructed. For External Flue
Terminal Locations. See
diagram on Page 10.
Note: If installing termination on a
sidingcoveredwall,avinylsiding
standofforfurringstripsmustbe
used to ensure that the
termination is not recessed into
the siding.
5) Before connecting the horizontal
run of flue pipe to the flue
termination, slide the Wall Thimble
over the flue pipe.
6) Slide the appliance and flue
assemblytowardsthewallcarefully
inserting the flue pipe into the flue
cap assembly. It is important that
the flue pipe extends into the flue
cap sufficient distance so as to
resultin a minimum pipeoverlap of
32mm. Secure the connection
between the flue pipe and the flue
cap with 3 sheet metal screws.
*AsspecifiedinCGAB149Installation
Code.Localcodesorregulationsmay
require different clearances.
WARNING:
When installing in a high
wind situation, common
sense must prevail.
Choose a sheltered side
of the house.
A non-combustible water
ingress shelf will need to
be fitted 200mm above
the terminal to prevent
water ingress in extreme
conditions or where no
sofit shelters the
terminal.