Maurer Elektromaschinen Captest 1225 V2 User manual

Operation Manual Captest 1225 V2 .
Operation Manual
Processor Controlled
Processor Controlled Processor Controlled
Processor Controlled
Capacity Tester
Capacity TesterCapacity Tester
Capacity Tester
12V 0.3A-25A
also for 24V 0.3A –25A
English Version

Operation Manual Captest 1225 V2 .
Introduction:
With this processor controlled capacity tester you can measure the capacity of the
batteries. You can set the cut off voltage (The voltage limit where you want to stop
the discharge), the discharging current, and the charging time between the cycles.
You can program 1-8 cycles. The tester measures the charged/discharged Ah and the
elapsed time since the start of each cycle.
Connecting the tester to the battery
After connecting the tester to the battery you can see the software version and the
serial number of the tester for a few seconds. After that, you can see the voltage of the
battery on the display.
Menu System:
The main menu consists of 5 screens. You can change between the screens with the
Display Change button.
1. Voltage screen
2. Test Parameter screen
3. Read Test Result
4. Charge
5.Discharge
5.Send data
Voltage
12.8 V
Test parameters
Read test result
Charge
Discharge
Measured data -PC

Operation Manual Captest 1225 V2 .
Setting the test parameters:
To set the test parameters you have to switch to the test parameters screen and press
the Start/Stop button.
This submenu consists of 4 different screens. You can change between the screens by
pressing the display change button. In order to change the values use the UP and
Down buttons. If you keep the UP / Down button pushed, the values change more
rapidly.
First you can set the desired number of cycles.
You can change the values 1-8 by pressing the up/down arrow button.
After selecting the number of cycles, press the Display Change button to skip to the
Charging time screen.
You can change the charging time between 1-99 hours. ( up / down arrow button.)
After setting the charging time press the Display Change button to skip to the
Discharging Current screen.
You can set the discharging current between 0.3A and 25A . (0.1A steps) (up/down
arrow button.)
After setting the discharging current press the Display Change button to skip to the
Cut off voltage screen
Here you can set the cut off voltage (Volts or Vol/tcell) between 6V-15V with 0.3V
steps. (0.05V/cell step)
After finishing the setting of the parameters, press the Start/Stop Button to go back to
the main menu screens.
Number of cycles
Enter 1
Charging time
Enter 02h
Disch Current
05,5 A
U-cut off 07,2 V
Enter 1.2 V/c

Operation Manual Captest 1225 V2 .
Reading the test results:
In the main menu go to the read test result display and press the Start/Stop button.
Pressing the Display Change button you can see the result of the each cycle.
A cycle consists of a charging and a discharging part.
The last cycle is always a half cycle. It means that there is only charging because the
tester charges the battery after the test process. So for example if you have
programmed 4 cycle, after the 4th cycle the tester connects the charger to battery and
does the charging. When reading the test result of this last cycle you see only charged
A∗h.
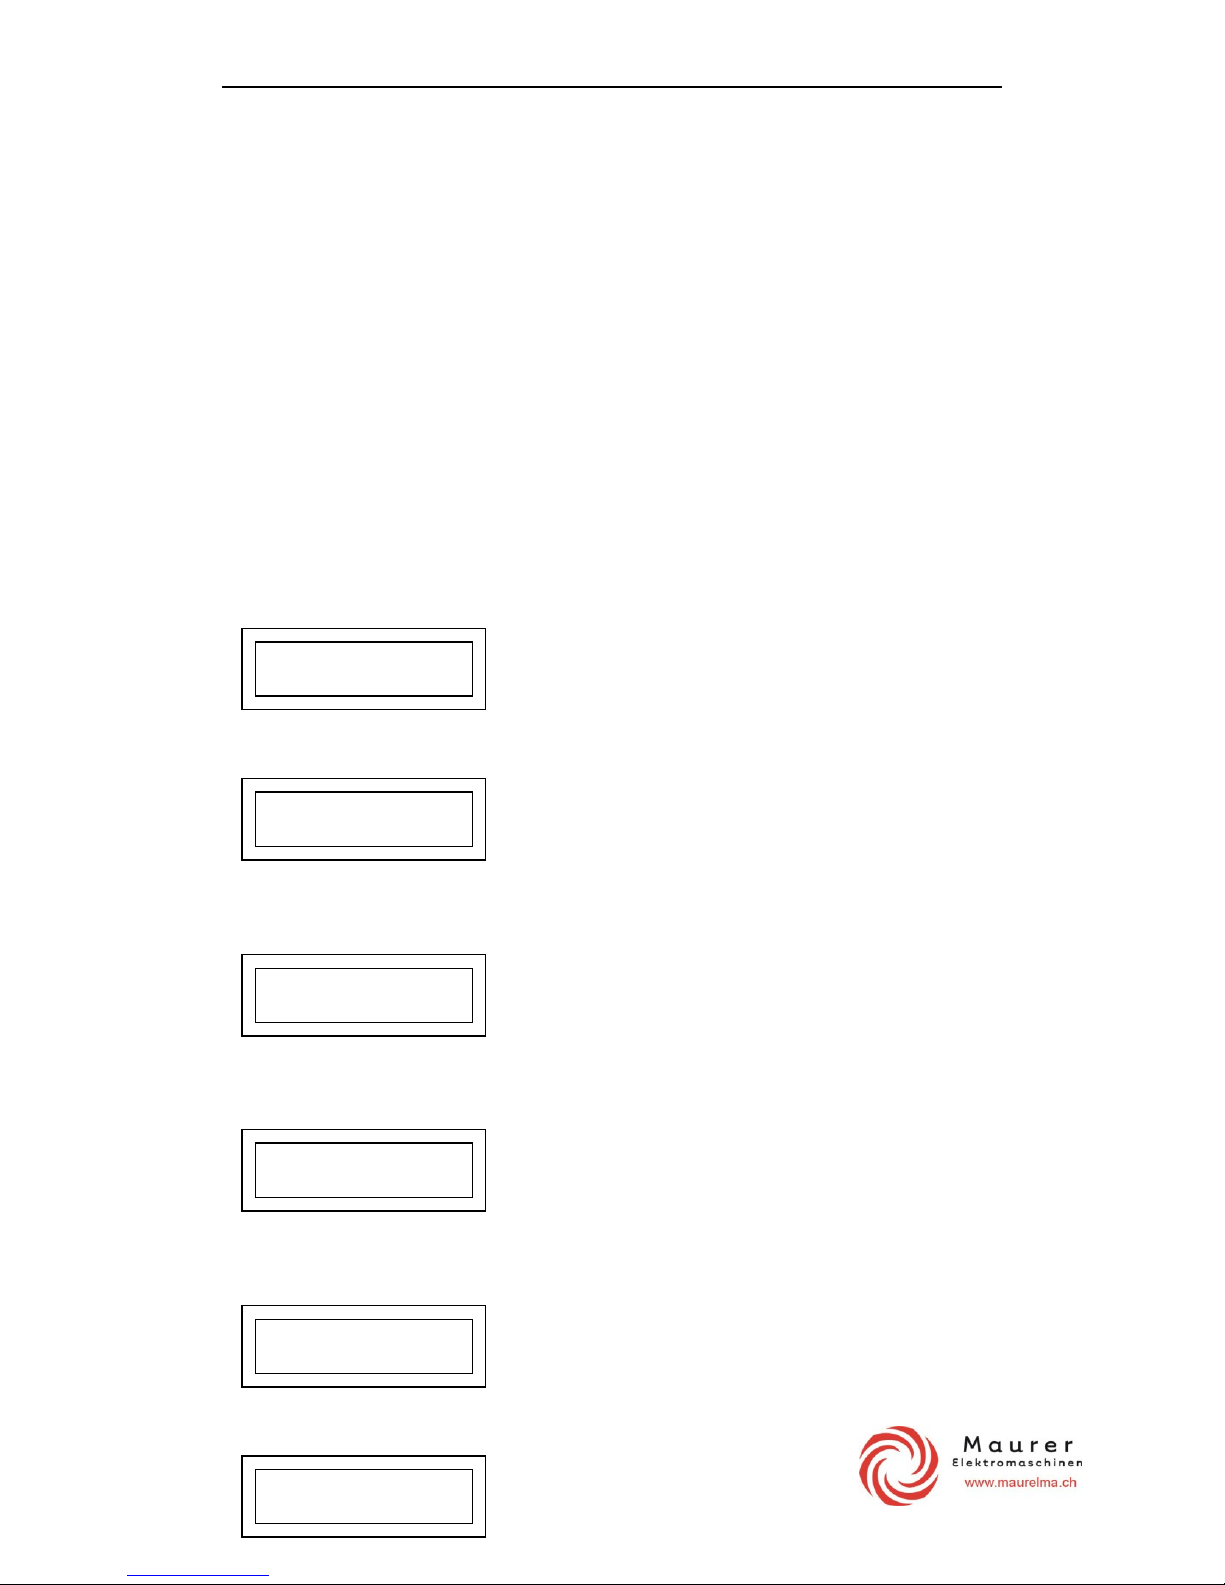
Minutes Discharged A∗h
Cycle Number Charged A∗h
To go back to the main menu press Start/Stop button .
Starting the test:
Start with discharging:
If the battery is fully charged, you can start the test with discharging. In this case this
first cycle is a half cycle (there is no charged Ah), you will see only discharged A∗h
when reading the test result.
To start the test with discharging, change to the discharge Screen (See menu system)
and press the Start button for 1 second.
Start with charging:
If it is necessary to charge the battery before discharging it, you should select this type
of start. In this case the tester connects the charger to the battery and does the
charging as long as you have programmed the charging time. (You can program the
charging time in the Test Parameters menu)
To start the test with charging, change to the Charge Screen (See menu system) and
press the Start button for 1 second.
Before the tester starts the process it checks if there is a charger connected to it. If not,
it will ask you “ Charger Ready?? “.
025 min 05.2 A∗h
4/5 Read 06.2 A∗h

Operation Manual Captest 1225 V2 .
During the test:
During the test you can see the following screen:
Elapsed time Voltage
Cycle Process Ah
Elapsed time: This is the time since the beginning of the actual process (charging or
discharging)
Voltage: The voltage of the battery (during discharging), or the actual charging
voltage (during charging)
Cycle: Number of cycle
Process: Charging or Discharging
Ah: The actual charged or discharged A∗h since the beginning of the actual process
(charging or discharging)
Pressing the Display Change button you can see the result of the finished cycles.
Measured data – PC
To transfer the measured data to a PC, you should connect it to a Pc via 232. Start the
AKKU software and select Download Measurement, then push the start button…
Technical Data: 12V Version 24V Version
Measured Voltage Range: 6-18V 12-32 V
Max. Input Voltage : 16V 30V
Min Input Voltage: 6V 12 V
Discharging current: 0.3-25 (0.1 A steps) 0.3-25 (0.1 A steps)
Current error: +2% + 0.05A
Cut off voltage 6-15 V 12-30V
Charging time: 1h -99 h 1h-99 h
Max Number of cycles: 8 8
Dimensions 200∗140∗190 [mm]
Weight. 2 Kg
0025 min 12,0 V
1/1 Disch 1.3 A.h
Table of contents