manuals.online logo
Brands
  1. Home
  2. •
  3. Brands
  4. •
  5. Radiasun
  6. •
  7. Test Equipment
  8. •
  9. Radiasun RA3109 User manual

Radiasun RA3109 User manual

Popular Test Equipment manuals by other brands

Ambit P.F. Series instruction manual

Ambit

Ambit P.F. Series instruction manual

Megger BMM500 Series user guide

Megger

Megger BMM500 Series user guide

RJG Lynx Sensor Tester operating instructions

RJG

RJG Lynx Sensor Tester operating instructions

Mark-10 TT02 Series user guide

Mark-10

Mark-10 TT02 Series user guide

Martel 3001 Operator's manual

Martel

Martel 3001 Operator's manual

ElproSys DiagProg4 instruction manual

ElproSys

ElproSys DiagProg4 instruction manual

Redtech TRAILERteck T05 user manual

Redtech

Redtech TRAILERteck T05 user manual

Venmar AVS Constructo 1.0 HRV user guide

Venmar

Venmar AVS Constructo 1.0 HRV user guide

Test Instrument Solutions SafetyPAT operating manual

Test Instrument Solutions

Test Instrument Solutions SafetyPAT operating manual

Hanna Instruments HI 38078 instruction manual

Hanna Instruments

Hanna Instruments HI 38078 instruction manual

Kistler 5495C Series instruction manual

Kistler

Kistler 5495C Series instruction manual

Waygate Technologies DM5E Basic quick start guide

Waygate Technologies

Waygate Technologies DM5E Basic quick start guide

StoneL DeviceNet CK464002A manual

StoneL

StoneL DeviceNet CK464002A manual

Seica RAPID 220 Site preparation guide

Seica

Seica RAPID 220 Site preparation guide

Kingfisher KI7400 Series Training manual

Kingfisher

Kingfisher KI7400 Series Training manual

Kurth Electronic CCTS-03 operating manual

Kurth Electronic

Kurth Electronic CCTS-03 operating manual

SMART KANAAD SBT XTREME 3G Series user manual

SMART

SMART KANAAD SBT XTREME 3G Series user manual

Agilent Technologies BERT Serial Getting started

Agilent Technologies

Agilent Technologies BERT Serial Getting started

manuals.online logo
manuals.online logoBrands
  • About & Mission
  • Contact us
  • Privacy Policy
  • Terms and Conditions

Copyright 2025 Manuals.Online. All Rights Reserved.

Overview
The portable stabilized light source can provide stable output of 1-4 wavelengths depending on user’s requirements. It can not only
provide 650nm visible red light, but also provide 1310nm and 1550nm double-wavelength laser output for single-mode optical fiber
measurement, or provide laser output of four wavelength, i.e.: 850/1300/1310/1550nm, it is an ideal tester designed for optical fiber
works..
Specifications
Model General
configurations Special configurations
for PON light source Others
Working wavelength
(nm) 1310/1550 1310/1490/1550 D: 850/1310/1550
E: 1310/1490/1550
F: 1310/1550/1625
Light-emitting device FP-LD
Optical output power
(dBm) -7/-7 -7/-7/-7 0DB-7DB
Modulation CW/270/1K/2K
RA3109 Light Source
Features
·High-stability multi-wavelength single (multiple) mode laser
output, optional CW or modulation mode
·Large LCD display of working wavelength
·Supports continuous work up to 48 hours.
·Ability to switch working wavelength by pressing one key,
easy to operate
·AUTO POWER OFF
Website: www.radiasunmeters.com, Email: [email protected], Phone: +86-22-83717689, Fax: +86-22-83717689
Function Description
1. Optical output
Connect FC optical fibre connector to the signal receiver of the device to be measured.
2. LCD
LCD displays the length of optical wave.
3. ON/OFF
While in power-off state, press it to power on the device.
While in power-on state, short press it (for less than 3 seconds) to enable or disable
AUTOOFF function. If the icon “AUTOOFF” appears in the screen, the device will
automatically turn off if there are no operations within 10 minutes. If the icon “AUTOOFF”
doesn’t appear in the screen, it indicates that the “AUTOOFF” function has been disabled.
While in power-on state, long press ON/OFF key (for at least 3 seconds) to turn off the light
source.
4. WAVE
Press the key to select output wavelength, the value will appear in LCD.
5. MODE
Switch the modulation frequency of light source between CW, 270Hz, 1000Hz and 2000Hz.
6. LIGHT
Press this key to turn on/off the backlight.
Type of optical fibre SM,MM
Connector FC/PC
Working temperature
()℃-10~+60
Storage temperature
()℃-25~+70
Auto power-off time
(min) 10
Continuous working
hours (h) 45
Dimensions (mm) 190×100×48
Power supply Rechargeable lithium battery
Weight (g) 400
RA3109 Light Source
Website: www.radiasunmeters.com, Email: [email protected], Phone: +86-22-83717689, Fax: +86-22-83717689
Operating Instructions
1. Connect the optical fibre connector to output port.
2. Press ON/OFF, the working indicator turns on.
3. Press WAVE key to adjust modulation frequency of light source.
4. Press MODE key to adjust modulation frequency of light source.
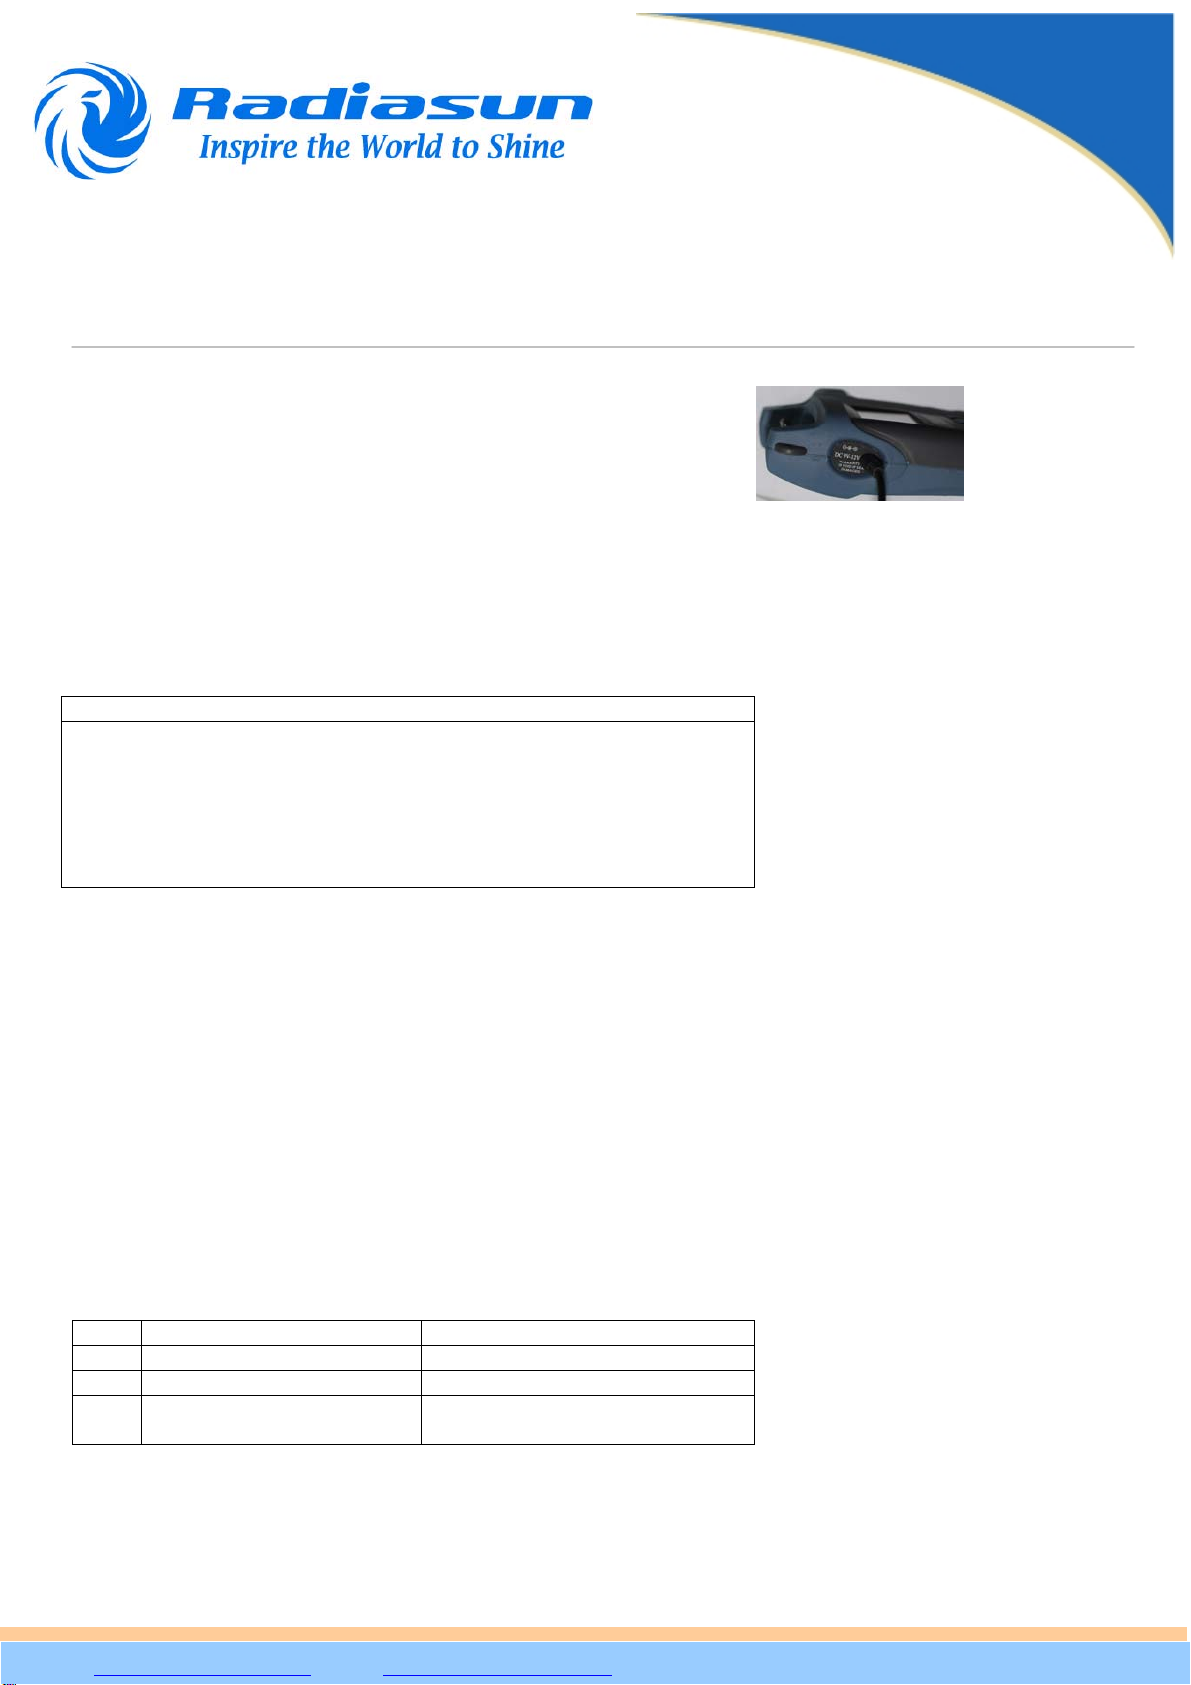
5. All status indicators of portable stabilized light source will appear in LCD. when the battery is going to run out, the power volume
indicator will blink once a second, the device will automatically power off after the indicator blinks for ten times; if so, you can insert
the device into supplied charger for charging (see the Figure on the right).
6. Power Off: Press ON/OFF on the panel, the indicator turns in dark, information disappears from LCD, the device is powered off.
Standard configurations
Name
Host
Rechargeable lithium battery (in the battery cartridge)
Warranty card
Oxford soft bag
Charger
Pass Certificate
Maintenance
Precautions
1. Don’t watch the output port with eyes while it is running, the laser will hurt your eyes.
2. If you are not going to use the tester for long time, cover the dust-proof cap immediately to keep the end clean, don’t expose it
in air for long time, otherwise dust may gather polluting the output end.
3. After the stabilized light source works for a time, dirt or dust may gather at output end reducing output optical power, if so, user
can gently wipe the surface using cotton swab dipped with alcohol, then remove the contaminants with dry cotton swab. If end still
look dirty after doing so, please contact us.
4. If you are not going to use the tester for long time, please take out the battery, so as to prolong life of battery.
5. For any other fault, please immediately contact our technician, don’t open the cabinet of the device to repair it by yourself,
otherwise more serious problems may occur. We will not repair any product that has been disassembled by user himself.
Troubleshooting
SN Diagnosis Solution
1 Output light is found unsteady Please replace the battery
2 The terminal of adapter is dirty Clean it gently with alcohol
3 The output optical power is
unsteady after startup. Pre-warm the device for 15 minutes
before using it.
Website: www.radiasunmeters.com, Email: sal[email protected], Phone: +86-22-83717689, Fax: +86-22-83717689
RA3109 Light Source