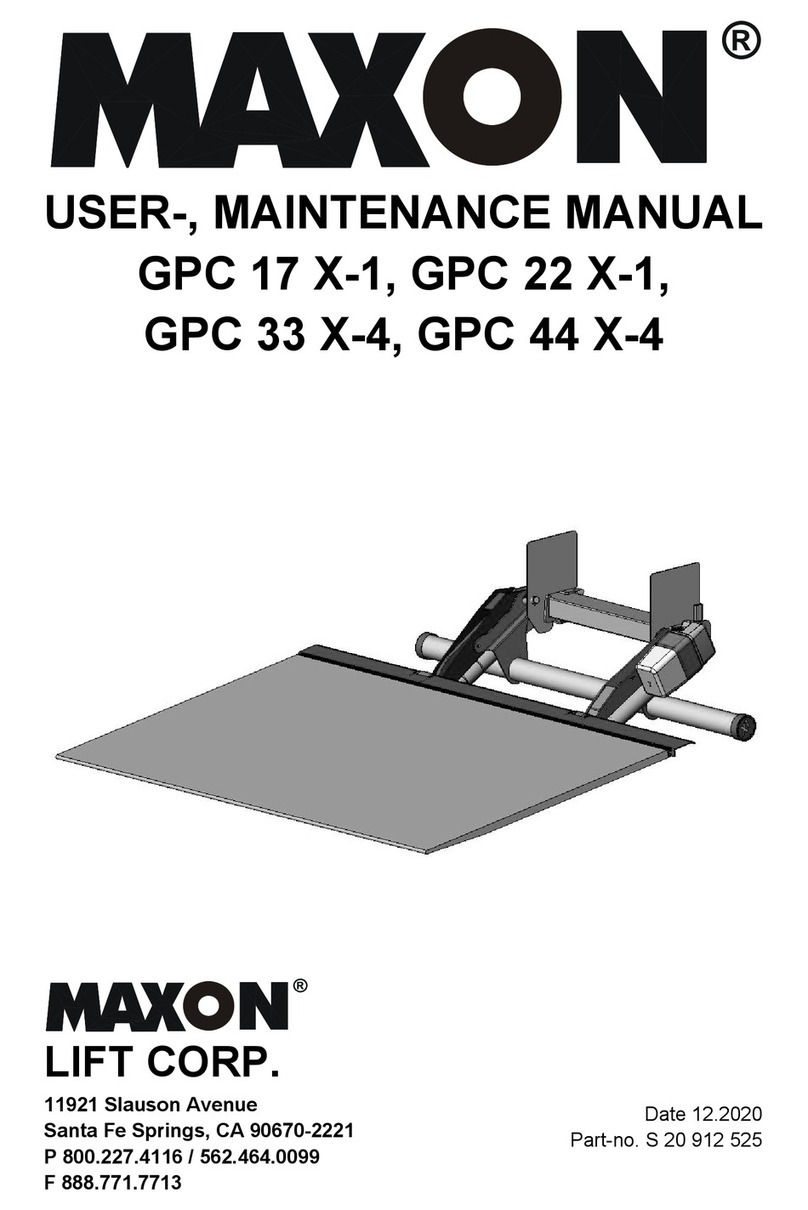
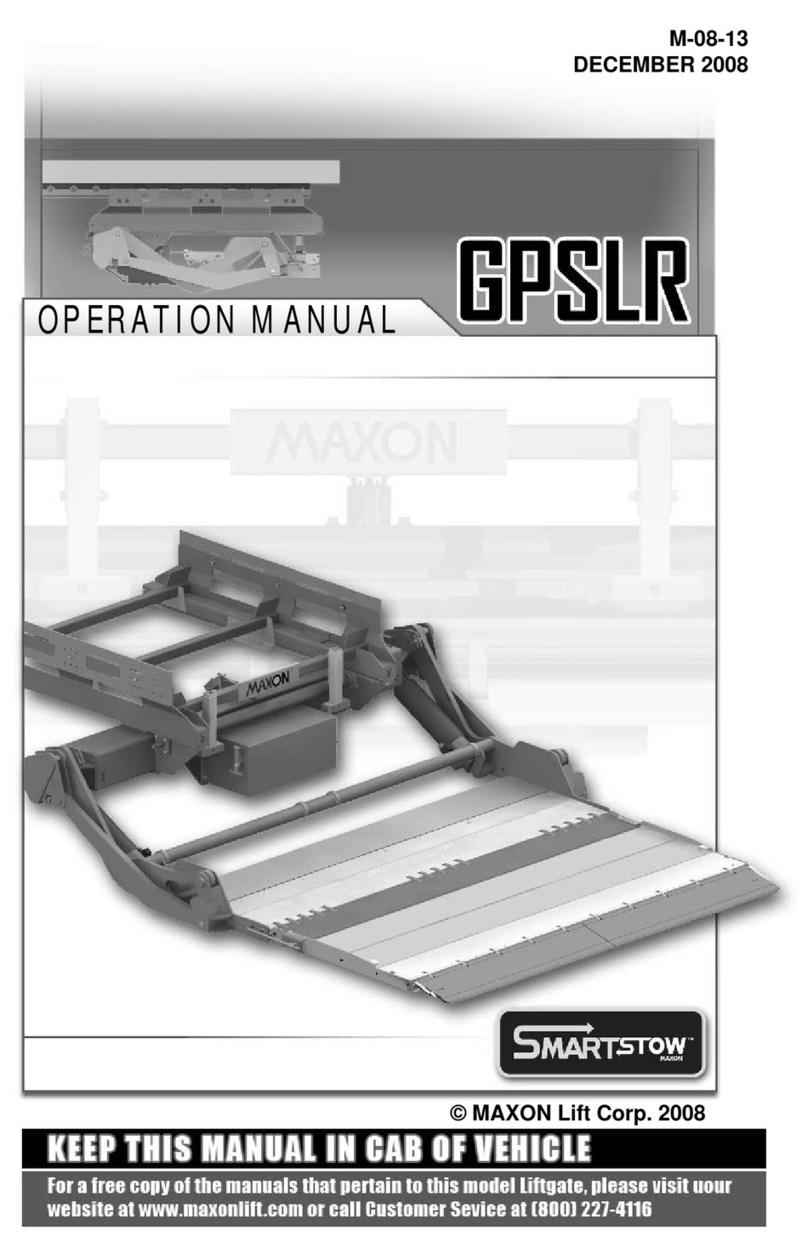
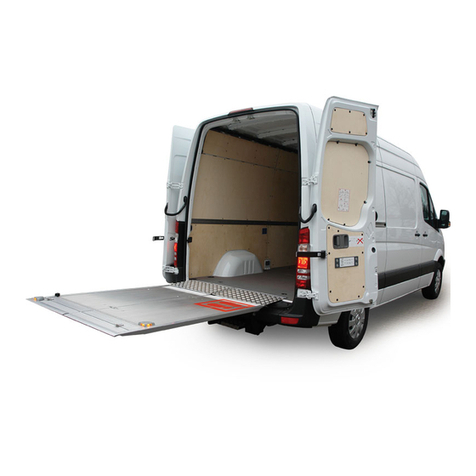
Maxon GPSLR Series User manual

M-08-12
REV. H
APRIL 2020
© MAXON Lift Corp. 2020
INSTALLATION MANUAL
GPSLR-33&GPSLR-44

TABLE OF CONTENTS
SUMMARY OF CHANGES: M-08-12, REVISION H............................................................. 4
WARNINGS........................................................................................................................... 5
SAFETY INSTRUCTIONS .................................................................................................... 6
NOTICE................................................................................................................................. 6
GPSLR INSTALLATION PARTS BOX...................................................................................7
VEHICLE REQUIREMENTS................................................................................................. 8
REAR IMPACT GUARD ...................................................................................................... 12
STEP 1 - REMOVE SIDE PLATES .....................................................................................13
STEP 2 - WELD SIDE PLATE............................................................................................. 15
STEP 3 - PLACE SLIDERASSEMBLY ON OPTIONAL JIG............................................... 24
STEP 4 - BOLT ON LIFTGATE............................................................................................ 25
STEP 5 - WELD ON EXTERNAL CONTROL & BRACKET.................................................27
STEP 6 - BOLT ON INTERNAL CONTROL SWITCH.........................................................28
STEP 7 -ATTACH OPTIONAL BATTERY BOX & FRAME TO VEHICLE (IF EQUIPPED). 31
STEP 8 - RUN POWER CABLE.......................................................................................... 39
STEP 9 - CONNECTING POWER...................................................................................... 41
STEP 10 - CHECKING HYDRAULIC FLUID....................................................................... 42
STEP 11 - LEVELING PLATFORM .....................................................................................44
STEP 12 - FINAL BOLTING ................................................................................................45
STEP 13 - PLATFORM ADJUSTMENT............................................................................... 47
STEP 14 -ATTACH SLIDING AXLE STOPS (IF REQUIRED) ........................................... 48
STEP 15 - ATTACH SAFETY CHAIN.................................................................................. 49
ATTACH DECALS ............................................................................................................... 51
DECAL POSITIONS............................................................................................................ 53
SYSTEM DIAGRAMS......................................................................................................... 55
PUMP & MOTOR SOLENOID OPERATION ...................................................................... 55
HYDRAULIC SCHEMATIC.................................................................................................. 56

ELECTRICAL SCHEMATIC................................................................................................. 57
OPTIONS ............................................................................................................................ 58
OPTIONAL LIFTGATE COMPONENTS.............................................................................. 58
PRE-DELIVERY INSPECTION FORM................................................................................ 59

SUMMARY OF CHANGES: M-08-12, REVISION H
PAGE DESCRIPTION OF CHANGE
COVER Updated REV, date of release and cover image.
-Cover image and applicable Illustrations throughout manual are updated to show new
impact-absorbing tubes on the back of the slider frame.
-This contents of this manual applies only to GPSLR liftgates equipped with standard
control switches. All information about SmartStow controls was removed.
5 Added California Proposition 65 warning.
7 Removed installation parts box for GPSLR liftgates that were equipped with SmartStow.
9, 10, 11 Revised dimension “A” clearance in figures from top of floor to bottom of crossmember.
Revised dimension “A” crossmember sizes in Tables 9-1, 10-1 & 11-1.
25 Added Table 25-3 for correct mounting distance and slot information for refrigerated
trailers.
31-38 Updated battery box installation procedure.
42,43 Added STEP 10 for CHECKING HYDRAULIC FLUID and added Phillips 66Arctic Low
Pour oil to table of recommended ISO-15 oils. Step titles after STEP 10 are renum-
bered.
49 Added CAUTIONS for preparing painted bracket for welding and protecting hydraulic
hoses near the welds.
51 Changed Operation decal to latest decal with QR code and added decal with parts QR
code.
53 Added MAXGRIP decal for platforms with knurled surface.
54 Decal H updated to show new retention ramp.
55 Changed PRV setting to 1500 PSI on Hydraulic Schematic.
59 Added Pre-Delivery Inspection Form.

11921 Slauson Ave. Santa Fe Springs, CA. 90670 (800) 227-4116 FAX (888) 771-7713
5
•Do not stand, or allow obstructions, under the platform when lowering the Liftgate. Be sure your
feet are clear of the Liftgate.
• Keep fingers, hands, arms, legs, and feet clear of moving Liftgate parts (and platform
edges) when operating the Liftgate.
•Make sure vehicle battery power is disconnected while installing Liftgate. Connect vehicle
battery power to the Liftgate only when installation is complete or as required in the installation
instructions.
•If it is necessary to stand on the platform while operating the Liftgate, keep your feet and any
objects clear of the inboard edge of the platform. Your feet or objects on the platform can become
trapped between the platform and the Liftgate extension plate.
•Never perform unauthorized modifications on the Liftgate. Modifications may result in early failure
of the Liftgate and may create hazards for Liftgate operators and maintainers.
• Correctly stow platform when not in use. Extended platforms could create a hazard for
people and vehicles passing by.
WARNING
•Recommended practices for welding on steel parts are contained in the current AWS (American
Welding Society) D1.1 Structural Welding Code - Steel. Damage to Liftgate and/or vehicle, and
personal injury can result from welds that are done incorrectly.
!
WARNINGS
•Recommended practices for welding galvanized steel are contained in the current AWS (Ameri-
can Welding Society) D19.0 Welding Zinc-Coated Steel. Damage to Liftgate and/or vehicle, and
personal injury can result from welds that are done incorrectly.
Comply with the following WARNINGS and SAFETY INSTRUCTIONS while installing
Liftgates. See Operation Manual for operating safety requirements.
Installing and maintaining a liftgate can expose you to chemicals, including lead, which are known
to the State of California to cause cancer and birth defects or other reproductive harm. To mini-
mize exposure, install and maintain liftgate in a well-ventilated area and wear proper Personal
protective equipment (PPE). For more information go to www.P65Warnings.ca.gov.
WARNING
!

11921 Slauson Ave. Santa Fe Springs, CA. 90670 (800) 227-4116 FAX (888) 771-7713
6
NOTICE NOTICE
•Maxon Lift is responsible for the instructions to correctly install MAXON Liftgates on
trucks or trailers only.
•Liftgate installers, not Maxon Lift, are responsible for reviewing and complying with all
applicable Federal, State, and Local regulations pertaining to the trailer or truck.
SAFETY INSTRUCTIONS
SAFETY INSTRUCTIONS
•Comply with all WARNING and instruction decals attached to the Liftgate.
•Keep decals clean and legible. If decals are illegible or missing, replace them. Free replacement
decals are available from Maxon Customer Service.
•Consider the safety and location of bystanders and location of nearby objects when operating the
Liftgate. Stand to one side of the platform while operating the Liftgate.
•Wear appropriate safety equipment such as protective eyeglasses, faceshield and clothing while
performing maintenance on the Liftgate and handling the battery. Debris from drilling and contact
with battery acid may injure unprotected eyes and skin.
•Do not allow untrained persons to operate the Liftgate.
•Be careful working by an automotive type battery. Make sure the work area is well ventilated and
there are no flames or sparks near the battery. Never lay objects on the battery that can short the
terminals together. If battery acid gets in your eyes, immediately seek first aid. If acid gets on your
skin, immediately wash it off with soap and water.
•If an emergency situation arises (vehicle or Liftgate) while operating the Liftgate, release the con-
trol switch to stop the Liftgate.
•Read and understand the instructions in this Installation Manual before installing Liftgate.
•Before operating the Liftgate, read and understand the operating instructions in Operation
Manual.
•A correctly installed Liftgate operates smoothly and reasonably quiet. The only noticeable noise
during operation comes from the power unit while the platform is raised and lowered. Listen for
scraping, grating and binding noises and correct the problem before continuing to operate Liftgate.
•Installers of the liftgate should ensure that all trucks and trailers are equipped with grab
handles as needed. Refer to Technology Maintenance Council (TMC) RP 1428: Entry
And Egress Guidelines for Vehicles With Fold-Under Type Liftgates.
11921 Slauson Ave. Santa Fe Springs, CA. 90670 (800) 227-4116 FAX (888) 771-7713
7
GPSLR INSTALLATION PARTS BOX
GPSLR PARTS BOX
TABLE 7-1
NOMENCLATURE OR DESCRIPTION QTY. PART NUMBER
REF PARTS BOX, GPSLR MOUNTING (NO CONTROLLER) 1 268801-02
1FLAT WASHER, 1/2” 24 902013-13
2FLANGE LOCK NUT 12 901023
3HEX FRAME BOLT, 1/2”-13 X 1-3/4” LG. 12 901024-2
4SUPPORT PLATE, 7-7/8” LG. 4 268675-02
5TAP SCREW, 10-24 X 1” LG. 6 030444-01
6ANGLE, 2” X 2” X 1/8” X 6” LG. 2 091068-17
7MOUNTING PLATE 6 268676-01
8SUPPORT PLATE 6 268675-01
9MOUNTING GUSSET 8 268674-01
10 SAFETY STOW CHAIN 1 287132-01

11921 Slauson Ave. Santa Fe Springs, CA. 90670 (800) 227-4116 FAX (888) 771-7713
8
VEHICLE REQUIREMENTS
Check for correct clearances (FIGS. 8-1 to 12-2) on vehicle to pre-
vent interference between vehicle and Liftgate.
NOTE: Make sure vehicle is parked on level ground while preparing vehicle and
installing Liftgate.
NOTE: BODY maximum and minimum operating bed height:
Maximum height is 53” (Unloaded). Minimum height is 46” (Loaded).
On vehicle bodies equipped with swing-open doors, the platform
may have to be modified to install this Liftgate.
NOTE: Dimensions are provided as reference for fitting Liftgate to vehicle body.
For detailed ground clearance information, refer to the WELD SIDE PLATE
procedure in this manual.
CAUTION
The sliding axle assembly on a trailer can collide with a Liftgate mounted
on the slide rails. To prevent damage to Liftgate and trailer, install stops on
the slide rails to keep the sliding axles from hitting Liftgate. Refer to Liftgate
clearance dimensions in this section of the manual.
14” MAX
57-5/8”
96”
NOTE: For installation of this Liftgate, the maximum allowable
thickness of the vehicle body rear sill is 14”.
OVERALL WIDTH OF GPSLR LIFTGATE & MOUNTING FRAME
FIG. 8-1
REAR SILL

11921 Slauson Ave. Santa Fe Springs, CA. 90670 (800) 227-4116 FAX (888) 771-7713
9
53” MAX. BED HEIGHT
46” MIN. BED HEIGHT
“A”
MOUNT FRAME
CLEARANCE
“Y”
CLEARANCES FOR GPSLR MOUNTED ON DRY TRAILER
FIG. 9-1
VEHICLE REQUIREMENTS - Continued
“X”
“B”
GROUND
TOP SLOT POSITION
MIDDLE SLOT POSITION
BOTTOM SLOT POSITION
TABLE 9-1
DRY TRAILER
“A” BED
HEIGHT “X” MAX SILL
DEPTH “B” SLOT
POSITION MOUNT FRAME
CLEARANCE
GROUND
CLEARANCE
“Y”
4-3/4”
4-3/4”
46”
10-3/8” 12” MIDDLE 79-5/8”
14-7/16”
47” 15-7/16”
48” 16-7/16”
49” 17-7/16”
50” 18-7/16”
51” 19-7/16”
52” 9-1/8” 13” BOTTOM 78-3/8” 17-13/16”
53” 18-13/16”
5-3/16”
46” 10-3/4” 12” TOP 80” 14-15/16”
47” 15-15/16”
48” 16-15/16”
49” 9-9/16” 13” MIDDLE 78-3/4” 16-7/16’
50” 17-7/16”
51” 18-7/16”
52” 8-1/4” 14” BOTTOM 77-1/2” 17-15/16”
53” 18-15/16”

11921 Slauson Ave. Santa Fe Springs, CA. 90670 (800) 227-4116 FAX (888) 771-7713
10
53” MAX. BED HEIGHT
46” MIN. BED HEIGHT
“A”
MOUNT FRAME
CLEARANCE
“Y”
CLEARANCES FOR GPSLR MOUNTED ON REFRIGERATED TRAILER
FIG. 10-1
VEHICLE REQUIREMENTS - Continued
“X”
“B”
GROUND
TABLE 10-1
REFRIGERATED TRAILER
“A” BED
HEIGHT “X” MAX SILL
DEPTH “B” SLOT
POSITION MOUNT FRAME
CLEARANCE
GROUND
CLEARANCE
“Y”
7-5/16”
46”
9” 13-1/2” TOP 78-3/4”
12-13/16”
47” 13-13/16”
48” 14-13/16”
49” 15-13/16”
50” 16-13/16”
51” 17-13/16”
52” 17-11/16”
53” 18-11/16”
7-13/16”
46”
8-17/32” 13-1/2” TOP 77-3/4”
12-5/16”
47” 13-5/16”
48” 14-5/16”
49” 15-5/16”
50” 16-5/16”
51” 17-5/16”
52” 17-3/16”
53” 18-3/16”
TOP SLOT POSITION
MIDDLE SLOT POSITION
BOTTOM SLOT POSITION

11921 Slauson Ave. Santa Fe Springs, CA. 90670 (800) 227-4116 FAX (888) 771-7713
11
53” MAX. BED HEIGHT
46” MIN. BED HEIGHT
“A”
“Y”
CLEARANCES FOR GPSLR MOUNTED ON REFRIGERATED TRAILER
FIG. 11-1
VEHICLE REQUIREMENTS - Continued
“X”
“B”
GROUND
TABLE 11-1
REFRIGERATED TRAILER
“A” BED
HEIGHT “X” MAX SILL
DEPTH “B” SLOT
POSITION MOUNT FRAME
CLEARANCE
GROUND
CLEARANCE
“Y”
7-5/16”
46”
8-1/16” 14” TOP 77-9/32”
11-13/16”
47” 12-13/16”
48” 13-13/16”
49” 14-13/16”
50” 15-13/16”
51” 16-13/16”
52” 17-13/16”
53” 17-21/32”
7-13/16”
46”
7-5/8” 14” TOP 76-7/8”
11-5/16”
47” 12-5/16”
48” 13-5/16”
49” 14-5/16”
50” 15-5/16”
51” 16-5/16”
52” 17-5/16”
53” 18-5/16”
MOUNT FRAME
CLEARANCE
TOP SLOT POSITION
MIDDLE SLOT POSITION
BOTTOM SLOT POSITION

11921 Slauson Ave. Santa Fe Springs, CA. 90670 (800) 227-4116 FAX (888) 771-7713
12
VEHICLE REQUIREMENTS - Continued
REAR IMPACT GUARD
REQUIRED REAR-END CLEARANCES OF REAR IMPACT GUARD
FIG. 12-1
REQUIRED GROUND & SIDE CLEARANCES OF REAR IMPACT GUARD
FIG. 12-2
12” MAX.
REAR EXTREMITY
OF VEHICLE
NOTE: The stowed GPSLR platform functions as a rear impact guard for vehicle.
To comply with current Federal Motor Vehicle Safety Standards (FMVSS
223) and Canadian Motor Vehicle Safety Standards (CMVSS 223), the rear
impact guard must be within the rear-end, side, and ground clearances
shown in FIGS. 12-1 and 12-2.
PLATFORM
(REAR IMPACT GUARD)
4” MAX. 4” MAX.
SIDE EXTREMITY
OF VEHICLE SIDE EXTREMITY
OF VEHICLE
PLATFORM
22” MAX.
PLATFORM

11921 Slauson Ave. Santa Fe Springs, CA. 90670 (800) 227-4116 FAX (888) 771-7713
13
STEP 1 - REMOVE SIDE PLATES
1. Disconnect conduit from right side plate as shown in FIG. 13-1.
RIGHT SIDE
PLATE
FIG. 13-1
CONDUIT

11921 Slauson Ave. Santa Fe Springs, CA. 90670 (800) 227-4116 FAX (888) 771-7713
14
FLAT
WASHERS
(2 PLACES)
BOLT
(2 PLACES)
FLAT
WASHERS
(2 PLACES)
LOCK NUT
(2 PLACES)
BOLT
(2 PLACES)
LOCK NUT
(2 PLACES)
FLAT
WASHERS
(2 PLACES)
2. Unbolt side plates as shown in FIG. 14-1.
FIG. 14-1
STEP 1 - REMOVE SIDE PLATES - Continued
FLAT
WASHERS
(2 PLACES)
SIDE
PLATES
NOTE: Save bolts, nuts, and flat washers for reinstallation.

11921 Slauson Ave. Santa Fe Springs, CA. 90670 (800) 227-4116 FAX (888) 771-7713
15
STEP 2 - WELD SIDE PLATE
1. Position RH side plate with rounded corners facing up (FIG. 15-1).
CLAMPS
ANGLE STEEL
ROUNDED
CORNER
ROUNDED
CORNER
SIDE PLATE
CONDUIT BRACKET
(RH SIDE PLATE ONLY)
FIG. 15-1
2. Clamp 2 pieces of angle steel to side plate as
shown in FIG. 15-1.
NOTE: Parts box contains 2 angle steel pieces for position-
ing side plates under vehicle body. The angles allow
side plates to be positioned and clamped to bottom of
chassis crossmembers before welding the side plates.
NOTE: Angle steel pieces must be butted against the side
plate and flush with the edge of the side plate. Each
angle must be positioned to butt against a chassis
crossmember under the vehicle.

11921 Slauson Ave. Santa Fe Springs, CA. 90670 (800) 227-4116 FAX (888) 771-7713
16
3. For 3” trailer crossmembers, mark position
for side plate on crossmember (FIG. 16-1
and TABLE 16-1).
SIDE VIEW - 3” TRAILER CROSSMEMBERS
FIG. 16-1
BED
HEIGHT DISTANCE
(“X”)
EXPECTED
GROUND
CLEARANCE
(“Y”)
46” 10-3/8” 12-1/8”
47” 10-3/8” 13-1/8”
48” 10-3/8” 14-1/8”
49” 10-3/8” 15-1/8”
50” 10-3/8” 16-1/8”
51” 10-3/8” 17-1/8”
52” 9-1/8” 16-5/8”
53” 9-1/8” 17-5/8”
TABLE 16-1
3”
X
(TABLE 16-1)
CROSSMEMBER FLOOR
STEP 2 - WELD SIDE PLATE - Continued
NOTE: The instruction below only applies to trailers with 3” crossmembers. If trailer
has 4” crossmembers, go to the next page.
NOTE: To mark a position between 2 crossmembers, attach tape from crossmember-
to-crossmember. Remove slack before marking the tape.
NOTE: If vehicle bed height is a fractional number between the whole numbers
shown in TABLE 16-1, round to the closest whole number. For example,
round 51-1/4” BED HEIGHT to 51” and round 51-1/2” BED HEIGHT to 52”.

11921 Slauson Ave. Santa Fe Springs, CA. 90670 (800) 227-4116 FAX (888) 771-7713
17
STEP 2 - WELD SIDE PLATE - Continued
BED
HEIGHT DISTANCE
(“X”)
EXPECTED
GROUND
CLEARANCE
(“Y”)
46” 10-3/4” 12-5/8”
47” 10-3/4” 13-5/8”
48” 10-3/4” 14-5/8”
49” 9-9/16” 14-1/8”
50” 9-9/16” 15-1/8”
51” 9-9/16” 16-1/8”
52” 8-1/4” 15-5/8”
53” 8-1/4” 16-5/8”
SIDE VIEW - 4” TRAILER CROSS MEMBERS
FIG. 17-1
TABLE 17-1
X
(TABLE 17-1)
4”
FLOOR
CROSSMEMBER
4. For 4” trailer crossmembers, mark position
for side plate on crossmember (FIG. 17-1
and TABLE 17-1).
NOTE: The instruction below only applies to trailers with 4” crossmembers. If trailer
has 3” crossmembers, go to the previous page.
NOTE: To mark a position between 2 crossmembers, attach tape from crossmember-
to-crossmember. Remove slack before marking the tape.
NOTE: If vehicle bed height is a fractional number between the whole numbers
shown in TABLE 17-1, round to the closest whole number. For example,
round 48-1/4” BED HEIGHT to 48” and round 48-1/2” BED HEIGHT to 49”.

11921 Slauson Ave. Santa Fe Springs, CA. 90670 (800) 227-4116 FAX (888) 771-7713
18
STEP 2 - WELD SIDE PLATE - Continued
FIG. 18-1
CENTER
LINE
5. Refer to FIG. 18-1. Measure the distance (“D”) between slide rails. Then calculate
dimension “Y” as follows: (52 7/8” - D) x 1/2 = Y
Example where D = 50” :
Y = (52 7/8” - 50”) x 1/2, Y = 2 7/8” / 2, Y = 1 7/16”
SLIDE
RAILS SIDE
PLATE
SIDE
PLATE
52-7/8”
(MEASURE INSIDE,
CENTER TO BODY)
DY
6. Adjust a combination square to the “Y”
dimension (FIG. 18-2) or fabricate a
spacer equal to the thickness of “Y”.
Y
SLIDE
RAILS
FIG. 18-2
COMBINATION
SQUARE

11921 Slauson Ave. Santa Fe Springs, CA. 90670 (800) 227-4116 FAX (888) 771-7713
19
STEP 2 - WELD SIDE PLATE - Continued
7. Line up end of the side plate with “X” mark on crossmem-
ber (FIG. 19-1A) and with the slide rail (FIG. 19-1B).
COMBINATION
SQUARE
SLIDE RAIL
SIDE
PLATE
“X” MARK
ALIGNING SIDE PLATE
FIG. 19-1A
FIG. 19-1B
CROSSMEMBER SIDE
PLATE
CAUTION
To avoid personal injury, use at least 2 people to
position the side plate.
!

11921 Slauson Ave. Santa Fe Springs, CA. 90670 (800) 227-4116 FAX (888) 771-7713
20
CAUTION
To protect the original paint system on the Liftgate, a 3” wide area of paint
must be removed from all sides of the weld area before welding.
STEP 2 - WELD SIDE PLATE - Continued
TACK WELDING SIDE PLATES TO CROSSMEMBER
FIG. 20-1
8. Tack weld side plate as shown in FIG. 20-1.
1/4” TACK
9. Remove clamps and the 2 angles.
10. Repeat 1 through 9 for the LH side plate.
Other manuals for GPSLR Series
3
This manual suits for next models
2
Table of contents
Other Maxon Automatic Barrier manuals