manuals.online logo
Brands
  1. Home
  2. •
  3. Brands
  4. •
  5. Measurement Computing
  6. •
  7. Measuring Instrument
  8. •
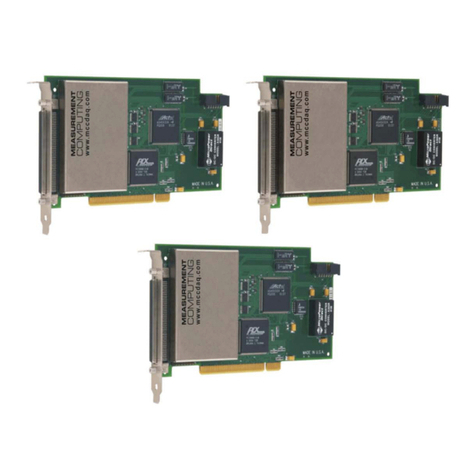
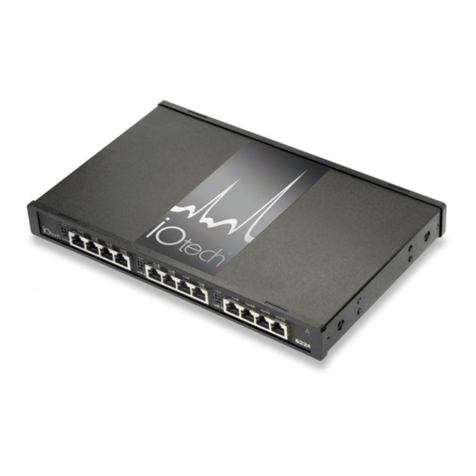
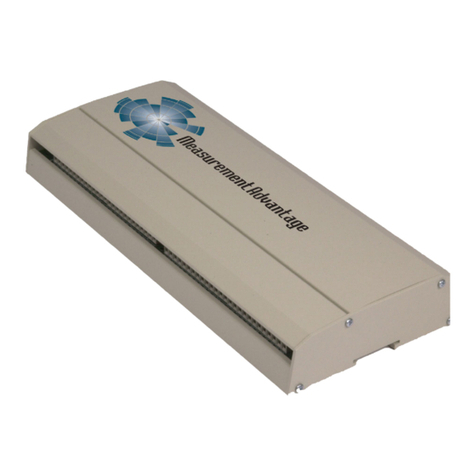
  9. Measurement Computing 15200B User manual

Measurement Computing 15200B User manual

Measurement Specialties, Inc.
2236 N. Cleveland-Massillon Rd.
Akron, Ohio 44333-1255 USA
(330) 659-3312 www.meas-spec.com
precisionsensors.meas-spec.com
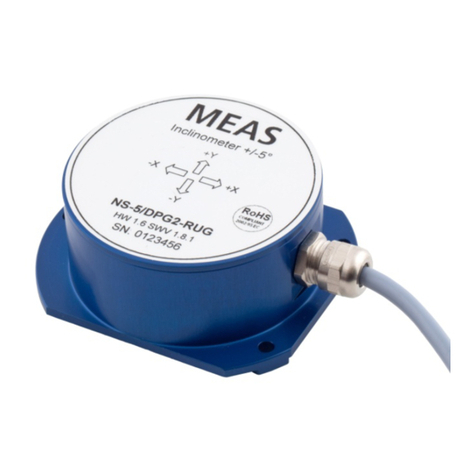
15200B 25200B 35200B
Uniaxial Biaxial Triaxial
Digital Accelerometer
User Congurable to ±70 g
0
0
0
0
Specications*
Parameter Min Typical Max Units
Accelerometers Full Scale Range
Option R070
Option R050
Option R035
±70
±50
±35
g
g
g
Sensitivity Drift 25°C to Tmin or Tmax ±0.5 %
Zero g Drift 25°C to Tmin or Tmax ±1 g
Alignment ±3.0 degrees
Transverse Sensitivity 0.25 %
Nonlinearity 0.2 2 % FSR
Frequency Response 0 400†Hz
Noise Density
Option R070
Option R050
Option R035
1.8 3.5
1.4 3
1.1 3
mg/√Hz
mg/√Hz
mg/√Hz
Temperature Sensor
Range
Resolution
Accuracy
-55 125
0.25
±2 ±3
°C
°C
°C
Digital Signal Processor
Sensor Scan Rate 42,500 Hz
Analog Outputs
Voltage Swing
Impedance to Analog-
Nonlinearity
0.25 4.75
100 130 220
0.15
V
Ω
% FSR
Digital Output Word Size 16 bits
Power Supply (Vs)
Input Voltage Limits
Input Voltage - Operating
Input Current
Rejection Ratio
-80 +80
+8.5 +36
55
>120
V
V
mA
dB
Temperature Range (Ta) -40 +85 °C
Mass 78 grams
Shock Survival - Sensor -1500 +1500 g
Data subject to change without notice *within one year of calibration
†User configurable low-pass filter 3 dB cutoff (number poles configurable)
Three-Year Limited Warranty
Measurement Specialties, Inc. warrants this product against defects
in materials and workmanship for a period of three years from date
of shipment. During the warranty period, Measurement Specialties
will, at its option, either repair or replace products which prove to
be defective.
Exclusions
This warranty does not apply to defects or damage resulting from:
• Improper installation or maintenance
• Customer supplied software or interfacing
• Unauthorized modication or misuse
• Operation outside of the product specications
Limitations
The warranty set forth above is exclusive and no other warranty,
whether written or oral, is expressed or implied. Measurement
Specialties specically disclaims the implied warranties of
merchantability and tness for a particular purpose.
Some jurisdictions do not allow limitations on how long an implied
warranty lasts, so the above limitation or exclusion may not apply to
you. However, any implied warranty of merchantability or tness is
limited to the three-year duration of this written warranty.
Warranty Service
To obtain service during the warranty period, products must be
returned, transportation prepaid, to Measurement Specialties.
15200B/25200B/35200B Rev. 8/14/13
Accelerometer Connections
Pin Description Cable Wire
1 Analog Output 1+ Brown
2 Analog Output 2+ Red
3 Analog Output 3+ Orange
4 Signal - Yellow
5 RS485- Green
6 RS485+ Blue
7 Aux Violet
8 +Vs (Power) Grey
9 Ground White*
*connected to braided shield at D-shell pin
}twisted pair
}twisted pair
}twisted pair
}twisted pair
Terminal Block Male D-Shell
Connector
CAUTION
Improper wiring, particularly Power, may cause
permanent damage and void the warranty.
Pins other than +Vs should not exceed 5 V. Dimensions in inches [mm]
Bottom ViewRear View
3 mm x 0,5 mm Thread
0.138 [3,50] Deep
16 Places on 2 Views
0.167
[4,25]
0.354
[9,00]
0.187
[4,76]
0.354
[9,00]
0.354
[9,00]
0.354
[9,00]
1.437
[36,50]
0.689
[17,50]
0.240
[6,10]
0.354
[9,00] 0.354
[9,00] 0.354
[9,00]
0.575
[14,60]
Spring and cable
added with
cable options
0.494
[12,55]
2.049
[52,05]
2
3
X
1
2
3
1
Mounting Instructions
►Use two 3.0 mm x 0.5 mm thread machine screws to attach
to the bottom or rear 15200B/25200B/35200B mount faces
[recommended torque 5 lbf-in (0.56 N.m)]. Be careful not to
bottom screws in tapped holes as this can strip threads.
►A light lm of oil or silicone grease can be used to enhance
contact between mounting surfaces.
►A locking compound should be used on all threads to prevent
screws loosening due to vibrations.
15200B
25200B
35200B 9 Pin
D-Subs
Cable
1.3mm
Plug/Jack
Optional Analog
Monitoring Port
COM
Port
120VAC
35250A
Adapter
Power
Supply
PC
9 Pin
D-Subs
9 Pin
D-Subs
Accelerometer
Connection to a PC using MEAS Adapters
Connect a 15200B/25200B/35200B to a 35250A, and connect a PC
COM port to the other side of the 35250A using the cable provided.
(If connecting to a PC with only a USB port, an RS232 to USB cable
will be needed). Plug power supply into wall and plug into power
jack on side of 35250A. Accelerometer should then be ready for use.
Notes:
Typical Settings Changed with ICU
►Accelerometer ranges (Range Hi and Range Lo)
►Low-pass lter settings (Filter 3 dB Cutoff)
►Resolution of high-speed data (IRIG Word Bits). Eight (8)
bit data can be set to increase data transfer rates.
►Temperature and accelerometer Channel Units. Each
channel can be congured to measure in units suitable for
your application.
►Inversion of the sensor channels (Invert). Each channel
output can be inverted for maximum exibility in your
measurements.
►The telemetry Bit Rate may be adjusted according to how
fast measurements need to take place. RS232 hardware
limits bit rate to 115kb.
Retrieving the Calibration Certicate
1. Connect to the unit with ICU.
2. At the bottom of the Congure window, click Reports.
3. A separate window opens with Report selections at the bottom.
Select the Calibration check box. The certicate will then be
displayed.
Digital Wiring Example
SELF TEST
(OPTIONAL)
Typical Direct Wiring
34100A
+VS
8GRY
AUX
RS485+
RS485-
7VIO
6BLU
5GRN
8.5 - 36VDC
RS485 HI
RS485 LO
GND
9WHT
PWR GND
Analog Wiring Example
CH3-
CH3+
CH2-
CH2+
CH1-
CH1+
INPUTS
w/DIFFERENTIAL
EQUIPMENT
MEASURING
34100A
+VS
8
AUX
7
1+ 1
2+ 2
4
3+ 3
8.5 - 36VDC
SELF TEST
(OPTIONAL)
SYSTEM
POWER
AND
CONTROL
SIG
GND
PWR
GND
9
PWR GND
How to Use the 15200B / 25200B / 35200B
as an Analog Sensor
►If a Measurement Specialties 35250A PC Interface
Adapter is available, connect its sensor connector to the
15200B/25200B/35200B, apply power to the 35250A, and
connect a computer to the 35250A RS232 connector. A positive
acceleration (labeled on the accelerometer cover) causes a change
on the corresponding output.
►If a 35250A is not available, connect a +8.5 to 36 V DC power
source to +Vs. Connect power source ground to the Gnd pin.
Connect a computer RS485 interface to the two RS485 pins on the
15200B/25200B/35200B.
►Optionally, connect a voltmeter or other instrument to each
15200B/25200B/35200B Analog Output and Signal-. For best
results, use a converter with an input impedance greater than
1 MΩ.
►Keep cable lengths between an analog output and an instrument as
short as practical. Use shielded twisted pair wiring, especially near
electric motors or other noise sources.
►Download Instrument Conguration Utility (ICU) software
from precisionsensors.meas-spec.com and use it to congure
the 15200B/25200B/35200B. When transmitting High Speed
Data to a PC, sample frequency should be at least 10 times the
lter bandwidth when linear interpolation is used for signal
reconstruction. Built-in low-pass ltering can be used to lower the
noise oor and eliminate spurious peak measurements from short-
duration shock impulses with insignicant energy content.
Installing and Using ICU
►First, uninstall any previous versions of ICU that may be
installed, then download Instrument Conguration Utility
(ICU) software from precisionsensors.meas-spec.com. Run
Setup_ICU.exe to install ICU.
►Start ICU. Use About/Setup to select your COM Port
and conrm the data directory. Select Conguration as the
Program Function and press OK.
►Press the Conguration button. ICU scans for any
instruments attached to the COM Port. If an instrument is
found, ICU connects and reads the instrument conguration.
►The 15200B/25200B/35200B comes ready from the factory.
If your application requires changes, use the Main tab
to change the telemetry and the channel tabs to edit each
channel. For each channel, check the Range Hi and Range
Lo and the Filter 3dB Cutoff. If changes are made, you must
press the Write Values to Instrument button. The password
as shipped from the factory is “si”.
►Use the High Speed Acquire button to collect and save data
to disk.
Items Provided in 35250AK0 PC Interface Kit
-35250A PC Interface Adapter
-9 Pin D-sub Female-to-Female Cable
-9 Volt DC Power Supply

This manual suits for next models

2

Other Measurement Computing Measuring Instrument manuals
Measurement Computing USB-5200 Series User manual

Measurement Computing

Measurement Computing USB-5200 Series User manual

Measurement Computing USB-TC-AI User manual

Measurement Computing

Measurement Computing USB-TC-AI User manual

Measurement Computing PCI-DAS6034 User manual

Measurement Computing

Measurement Computing PCI-DAS6034 User manual

Measurement Computing USB-PDISO8/40 User manual

Measurement Computing

Measurement Computing USB-PDISO8/40 User manual

Measurement Computing USB-5200 Series User manual

Measurement Computing

Measurement Computing USB-5200 Series User manual

Measurement Computing USB-1096HFS User manual

Measurement Computing

Measurement Computing USB-1096HFS User manual

Measurement Computing ACCUTIRE MS-4021B User manual

Measurement Computing

Measurement Computing ACCUTIRE MS-4021B User manual

Measurement Computing IOtech 6224 User manual

Measurement Computing

Measurement Computing IOtech 6224 User manual

Measurement Computing BTH-1208LS User manual

Measurement Computing

Measurement Computing BTH-1208LS User manual

Measurement Computing 4623 User manual

Measurement Computing

Measurement Computing 4623 User manual

Measurement Computing USB-5203 User manual

Measurement Computing

Measurement Computing USB-5203 User manual

Measurement Computing DPG Series User manual

Measurement Computing

Measurement Computing DPG Series User manual

Measurement Computing USB-7202 User manual
Measurement Computing

Measurement Computing USB-7202 User manual

Measurement Computing CIO-DAS1601/12 User manual

Measurement Computing

Measurement Computing CIO-DAS1601/12 User manual

Measurement Computing CIO-DAC08/16 User manual

Measurement Computing

Measurement Computing CIO-DAC08/16 User manual

Measurement Computing P-Series User manual

Measurement Computing

Measurement Computing P-Series User manual

Measurement Computing TC-32 User manual

Measurement Computing

Measurement Computing TC-32 User manual

Measurement Computing CIO-DAS6402/12 User manual

Measurement Computing

Measurement Computing CIO-DAS6402/12 User manual

Measurement Computing USB-1608G User manual

Measurement Computing

Measurement Computing USB-1608G User manual

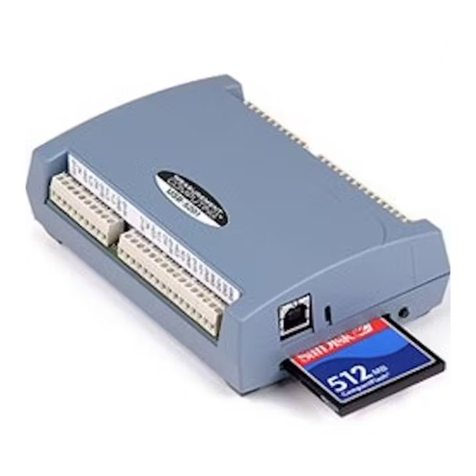
Measurement Computing PML 1000 User manual
Measurement Computing

Measurement Computing PML 1000 User manual

Measurement Computing WLS-TC User manual
Measurement Computing

Measurement Computing WLS-TC User manual

Popular Measuring Instrument manuals by other brands

Baumer HUBNER POG 10 + ESL Mounting and operating instructions

Baumer

Baumer HUBNER POG 10 + ESL Mounting and operating instructions

Keysight U1211A User's and service guide

Keysight

Keysight U1211A User's and service guide

RJE DG100 Quick Start Sheet

RJE

RJE DG100 Quick Start Sheet

Michell Instruments S8000 user manual

Michell Instruments

Michell Instruments S8000 user manual

Hoyt 2660CL instruction manual

Hoyt

Hoyt 2660CL instruction manual

Dover Civacon ROM III Installation & operation manual

Dover

Dover Civacon ROM III Installation & operation manual

Triplett TA150 user manual

Triplett

Triplett TA150 user manual

CPC 210-2006 installation instructions

CPC

CPC 210-2006 installation instructions

Honeywell Touchpoint Plus quick start guide

Honeywell

Honeywell Touchpoint Plus quick start guide

Burkert 8756 operating instructions

Burkert

Burkert 8756 operating instructions

PASCO PASPort Xplorer PS-2000 quick reference

PASCO

PASCO PASPort Xplorer PS-2000 quick reference

GANN M 4050 instruction manual

GANN

GANN M 4050 instruction manual

Dwyer Instruments DDM-01 Installation and operating instructions

Dwyer Instruments

Dwyer Instruments DDM-01 Installation and operating instructions

Radiodetection RD8000 Operation manual

Radiodetection

Radiodetection RD8000 Operation manual

Endress+Hauser RID14 operating instructions

Endress+Hauser

Endress+Hauser RID14 operating instructions

Hach LPV445.99.02110 user manual

Hach

Hach LPV445.99.02110 user manual

Hanna Instruments HI 931400 instruction manual

Hanna Instruments

Hanna Instruments HI 931400 instruction manual

NDT James Instruments Chlorimeter C-CL-3000 Operator's manual

NDT James Instruments

NDT James Instruments Chlorimeter C-CL-3000 Operator's manual

manuals.online logo
manuals.online logoBrands
  • About & Mission
  • Contact us
  • Privacy Policy
  • Terms and Conditions

Copyright 2025 Manuals.Online. All Rights Reserved.