Medicleantec Micro Cleaner Installation and operation manual

Operating &
Maintenance Manual
Micro Cleaner

2 3
INTRODUCTION MICRO STEAM
What is micro
steam?
Introduction
Dear Medicleantec Customer,
Congratulations on the purchase of your new Medi-
cleantec Micro Cleaner. This unique cleaning system
is exclusively available through direct distribution and
allows you to not only clean your home faster, more ef-
ficiently and more cost-effectively, but also protect your
valuable furniture and other interior items since there is
no need to use chemicals.
This user guide illustrates how to use your Mediclean-
tec Micro Cleaner correctly and in the most efficient
way in a few easy steps.
Allow yourself to be surprised at how effectively and ef-
ficiently your new Medicleantec operates. Soon it will be-
come an integral part of your household.
Please read the user guide carefully before operating
the machine. Please also note the safety instructions
given in the guide.
We hope you enjoy your new Medicleantec!
Products for life
We sometimes think that we own nature – the truth is
that we are only a part of it. And the way we treat na-
ture will directly affect our children! We at Medicleantec
believe that waste should be prevented whenever pos-
sible. And with this cleaning system we have found a
solution that is ecologically practical and makes good
economic sense. Because products for life are only
purchased once and disposed of once.
The Medicleantec Micro Cleaner is not available in the
conventional retail or wholesale markets. It offers out-
standing quality standards as well as extraordinary gu-
arantees – and therefore it just doesn’t compare to any
other commercially available product.
Commonly available steam cleaners generally work at
low pressure (approx. 3 to 4 bar) and, therefore, at low
temperatures. This creates a very wet steam with low
cleaning capacity which can damage wood surfaces,
for example. This is the reason why many such ap-
pliances often end up in the basement and are only
rarely used.
Many manufacturers therefore offer steam vacuum
cleaners that suction excessive moisture directly du-
ring the cleaning process. This results in the applian-
ces being larger and their hoses being thicker and hea-
vier. Numerous market analyses show that household
appliances will only be used on a regular basis if they
are light, small and convenient. Furthermore, these
appliances will only function when the steam is not too
hot and/or wet – which is contrary to one of the basic
rules of effective steam cleaning: because less heat
means less cleaning capacity. The terms micro steam,
micro steam or heat cleaning are used in describing
appliances that operate with high temperatures and
pressures (beginning at approx. 160° C and approx.
6 bar pressure).
Larger heating elements and comprehensive safety
features are generally necessary in order to generate
more heat and pressure. The appliances are therefore
larger and more cumbersome. Thanks to the extra-
ordinarily powerful AKU-THERM-COMPACT heating
system used in the Medicleantec, it is possible to ge-
nerate a very high working pressure of up to 8 bar
even in relatively small boilers. The result is an enor-
mously powerful appliance which is practical in size
and suitable for every household.
The major advantage of cleaning with micro
steam is that fabrics and other surfaces do not
become wet but only slightly damp. The high
temperatures and speed at which the steam is
discharged removes dirt and dust from its carri-
ers. The high temperature of the steam therefore
has a “releasing” effect. The hot steam particles
penetrate the materials, liquefy the dirt and then
draw it out from the carrier. The speed at which
the steam is discharged is also a crucial factor
here: higher the steam pressure, higher is the
speed at which it is discharged and therefore the
force of the steam.
2
3

4
SAFETY GENERAL INFORMATION / CONTENT
5
4
Safety
regulations
•
The manufacturer is not liable for damages arising
from improper or incorrect use.
•
Do not direct the steam/hot water jet towards people
or animals. Do not touch the jet directly – risk of se-
vere burns!
•
The Medicleantec is equipped with a pressure gauge
which allows you to regulate the pressure and main-
tain a preset level (see “rated pressure” given on the
technical label of the appliance). If steam is leaking
from the lower part of the appliance, the appliance
may not be functioning properly and the safety valve
is limiting the pressure within the boiler. In this case
we strongly recommend that you stop using the ap
pliance, immediately disconnect the power supply
and contact the customer service department.
•
Do not use the appliance if the power cord or other
major components such as safety devices, high-
pressure hoses or the handle/pistol grip are dama-
ged.
•
The Medicleantec is equipped with a “solids di-
scharge” warning system. If “CALC” appears on
the display, it is time to clean the boiler (see “Main-
tenance”). Remove the discharge cover only if the
appliance has been turned off for a minimum of 5
hours (with the power cord disconnected).
•
This appliance is not intended to be used by child-
ren or people with restricted physical, sensory or
mental abilities or without sufficient experience and/
or knowledge unless they are supervised by a per-
son responsible for their safety or have received ins-
truction from this person as to how Medicleantec is
used. Children should be supervised to ensure they
are not playing with the appliance.
•
High-pressure hoses, accessories and connections
are necessary to safely operate the appliance. Only
use those hoses, accessories and connections re-
commended by the manufacturer.
•
CAUTION: Before using brushes, always check
them to avoid damaging any surfaces. The steam
generated by the steam generator is very hot. It
is therefore always necessary to test it on a small
surface area. Wooden surfaces and silicone joints
should only be treated with a minimum amount of
steam and then immediately dried using a micro-
fibre cloth.
•
When using an extension cord, the plug and socket
must be completely waterproof. Unsuitable extensi-
on cords can be hazardous.
•
Never leave the optional iron unattended if it is con-
nected to the power supply. Any alteration to the ap-
pliance releases the manufacturer from all liabilities.
•
The data for hand-arm vibration with respect to this
appliance is less than 2.5 m/s2and is therefore not
given here.
Table of
Technical data
Look at the technical label on the machine
Features
•
Stainless steel boiler (10-year warranty!)
•
Integrated fan for cooling the electronic system
•
Self-decalcifying heating element (expansi-
on during heating process causes calcium
deposits to fall off). The capacity of these ele-
ments is four times greater than equivalent spi-
ral heating elements (28 instead of 7 W/cm2on
average). They have a very long service life and
can be replaced contrary to most spiral heating
elements.
•
Self-decalcifying electromechanical float (with
TrueTemp Technology for constantly high
steam temperature)
•
24 x 7: Constant steam – 2 tank systems allow
continuous operation
Environmental
All packaging materials can be recycled. The packaging
should not be treated as household waste
but instead be taken to respective collection
sites.
Appliances that are no longer used contain
precious, recyclable materials and should
therefore be taken to appropriate collection
sites. Electrical and electronic appliances,
batteries, oil and similar substances may not
be disposed of in the environment. Please
separate the waste when disposing it.
Substances such as motor oil, heating oil,
gasoline or diesel fuel may not be disposed
of in the natural environment. Please protect
the soil and dispose of the used oil according
to the environmental regulations.
CAUTION!
Steam ...
Risk of burning
CAUTION! Please read the
user guide
PLEASE READ AND FOLLOW THIS USER GUIDE BE-
FORE USING THIS APPLIANCE.
KEEP IT FOR LATER REFERENCE AND PASS IT ON
TO SUBSEQUENT OWNERS OF THIS APPLIANCE. IT
IS ESSENTIAL TO READ THE SAFETY STANDARDS
THOROUGHLY BEFORE STARTING THE APPLIANCE
FOR THE FIRST TIME. NOTIFY YOUR AUTHORIZED
DEALER IMMEDIATELY IN CASE OF ANY DAMAGE
CAUSED DURING TRANSPORTATION.
Introduction............................................................................................... 2
What is micro steam?................................................................ 3
Safety regulations ........................................................................... 4
Component index............................................................................ 6
Keypad functions.............................................................................. 8
Steam generator maintenance...................................... 9
Operating hours counter........................................................ 9
Operating instructions................................................................ 9
Using the Medicleantec
micro steam......................................................................................... 12
Iron (optional)...................................................................................... 16
Steam mop (optional)............................................................. 16
Manual;
Instructions for use

7
COMPONENTS COMPONENTS
7
6
01) Cold water tank cap
02) Main switch
03) Power cable and plug
04) Drain cap (drainage)
05) Connection socket for accessories
06) Control panel
06A) Power switch device
06B) Boiler switch
06C) Indicator light „steam outlet“
06D) Indicator light „steam present“
06E) Indicator light „water shortage“
06F) Pressure switch Menu –
06G) Pressure switch Menu +
07) Digital display
09) Handle/gun with steam hose
10) Drain steam/hot water switch
10A) Drain steam/hot water lock lever
11A) Steam selector switch (min-med-max)
11B) Indicator light „minimum steam“
11C) Indicator light „medium steam“
11D) Indicator light „maximum steam“
11E) Hot water switch
11F) Indicator light for hot water injection and water shortage
12) Stainless steel wool (optional)
13) Drain cap
15) Nylon brush (Ø 28mm)
16) Brass brush (Ø 28mm)
17) Stainless steel brush (Ø 28mm)
17A) Attachment clip for micro-fiber cloths
18) Large triangular brush
19) Window cleaner (optional)
20) Steam nozzle
21) Brass brush (Ø 60mm) or nylon brush (Ø 60mm, optional)
22) Power cable and plug
23) Extension pipe
24) Locking button
25) Rectangular brush
26) Steam plug
27) Securing button for steam plug
28) Steam scraper
29) Refill bottle (optional)
30) Iron (optional)
30A) Thermostat
30B) Steam button
30C) Rubber mat (optional)
31) Rectangular steam buffer (optional)
32) Triangular steam buffer (optional)
33) Evaporator (optional)
34) Micro-fiber cloths (optional)
35) Stainless steel trolley (optional)
36) Steam mop (optional)
* Accessories included with Medicleantec may vary
for different countries (except in Germany).
Component
index*

8 9
Steam generator maintenance
Removal of calcium deposits in the boiler
FUNCTIONS MAINTENANCE
Keypad functions
CAUTION: WE RECOMMEND CLEANING THE BOI-
LER ONLY AFTER THE APPLIANCE HAS COOLED
DOWN, i.e. IF IT WAS SWITCHED OFF AT LEAST 5
HOURS BEFOREHAND (WITH THE PLUG DISCON-
NECTED).
The True Temp Technology makes it possible to use
distilled or osmosis water in the Medicleantec (contrary
to many other commonly available steam cleaners). It
is therefore not necessary to decalcify the appliance. If
you use calcium-free water and the maintenance dis-
play indicates “CALC”, you can simply switch off this
display (see *1).
The appliance is equipped with a maintenance alert
system which activates if “CALC” is displayed alterna-
ting with the temperature. You can continue to work if
this appears. Then disconnect the plug and allow the
appliance to cool down for at least 5 hours. Follow the
aforementioned steps to ensure that no steam or pres-
sure is present in the boiler interior.
1 Switch off the appliance. (Disconnect plug)
2 Fill water reservoir (1) with water.
3 Place a suitable small tub underneath the appliance
or position it on top of the kitchen sink and remove
the discharge cover (04) from under the appliance.
Allow all the water and calcium deposits to drain
from the boiler. Shake the appliance a little to com-
pletely remove all the calcium deposits.
4 Replace the discharge cover (04) and refill the appli-
ance with water (1).
5 Then switch on the appliance and allow the pump to
run for approx. 2 to 3 minutes until the water from
the bottom tank fills the boiler completely (until the
pump stops making noise). The appliance is now
ready to use again!
The boiler button/heater (06B) must remain off
during the entire decalcification process. Do not
turn the machine upside down or calcium may
enter into the valves!
If you are using water with a high calcium con-
tent, it is recommended to refill the appliance
with water and repeat the aforementioned steps.
*1 RESETTING THE MAINTENANCE INTERVALS CALC
Switch on the appliance by pressing buttons (2) and (06A), then press and hold button (06A) for
approx. 10 seconds. “CALC” will not appear until the next time maintenance is due.
Hour counter
This appliance is equipped with two hour counters. In
order to read the number of hours, switch off the appli-
ance using button (06A) and then activate button (06F
and 06G). Pressing this button will alternatively show
the hours for counter 1 and/or 2.
9
8
The two buttons located on the front keypad and the main switch located at the back of the appliance are
used in the different operating modes.
The buttons are called as follows:
06A) Appliance On switch hereinafter only 06A
06B) Boiler On switch hereinafter only 06B
2) Main power switch hereinafter only 2
Display change:
> Counter1>Counter2>Pressure>Temperature
Low water 06E
Multi-function display
Display change 06F
Minimum steam activation 06C
Medium steam activation 06C
On button 06A
Display change 06G
Steam ready 06D
Boiler button 06B

(2)
OPERATING INSTRUCTIONS OPERATING INSTRUCTIONS
11
10
2
1
3
4
5
6
7
Operating
Instructions
CAUTION
If the water in the tank is decreasing, the red warning light “Water Shortage” (06E) switches on and the warning
light (11F) on the hand grip blinks, followed by an intermittent signal tone. The power supply to the heating
element is cut off until the water tank (01) is filled again.
Fill water in the tank and confirm by pressing the button (06B).
This device is equipped with a double control system that checks if there is water and thus monitors the liquid in
the refill tank as well as in the boiler as follows:
The system checks both the tanks each time the device is switched on, first the boiler and then the refill tank. If
the liquid level in the boiler is insufficient, the system automatically restores the liquid level in it, in which case the
warning light Water Shortage switches on for the duration of this action (approx. 3 seconds).
If the warning light Water Shortage continues to remain on and is accompanied by an acoustic signal tone, then
it is indicative of a liquid shortage in the tank; the tank must be filled.
1Before using your Medicleantec, ensure that
the surface of the appliance does not have any
damage. Check if the volt and ampere ratings of
your power source match the data on the appliance
sticker.
2
Remove the tank cover (1) from the appliance
and fill the reservoir with at least 1 liter of water.
You may use straight tap water, distilled or os-
mosis water. Please do not fill any chemicals in
your Medicleantec.
3
Connect the power cord (03) to an outlet.
4
Connect the steam plug (12) to the designated
appliance accessory outlet (05). Press firmly until
the securing button (13) is engaged.
5
Press the main switch (2) at the back of the
appliance, switch (06A) and the steam boiler
button (06B) and wait for approx. 5 minutes until
the indicator light (06D) is illuminated. It indicates that
the boiler has steam. The switches (11A and 11E) on
the handle should be off.
6When the indicator light (06D) is illuminated, you
can adjust the desired steam flow (steam button
11A) as follows:
a. pressed 1x = Minimum steam (11B)
b. pressed 2x = Medium steam (11C)
c. pressed 3x = Maximum steam (11D)
Press the steam button (10) to release steam. The
status is displayed on the control panel (indicator
lights (06C)).
7
Using the button (11E) allows you to add hot
water to the steam.
Press the button only at short intervals (a few se-
conds) to avoid discharging the generator too quickly.
The switch (11E) only functions if the boiler switch
(06B) was also pressed.
12
13
12
ACCESSORIES
General tips:
•
The cleaning temperature remains equally high
regardless of whether you use the appliance with
minimum or maximum steam. We therefore recom-
mend doing the majority of the work at the Minimum
Steam setting. Bringing the tip of the nozzle closer to
the surface to be cleaned will increase the cleaning
efficiency. Maximum steam is needed only where
additional pressure is required to remove the dirt;
such as in areas that are hard to reach (for example,
radiators, corners in the shower stall, etc.) and all
the areas that require more moisture to clean, such
as carpets and upholstery (more steam = more
moisture).
•
When using triangular (18) or rectangular (17) brushes
with an attached micro-fiber cloth, place a steam
buffer (31, 32) between the brush and the cloth
to expand the cleaning area and to thus achieve
optimum effect.
•
When cleaning parquet floors, laminates or any woo-
den surfaces, we recommend using only little steam/
moisture. In other words, we recommend cleaning
in one area only for a short period and applying
steam only occasionally. The same applies to any
surfaces with silicone.
•
We recommend using nylon brushes and triangu-
lar or rectangular brushes with an attached micro-
fiber cloth to clean marble and stone. Brass brushes
could damage and/or discolor them.
•
Carpets and sofas should be thoroughly vacuumed
before steam cleaning.
•
Never use steam to clean untreated wood.
•
The micro-fiber cloths must be changed several
times depending on how dirty the carpets, up-
holstery or floors are.
Using the
Medicleantec
micro steam
USING
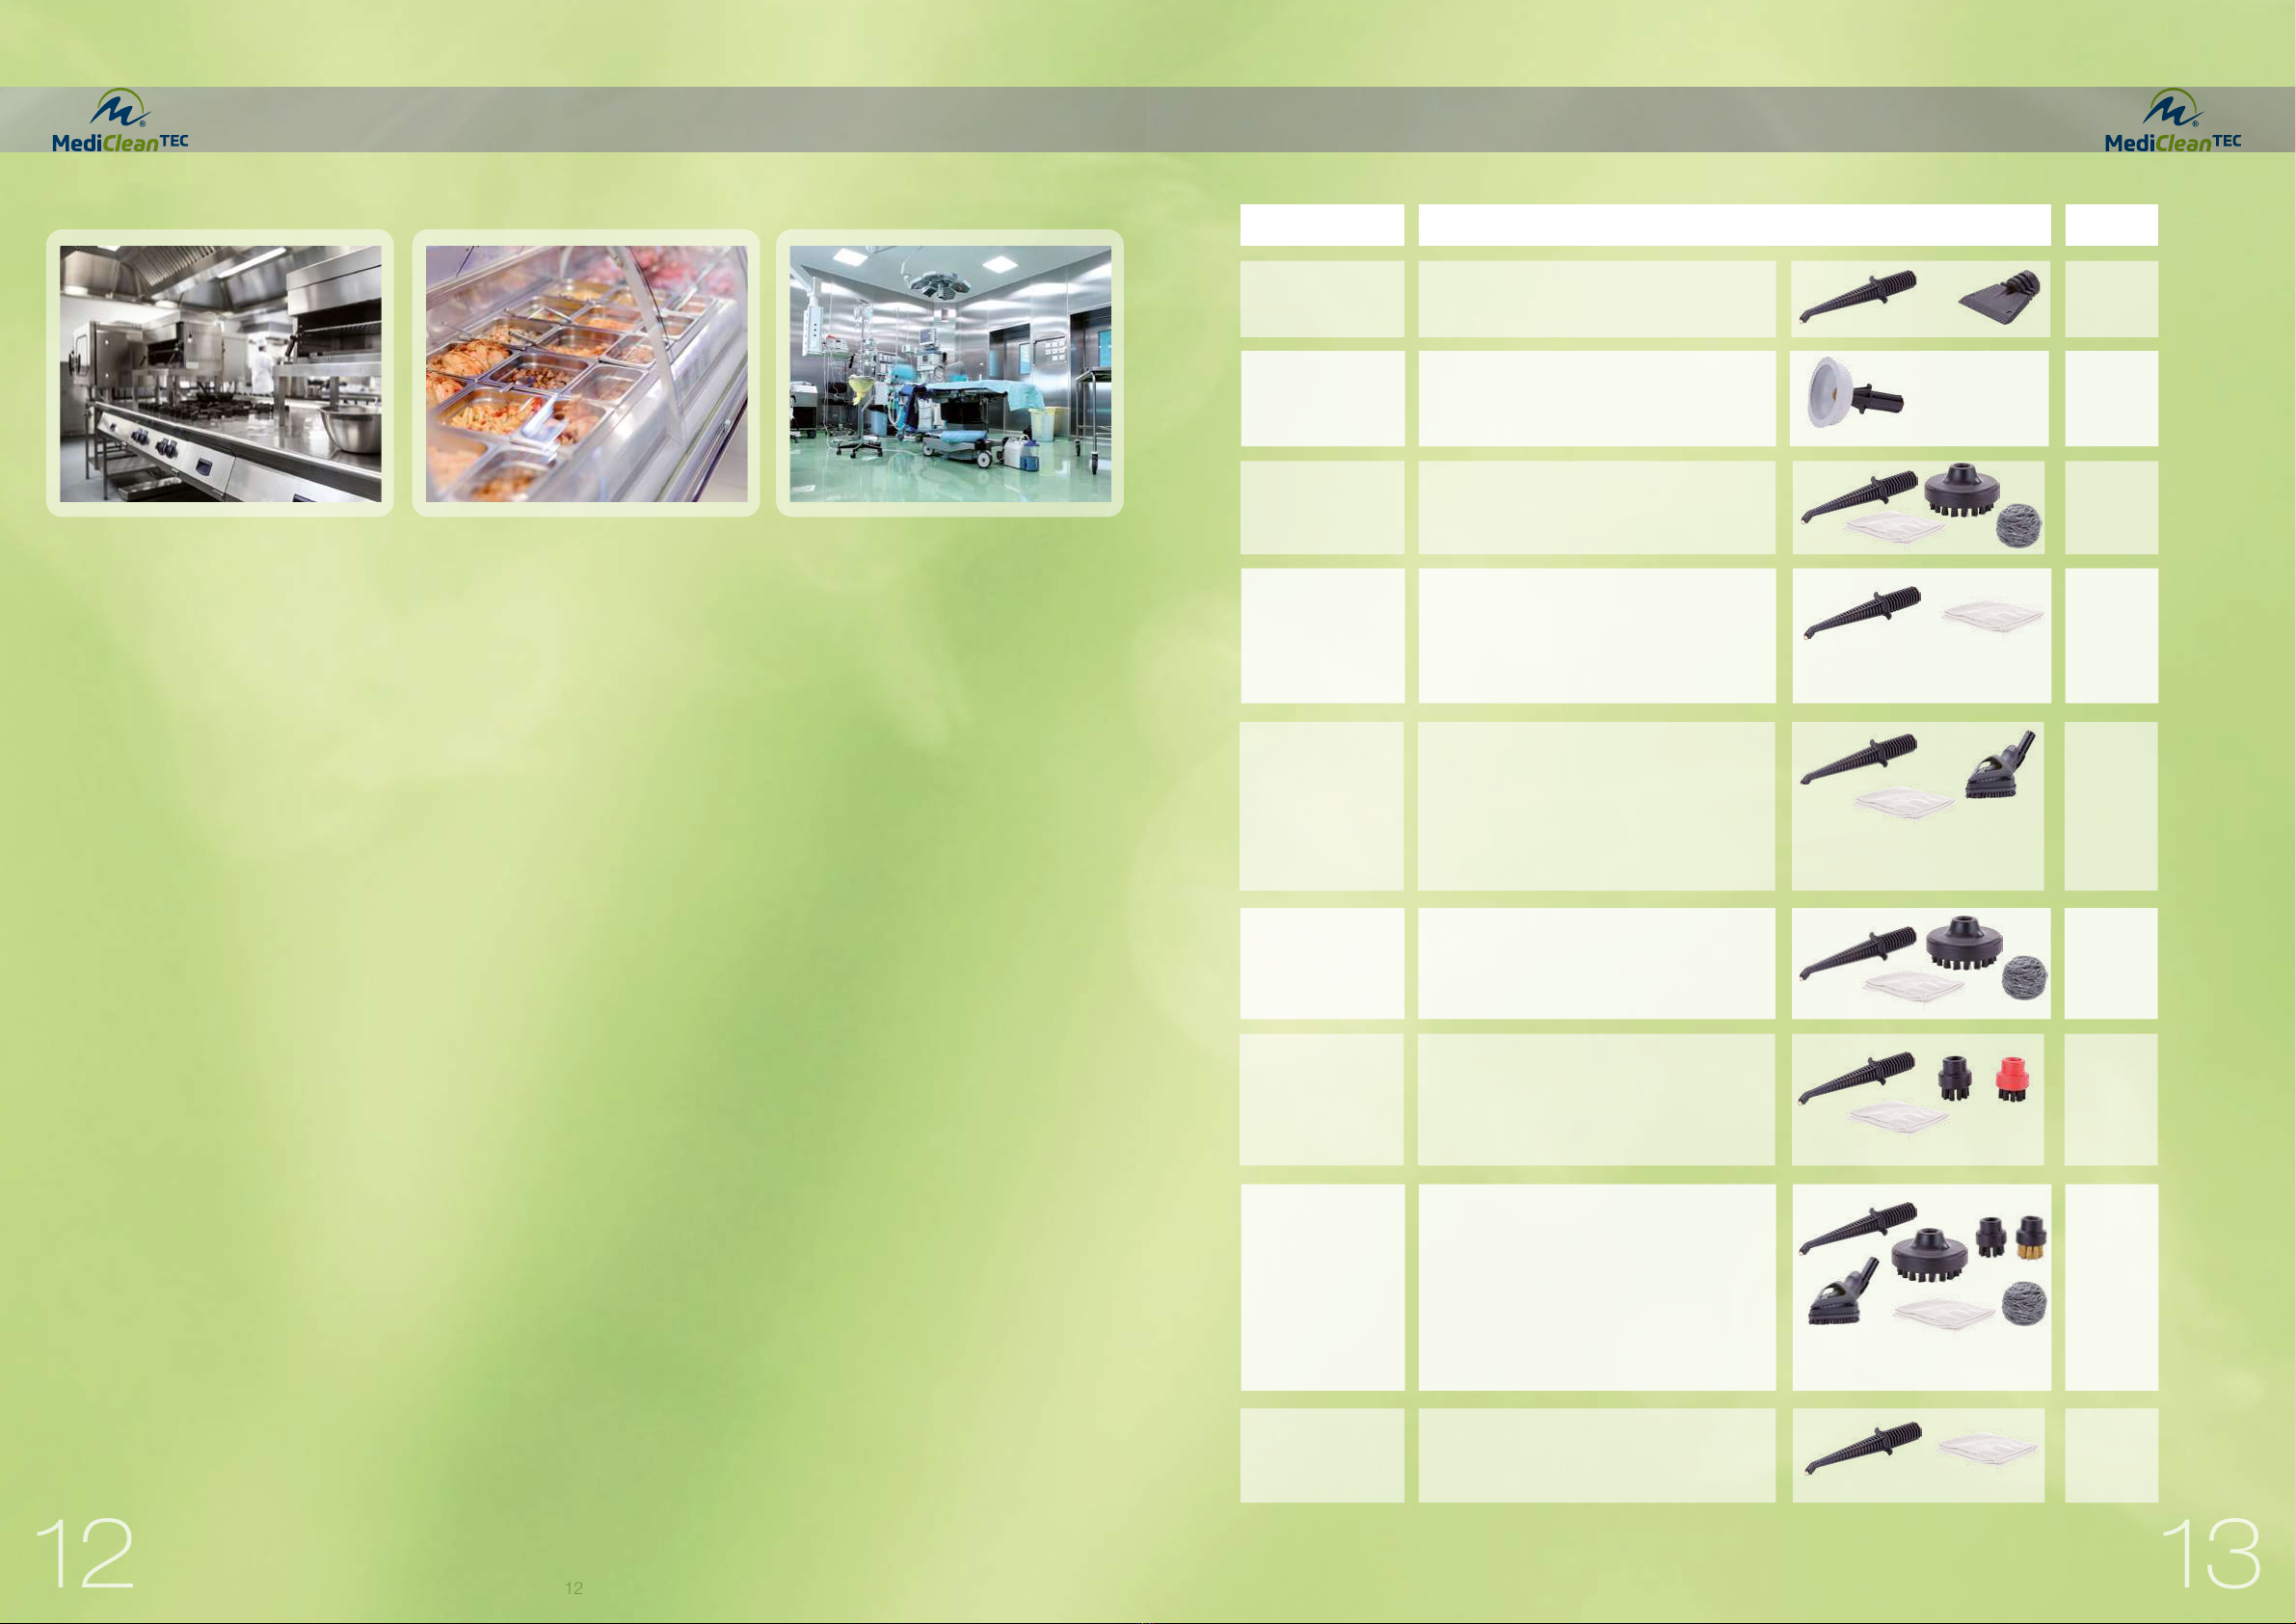
Application Accessory and description Level
Thawing/Defrosting Attach the steam nozzle (20) with the steam
scraper (28)
Maximum
steam
Drain cleaning First allow a little water to fill the drain and then
place the drain cap (26) over the drain.
Keep all the overflow openings closed and flush the
drain with hot water (11E).
Hot water
Cleaning fixtures and
removing calcium
Use the steam nozzle (20) and, if necessary, also the round
nylon brush (22) with the stainless steel wool (25). For larger
calcium deposits, also add a small amount of decalcifier
(vinegar or citric acid).
Minimum to
maximum
steam
Exterior car cleaning Even after using a carwash, very often stubborn dirt
continues to remain on the car, such as insects on the
windshield or car body or brake dust on the wheels.
You can use the steam nozzle (20) to spot-clean them.
Then wipe dry with a micro-fiber cloth.
Minimum to
maximum
steam
Interior car cleaning
(fabric and leather)
Use the triangular brush for normal dirt and clean the surfaces
with a cloth attached to it - old towels can be used for simple
material, and we recommend micro-fiber cloths for leather
and Alcantara.
Maximum
steam for
cushions
Minimum
steam for
leather and
Alcantara
Oven Use the round nylon brush (21) with the stainless
steel wool (25) to clean ovens. To remove stubborn dirt,
move the brush back and forth forcefully and for a slightly
longer period on the area to be cleaned until the stain
dissolves due to the heat.
Minimum
steam
Exhaust hood Use the steam nozzle (20) to clean the grease filter. Blow
maximum steam through the filter. Use the steam nozzle for
the exhaust hood and wipe dry using a micro-fiber cloth.To
clean corners, you can use the round nylon brush (22) if it is
suitable for the surface material.
Minimum to
maximum
steam
Shower stall and
wall tiles
In case of stubborn calcium deposits on glass doors and wall
tiles, we recommend first treating the surfaces with vinegar or
citric acid and allowing it to take effect for 20 minutes. Then
clean the surfaces directly with the steam nozzle (20) and a
micro-fiber cloth (34) or with the triangular brush (18) with an
attached micro-fiber cloth (34). Any joints and grooves can
be cleaned using the round nylon or brass brush(22/23).To
cleanstubborn dirt, you can also use the round nylon brush
(21) with the stainless steel wool (25) directly on the glass.
Minimum to
maximum
steam
Bicycles and motor-
cycles
Clean with the steam nozzle (20) and wipe dry with a micro-
fiber cloth (34).
Hot water,
minimum to
maximum
steam
ACCESSORIES ACCESSORIES
15
14
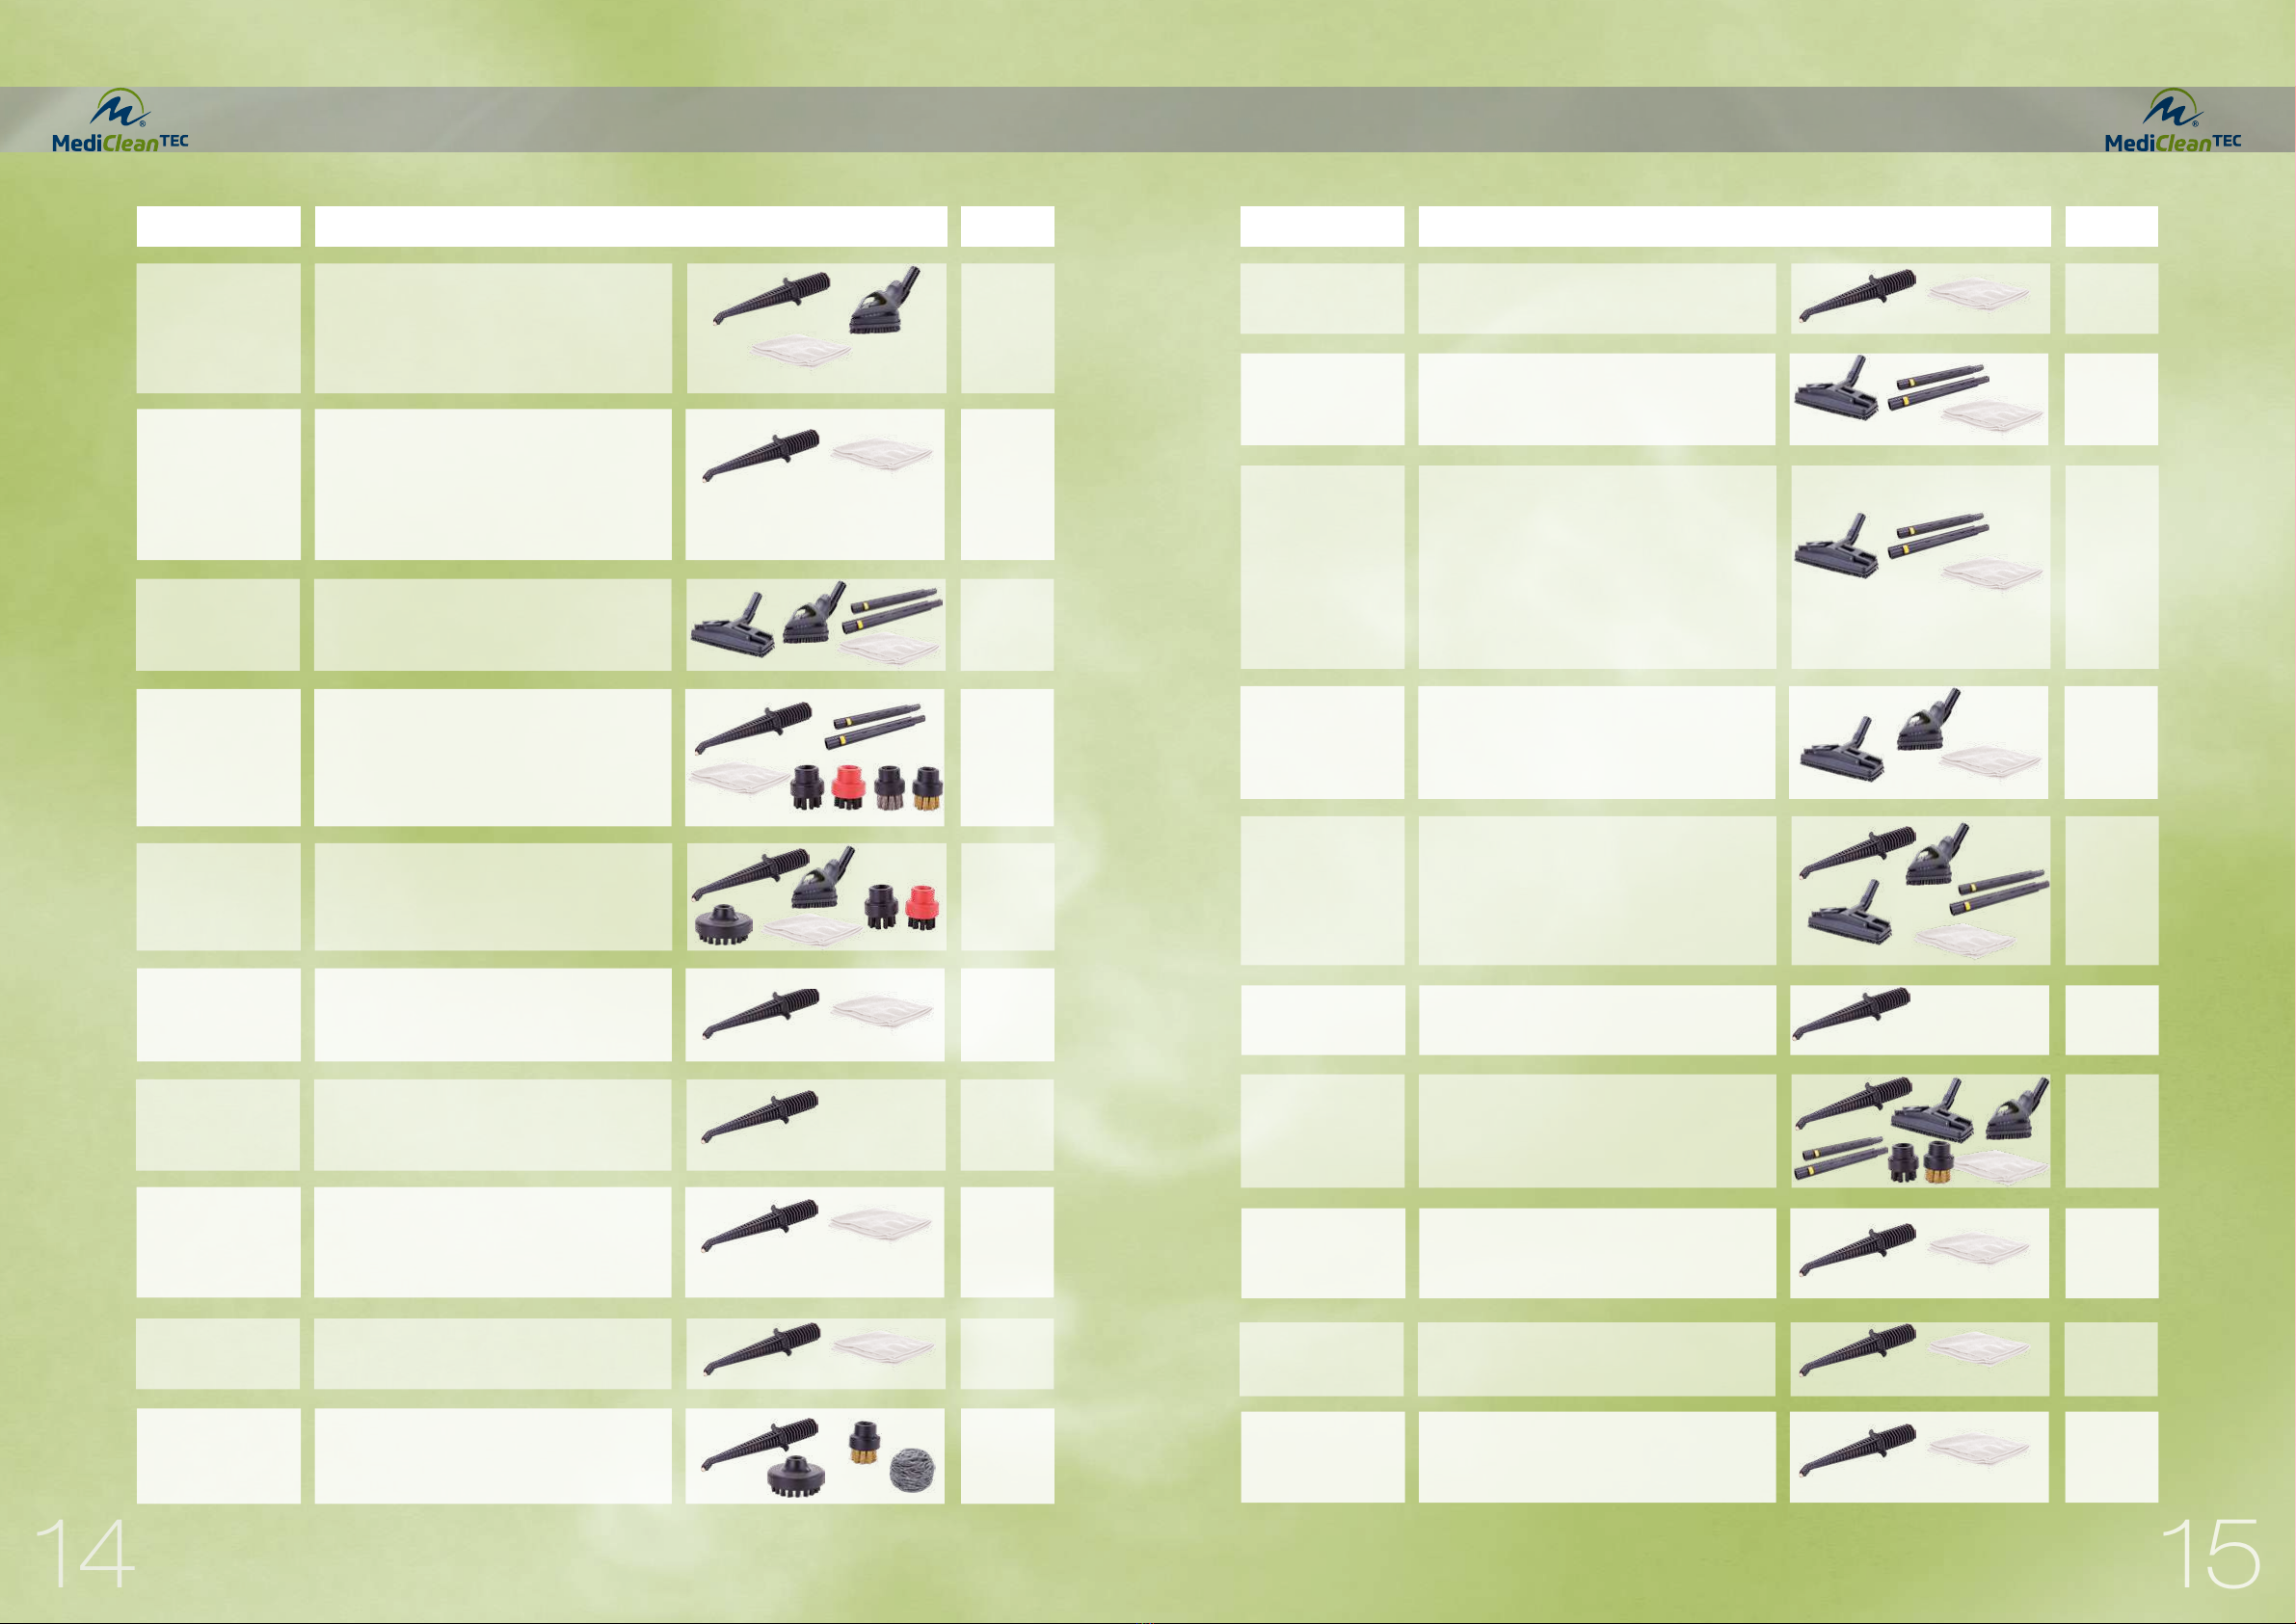
Application Accessory and description Level
Venetial blinds Venetian blinds are delicate. So apply a small
amount of steam with little pressure and then wipe
down with a micro-fiber cloth (34).
Minimum
steam
Cork (sealed) Only sealed cork floors may be treated with steam (not oiled
and polished cork floors!). Clean with the rectangular brush
(17) and the attached micro-fiber cloth (34).
Minimum
steam
Laminates and parquet
floors
Clean with the rectangular brush (17) and an attached micro-
fiber cloth (34) - use only a little moisture (press the steam
button (10) only occasionally).
Steam will not damage parquet floors and laminates if used
properly. (Comparison: A sauna at 90 °C is no problem but
a bath at this temperature is impossible.) Microsteam is
also better and gentler for surfaces to be cleaned than wet
cleaning or commonly available steam cleaners!
Minimum
steam
Leather Clean with the triangular and rectangular brush (17, 18) and
an attached micro-fiber cloth (34). Press the steam button
(10) only occasionally (do not hold down continuously). Do not
clean old or broken leather. Apply a leather conditioner after
cleaning.
Minimum
steam
Mattresses, upholstery,
carpets
Clean with the triangular or rectangular brush (17, 18) and
an attached micro-fiber cloth (34). Always test in a concealed
area to verify that the surface is colorfast. For sensitive mate-
rials, apply steam with the steam nozzle (20) from a distance
of 10 cm and then wipe dry the surfaces with a micro-fiber
cloth (34).
Maximum
steam
Plants Apply a little steam to the plants using the steam nozzle (20)
from a distance of 40 to 50 cm. From this distance the steam
is no longer hot, but comfortably cool.
Maximum
steam
Bathrooms and sanitary
equipment
Large areas can be cleaned with the triangular or rectangular
brush (17, 18) and an attached micro-fiber cloth (34); use
the steam nozzle (20) with or without brushes (22) to clean
corners, slots and other areas that are hard to reach.
Minimum to
maximum
steam
Watchbands and
jewellery
Place jewellery or watchbands on a micro-fiber cloth (34)
and clean with the steam nozzle (20) at close range and
polish. CAUTION: Apply steam only to the watchband and not
directly to the watch case!
Minimum
steam
Animal cages, metal
grates and any areas
hard to reach
Simply clean with the steam nozzle (20) and wipe dry with a
micro-fiber cloth (34).
Minimum to
maximum
steam
Toilet Clean without any chemicals! The inner edges of the toilet can
be cleaned lightly using the hot water function (11C). Simply
apply a little steam to the rest with the steam nozzle (20) at
close range and wipe dry.
Hot water
Application Accessory and description Level
Window frames and
shutters
Use either the steam nozzle (20) (wipe dry with a micro-fiber
cloth (34)) or the triangular brush (18) with the attached cloth
to clean.
CAUTION: Apply only a small amount of moisture/steam to the
wooden frames and do not hold the tip of the steam nozzle
too close to the wood.
Minimum
steam
Removing stains from
fabrics and carpets
Place the steam nozzle (20) directly on the stain and move it
back and forth quickly. Then wipe dry with a micro-fiber cloth
(34).
CAUTION: First ensure that the material is suitable for steam
cleaning. This type of treatment may damage the structure of
carpets, particularly woolen carpets.
Minimum
steam
Tiles and PVC Use the triangular or the rectangular brush
(17, 18) with an attached micro-fiber cloth (34).
Minimum
steam
Joints Use the round brass or nylon brushes (22/23)
and the extension pipe (15) to relax your back while cleaning.
Move slowly at angles over the joints while applying little
pressure. This allows you to apply more heat and less force –
and your brushes will also last longer.
Minimum
steam
Garden furniture
Plastic and rattan
Use the triangular brush (18) with an attached cloth or even
the small or large round nylon brushes (21, 22) in case of
stubborn dirt. For plastic furniture, place a micro-fiber cloth
between the brush and the surface to be cleaned to prevent
damaging it.
Minimum
steam
Glass cleaning Simply dissolve the dirt with the steam nozzle (20) and wipe
dry with micro-fiber cloths (34). Since steam contains neither
calcium nor cleaning agents you can clean windows and other
glass surfaces deeply and free of streaks.
Minimum
steam
Polished wooden
surfaces
Treat polished wood very carefully, without applying pressure.
Terry towels work best for this. (Micro-fiber cloths are not
suitable since they clean too thoroughly and could thus
remove the polish.)
Minimum
steam
Wooden furniture Apply a small amount of steam with the steam nozzle (20)
from a little further away and immediately wipe dry with a
micro-fiber cloth (34). Although cleaning will take a little
longer, it is gentler.
Minimum
steam
Not to be held
in one place
too long.
Radiator Use the steam nozzle (20) to clean the radiator from the top.
The dust holds together and can be wiped down.
Maximum
steam
Kitchen grease on cook-
tops and various metal
surfaces
Depending on the sensitivity of the surface to be treated,
we recommend cleaning with the steam nozzle (20), a small
round brass brush (23) and/or a large round brush (21) with
stainless steel wool (25).
Maximum
steam
16
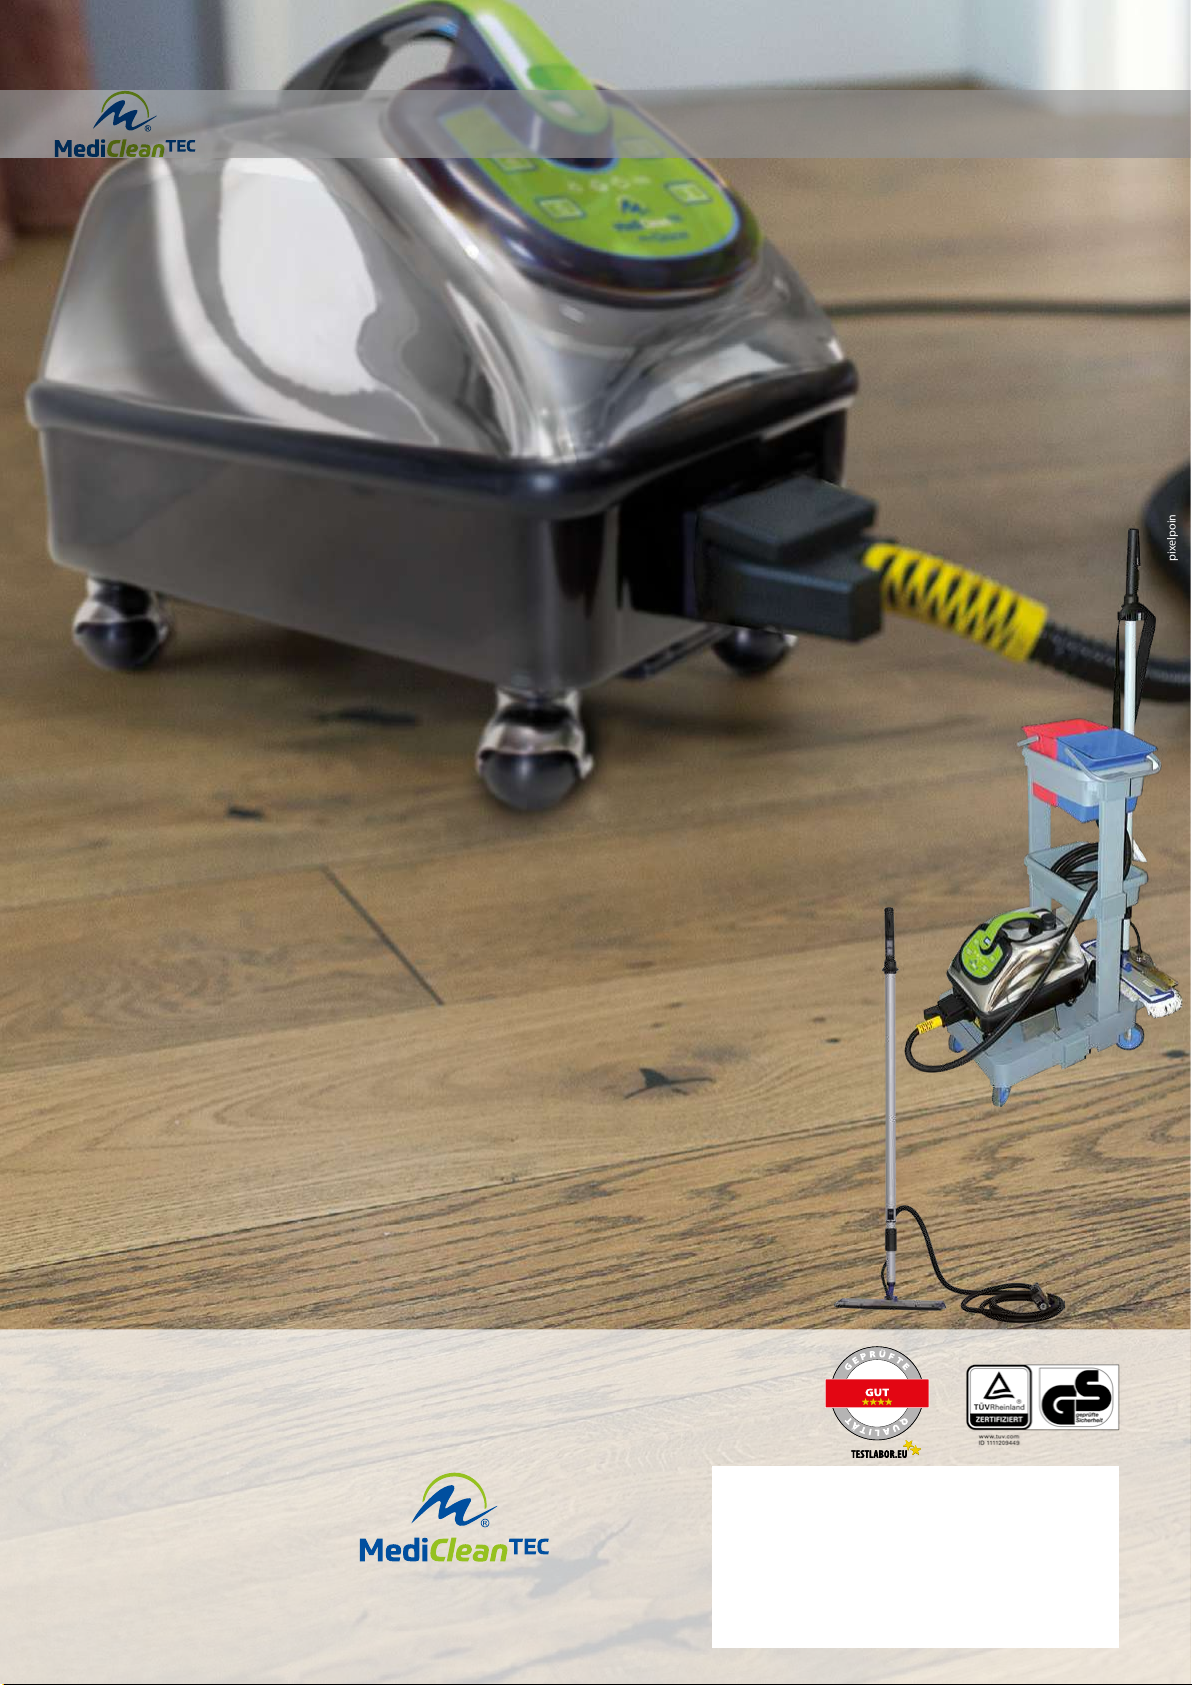
Equipment cart (optional)
Steam mop (optional)
Medicleantec GmbH
Auen-Süduferstraße 67
9220 Velden
Büro: +43(0) 4274 2821
Fax: +43 (0) 4274 2821 4
UID: ATU65046906
FN329029t
www.Medicleantec.com
ACCESSORIES
pixelpoint | Fotos © Johannes Raimann
Medicleantec equipment cart – plastic („Antares“)
The Medicleantec equipment cart provides optimal transportation for the
Medicleantec device, incl. all of its supplies, and is highly functional. It‘s practical,
convenient, and perfectly equipped - it comes with a compartment for the device
itself, holders for the steam cleaner and hose, and compartments for supplies,
brushes and towels, etc. Because it complies with the H.A.C.C.P. guidelines, the
equipment cart is also well-suited for use in food service facilities, hospitals, care
institutions, and similar areas.
The steam mop is ideal for cleaning large areas, regardless of whether this involves
floors or walls (vertical areas). It is light and extremely easy to handle and has a 5 m
long hose (option 10 m), a telescopic pipe and cloths (40 x 40 cm) made of cotton
or polyester or micro-fiber (optional). The steam adjustment control (min-med-max)
is located directly on the handle.
Thermostar
05/2016
Dampfreiniger Test
Table of contents
Popular Steam Cleaner manuals by other brands

Monoprice
Monoprice Strata Home 37930 user manual

Top Innovations
Top Innovations SteamFast SF-275 quick start guide

Tempo di saldi
Tempo di saldi SPINSCRUBBER Use and maintenance manual

Bestron
Bestron AZQ016 instruction manual

DOMENA
DOMENA HYGIAFLOR instructions

Maxwell
Maxwell MW-3708 BD Manual instruction


