manuals.online logo
Brands
  1. Home
  2. •
  3. Brands
  4. •
  5. Mega Slam Hoops
  6. •
  7. Accessories
  8. •
  9. Mega Slam Hoops Pro Gym 72 User manual

Mega Slam Hoops Pro Gym 72 User manual

STEP #1 Wall Frame Attachment
Wall hanging location is the
responsibility of the customer
and/or installer.
It is the responsibility of the
customer and/or installer to
determine how many of the
frame’s 12 mounting holes must
be used to safely secure the wall
mount goal for play.
Fasteners to be determined and
provided by the customer and/or
installer.
Walls can contain electrical wires
and other unseen hazards and
obstacles. It is the installer’s
responsibility to locate and avoid
these hazards during installation.
To avoid severe injury or death, do
not locate goal under power lines.
Mark a horizontal line to the mounting
surface 88” above from the playing
surface.
Position and center frame bottom on
the horizontal line with the frame’s
safety stops at the top.
Level wall frame vertically and
horizontally, and mark the mounting
holes needed for attachment.
Drill the appropriate size holes needed
in the mounting surface based on the
specific fastener being used to
support the frame to the wall.
Attach frame to the wall using the
fasteners making sure to level the
frame before fully tightening and
securing.
STEP #2 Lower Extension Arm
Attach the lower extension arm to the
frame assembly using the following:
Bolt “A” - 16mm x 10.75” (1)
“F” - 16mm steel washer (2)
“G” - 16mm nylon washer (2)
“E” - 16mm hex nut (1)
Do not overtighten as this is a pivot
point of the system. Snug Tighten.
Page 7
STEP #3 Lower Brackets
Attach the (2) lower brackets to the
frame assembly using the following:
Bolt “B” - 12mm x 1.5” (2)
“J” - 12mm steel washer (4)
“I” - 12mm hex nut (2)
Do not overtighten as this is a pivot
point of the system. Snug Tighten.
STEP #4 Upper Brackets &
Upper Extension Arms
Attach the (2) upper brackets & (2)
upper extension arms to the frame
assembly using the following:
Bolt “C” - 12mm x 3” (2)
“J” - 12mm steel washer (4)
“K” - 12mm nylon washer (4)
“I” - 12mm hex nut (2)
Do not overtighten as this is a pivot
point of the system. Snug Tighten.
STEP #5 Height Actuator to
Lower Extension Arm
Attach the height actuator to the
lower extension arm using the
following:
Bolt “A” - 16mm x 10.75” (1)
“F” - 16mm steel washer (2)
“G” - 16mm nylon washer (2)
“E” - 16mm hex nut (1)
Nylon washers go between height
actuator and lower extension arm.
Page 8
To prevent serious injury or death,
if using a stepladder, make sure
it is in good condition, setting on
a level and stable surface and do
not exceed its weight rating.
Use three or four people to raise
backboard assembly. Each
person should be in good physical
condition and capable of lifting at
least 90-100 lbs (40-45 kg) each.
Attach the height actuator & height
indicator to the upper bracket
assembly using the following.
Bolt “A” - 16mm x 10.75” (1)
“F” - 16mm steel washer (2)
“E” - 16mm hex nut (1)
Height Indicator (1)
Sleeve is inserted through the actuator,
and bolt D slides through the sleeve.
STEP #7 Backboard attachment to
Lower Extension Arm
STEP #6 Height Actuator & Height
Indicator to Bracket Assembly
Attach the upper extension arms to
the backboard using the following:
Bolt “B” - 12mm x 1.5” (2)
“J” - 12mm steel washer (4)
“K” - 12mm nylon washer (6)
“I” - 12mm hex nut (2)
Do not overtighten as this is a pivot
point of the system. Snug Tighten.
STEP #8 Upper Extension Arms
to the Backboard
Rotate the handle of actuator and
place the extension arm in the lowest
bottom position before attaching the
backboard.
Page 9
Attach the rim to the backboard
using the following:
Bolt “3” - 10mm carriage bolt (4)
“4” - 10mm steel washer (4)
“1” - 10mm flange nut (4)
Make sure rim is level before
tightening.
STEP #9 Rim Attachment
Attach the rim plate to the rim using
the following:
“2” - Machine Screw (2)
STEP #10 Rim Plate Attachment
Rotate the handle of actuator and
position the rim 10’ above the
playing surface.
Measure the distance for accuracy.
Align the height indicator with the 10’
mark on the decal and place the
decal on surface of the actuator.
STEP #11 Height Sticker Attachment
Page 10

Popular Accessories manuals by other brands
QSC SPA-3 Specifications

QSC

QSC SPA-3 Specifications

Rohde & Schwarz NRP-Z21 operating manual

Rohde & Schwarz

Rohde & Schwarz NRP-Z21 operating manual

Cardinal 205 Installation and technical manual

Cardinal

Cardinal 205 Installation and technical manual

Sentronik SE9000A instruction manual

Sentronik

Sentronik SE9000A instruction manual

Honeywell Sensepoint HT quick start guide

Honeywell

Honeywell Sensepoint HT quick start guide

Atom V808 Checklist

Atom

Atom V808 Checklist

Rice Lake Counterpart user manual

Rice Lake

Rice Lake Counterpart user manual

Cypress Semiconductor CYALKIT-E03 quick start guide
Cypress Semiconductor

Cypress Semiconductor CYALKIT-E03 quick start guide

Atmel ATSAMW25 Getting started guide

Atmel

Atmel ATSAMW25 Getting started guide
Rice Lake iDimension 100XL Assembly guide
Rice Lake

Rice Lake iDimension 100XL Assembly guide

Menuett 007729 operating instructions

Menuett

Menuett 007729 operating instructions
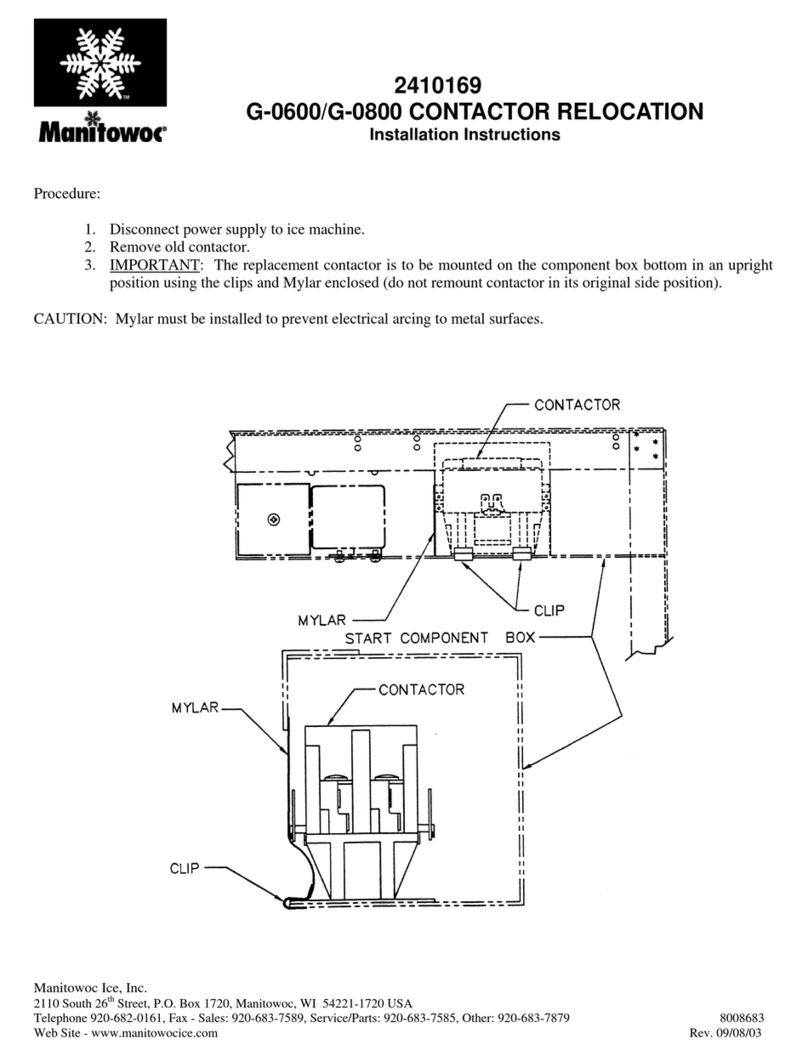
Manitowoc G-0800 installation instructions
Manitowoc

Manitowoc G-0800 installation instructions

SICK TiM2 Series operating instructions

SICK

SICK TiM2 Series operating instructions

LEGRAND Wattstopper LMPX-100 installation instructions

LEGRAND

LEGRAND Wattstopper LMPX-100 installation instructions

Cloogy RENEWABLES UPGRADE quick start guide
Cloogy

Cloogy RENEWABLES UPGRADE quick start guide

FUTABA GYA352 instruction manual

FUTABA

FUTABA GYA352 instruction manual

Lightolier CACP series Instructions for maintenance reference

Lightolier

Lightolier CACP series Instructions for maintenance reference

Proceq Zehntner ZG8150 Quick Start Guide & Product Certificates

Proceq

Proceq Zehntner ZG8150 Quick Start Guide & Product Certificates

manuals.online logo
manuals.online logoBrands
  • About & Mission
  • Contact us
  • Privacy Policy
  • Terms and Conditions

Copyright 2025 Manuals.Online. All Rights Reserved.