Megger Baker EP1000 User manual

Megger Limited
Archcliffe Road
Dover
Kent
CT17 9EN
ENGLAND
T. +44 (0)1 304 502101
F. +44 (0)1 304 207342
Megger GmbH
Obere Zeil 2 61440
Oberursel,
GERMANY
T. 06171-92987-0
F. 06171-92987-19
Megger USA - Valley Forge
Valley Forge Corporate Center
2621 Van Buren Avenue
Norristown
Pennsylvania, 19403
USA
T. 1-610 676 8500
F. 1-610-676-8610
Megger USA - Fort Collins
4812 McMurry Ave., Suite 100
Fort Collins, CO 80525
USA
T. 1 970 282 1200 or 1 800 752 8272
F. 1 970 282 1010
E. baker.sales@megger.com
Megger USA - Dallas
4271 Bronze Way
Dallas TX 75237-1019
USA
T 800 723 2861 (USA only)
T. +1 214 333 3201
F. +1 214 331 7399
USsales@megger.com
Megger AB
Rinkebyvägen 19, Box 724,
SE-182 17
DANDERYD
T. 08 510 195 00
E. seinfo@megger.com
Megger USA - Fort Collins
4812 McMurry Ave., Suite 100
Fort Collins, CO 80525
USA
T. 1 970 282 1200 or 1 800 752 8272
F. 1 970 282 1010
E. baker.tech-support@megger.com
Manufacturing Sites
Local Sales Office
This instrument is manufactured in the United Kingdom.
The company reserves the right to change the specification or design
without prior notice.
Megger is a registered trademark.
EP1000 71-028 EN V6 Installation Guide 02 2019
© Megger Limited 2019 www.megger.com
EP1000 71-028 EN V6 Installation Guide.indd 2 2/27/2019 1:55:04 PM

Baker EP1000
Dynamic Motor Link
Installation Guide
EP1000 71-028 EN V6 Installation Guide.indd 1 2/27/2019 1:55:05 PM

EP1000 71-028 EN V6 Installation Guide.indd 2 2/27/2019 1:55:05 PM

Contents
Safety and General Operating Information...................................................................5
General Safety Precautions ....................................................................................................... 5
Additional Safety Alerts ............................................................................................................ 5
Operational Safety Warnings.................................................................................................... 6
Installing the EP1000 .......................................................................................................7
Positioning Equipment ............................................................................................................. 7
Verify and Gather Needed Materials and Tools ....................................................................... 7
Verify that all needed materials are included in the package:....................................................... 7
Required Tools ............................................................................................................................ 7
Required Materials...................................................................................................................... 7
Choosing a Suitable Location for the EP1000.............................................................................. 8
Mounting the DB25 Panel Plug................................................................................................. 9
Current Transformer (CT) Connections ..................................................................................... 10
Voltage Bus Connections—Less Than the Maximum Rated Voltage ...................................... 12
Voltage Bus Connections—Greater Than the Maximum Rated Voltage ................................ 13
Electrical Connections................................................................................................................ 14
Verifying the Installation........................................................................................................... 14
Calibrating the EP1000 ....................................................................................................15
Voltage Connection Issues......................................................................................................... 16
Current Connections .................................................................................................................. 17
Automatic Calibration ............................................................................................................... 18
CT Mapping ................................................................................................................................ 20
Save EP Calibration .................................................................................................................... 21
EP Calibration Complete............................................................................................................ 22
Troubleshooting and Specifications ...............................................................................23
EP1000 Ratings ........................................................................................................................... 23
Environmental Specifications .................................................................................................... 24
Cleaning and Decontamination ................................................................................................ 24
Mounting Hole Template.................................................................................................25
DB25 Plate Hole Template ...............................................................................................27
www.megger.com 3
EP1000 71-028 EN V6 Installation Guide.indd 3 2/27/2019 1:55:05 PM

4 Baker EP1000 71-028 EN V6 Installation Guide www.megger.com
EP1000 71-028 EN V6 Installation Guide.indd 4 2/27/2019 1:55:05 PM

Safety and General Operating Information
General Safety Precautions
The general safety information presented here is for operating and service personnel.
NOTICE: If the equipment is used in any manner not specified by Megger the safety protection provided by the equipment may
be impaired.
Due to the wide diversity of machine applications, no attempt has been made here to list or review all potentially necessary safety
precautions. However, this manual includes special safety precautions applicable to using the EP1000.
WARNING: To prevent serious injury or death, ensure that cabinet source voltage is turned off for installation.
Because of the dangerous currents, voltages, and forces encountered safety precautions must be taken for all tests.
Follow all corporate guidelines along with those included here.
Use safety equipment required by your organization including eye protection, high-voltage gloves, arc-flash rated
masks, hoods and any required personal protective clothing. Prior to opening any Motor Control Cabinet (MCC),
ensure that appropriate arc-flash protection clothing is worn.
Ensure that appropriate lockout / tag-out procedures are properly understood and implemented by all personnel.
Ensure that the motor’s phase connections are not positioned near ground or near each other.
Table 1: Symbols and labels used on equipment
Symbol/Label Description
Earth (ground) terminal.
Warning about hazardous voltage and risk of severe electrical shock or
death.
Additional Safety Alerts
WARNING: The EP1000 must not be exposed to water or moisture, even with the cabinet securely closed. This
instrument is not water resistant with its door either open or closed. Do not allow the instrument to be exposed to
water, especially if the cabinet is open. Any water that comes in contact with electronics inside the instrument can
harm or destroy the device, and can also result in serious injury and/or death to people working in or around the
instrument.
www.megger.com 5
EP1000 71-028 EN V6 Installation Guide.indd 5 2/27/2019 1:55:05 PM

Safety and General Operating Information
CAUTION: This product conforms to UL/CSA 61010-1 up to a maximum voltage of 600VAC at 50/60Hz with a main
line voltage of 100–240VAC with a current draw of less than 2A. This product conforms to IEC/EN 61010-1 up to a
maximum voltage of 1000VAC at 50/60Hz with a main line voltage of 100–240VAC with a current draw of less than
2A.
Wherein this manual refers to the maximum input voltage, this maximum is determined by the applicable standards
for the environment where the unit is being installed as allowed by the Authority Having Jurisdiction (AHJ) as either
600V or 1000V. Under no circumstances should the voltage sensing circuit be connected to higher voltage levels.
This will cause severe damage to the instrument.
CAUTION
The maximum rating of the EXP4000 is 1,000 volts (500 volts for DC operation). 1,000 volts (500 volts DC
operation) is the maximum allowable voltage between any two of the four voltages and the ground clip. Under
no circumstances connect the voltage sensing circuit to higher voltage levels, this will cause severe damage to
instrument.
The maximum voltage rating of the EP1000 current transformers is 600 volts. Under no circumstances connect the
current sensors to circuits of any higher voltage, this may cause severe damage to the instrument.
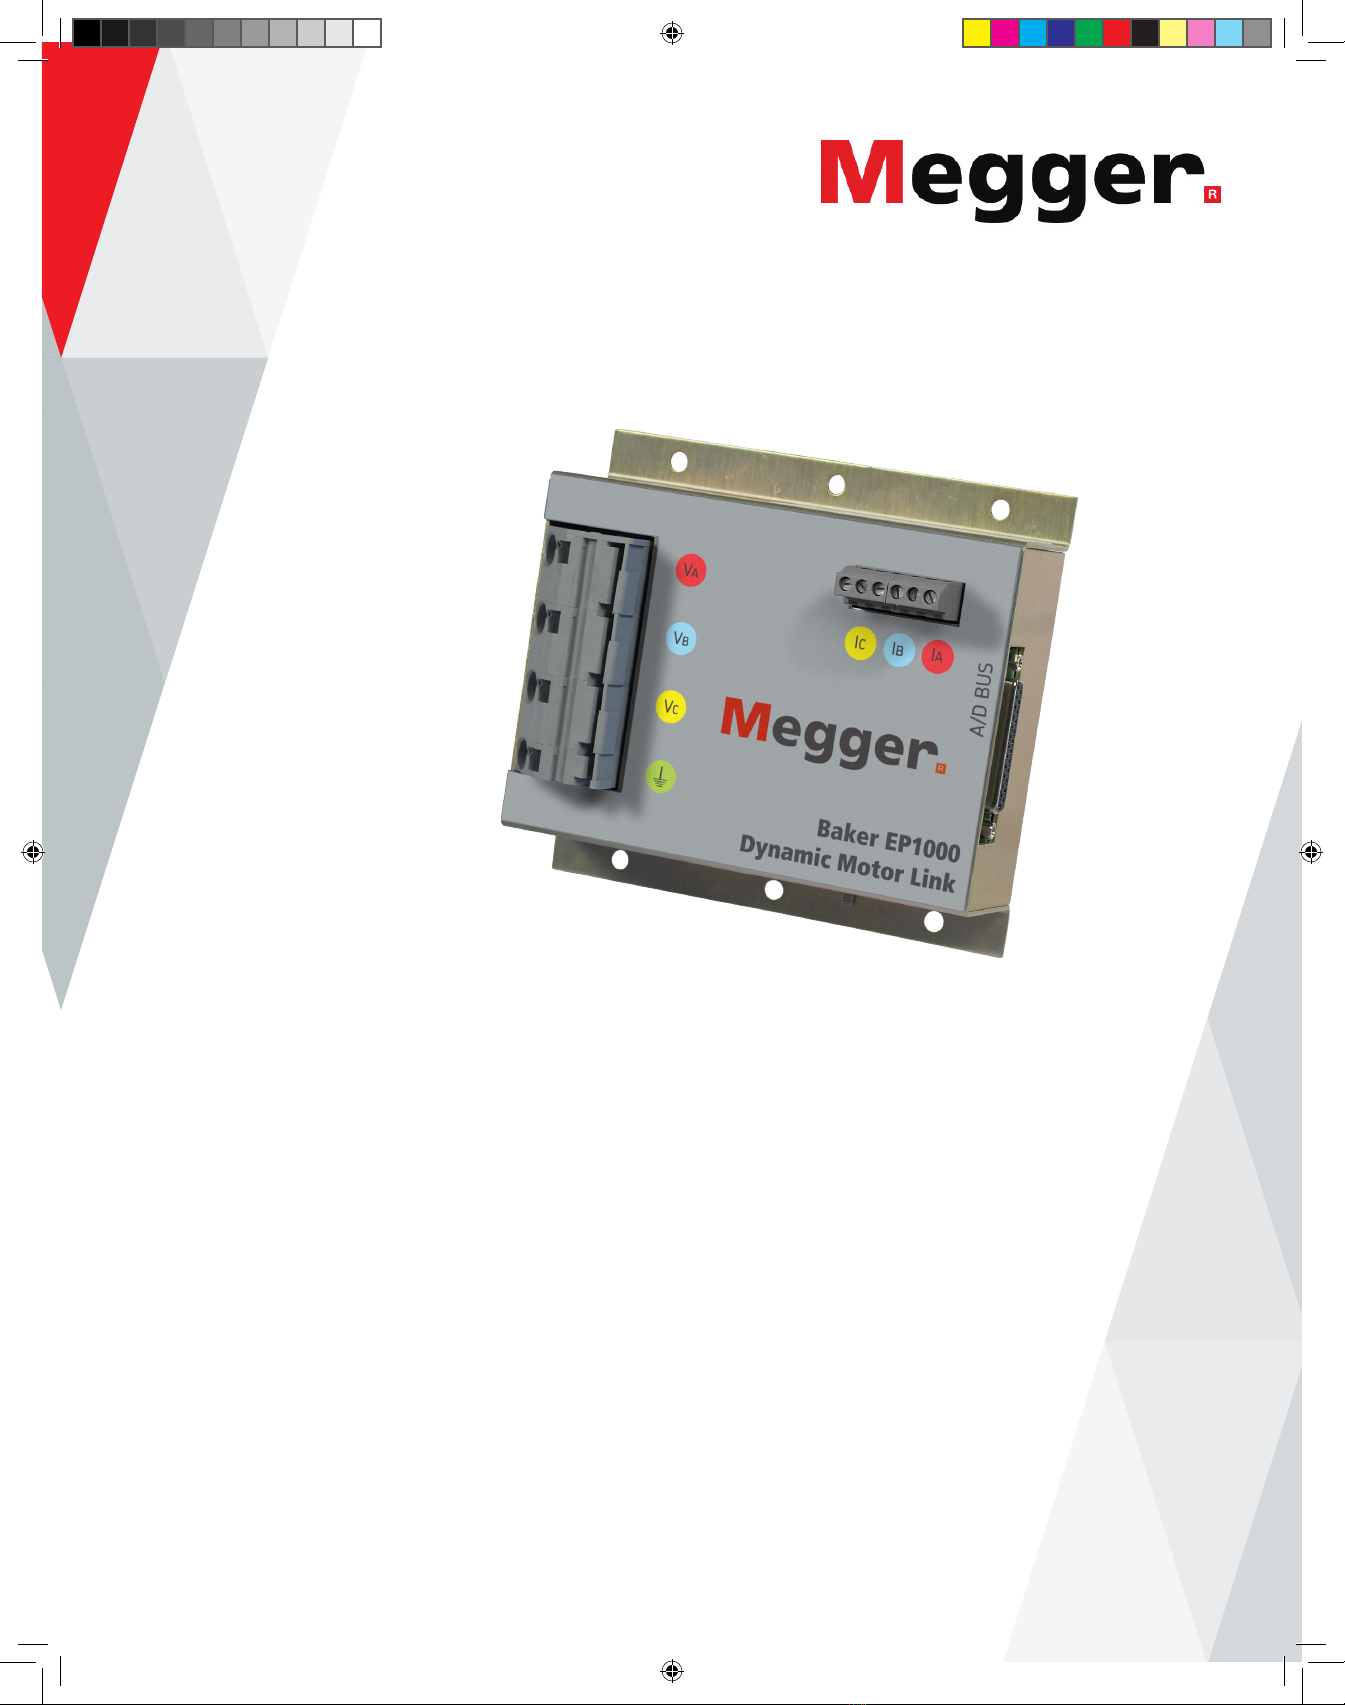
It is necessary that each EP1000 is provided three-phase voltage (not in excess of 1,000 V AC), and a good ground.
Some switchgear installations will require this voltage to be wired from the bus cabinet to each cabinet being
outfitted with an EP1000. For motors rated at voltages higher than 1,000 V AC, secondary output voltage from the
PTs are acceptable provided that all three phases are present as line-to-line voltages, and are lower than 1,000 V AC.
Operational Safety Warnings
Any installer or operator of this equipment must adhere to the following safety precautions:
Comply with all of your organization’s mandated safety practices at all times.
Ensure that the physical setup of the EP1000 unit does not interfere with site (or facility) power current or adversely
impact any site operations.
To avert or avoid dangerous shock hazards:
1. Use all mandated safety equipment required of your organization for performing installations of electrical equipment,
including eye protection, high voltage gloves, arc-flash rated masks, hoods and any required personal protective clothing
(PPC).
2. Ensure that the site organization’s appropriate lockout /tag-out procedures are properly understood and implemented by all
personnel involved in this installation.
3. Ensure each rotating system to be monitored IS POWERED DOWN (OFF) and inoperable before installation of this instrument
begins. Each and every connection at the motor control center (MCC) must be connected ONLY when the rotating system is
powered down/off and inoperable.
4. Ensure that phase connections are made such that they prevent phase-to-phase or phase-to-ground shorting.
5. Install an external disconnect switch for AC power to the EP1000 (this is required). This disconnect switch should be within
three feet of the EP1000’s permanent mounting position. This is necessary because there is no internal fusing or disconnect
for AC power with the EP1000.
6 Baker EP1000 71-028 EN V6 Installation Guide www.megger.com
EP1000 71-028 EN V6 Installation Guide.indd 6 2/27/2019 1:55:05 PM

Installing the EP1000
Positioning Equipment
Maintain a clearance of 36 inches in front of the EP1000 to allow for opening the door for installation/removal of internal
components, and for maintenance and connections. The EP1000 does not require any additional air to keep the unit cool, so
airflow at the mounting location is not of concern.
Do not position equipment in such a way that it is difficult to operate the power disconnection device(s).
WARNING: To prevent serious injury or death, ensure that cabinet source voltage is turned off for installation. Read
all safety and precautionary information provided in the previous chapter before proceeding.
Verify and Gather Needed Materials and Tools
Verify that all needed materials are included in the package:
EP1000
Three current transformers (CTs)
MCC cable
Template for EP1000 enclosure mounting
Required Tools
Small flathead screwdriver
Pencil or felt-tip pen
Phillips screwdriver
Hand drill and set of drill bits
Greenlee 2-1/2” punch
Required Materials
Mounting hardware:
Four 5/32 4mm aluminum rivets
One 8/32 nylon insert nuts
Six #8 self-drilling metal screws
EP1000 drill-hole template
DB25 Connection MCC wall hole template
DB25 Connection MCC wall fixture back plate
Switchboard wire, SIS #14, 1,000 V
Wire lugs, 14-16 AWG, #8
Splice sleeves 14-16 AWG
7-inch cable ties
Wire, #14, 1,000 V (green; ground connection)
Control cable, 3/C #14 AWG, 1,000 V, EPR/CPE
Tag book, ABC (T&B)
Fuse block (PT) 1,000 V/2 Amp
www.megger.com 7
EP1000 71-028 EN V6 Installation Guide.indd 7 2/27/2019 1:55:05 PM

Installing the EP1000
Choosing a Suitable Location for the EP1000
The EP1000 may be mounted in a variety of locations as long as the following criteria are met.
The EP1000 must be installed in a cabinet or enclosure that is secured with a tool or key lock.
Voltage and current lines can be easily and safely run to the EP1000 in accordance with applicable electrical codes.
The MCC cable can reach the cabinet door, and the movement of the door is not restricted.
The EP1000 does not interfere with or complicate the mechanical operation of the cabinet (i.e. doors opening, terminal
blocks covered, slide rack interference).
The physical location of the EP1000 does not cause an electrical, environmental, or safety hazard.
An earth ground from the motor cabinet to the EP1000 ground stud is installed.
The EP1000 may be affixed to the interior of the cabinet by any means deemed appropriate; however, it is recommended
that a positive mounting system such as metal screws be utilized.
A mounting template is supplied with the EP1000 for the enclosure, along with self-tapping metal screws.
The actual template (found at the end of this guide) is a 1:1 representation of the EP1000 enclosure. It an be used for location
assessment and mounting hole placement.
When the location is decided:
1. Mark the mounting holes from the template to the cabinet.
2. Remove the template.
3. Drill the mounting pilot holes.
The EP1000 enclosure may now be mounted to the cabinet with the screws provided.
Fig 1: Representation of EP footprint and mounting dimensions (in inches).
8 Baker EP1000 71-028 EN V6 Installation Guide www.megger.com
EP1000 71-028 EN V6 Installation Guide.indd 8 2/27/2019 1:55:06 PM

Installing the EP1000
Mounting the DB25 Panel Plug
Mount the DB25 panel plug on the cabinet door. The location should be easily accessible from the outside of the cabinet,
providing the user with an easy and obvious hookup scheme. When the actual location is decided:
1. Mark the center hole to the cabinet.
2. Drill the center hole.
3. Remove the center cutout using appropriate means (for example, a 2.5-inch Greenlee-style punch or hole saw).
4. When the cutout is removed, place the plug over the hole and mark the four mounting holes.
5. Remove the plug, and drill the four outer mounting holes.
6. Mount the plug and the back plate.
7. Provide strain relief for the cabling attached to the panel plug.
Fig 2: DB25 connection plate hole dimensions.
NOTE: In the figure above, all dimensions are specified in inches. A template is provided at the end of this guide.)
The DB25 template provided with this device is for a 2.5-inch diameter hole cut into the MCC wall (as an option to using a
Greenlee 2.5-inch punch). This is required to accommodate the through-wall dimensions of a DB25 connector at one end of the
cable that connects to the EP1000 inside the cabinet.
www.megger.com 9
EP1000 71-028 EN V6 Installation Guide.indd 9 2/27/2019 1:55:06 PM

Installing the EP1000
Current Transformer (CT) Connections
1. Place the supplied CTs on the three voltage feeds to the motor.
2. Place CTs on the load-side of line protection devices (circuit breakers). Ensure that the dots (or arrows) on the CTs point
toward the load (motor). Red is phase A, blue is phase B, and yellow is phase C.
3. CTs should be installed on the output of existing CTs in the system for all motors operated at voltages above 600V. Check
that the output of the secondary is less than or equal to the CT’s rating.
4. Ensure that there is enough wire length to connect to the EP. If installed CTs are used, be sure to note the ratio because this
information will be needed when creating a motor ID.
Fig 3: Current transformer options: 5A, 50A, and 200A (solid core).
10 Baker EP1000 71-028 EN V6 Installation Guide www.megger.com
EP1000 71-028 EN V6 Installation Guide.indd 10 2/27/2019 1:55:06 PM

Installing the EP1000
Fig 4: Current transformer options: 5A (legacy solid core) and 50A (legacy solid core).
Fig 5: Current transformer options: 200A (legacy solid core) and 200A+
(current split core products).
www.megger.com 11
EP1000 71-028 EN V6 Installation Guide.indd 11 2/27/2019 1:55:06 PM

Installing the EP1000
Voltage Bus Connections—Less Than the Maximum Rated Voltage
Connect three-phase voltage to the EP1000 after it has been installed.
Installing a fuse block near the EP, connected in-line between the EP1000 and the voltage source, is recommended.
Ensure that there is enough wire length to connect to the EP1000.
In either of the following connections, connect the EP-to-MCC cable to the DB25 of the EP1000.
Panel mount the other end of the EP-to-MCC cable to the exterior or the MCC.
Fig 6: Voltage bus and CT connections for systems < maximum rated voltage.
Using this configuration, if you plan to do static testing on your motors (such as using a Baker AWA or DX tester), you must
modify the installation. As shown in the diagram above, the EP1000 would be “in circuit” for the HiPOT test. This is problematic
because:
The maximum allowable input voltage for EP1000 is 1000V—this causes a low
HiPOT test reading.
The EP1000 2 MOhm per phase input impedance will make the HiPOT test fail.
To address these issues, you will need to remove the EP1000 voltage inputs from the circuit for HiPOT testing. This should be
accomplished using a disconnect mechanism that best applies to your specific installation.
12 Baker EP1000 71-028 EN V6 Installation Guide www.megger.com
EP1000 71-028 EN V6 Installation Guide.indd 12 2/27/2019 1:55:06 PM

Installing the EP1000
Voltage Bus Connections—Greater Than the Maximum Rated Voltage
CAUTION
On motors with input voltages higher than the maximum rated voltage, it will be necessary to make the connection
after a power transformer (PT) located between the voltage source and the EP1000.
Fig 7: Voltage bus and CT connections for systems > maximum rated voltage.
For medium and high-voltage motors, connect voltage inputs to phase transformers (PTs) as shown in the figure above. Connect
three phases to the hot secondaries (120 volts typical) and to the ground respectively.
For medium and high-voltage motors or bus voltages greater that 600 volts, use Megger current transformers (CTs) to monitor
the secondary of the CTs (5 amps typical) in the MCC.
For monitoring VFD motors, make the electrical connections between the motor and the output of the VFD.
www.megger.com 13
EP1000 71-028 EN V6 Installation Guide.indd 13 2/27/2019 1:55:06 PM

Installing the EP1000
Electrical Connections
WARNING: To prevent serious injury or death cabinet voltage must be de-energized for installation.
After the EP1000 has been mounted, CTs have been installed, and three-phase voltage lower than the maximum rated voltage is
made available, you can make the electrical connections.
1. Connect the three CT twisted pairs to the EP1000 current terminal block corresponding to the appropriate phase, marked Ia,
Ib, and Ic (from right-to-left); white wire on the right and black wire on the left for each phase. Tightening torque is 0.5 N-m.
2. Using a flat-bladed screwdriver to open the clamp connectors on the terminal block, connect the three voltage leads to the
EP1000 voltage terminal block corresponding to the appropriate phase marked Va, Vb, and Vc.
3. Connect a ground to the ground position of the voltage plug.
4. Connect the MCC ground to the ground stud on the EP1000 enclosure.
CAUTION: Make sure that the voltage wiring for each phase is completely captured by its corresponding phase in
the EP1000 voltage plug (that is, no wire strands should poke out).
5. Connect the MCC cable (the end opposite the panel plug) to the A/D Bus DB25 receptacle of the EP, and secure in place with
the captive screws.
6. Provide strain relief for all current wiring, voltage wiring, and the DB25 cabling at the EP1000 enclosure.
Verifying the Installation
1. Turn power on to the cabinet.
2. Connect an umbilical cable between the EXP4000 and the EP1000 panel plug.
3. Open the EXP4000 software and create a new motor id.
4. Set sensors switch to EP1000 position.
5. Click on the Run Electrical button in the EXP4000 user interface.
14 Baker EP1000 71-028 EN V6 Installation Guide www.megger.com
EP1000 71-028 EN V6 Installation Guide.indd 14 2/27/2019 1:55:06 PM

Calibrating the EP1000
Connect the EXP4000 to both the portable sensors and to the EP1000 to be calibrated. The EXP4000 calibration wizard is used
to complete the process.
1. To launch program, select Calibrate EP then click Next.
Fig 8: EP calibration software welcome screen.
2. Voltage, load, and frequency all must be constant as well. A warning will appear to inform you of this as shown in the
example below. If these criteria are met, click OK; otherwise click Cancel.
Fig 9: Voltage, load, frequency warning.
3. Use the drop-down menu to select the specific CTs being used to calibrate the EP then click Next.
www.megger.com 15
EP1000 71-028 EN V6 Installation Guide.indd 15 2/27/2019 1:55:06 PM

Calibrating the EP1000
Note: Default tolerances applied to the EP during calibration can be changed, but this is not recommended except in rare cases.
Fig 10: Calibration settings.
Voltage Connection Issues
The portable voltages have to be connected in the same sequence as they are to the EP. The red (portable voltage sensors) and
blue (EP voltage sensors) phasors must be aligned. If they are not aligned (as shown in the example below) the angle of the
offending phase will be red.
Fig 11: Voltages not connected properly.
16 Baker EP1000 71-028 EN V6 Installation Guide www.megger.com
EP1000 71-028 EN V6 Installation Guide.indd 16 2/27/2019 1:55:06 PM

Calibrating the EP1000
When all the voltages are connected properly, the Next button will be enabled as shown below.
Fig 12: Voltages connected properly.
Current Connections
CTs must be connected in the same phase and direction as the EP CTs. If the EP CTs are not properly connected, you may not
receive a standard phasor diagram (as shown below).
Fig 13: Improper CT connection.
www.megger.com 17
EP1000 71-028 EN V6 Installation Guide.indd 17 2/27/2019 1:55:06 PM

Calibrating the EP1000
In this case, the portable current phasors must be aligned with the EP current phasors, as shown in the following example.
Fig 14: Proper CT connections (Phase B is inverted).
Automatic Calibration
When the voltages and currents are aligned, the EP can be calibrated. This requires that the voltage, load, and frequency remain
constant. The values of the portable sensors will be compared to the values read from the EP, and new calibration constants will
be calculated.
The error resulting from the next comparison will be compared to the settings configured earlier. If these values are out of range,
a red X indicating that the calibration was unsuccessful will appear as shown in this example.
Fig 15: Calibration being calculated; red Xs indicate issues.
18 Baker EP1000 71-028 EN V6 Installation Guide www.megger.com
EP1000 71-028 EN V6 Installation Guide.indd 18 2/27/2019 1:55:06 PM

Calibrating the EP1000
The calibration is iteratively calculated so it may take some time to converge. When the calibration is successful, green check
boxes will appear next to each of the values. The software will then automatically continue to the next stage.
Fig 16: Calibration is successful, and being verified.
www.megger.com 19
EP1000 71-028 EN V6 Installation Guide.indd 19 2/27/2019 1:55:06 PM
Table of contents
Popular Industrial Equipment manuals by other brands

Akron
Akron 3430 Installation, Operating and Maintenance Instructions for the Installer and the User

Hasler
Hasler HJOG 100 operating guide

Mayr
Mayr EAS-smartic 484.XX5 Series Installation and operational instructions

VAHVA
VAHVA C Series Operating and safety manual

SCHUNK
SCHUNK ROTA NCK plus Assembly and operating manual

Cirs
Cirs 054GS user guide

Rockwell Automation
Rockwell Automation Discrete Machine Performance Solution user guide

Loveshaw
Loveshaw LITTLE DAVID CAC60 Series owner's manual

Dungs
Dungs GasMultiBloc MB-D B01 Operation and assembly instructions

Alpha
Alpha DCX Series Installation and operation manual

MVP
MVP MLM-2000-PUL Operation manual

ABB
ABB HT843217 Operation manual