1-833-454-0864
7
LP CYLINDER FILLING
SAFETY HOSE AND REGULATOR
• Use only licensed and experienced dealers.
• Ensure that the dealer checks and tests the tank for leaks after filling.
• LP dealer must purge new cylinder before filling.
• Dealer should NEVER fill LP cylinder more than 80% of LP cylinder volume. Volume of propane in cylinder will
vary by temperature.
• Do not release liquid propane (LP) gas into the atmosphere. This is a hazardous practice.
• To remove gas from LP cylinder, contact an LP dealer or call a local fire department
for assistance.
Your griddle is designed to operate on LP gas at a pressure of 2.74Kpa (11”
water column). A regulator preset to this pressure is supplied with your Griddle.
SAFETY FEATURES of QCC-1 Quick Closing Coupling.
All models are designed to be used with an LP gas cylinder equipped with the
new QCC-1 Quick Closing Coupling system.
The QCC-1 System Incorporates SAFETY FEATURES required by the
Canadian Standards Steering Committee.
1. Gas will not flow until a positive connection has been made.
2. A thermal element will shut off the flow of gas between 240 degrees F and
300 degrees F. This may result in a melted regulator hose.
3. When activated, a Flow Limiting Device will limit the flow of gas to 10 cubic feet per hour.
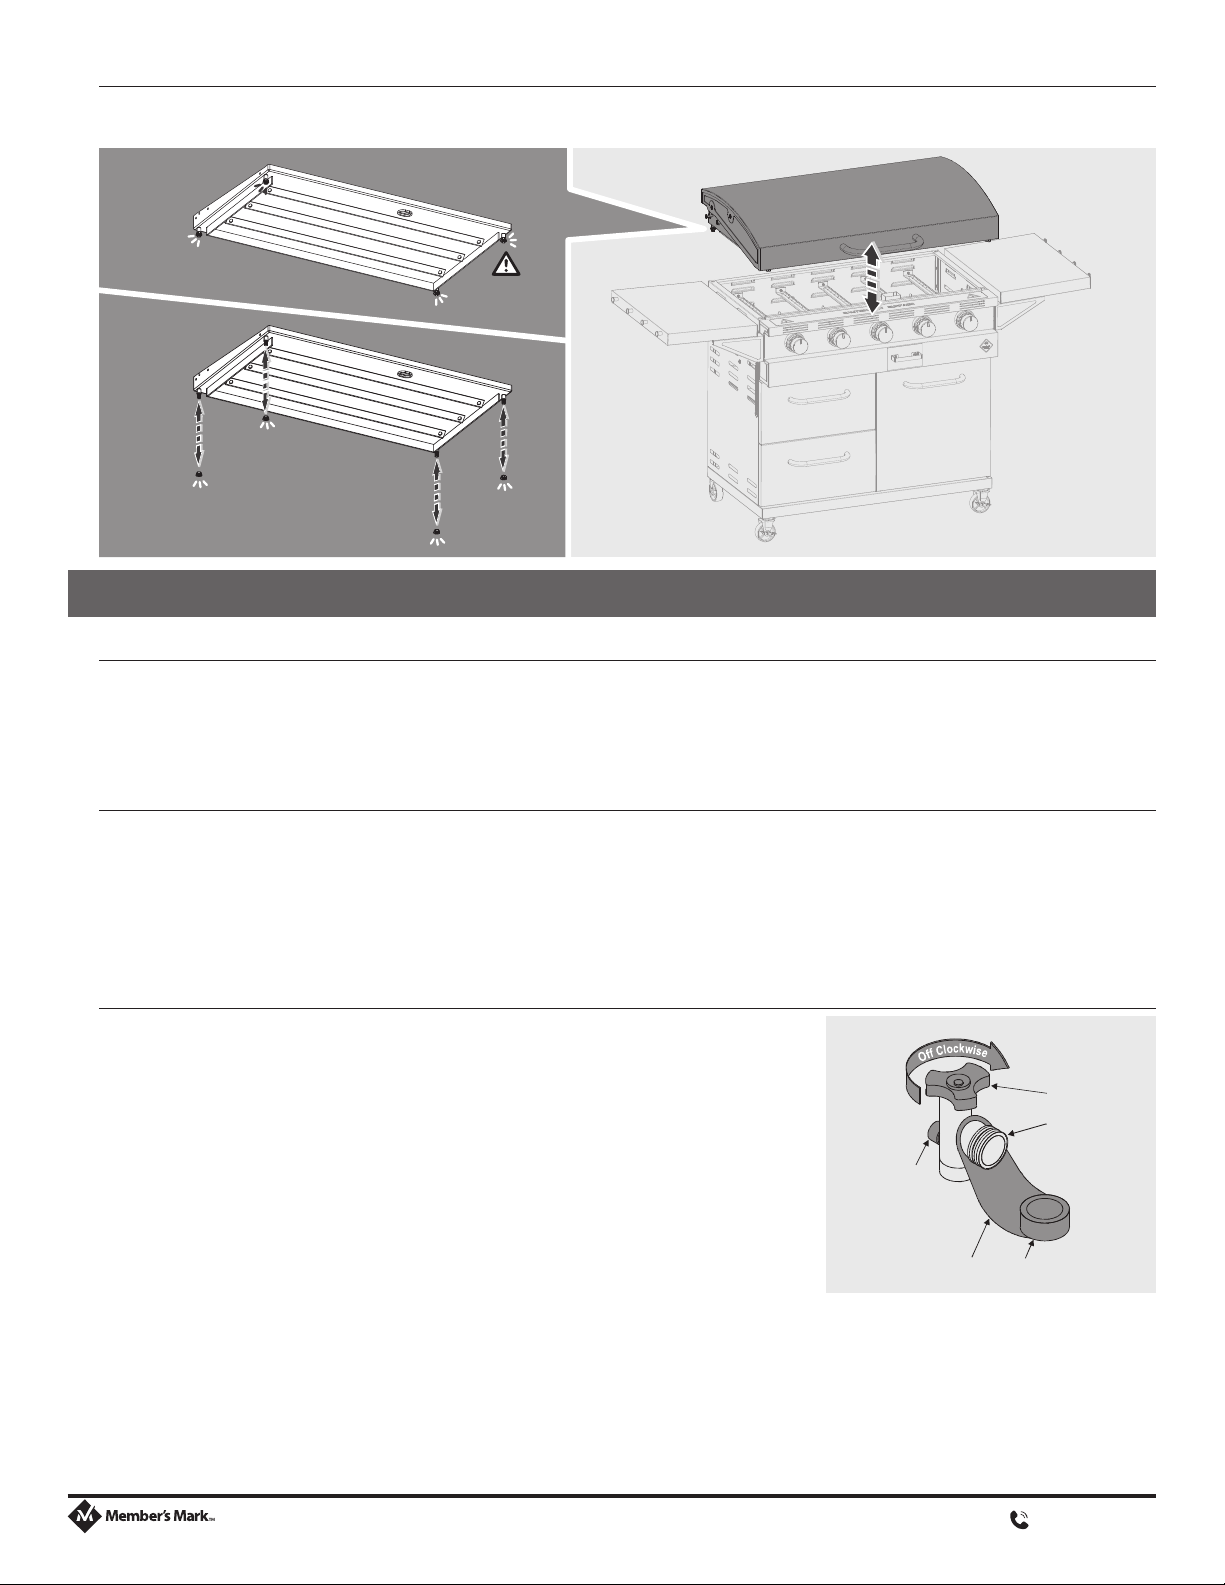
Connecting Regulator to the LP Cylinder
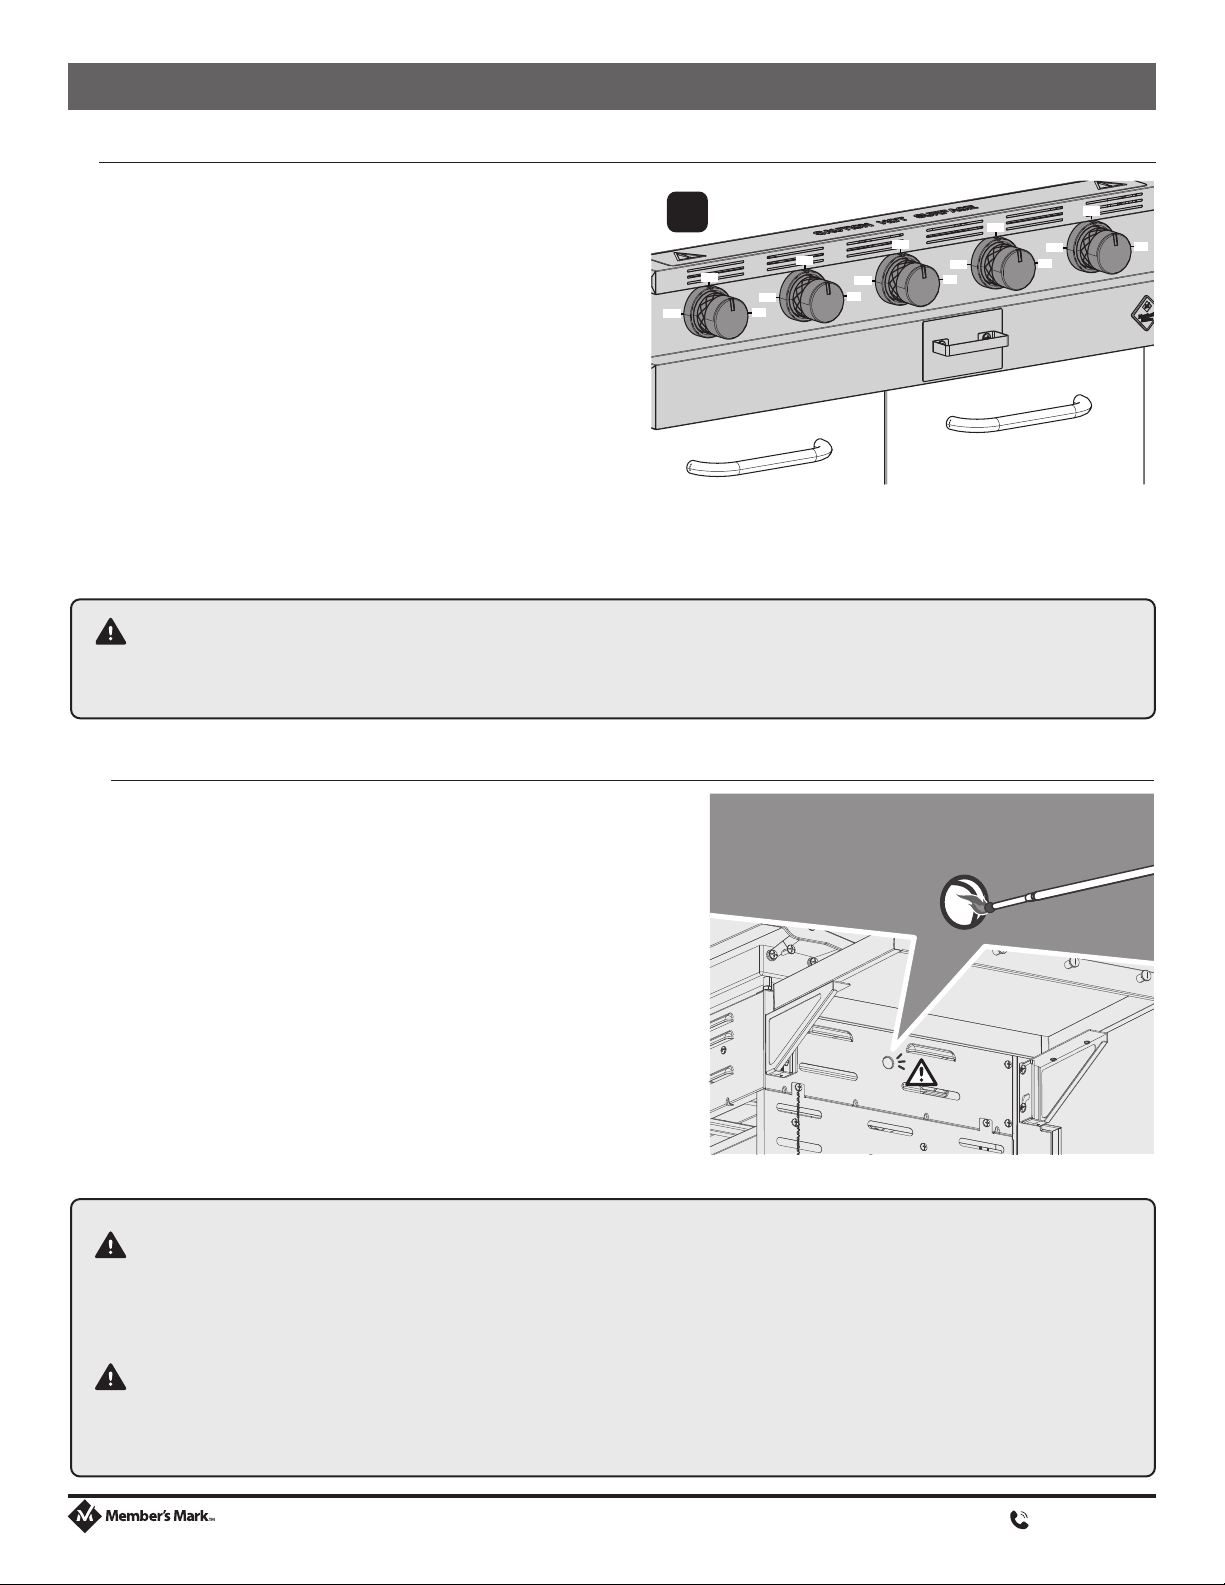
1. Turn all control knobs to the “OFF” position.
2. Turn LP cylinder “OFF” by turning hand-wheel clockwise to a full stop.
3. Remove the protective cap from LP cylinder valve. Always use cap and strap
supplied with valve.
4. Hold regulator and insert nipple into LP cylinder valve. Hand tighten the
coupling nut. Hold the regulator in a straight line with LP cylinder valve so as
not to cross-thread the connection.
5. Turn the coupling nut clockwise and tighten to a full stop. The regulator will
seal on the back-check feature in the LP cylinder valve, resulting in some
resistance.
WARNING
If the above instructions are not completely adhered to, it could cause a re/explosion, resulting in death or
serious Injury, or property damage.
CAUTION
A frosty regulator indicates gas overll. Immediately close LP cylinder valve and call local LP gas dealer for
assistance.
Nipple has to be centered
into the LP cylinder valve.
Regulator
Heat sensitive hand wheel
Nipple with flow limiting device
Hold coupling nut
and regulator as
shown for proper
connection to
LP cylinder valve.
Shut off valve
Check
valve