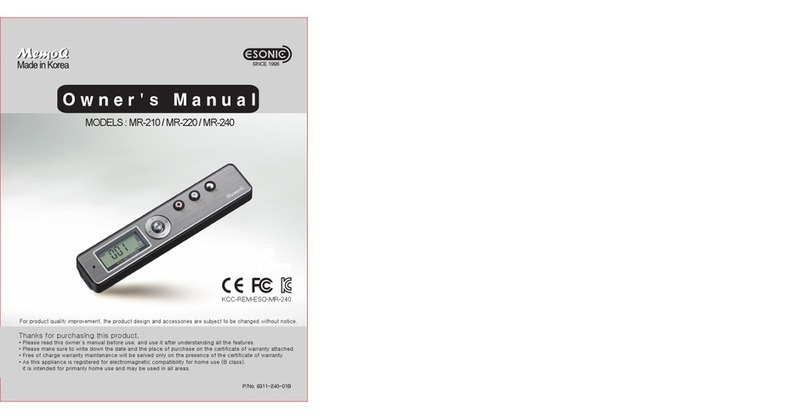
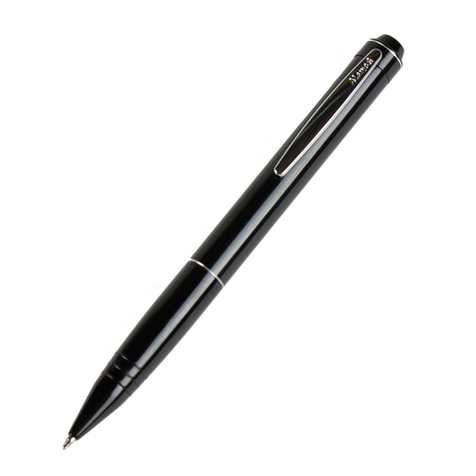
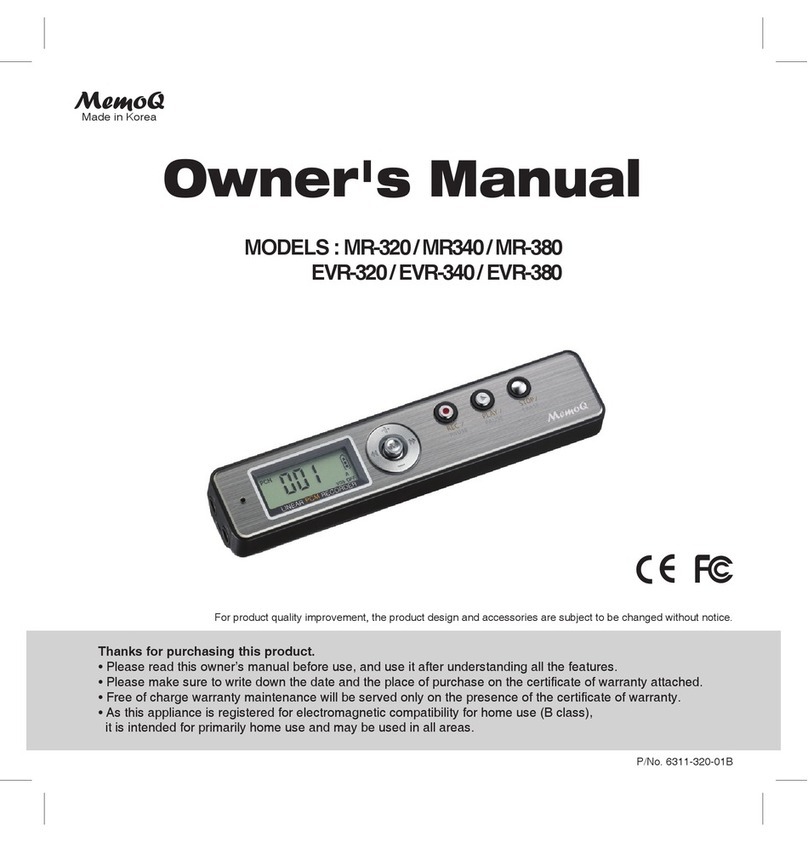
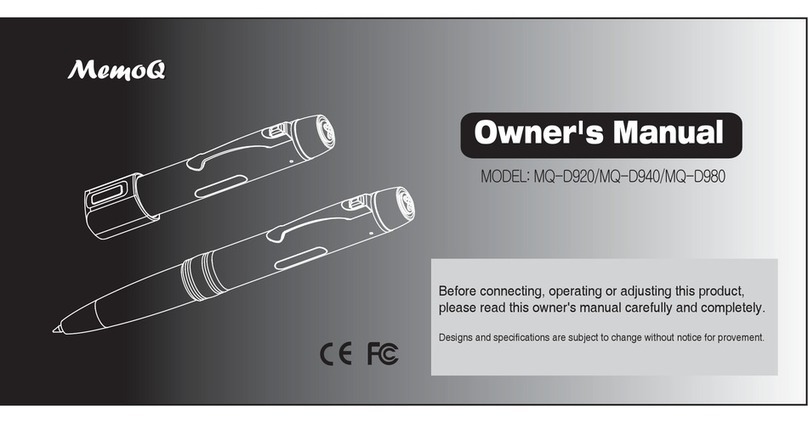
Memoq MR-710 User manual

Owner's Manual
MODELS : MR-710 / MR-720 / MR-740,
EVR-710/EVR-720/EVR-740
Before connecting, operating or adjusting this product,
please read this owner's manual carefully and completely.
Designs and specifications are subject to change without notice for improvement.
www.esonic.co.kr
Made in Korea
Digital Voice Recorder

2
Features
*Smallest micro recorder in the world (made in Korea)
*Recording the mobile or wired phone call (no auxiliary tool needed)
*
Combined use of both charging and normal battery (compact battery pack)
*Continuous recording for 3 days (unified battery pack with no wire)
*
Continuous recording for 23 days (via the USB adapter, MR-740/EVR-740 Model)
*Built-in graphic LCD (possible to display the title of the recorded file)
*File browsing (built-in navigation)
*USB 2.0 memory disc automatically recognized (Auto Plug-in & Play)
*Music recording XHQ mode (frequency characteristics 120Hz~10kHz)
*MP3 encoded recording (best compatibility)
*
Setting the microphone sensibility (1m for interview, 4m for meeting, 8m for long distance)
*
Powerful automatic level control (ALC, long-distance recording within 8m)
*Built-in Voice Operation System (VOS)
*Built-in hi-fidelity micro speaker
*Repeated play (OFF, 1, ALL, FOLDER) essential for language learning
*Play speed control (5 steps: ±20%, ±10%, Standard)
*
Powerful equalizer (EQ: ROCK, HOUSE, DANCE,
JAZZ, BALLAD, R&B, CLASSIC, FLAT)

3
Table of Contents
Safety note.............................................4
Denomination of each part...........5
Explanation of LCD screens........6
Preparation (charging)...................6
Using the auxiliary battery pack......7
Initialization (RESET)...........................7
Using the DC power supply...........8
Turning on/off the power.............9
Selecting the play mode
(VOICE/MUSIC)...................................9
Recording..............................................10
Checking the recording time....10
Setting the microphone
sensitivity..............................................11
Playing the recorded file..........12
Controlling the play speed......12
Volume control.................................13
Uploading/downloading files..13
Browsing folder/file.....................14
Setting the mode...............................15
ERASE (deleting the file)...............16
Setting the EQ
(playing characteristics)............16
Setting the REP
(repeated playing)............................17
Setting the MIC (microphone)
sensitivity..............................................17
Setting the (recording) mode...18
Setting the automatic level
control (ALC).......................................18
Selecting the LCD..............................19
Setting the voice operation
system (VOS).......................................20
Setting the REC (recording)
operation..............................................20
Selecting the recording folder....21
Formatting............................................21
Exiting from the mode setting.........22
Assembling/disassembling
the clip..................................................22
Connecting the strap....................22
Recording the mobile phone call......23
Recording the normal phone call....23
Specifications......................................24

4
Safety note
• This manual is for preventing the user and his/her property from being
damaged, so please read it thoroughly before using.
• We are not responsible for the loss from using this product and the
claim by the third party.
• We are not responsible for the damage from the loss of the recorded
contents due to failure, repair and other reasons.
• We recommend you to save the important recorded contents at the
computer immediately.
• The illegal usage is prohibited.
Caution and warning for the main body
Warning
•
Do not disassemble or modify the main body, which causes fire or failure.
• Listening via the earphone for a long time may hurt your hearing ability.
• Do not use this product at too low/high temperature. The condensation
by the electric leakage may cause fire or failure.
• Do not leave this product at the location exposed to water or oil. It may
cause fire or failure.
Caution
• Shocking or dropping the product may cause the failure.
•
Do not use alcohol, benzene or thinner to clean the surface of the product.
• Do not use the earphone to listen to music or operate the product while
driving or walking. It may cause the traffic accident.

5
Denomination of each part
1. Record button
2. Power/Play button
3. LCD
4
.
Jog (mode) button
5. Built-in speaker
6. Microphone
7. USB port
8
. Earphone connector
9. Clip
10. Main body
11. Strap
12. Battery pack

6
Explanation of LCD screens
Preparation (charging)
• The charging battery is built in this product.
•
This product should be charged by connecting the USB cable to the PC USB port or the USB
DC adapter. (about 2 hours for the full charge)
•
It may be charged by the auxiliary battery pack. Four “AAA type” batteries should be used for the pack.
•
When connecting the auxiliary battery pack, playing and recording can be simultaneously
performed while charging the batteries.
•
The charging status can be checked by the LCD display with the power turned on.
•
When the USB is not recognized, it is necessary to reset the product.
Caution – When the batteries are discharged, the power is not turned on. So, it is necessary to charge.
When recording VOICE ready display When playing
MUSIC ready display When playing music
Search mode (1) Search mode (2)
Fully
charged
Partially
discharged
Almost
discharged
Completely
discharged
Recording display Recording time
Music file name
Folder level Folder leverFolder Music file
Music playing Playing time
MUSIC Mode
Folder name Music file name
Record/Play Playing time
Microphone sensitivity
Folder
Recorded file name Remaining battery

7
Caution
• When removing the auxiliary batteries, hold the speaker of the product, and then remove them slightly.
Using the auxiliary battery pack
•
The auxiliary battery pack is useful when it is not possible to use the external power supply due
to business trip or travel.
•
After inserting batteries into the auxiliary battery pack, connect the product to charge.
•
The charging status can be checked on the LCD with the power turned on.
•
Playing and recording can be simultaneously performed while charging the auxiliary battery pack.
•
The auxiliary battery pack can be used to perform the long-time recording (continuously about 3
days/HQ mode).
Initialization (RESET)
•
It can be initialized by pressing ‘PLAY’ button and ‘REC’ button at once.
•
It should be initialized when it is not possible to recognize the USB, to charge or to operate.
•
When initializing is completed, the power is turned off. So, press and hold the PLAY button for 3
seconds or longer to turn on.
Caution
•
When it is initialized while recording, the recording contents is not saved and lost.
<After connecting the pack> <After connecting the batteries>
Disassemble
Disassemble
Assemble
Assemble

8
Using the DC power supply
•
The product can be continuously operated while charging with the external power supply (DC
adapter).
1. Using the PC USB port power supply
•
Connect the PC USB port and the product via the USB cable.
•
With the USB port connected, is displayed.
At this time, perform ‘Safely disconnecting the H/W’.
It is changed to after a while.
•
Press and hold the PLAY button for 3 seconds or longer to switch to the
OPERATION mode, and it is possible to perform playing or recording
while charging.
•
It is not possible to upload/download files while being operated via the PC USB power.
•
After disconnecting and then connecting the USB cable to the product, it is switched to the USB
connection mode to upload/download files.
2. Using the USB DC adapter (5V) power
•
Connect the USB DC adapter connector to the product via the USB cable.
•
After pressing and holding the PLAY button for 3 seconds or longer to switch to the operation
mode, it goes to the ready (stopped) state which enables playing or recording while charging.
<‘Safely disconnecting the H/W’ screen>
Safely disconnecting the H/W

9
Turning on/off the power
•
When you press and hold the PLAY button for 3 seconds or longer, “MemoQ” is displayed at
the LCD and then disappears, and it moves to the finally played file at the folder and gets
being ready.
•
Pressing and holding the PLAY button for 3 seconds or longer while playing turns off the power.
•
When it lasts 3 minutes or longer at the ready state, the power is automatically turned off.
Selecting the play mode (VOICE/MUSIC)
•
At the ready state, pushing and holding the job button for about 3 seconds switches from
MUSIC mode to VOICE mode or from VOICE mode to MUSIC mode.
•
At the MUSIC mode, it plays the music
file within the “MUSIC” folder.
•
At the VOICE mode, it plays the recorded
file within the “VOICE” folder.
Caution
1) It is possible to play the files within “MUSIC”, “VOICE” folder or the subfolder only.
2) “MUSIC” or “VOICE” folder is not displayed at the LCD of the product, but it displays the folder at
the lower level.
<Initial folder tree>

10
Recording
•
When pressing the REC button for 3 seconds or longer with the power turned off,
the power is turned on and recording starts immediately.
•
With the power turned on, pressing the REC button starts recording.
Pressing the REC button while recording pause recording.
•
The recorded file type is “mp3” and the file is saved at the selected folder.
•
The files are sequentially saved at the selected folder starting from A-R001.mp3.
(Pausing within 3 seconds after recording does not save the recorded contents and stops.)
•
At the initial recording mode (see “Mode setting”), it is set as “Microphone sensitivity 4m”.
Caution
1) Long-time recording is automatically split and saved by 10-hour, which makes it easy
to upload / download, play, search and manage files.
2) After 999 files are created at one folder, the next file is automatically moved to and saved
at the next folder.
Checking the recording time
.
•
At the stopped state, pushing and holding the button to (+) direction for 3 seconds or
longer displays the recording time of the selected file at the LCD for 3 seconds.

11
Setting the microphone sensitivity
•
The microphone sensitivity can be set during recording or at the mode setup.
•
During recording, pushing and holding the button to the (+) direction for 3 seconds or longer
increases the microphone sensitivity by the order of 1m-4m-8m while pushing and holding the
button to the (-) direction for 3 seconds or longer decreases the microphone sensitivity by the
order of 8m-4m-1m
•
The set microphone sensitivity can be checked at the LCD.
•
Set and use the sensitivity suitable to the distance of the sound source to record.
Setting the
sensitivity
Microphone
sensitivity 1m
Microphone
sensitivity 4m
Microphone
sensitivity 8m
Example
Loud voice Mid tone
“Small voice,
long-distance
recording”
Interview “Talk, music, lecture” “Auditorium,
convention, office"
Music Mobile phone call Normal phone call
ALC setup Possible to set
ON/OFF
Possible to set
ON/OFF Fixed to ALC ON
Caution
1) Recording sound depends on the amplitude of the sound source.
2) Nearer sound source and shorter microphone distance can give the less noise.
3) When the microphone sensitivity is set to 8m, the ALC function is always set to ON
to prevent the sound distortion due to the over-input.
Mic. sensitivity

12
Playing the recorded file
•
The play mode should be set as VOICE for playing the recorded file.
•
At the ready state, pressing the PLAY button starts playing.
Pressing the PLAY button toggles between pausing and playing.
•
While pausing or playing, pushing the jog button to Previous ( ) or Next ( ) direction moves
to the previous or next file within the selected folder.
•
While playing, pushing and holding the job button to Previous ( ) or Next ( ) direction
for 2seconds or longer performs the fast searching.
•
It plays via the earphone or the built-in speaker, so adjust the volume properly.
•
When the power is turned on, the volume over 11-level is reset to 10-level.
(It protect the hearing sense against the highest volume when using the earphone.)
Caution – When browsing the folder, please use the search function
Controlling the play speed
•
Whenever you push and hold the jog button to the (+) direction for 3 seconds or longer while
playing, the play speed can be sequentially selected within the playing file by the order of -20%,
-10%, NORMAL, +10% and +20%.
•
Whenever you push and hold the jog button to the (-) direction for 3 seconds or longer while
playing, the play speed can be sequentially selected within the playing file by the order of
+20%, +10%, NORMAL, -10% and -20%.
•
When moving to the other file, the speed is automatically set to NORMAL.

13
Volume control
•
At the play or ready state, pushing the jog button to the (+) or (-) direction displays the volume
level at the LCD and the volume is controlled.
•
If the volume level is 11 or higher when the power is turned on, it is reset to 10-level, which
protects the hearing sense against the highest sound.
Uploading/downloading files
•
Connect the USB cable to the main body of the product and the USB port
of the PC.
•
After several minutes at maximum, the PC automatically recognizes this product as portable disk.
•
Uploading/downloading files can be used same to the Windows explorer function.
•
Any file can be saved regardless the file type and this product can be also used as the USB
MEMORY DISC.
•
If the voice file is saved at A, B, C or D folder within the “VOICE” folder and the music file is
saved at the “MUSIC” folder, the files can be played with the best quality.
Caution – When disconnecting the USB cable from the PC, we recommend performing
“Safely removing the H/W” for protecting.
Minimum Maximum
<Screen showing connection to the PC as MemoQ (F :) portable disk>
Saving
the music file
Saving
the voice file
<Folder tree>

14
Browsing folder / file
•
The browsing function searches for the file, which can search for the file to play immediately
even while playing.
•
Pressing the MODE button while pausing or playing (within 1 second)
switches to the BROWSE mode.
•
Pressing and holding the MODE button for 3 seconds or longer cancels the BROWSE mode.
•
When it is selected as MUSIC or VOICE mode, it is possible to search for ‘MUSIC’ or ‘VOICE’
folder only.
.
Browsing: Folder screen Browsing: Music file screen
Browsing
within the folder
Move to the higher/lower folder
(Jog button)
( + )
( - )
Previous ( ) Next ( )
Level Folder Folder name Level Music file File name
Level 0
Level 1
Level 2
Level 3

15
•
At the BROWSE mode, pushing the jog button to Previous ( ) or Next ( ) direction moves
to the previous or next folder.
•
Pushing the jog button to the volume (+) or (-) direction searches for the folder and the music file
within the selected folder.
•
Pressing the MODE button plays the searched file and the BROWSE function is disabled.
•
Pressing the MODE button for 3 seconds or longer disables the BROWSE function.
•
The BROWSE function is automatically disabled 30 seconds after stopping browsing.
•
The level is displayed up to the Level 9 whenever moving to the lower level based on “MUSIC”
or “VOICE” folder as the Level 0.
Caution – “MUSIC” and “VOICE” folders are not displayed at the LCD of the product,
but their subfolders are displayed. (The Level 0 is not displayed.)
Setting the mode
•
The mode setup sets EQ (playing characteristics), repeated playing, microphone sensitivity,
recording characteristics, automatic sensitivity control, LCD screen, setting the ready-to-record,
selecting the recording folder and setting the VOS (Voice Operation System).
•
At the ready (stop) state, pressing the MODE button for 3 seconds or longer switches to the
mode selection.
•
Pushing the jog button
to the volume (+) or (-) direction
selects the mode to set.
•
Pressing and holding the MODE button for 3 seconds or longer disables the mode setup function.
Mode selection
(+)
(_)
Erase the file
Exiting from the mode
Formatting
Setting the folder to record
Stopping recording, pushing
Setting the automatic voice recognition recording
Setting the automatic Sensitivity
Setting to turn on/off the LCD
Setting the recording characteristics
Setting the microphone sensitivity
Setting the repeated play
Setting the play characteristics

16
ERASE (deleting the file)
•
Play the file to delete, and check its contents.
•
Press the PLAY button to pause.
•
Pressing and holding the MODE button to switch to screen.
•
Use Previous ( ) or Next ( ) jog button to select .
•
When you press the MODE button, the screen for confirming to erase is display.
If you select ‘YES’ and press the MODE button, screen is displayed and
then disappears, and the selected file is deleted.
•
For canceling the file deletion, it is cancelled by selecting and then pressing
the MODE button.
Caution – 1) It is not possible to restore the deleted file.
2) File deletion is also possible at the PC.
Setting the EQ (playing characteristics)
•
At the EQ mode screen, Use Previous ( ) or Next ( ) jog button to select the playing
characteristics (EQ).
•
At the selected, press the MODE key to set the displayed mode.
•
When you press and hold the MODE button for 3 seconds or longer, the mode setting is saved
and the mode setup function is disabled.
* Select and play the music via the EQ (playing characteristics) setup by genre and preference.
Caution – The EQ (playing characteristics) is applied when playing the music file,
but it is set to FLAT (EQ OFF) when playing the voice file.

17
Setting the REP (repeated playing)
•
The repeated playing can be set to OFF, 1, ALL or FOLDER.
•
At the REP screen, use Previous ( ) or Next ( ) jog button to select the REP mode.
•
Press the MODE at the selected screen to set as the displayed mode.
•
When you press and hold the MODE button for 3 seconds or longer, the mode setting is saved
and the mode setup function is disabled.
Setting the MIC (microphone) sensitivity
•
The microphone sensitivity can be selected as 1m, 4m or 8m.
•
The microphone sensitivity can be set according to the distance of the sound source and the
volume of the sound.
•
At the MODE screen, use Previous ( ) or Next ( ) jog button
to select the distance.
•
Pressing the MODE key
at the selected screen to set the displayed distance.
•
When you press and hold the MODE button for 3 seconds or longer, the mode setting is saved
and the mode setup function is disabled.
Caution – Selecting the microphone sensitivity depends on the amplitude of the sound source.
Play all files starting from the playing file at the selected folder only and then stop.
Only the file displayed at the LCD is repeated to play.
Repeat playing all files at the selected folder from “VOICE” or “MUSIC” folder.
Repeat playing the files only at the selected folder.
Setting the
sensitivity Microphone sensitivity 1m Microphone sensitivity 4m Microphone
sensitivity 8m
ALC setup Possible to set ON/OFF Possible to set ON/OFF Fixed to ALC ON

18
Setting the (recording) mode
•
The recording mode can be set to long-playing (LP), high quality (HQ) or extra high quality
(XHQ) depending on the recording environment.
•
The XHQ (128 Kbps) is optimal for the music recording, which can make a high quality of music file.
• At screen, use Previous ( ) or Next ( ) jog button
to select the recording mode.
•
Pressing the MODE at the selected screen sets the displayed mode.
• When you press and hold the MODE button for 3 seconds or longer, the mode setting is saved
and the mode setup function is disabled.
Caution – The recording time depends on the configuration of folder or file.
Setting the automatic level control (ALC)
At screen, use Previous ( ) or Next ( ) jog button to select ON or OFF.
Recording time by mode
MR-710(EVR-710) MR-720(EVR-720) MR-740(EVR-740)
LP About 144 hours About 288 hours About 576 hours
HQ About 72 hours About 144 hours About 288 hours
XHQ About 18 hours About 36 hours About 72 hours

19
•
When you press and hold the MODE button for 3 seconds or longer, the mode setting is saved
and the mode setup function is disabled.
•
The ALC function suppresses the loud sound and amplifies the weak sound to record.
•
The ALC function is suitable for the voice recording.
•
The ALC function can be disabled only with 1m or 4m microphone sensitivity, which can
perform the dynamic and high quality (XHQ mode) recording for the music and the music
instrument.
Caution – 1) Because the distortion is occurred by the over-input (loud sound) with the A LC
disabled(OFF), select the microphone sensitivity and the distance for the sound source
according to the amplitude of the sound.
2) When the microphone sensitivity is set to 8m, the ALC function is always set to ON to
prevent the sound distortion due to the over-input.
Selecting the LCD
•
If the LCD is set to OFF when recording, the LCD is turned off 10 seconds after the button is not
pressed.
•
Pressing the REC button with the LCD turned off turns on the LCD, and pressing the REC
button with the LCD turned on stops recording.
At screen, use Previous ( ) or Next ( ) jog button to select ON or OFF.
•
Pressing the MODE key at the selected screen sets ON or OFF displayed on the screen.
•
When you press and hold the MODE button for 3 seconds or longer, the mode setting is saved
and the mode setup function is disabled.
* The LCD OFF function is applied to recording only and it is useful for hiding the recording operation.

20
Setting the voice operation system (VOS)
At screen, use Previous ( ) or Next ( ) jog button to select ON or OFF.
•
Pressing the MODE key at the selected screen sets ON or OFF displayed on the screen.
•
With the VOS function, when you press and hold the MODE button for 3 seconds or longer,
the mode setting is saved and the mode setup function is disabled.
* When the voice is not recognized, the VOS function pauses recording. But when the voice is recognized, it automatically
starts recording, which can efficiently use the memory.
Setting the REC (recording) operation
•
The REC operation can be selected as STOP or PAUSE.
At screen,
use Previous ( ) or Next ( ) jog button to select STOP or PAUSE.
•
Pressing the MODE key at the selected screen sets STOP or PAUSE displayed on the screen.
•
When you press and hold the MODE button for 3 seconds or longer,
the mode setting is saved and the mode setup function is disabled.
If it is set to , pressing the REC button pauses recording,
and then the file is saved.
If it is set to , pressing the REC button gets ready for recording,
and then pressing the REC button resumes recording.
Pressing the REC button for 3 seconds or longer stops recording.
At the PAUSE state, the recording time pauses and flashes at the LCD.
Caution – When it elapses 3 minutes at the PAUSE state, the recorded file is saved
and the product is stopped.
* The REC PAUSE is useful for appending the recorded contents to one file.
This manual suits for next models
5
Table of contents
Other Memoq Voice Recorder manuals
Popular Voice Recorder manuals by other brands

ARTECH
ARTECH AK Series user manual
Shining Technology
Shining Technology CitiDISK DV FW1256B Quick usage guide
Tascam
Tascam DR-701D Reference manual

Panasonic
Panasonic RRQR240 - IC RECORDER operating instructions
Panasonic
Panasonic RRQR240 - IC RECORDER operating instructions
TS-market
TS-market Edic-mini Tyny16 Operation manual
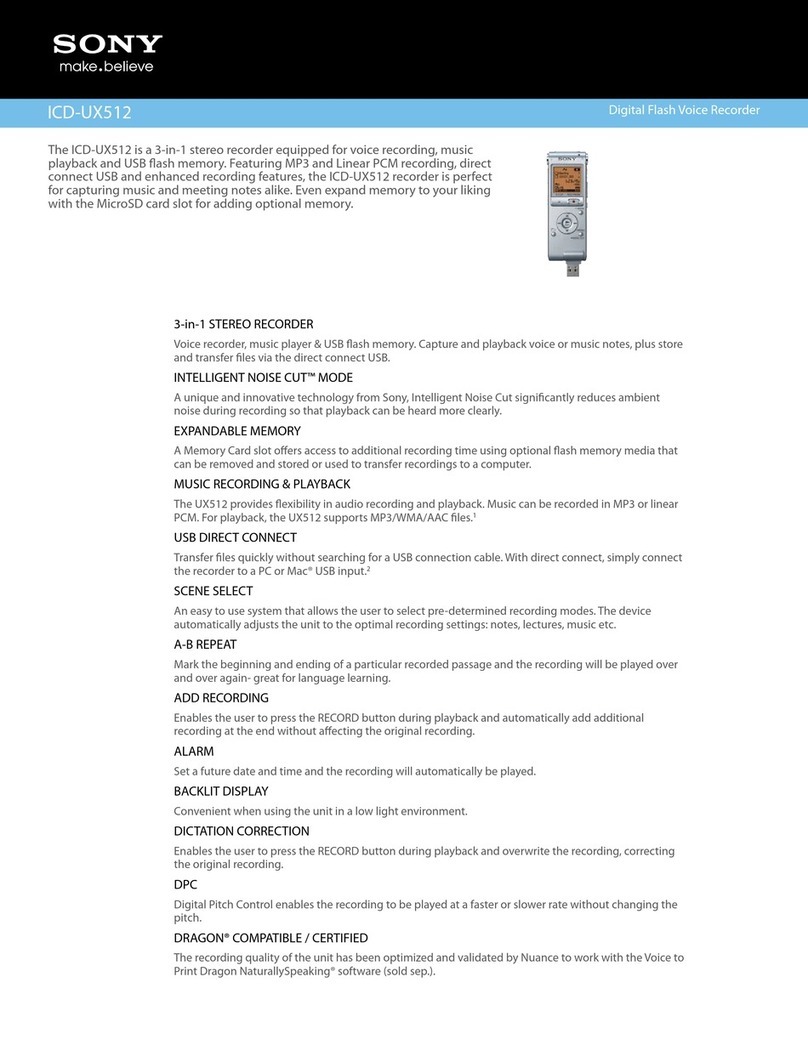
Sony
Sony ICD-UX512 Specifications
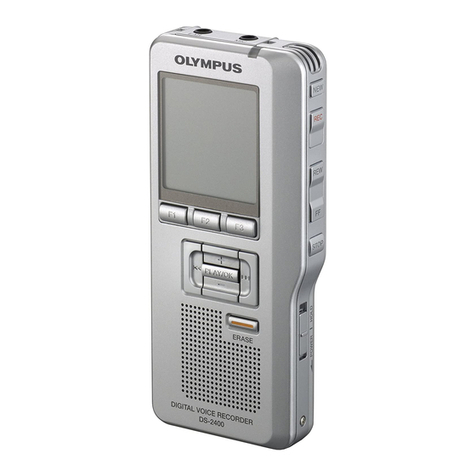
Olympus
Olympus DS-2400 instructions
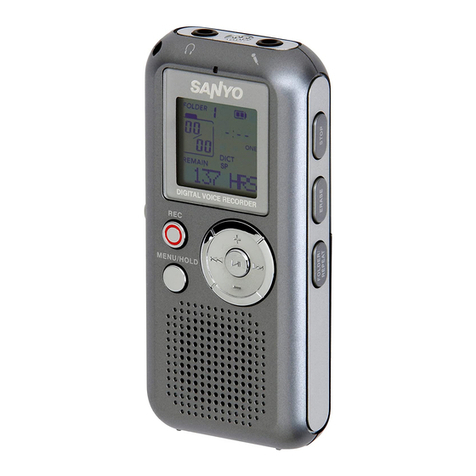
Sanyo
Sanyo ICR-FP550 - 1 GB Digital Voice Recorder instruction manual

Streaming Video Technology
Streaming Video Technology iRecord Music PMR-300 user manual
TTS
TTS Sense and Soud user guide
Dictaphone
Dictaphone Walkabout 5210 user guide
