manuals.online logo
Brands
  1. Home
  2. •
  3. Brands
  4. •
  5. MERLYN
  6. •
  7. Plumbing Product
  8. •
  9. MERLYN ARYSTO COLOUR GHB1100 User manual

MERLYN ARYSTO COLOUR GHB1100 User manual

MerlynShowering
Unit8,PurcellsinchIndustrialPark,
DublinRoad,Kilkenny,Ireland.
Tel:00353567791555
Fax:0035356779 1576
www.merlynshowering.com
TodownloadtheDeclarationofPerformance(DOP)for
thisproductpleaseusethelinkbelow.
https://merlynshowering.com/aftersales-support/dop-certs/
MERLYN
INSTALLATIONGUIDE
Hinge Door &2Inline Panels
WithSidePanel
1
MGVC45
Installation tool
1
8MG8x51PLUG
x8
MGST5X65
1
AC06
AC34 AC35 AC36
1
11
AC25SPACER
2
AC13
x4 AC14
x2 A06S0046
2
Covercap
x4 Spacer
x2 Gasket
x2
2
SP010SP281000
1
Door assemblytool
6&8
8S1300511
1
AC07
x1
Bracing bar Wall plug
x4 430 screw
44mm Hex key
22
Clamp
covercap
x4
Wall bracket
covercap
x4
AC10
3
No. QTY Part No. Part No.
1
2
3
4
5
8
1
2
1
4
No. QTY
8
9
6
Part No.No. QTY
2
1
11
12
13
14
17
18
19
20
1
1
8AC13
MG8x51PLUG
1
1
2
3
4
5
6
10
13
GMGHFB
MGVC44LSET/RSET
1
MGST5X65
1AC07
GHSA
20 19
12
14
15
16
1
17
18
GMGCPB 2AC14
11
AC01 MGVC30A
10 1
1MGVC33A
1GMGDPC
8
9
7
2
7
15
16
1
AC34
AC37
AC36
AC35
AC10
AC06
4
Step1 IMPORTANT!
Whetherfitting on atrayoron atiled Wetroom
the trayorfloormust be 100%level!
100% level
Step2
Assemble the bottom track, cornerbracket and endbrackets onthe tray. The gap
between the ends ofthe track and theinside edge of the end bracket must be
between 0 - 15mm, adjust the position of the track (A) until the gap at both ends
is withinthis range.
0-15mm
Attention:
•Make sure there are no gaps betweenthe wall and the end brackets, and between
the cornerbracket and the track.
•Makesurethe tack is parallelto the edge of the tray.
5
Step3
Top
250mm
Bottom
275mm
THISWAYUP
Hinged fixed panel
Step4
Push on wall profilecompletley ensuring end is flushwith the top of the
glass panel.
Beforeassembling thebrackets make surepanels areorientated thecorrect
way. Measureholecentresfromtop and bottom to determine correct orientation
of panel.
Note the differences between the hinged fixed panel(has notch cuts forhinge)
and theside fixed panel(no notch cuts).
THISWAYUP
sidepanel Top
250mm
Bottom
275mm
4A 4B
6
Step5
INSIDE
INSIDE
Fix the wall bracketsmaking sureto havethewallbracket inthe centerof the
hole inthe glass.
IMPORTANT! Thisis criticalas it iswhere the panel adjusts. Ifthebrackets are
not positioned in thecenteradjustment will be affected.
Step6Lift the assembled panelinto the track.Plumb thepaneland mark the
centre of each slot.
7
Insertwallplugs
Drill holesforhinge
8mm
MG8x51PLUG
Remove both fixedpanelsand the bottomtrack, then drill holes with 8mm
diametermasonrybit and insertwall plugs.Ensure the wallplugs are flush with
the tile.
Step7
MGVC45
Place the assembledbottomtrack backon the trayand place the inline panelinto the
track. Fixwall brackets.
Do notfully tighten,leave enough slack foradjustment.Secure the topbracket first.
Step8
AB
8
Step9
Step10
Beforefittingthefront inline paneltothesidepanelmakesurethenotchintheglass
istothe topandon theside closesttothesidepanel.Cleantheinsideoftheinline
panel(areathewillreceivethe3M tape).
glass wipe
Attention: 3Madhesive tape issingle use only.
You will havejust 1 attempt to fit panels.
sidepanel
A
BCD
(A)Insertguidespacertofront cornerof thetrack.
(B)Fit side panelfront cornerfirstmaking sureedge ofpanelwith 3Mtape is tight
to guidespacer.
(C) Fitthe inline panelandcheckallpanelsforlevel.
(D) Fullytighten screwsto thewall.
9
Step11
11A Placebottomofpanelinto front track ensuring outsideedgeof inlinepanelis
flush with the outside face of return panel.
11B Before youpeel off the protective stripfrom the tape dry fit the panels ensuring
outside edge of inline panelisflush to outside face ofside panel.
11C Leaninline panelaway fromfixed side panel andpeeloff protectivestrip. Guide
inline panelbackto positionensuring panelsare flush.
Tip:place a levelalongfaceof side paneland use asa guide to locate inline panel.
Inlinepanel
side panel
Peeloff protective
stripfromside panel
Inlinepanel side panel
Step12
Loosen grub screws oncornerbracket and pushfirmlyintoposition. Fully tighten
grub screws once in position.
fix cornerbracket
Inlinepanel
sidepanel
11A 11B
11C
10
Step13
Fit hinges to inline panel ensuring that the part of thehinge which has a notch
will be on the movingpanelside.
Moving
Panel Hingeplate with notch
Inline Panel
Tip: UseMDFtoolfor
squaringhinges.
Removeback plates from
hingeson movingpanel
sideandplacehinge
plate,washers, bolts and
hex key insideenclosure.
PVCspacer
A
To help alignthehinge, place the 2mmclearPVCspacerunder the hinge on the
edge of the cutout.
B
11
Place locating aidsand spacerson threshold, oneeach side of opening.
Step15
Gap top and bottom
shouldbe width of
moving panel+12mm
Step14
Check door opening atbottomandmakesurethat the distanceatthetopis the same.
locatingaids
Fullytightenbracketto glass
on the inlinepanel.
Step16 Lift door onto positioning aids, and retain doorintoposition using top
holdingstrip.
12
Step17
Loosely fixbackplate to hinges ensuringwashers are inposition and hingesare
level.
INSIDE
locatingaids
SP010SP281000
16A
Gasket
16B
13
Ensuregap between both glass panelsis equaltopand bottom,then fully tighten
hinge bolts.
gap isequal
gap is equal
INSIDE
4mm ALKEY
18A
INSIDE
Step18
Step19
Remove top holding strip.Toremove doorpositioning aidsopen dooroutwards.
When positioning aids have beenremoved check gapbeneath dooris even.
If gapis not equalloosenhinges slightly and adjust.
INSIDE
18B
19A 19B
14
Step20
Left and right hand sealkits(A)areprovided, determine handing and use appropriate
sealkit. Left hand modelshown below.
Pushon longest sealbetween hingesontoback edge of moving panel.
Takeshortest sealand fit totop keeping notchtohinge. Repeat with longerbottomseal.
Fitclosingseal(B)toedge of the inline panel. Makesuretokeep fin to the inside.
INSIDE
Step21
21A
INSIDE
Fit bottomdoorsealkeeping longest finto inside. Notchfinwhere it meets the
closing sealto ensure doorcloses fully.
21C
21B
INSIDE
B
A
15
INSIDE
Step22
INSIDE
Make sureno gap!
INSIDE
Make sureno gap!
Step23
Measurebetween theedge of theinline paneland the inside edge ofthe side panel
and cut the infillsealto this length.
Applya dab of silicone to both ends,insertto bottomprofile. Note:The verticalfin
should be positioned to the front ofthe enclosure.
22A
doorpanel
doorpanel
22B
22C
22D
16
AC07
Fit thehandle to the door.
Step24
Step25 Fixthetop rails.
Drill with6mm masonary
drill bit .
MG6x30PLUG
Leveltherail.
Markthecentreof the
slot.
25A
Fixthewallbracket.
25B
25C
25D
25E
17
INSIDE
INSIDE
②
③
②
③
INSIDE INSIDE
Wherean angled bracing baris fittedadditionaladjustment can be made by:
1)Loosen the 3 screws clampingthe glass.
2)Movethe glass panelin the directionrequired(see arrow).
3)Tighten the 3screws.
Step27
Step26 Door adjustment
To adjustdoortogetrequired contact against closing sealfirst support door
with doorlocating aids. Loosenall boltsfixing both hinges to glass and move by
required amount.Tighten all boltsand remove doorpositioning aids.
27A 27B
27C 27D
Step28 Adjusting fixed panels
If afterfittingyou still needadjustment to aligndoors etc, youcan achieve this by
looseningthescrewsfixing the bracket to the wall and the bolts clamping the
bracket to the glass.
Adjust the panelsuntil the desired fit is achieved. Fully tighten allfixings.
18
INSIDE
Note: If nofurtheradjustment is needed make sureall fixings have been tightened
securely.

This manual suits for next models

32

Other MERLYN Plumbing Product manuals

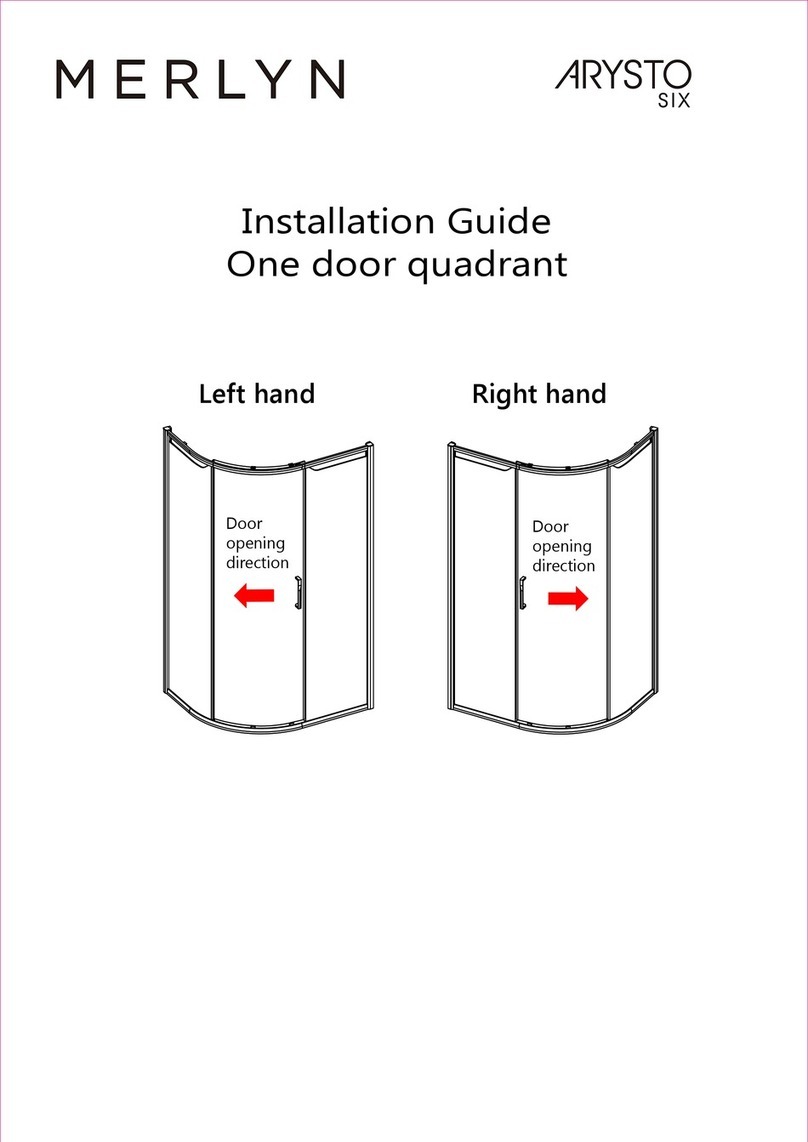
MERLYN arysto six User manual

MERLYN

MERLYN arysto six User manual

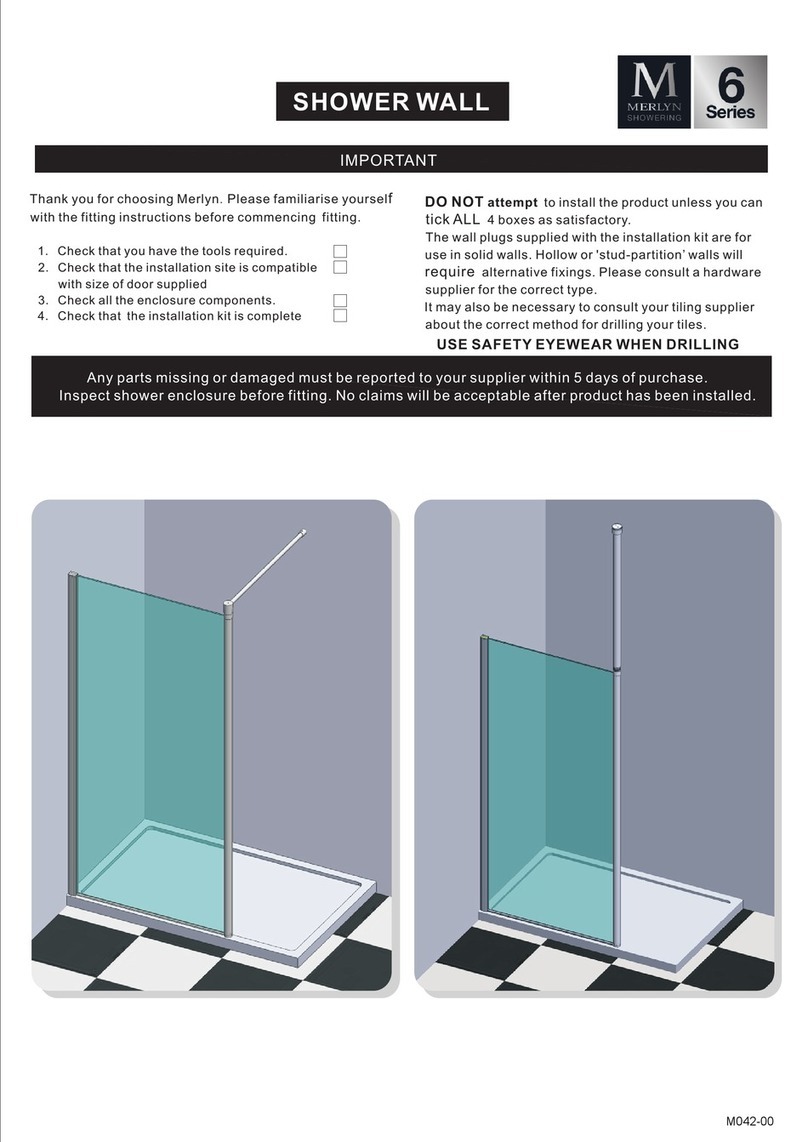
MERLYN 6 Series User manual

MERLYN

MERLYN 6 Series User manual

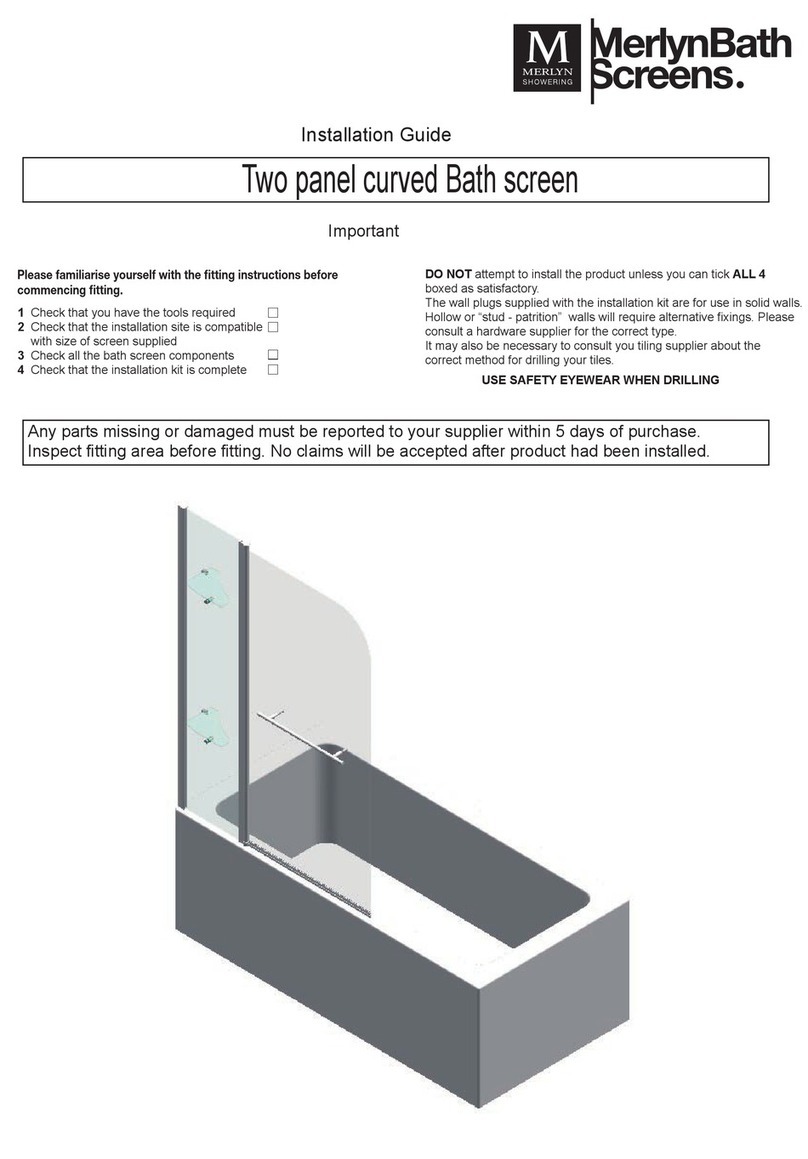
MERLYN MB3 2 Panel Curved Bath Screen User manual

MERLYN

MERLYN MB3 2 Panel Curved Bath Screen User manual

MERLYN 8 Series User manual

MERLYN

MERLYN 8 Series User manual

Popular Plumbing Product manuals by other brands
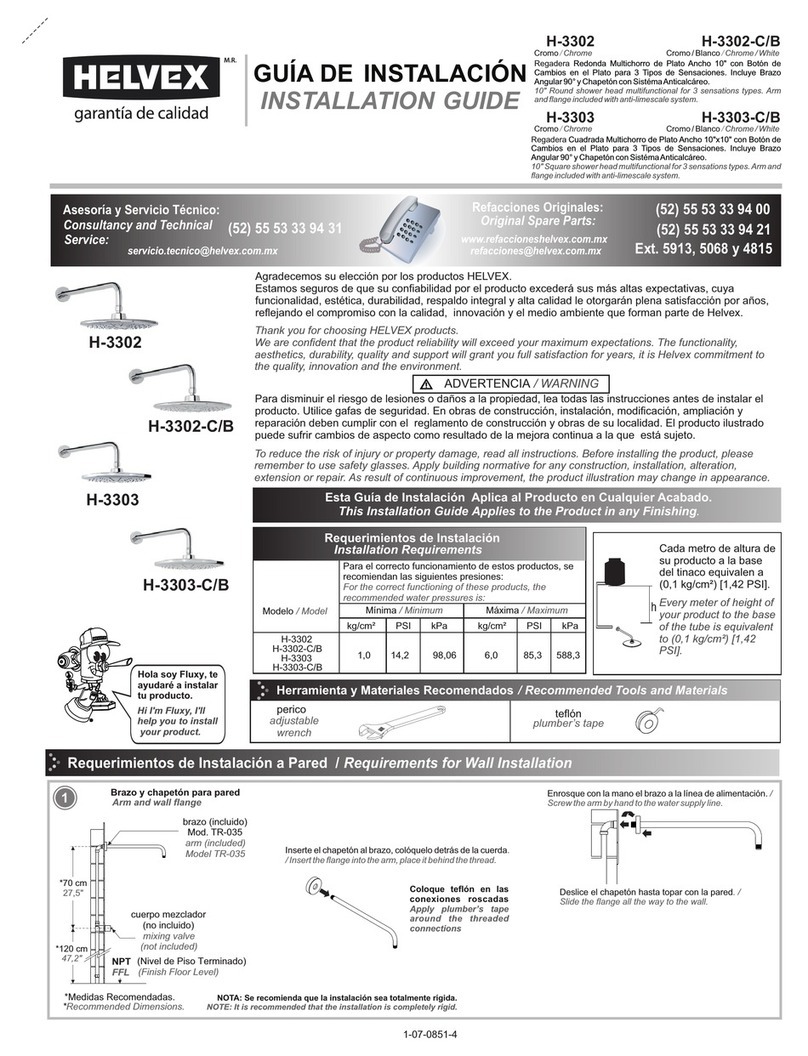
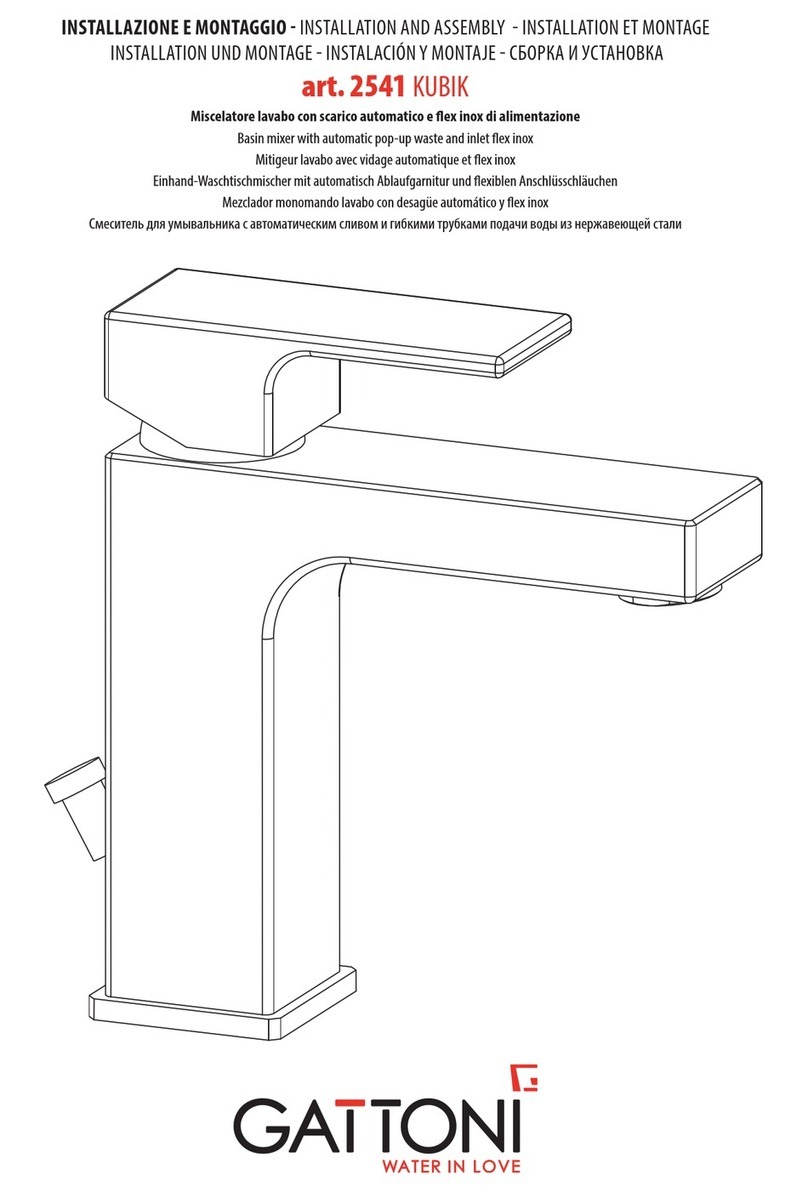
GATTONI KUBIK 2541 Installation and assembly

GATTONI

GATTONI KUBIK 2541 Installation and assembly

JABSCO 37010 Series manual

JABSCO

JABSCO 37010 Series manual

Bradley S19-460EFW Installation

Bradley

Bradley S19-460EFW Installation

ulsonix UNICLEAN 7 user manual

ulsonix

ulsonix UNICLEAN 7 user manual

PEERLESS P6919LF installation instructions

PEERLESS

PEERLESS P6919LF installation instructions

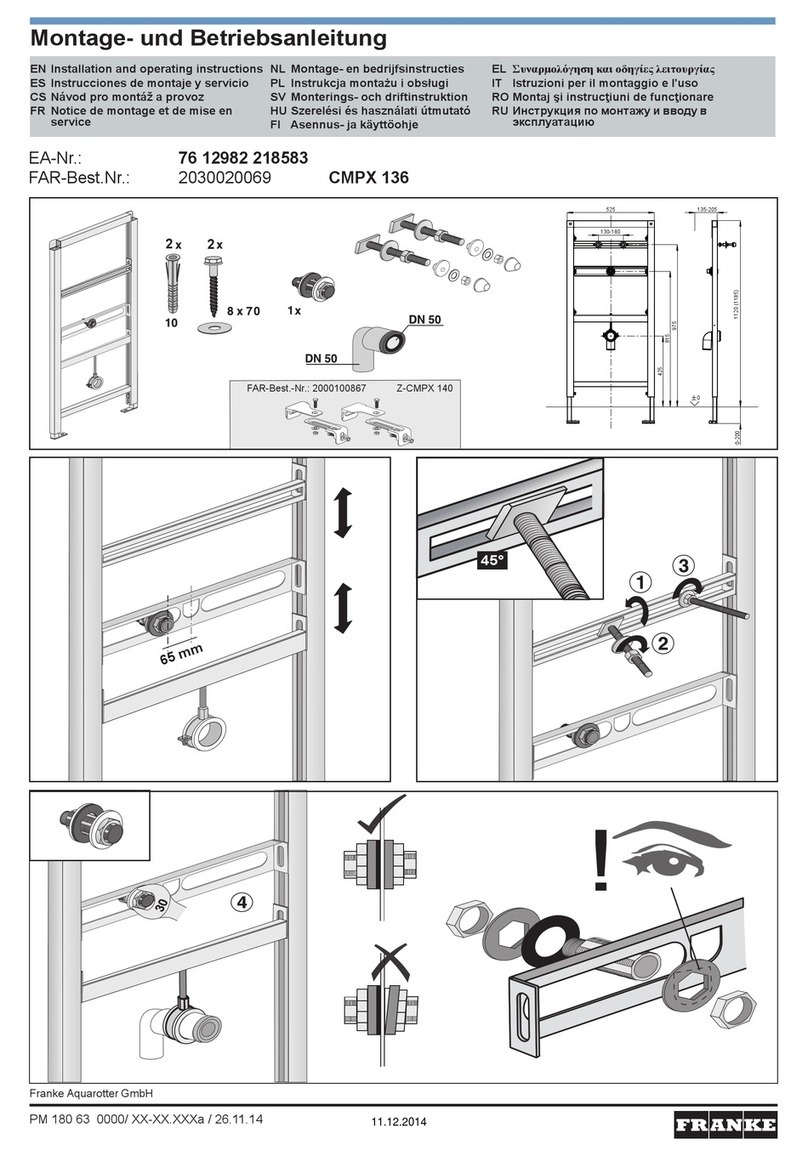
Franke CMPX 136 Installation and operating instructions

Franke

Franke CMPX 136 Installation and operating instructions

Helvex H-3302-C/B installation guide

Helvex

Helvex H-3302-C/B installation guide
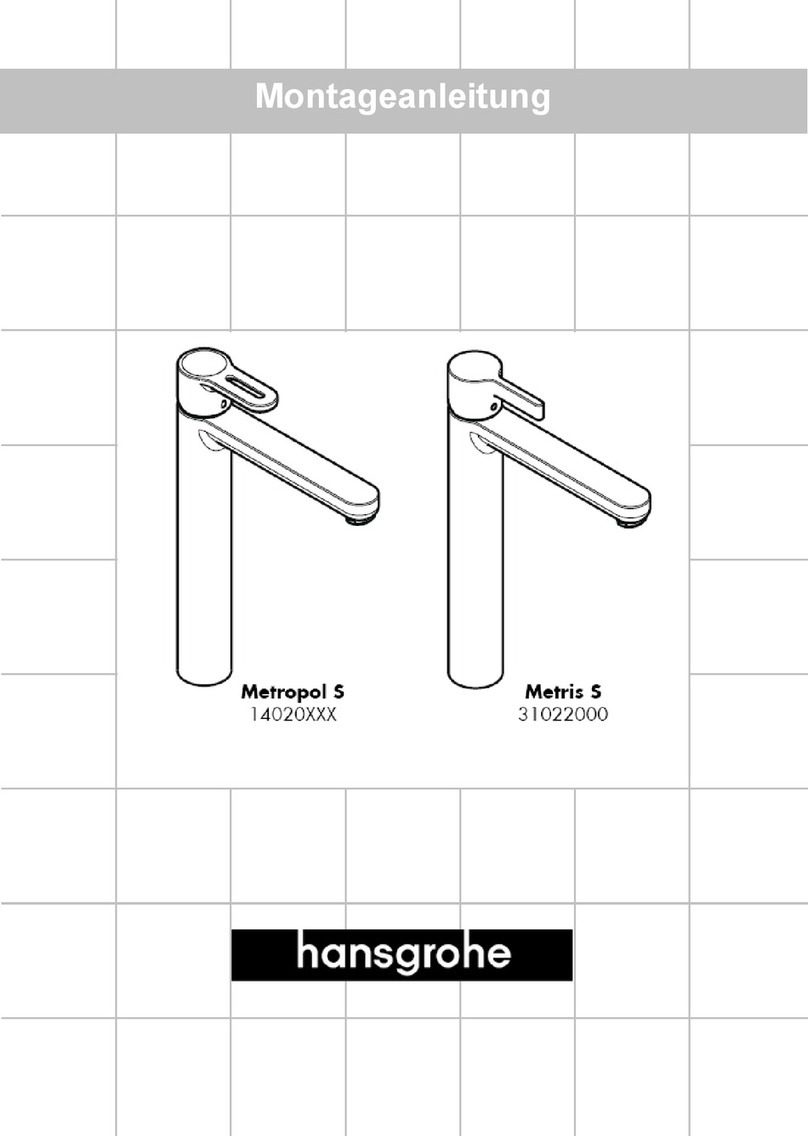
Hans Grohe Metropol S 14020Series Assembly instructions
Hans Grohe

Hans Grohe Metropol S 14020Series Assembly instructions

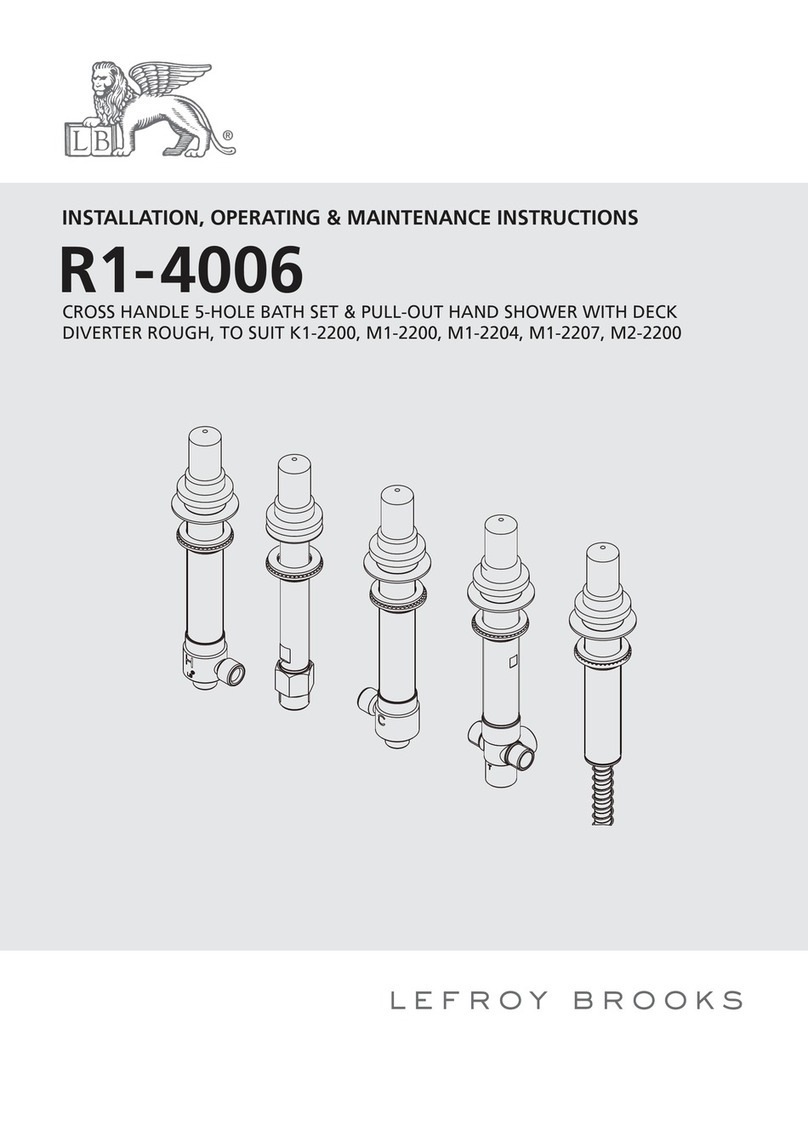
Lefroy Brooks R1-4006 Installation, operating,  & maintenance instructions

Lefroy Brooks

Lefroy Brooks R1-4006 Installation, operating, & maintenance instructions

Zline FFCC-CH Installation guide and user's manual
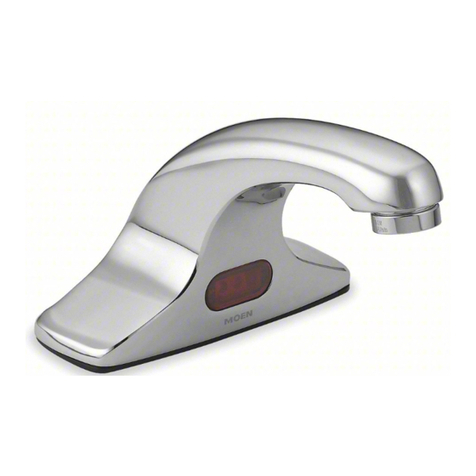
Zline

Zline FFCC-CH Installation guide and user's manual

Moen ELECTRONIC FAUCET 8301 user manual
Moen

Moen ELECTRONIC FAUCET 8301 user manual

American Standard Colony Soft 4275.550 Specification sheet
American Standard

American Standard Colony Soft 4275.550 Specification sheet

ESS Easy Drain Easy Turn ET-1300 Installation advice
ESS

ESS Easy Drain Easy Turn ET-1300 Installation advice

CRISTINA CRICS800 installation instructions

CRISTINA

CRISTINA CRICS800 installation instructions

newform 28157 instructions

newform

newform 28157 instructions
sanindusa TUBE 5311301 Assembly instructions
sanindusa

sanindusa TUBE 5311301 Assembly instructions

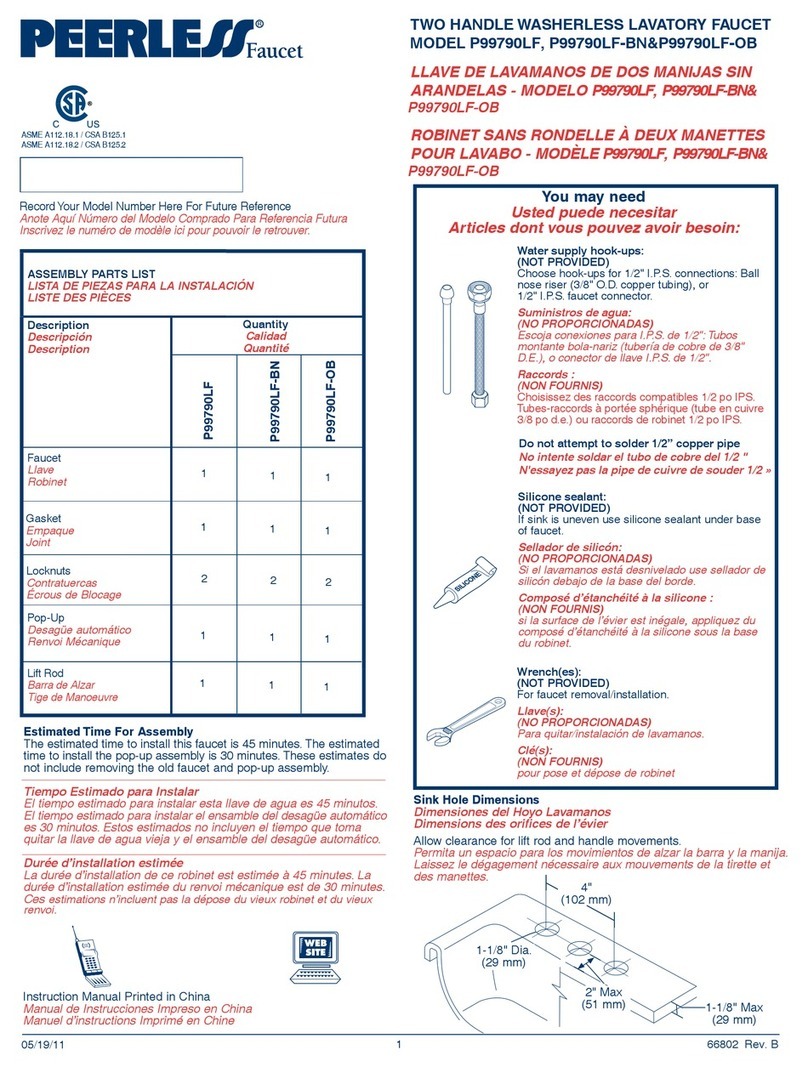
Peerless Faucet P99790LF Assembly instructions

Peerless Faucet

Peerless Faucet P99790LF Assembly instructions

BELLOSTA j-q 7821 Installation instruction

BELLOSTA

BELLOSTA j-q 7821 Installation instruction

manuals.online logo
manuals.online logoBrands
  • About & Mission
  • Contact us
  • Privacy Policy
  • Terms and Conditions

Copyright 2025 Manuals.Online. All Rights Reserved.