Form #43219040
Oct 2013
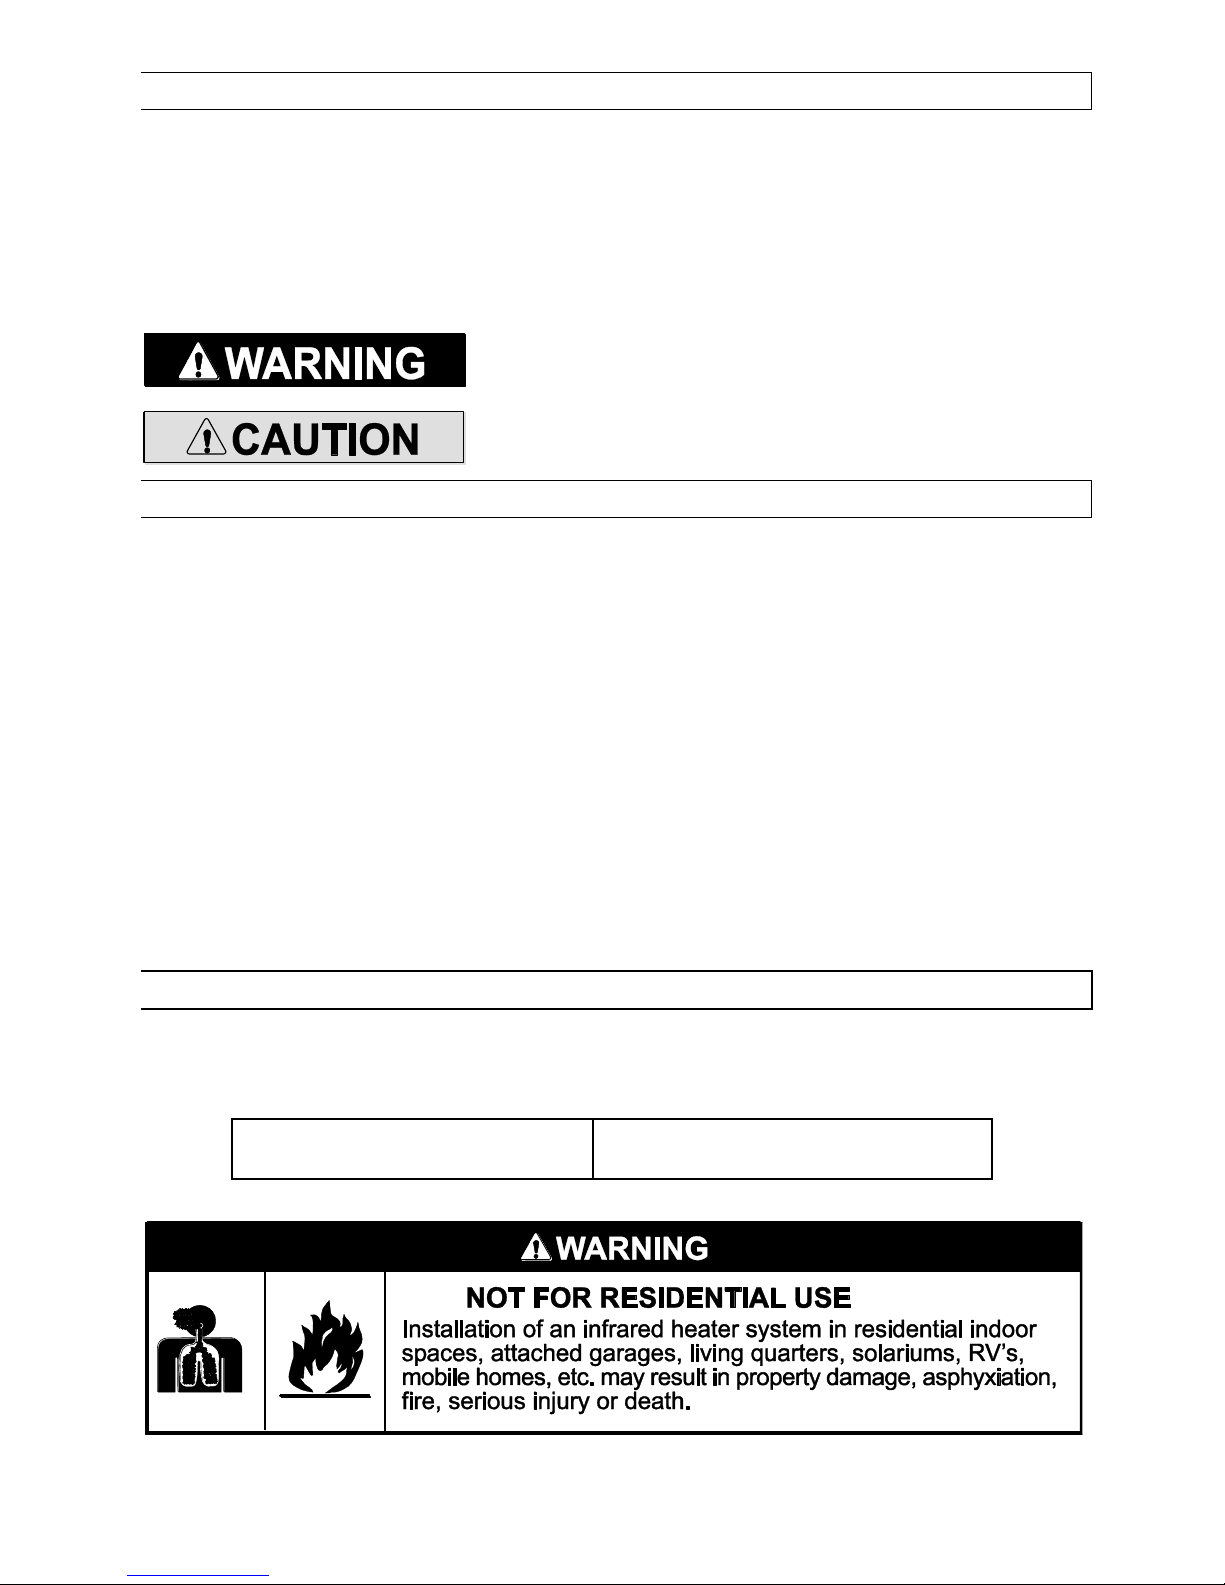
SAFETY REQUIREMENTS
The heater area must be kept clear and free from combustible materials, gasoline and other flammable
vapors and liquids.
This heater is designed for use with one type of gas (LPG or Natural). Make sure that the type of gas to
be supplied to this heater matches that shown on the heater rating plate.
DO NOT install this heater directly onto an LPG container or propane cylinder without directions from your
propane company. LPG containers (propane cylinders) must not be stored indoors or in the vicinity of any
gas-burning appliance.
Building owner and occupants should be alerted to the hazards of high surface temperatures and should
stay away to avoid burns or clothing ignition.
Clothing or other flammable materials should not be hung from the heater or placed on or near the
heater.
NEVER attempt to service the heater while it is plugged in, operating or hot. Any guard or other
protective device removed for servicing a heater must be replaced prior to operating the heater.
Installation and repair should be done by a licensed contractor qualified in the installation and service of
gas heating equipment. The heater should be inspected before use and at least annually by a qualified
service person. More frequent cleaning may be required as necessary. It is imperative that the control
compartment, air passageways and burner of the heater be kept clean.
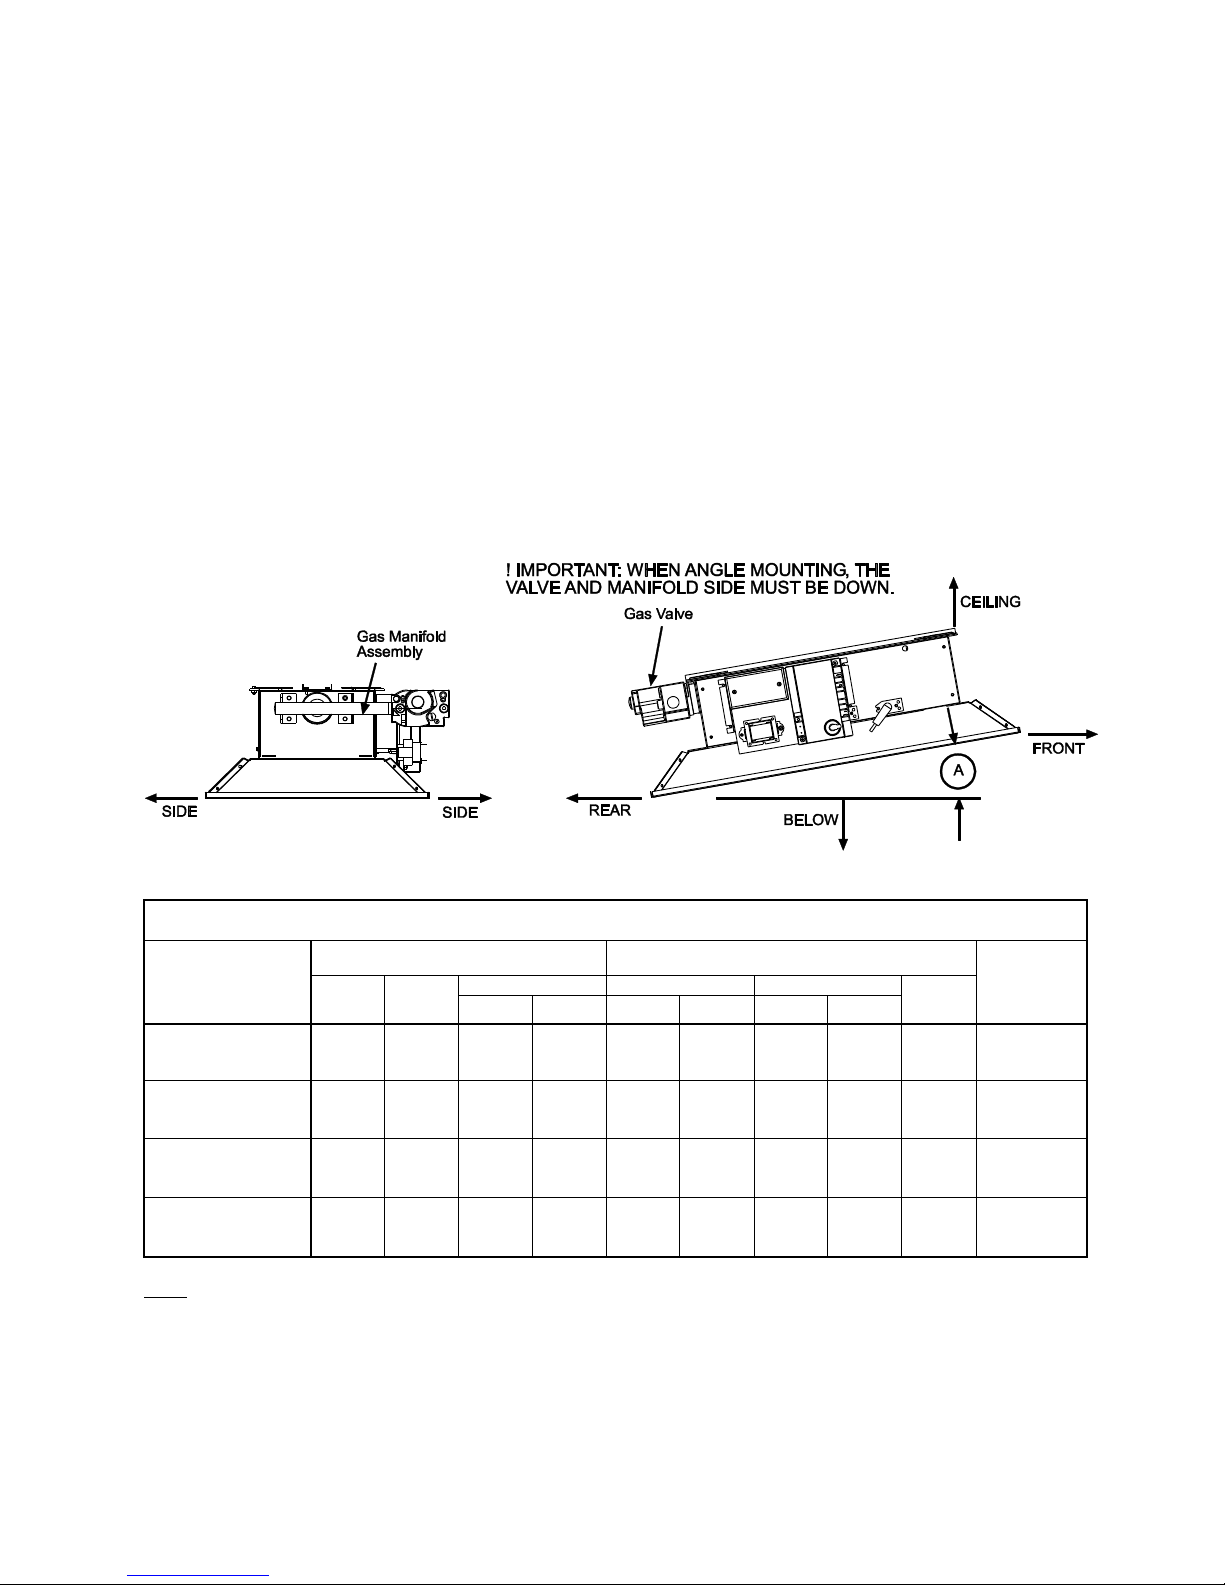
INSTALLATION REQUIREMENTS
Installation of this heater must conform with local codes or, in the absence of local codes, with the National
Fuel Gas Code, ANSI Z223.1/NFPA 54, or the Natural Gas and Propane Installation Code, CSA B149.1. In
Canada, the installation must conform to current CSA B149.1 (The Natural Gas and Propane Installation
Code) in the absence of local codes. Heaters shall be installed by a licensed contractor or licensed installer.
Clearances to combustibles as outlined in this manual should always be observed. In areas used for storage
of combustible materials where they may be stacked below the heater, NFPA54 requires that the installer
must post signs that will “specify the maximum permissible stacking height to maintain the required
clearances from the heater to combustibles.”
Every heater shall be located with respect to building construction and other equipment so as to permit
access to the heater. Each installer shall use quality installation practices when locating the heater and must
give consideration to clearances to combustible materials, vehicles parked below, lights, overhead doors,
storage areas with stacked materials, sprinkler heads, gas and electrical lines, and any other possible
obstructions or hazards. Consideration also must be given to service accessibility.
The heater, when installed in aircraft hangars and public garages, must be installed in accordance with
ANSI/NFPA 409-latest edition (Standard for Aircraft Hangars), ANSI/NFPA 88a-latest edition (Standard for
Parking Structures), and ANSI/NFPA 88b-latest edition (Standard for Repair Garages) with the following
clearances:
a. At least 10 feet above the upper surfaces of wings or engine enclosures of the highest aircraft that may
be housed in the hangar and at least 8 feet above the floor in shops, offices, and other sections of
hangars communicating with aircraft storage or service areas.
b. At least 8 feet above the floor in public garages. Minimum clearances marked on the
heater must be maintained from vehicles parked below the heater.
a. Installation of this appliance is to be in accordance with latest edition of CSA B149.1 (The Natural Gas
and Propane Installation Code)
b. For installation in public garages or aircraft hangars, the minimum clearances from the bottom of the
infrared heater to the upper surface of the highest aircraft or vehicle shall be 50 percent greater than the
certified minimum clearance, but the clearance shall not be less than 8 feet.
Although these heaters may be used in many applications other than space heating (e.g., process heating),
Mestek will not recognize the warranty for any use other than space heating.
3