METALSUB KL1256 User manual
* In accordance with American Military Standard MIL-A-8625-E type 3 class 2.
Also the coating is impregnated with Teflon.
** Measured by 100% power and water temperature 20°Celsius.
Warranty
The Metalsub torch warranty will start on the date of purchase. The warranty period is 24 months and will only count
when the torch has been used in the way the manufacturer advises and has explained in the outlines.
During this warranty period we will repair all problems that are caused by manufacture related mistakes.
We will take no responsibility for damage that is done through misuse or normal wear and tear of the Metalsub dive
light for whatever reason. There is no warranty on the o-rings. The warranty period of the battery pack is 12 months
from purchase date. Until 36 months from purchase we offer a fair settlement.
We will give no warranty when any person has carried out any repair or rebuilding on our products by themselves!
All goods being returned for warranty must be returned prepaid, sufficiently packed under the owners risk to your
Metalsub dealer.
dealer
The Netherlands
16
Metalsub® The Netherlands, 2017
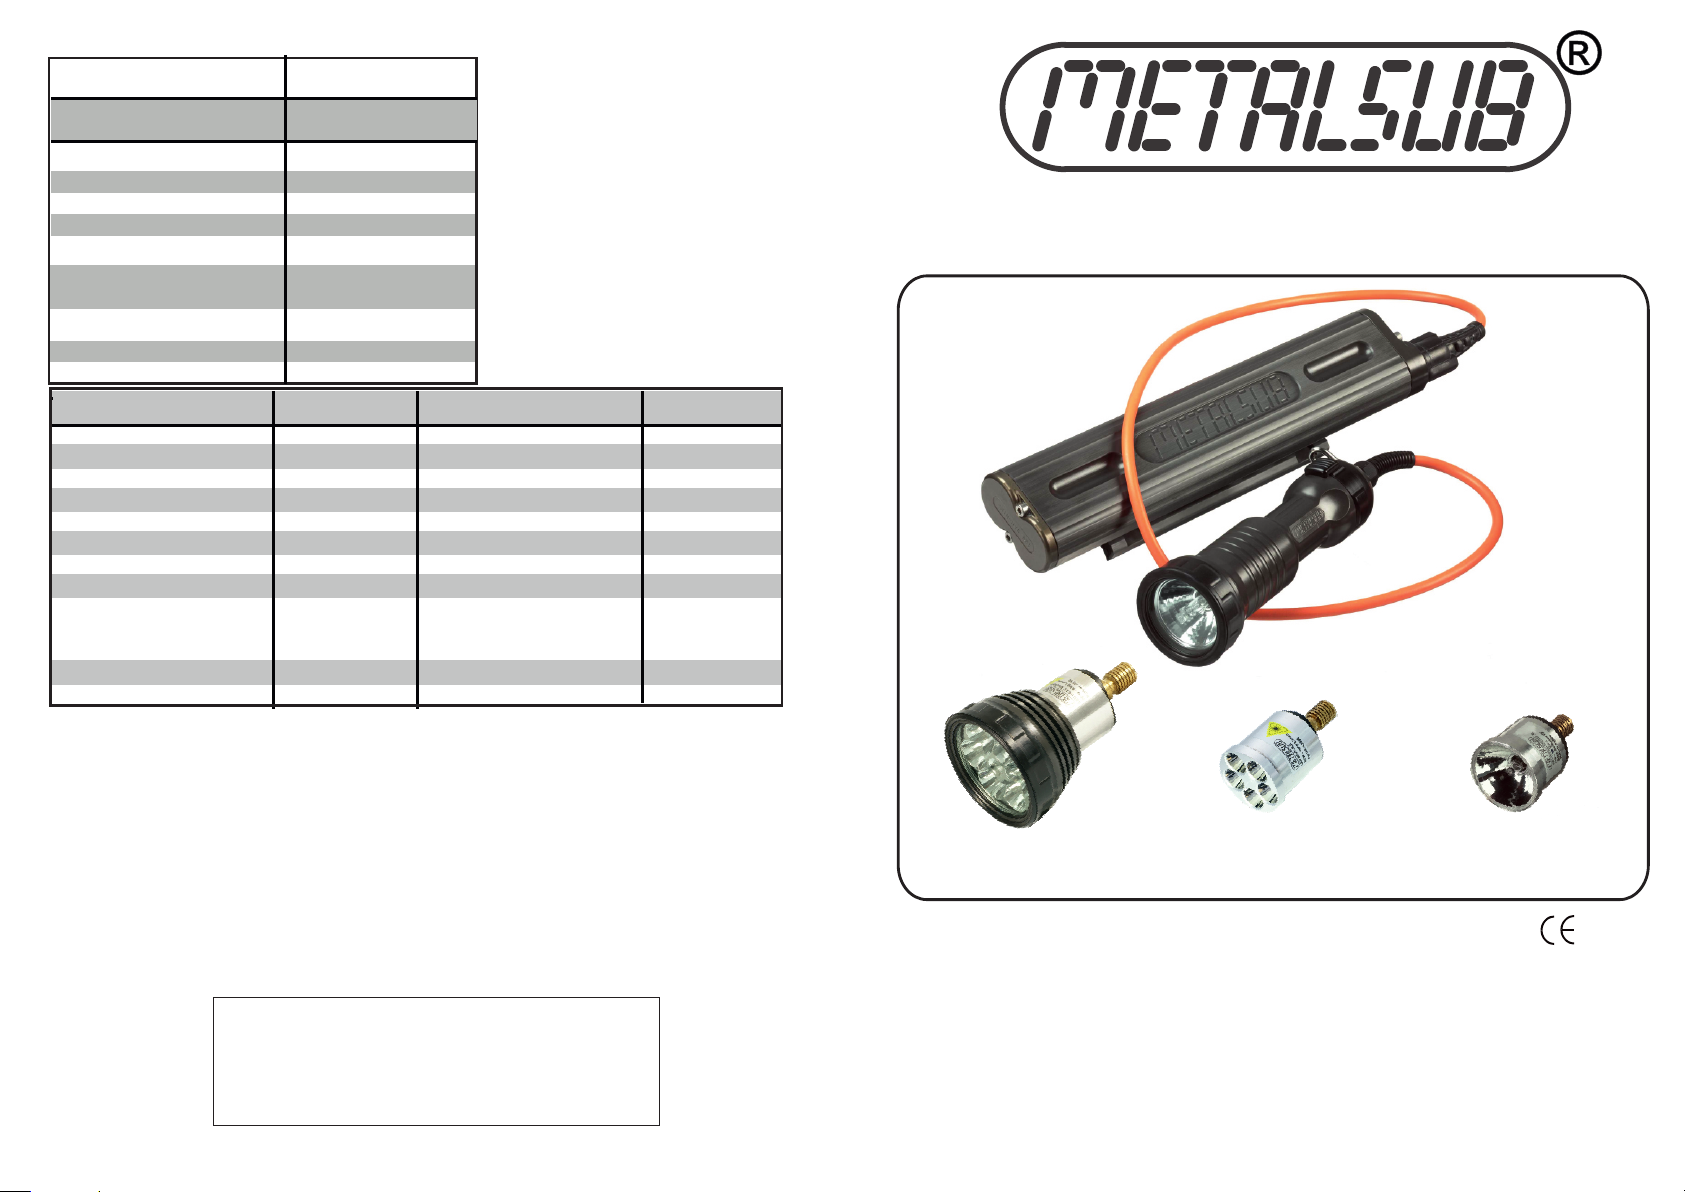
METALSUB - CABLE LIGHT KL1256
Battery tank PR1209 / PR1213
Battery tank FX1204 / FX1209
Cable light KL1256
Material Aluminium*
Size Round 68 x 200mm
Weight above water 0,7 kg
Weight under water 0,1 kg
Bulb type
Optional light power installation
Variable light power
Signals
0-100%
Flash - Strobe - S.O.S.
Cable lenght 100 cm.
Battery tank PR1209 / FX1209
65 x 75 x 340
Weight above water 2,9 kg / 2,5 kg
Weight under water 1,7 kg / 1,4 kg
Battery type NiMH
Battery power 12 Volt 9 Ah
Charger MP2500
Charging time
appr. 4,5 hours
Capacity 50 Watt halogen appr. 120 min. **
Quick release systeem yes / no
PR1213
65 x 75 x 480
3,7 kg
2,7 kg
NiMH
12 Volt 13 Ah
MP2500
appr. 7 hours
appr. 180 min.**
yes
Technical information
Material Aluminium* Aluminium*
Seize
FX1204
65 x 75 x 230
1,6 kg
1,0 kg
NiMH
12 Volt 3,8 Ah
MP1100 / MP2500
appr. 4 / 2 hours
appr. 45 min.**
no
Aluminium*
12 Volt - 50 Watt GY6,35
Capacity 2100Lumen LED unit appr. 200 min. **appr. 80 min. **
Pressure Test 25 Bar
Halogen Xenophot
appr. 300 min. **
Capacity 6300Lumen LED unit appr. 120 min. **appr. 45 min. ** appr. 180 min. **
MANUAL
P P P
Presssure test 25 Bar P
LED UNIT XRE6300 LED3500 UNIT HALOGEN UNIT
34W - 3500 Lumen LED unit
60W - 6300 Lumen LED unit

SAFETY PRECAUTIONS!
A. Read this manual carefully before using the divelamp
B. When you are diving in situations where your life can depend on having sufficient light
(for instance in caves or on wrecks), make sure you always take a back-up light with you.
C. Prior to airtravel, disconnect the cablelamp from the batterypack, so as to prevent overheating should the
lamp be switched on by accidental impact or mishandling. Also discharge the batterypack.
D. To prevent a short-circuit, it is essential to plug the battery tank with the supplied tankplug(s).
E. Always use the supplied charger.
F. Charging the lamp: - always in a dry and well ventilated place
- ambiant temperature between 0 and 30 C
- never by open fire
G. When changing lights, always disconnect the light from the battery tank first.
H. Never shine the light directly into eyes, this can cause eye damage.
HOW TO USE THE DIVE LIGHT:
Charging the battery pack
The charger is suitable for mains between 100-240 Vac. We deliver the battery pack empty, so it is important to charge the empty
pack completely with a full charge cycle.
Make sure that the connector is clean and dry. Securely plug the charge connector into the battery tank.
The charger is fitted with a Delta-V charge controller. The charge controller switches over to pulse charging as soon as the battery
reaches its full power. Please wait until the small light (LED) on the charger lights green continuously before you disconnect the
charger from the battery pack.
Battery test: the LED indication will flash red 5 sec.
Charging: The LED indication lights red continuously.
Battery pack full / trickle charge: the LED indication lights green continuously.
Warning:
Always use the charger that is delivered with the dive light!!! The use of other chargers can damage the battery cells
inside!!!
Connection the cable light onto the battery tank
The connection of the cable-light to the battery pack is done by placing the connector in the water seal connector seat on the battery
pack. The connection is made with a little inward push and a turn to the right. Disconnection is done by doing the same sequence in
reverse.
Make sure that the connectors are completely clean and dry. When necessary, clean the O-ring and use a little bit of silicone
grease to produce a better water tight seal.
Warning:
Never disconnect the the light from the battery pack under water!!!! This will damage the connector inside the battery
pack!!!!!
Switching the cable light on and off
The light is switched on by sliding the locking bolt on the switch backwards and then turning the switch to the righ (90 degrees).
The light power varies from 0 until 100%. When the switch is turned about 45 degrees you can feel a heavy point, which indicates
approximately 50% light power. To turn the light off, rotate the switch back to the left until it clicks into the off position. To lock the light,
slide the locking bolt back and rotate the switch to the left until it clicks (locks) into the locked position.
The LED display on the back of the lamp housing tells you the following:
LED green: 100% - 50% remain capacity
LED orange: 50% - 20% remain capacity
LED red: 20% - 10% remain capacity
LED red blinking: 10% - 0% remain capacity left: the light will automatically drop down to 50% capacity
(10 minutes are left before the light switches off)
Note: These values are guiding values only and depend very much on water temperatures and the type of battery tank!
The values shown above were measured at a water temperature of 20°Celsius. In colder water (for instance 10°Celsius
or less) the LED light will go from green to orange in just a few minutes.
Remark:
If you don't use the torch for a longer time we advise you to disconnect the cable-light from the battery pack to prevent discharging of
the battery pack.
Never store the battery pack uncharged for a long period. If the battery pack is not used for a long period, we advise you
first to charge the battery pack completely and then every three months to dis- and recharge the battery pack completely.
°
Signal options
Beacon flash (one flash per second): turn the switch (within 1 sec.) from full power to half power and back to full power.
Strobe flash (four flashes per second): turn the switch for a second time (within 1 sec.) from full power to half power and
back to full power.
S.O.S. flash: turn the switch for a third time (within 1 sec.) from full power to half power and back to full power.
The S.O.S. flash should only to be used in case of an emergency. In this position it flashes S.O.S. in Morse code, 3 x
short – 3 x long – 3 x short.
To exit any signal option: turn off the dive light.
PR1209 / PR1213 FX1204 / FX1209
Deep discharge protection
When the battery is almost empty (0,9 V per cel) the deep discharge protection will switch off the light.
This prevents damage of the battery cells.
Removal of the halogen light unit/LED unit
Turn the lamp ring on the front side of the lamp to the left. Now the unit can be pulled off from the housing.
Rinse the O-ring and apply a thin coating of silicone grease. Replace the lamp ring and turn it to the right until it is firmly in
place.
Replacing bulbt (Halogen Unit)
Turn the lamp ring on the front side of the lamp to the left. Now the unit can be pulled off from the housing. Remove the bulb and
insert a new bulb. Ensure that the bulb is located all the way in the socket. Rinse the O-ringon the housing and grease it with
silicone grease. Replace the front glass and turn it to the right until it is firmly in place. Check the lamp for correct operation.
Remark:
- Always use the light bulb advised by the manufacture.(12 Volt GY6,35 socket max. power 50 Watt)
- Never touch the light bulbs with your bare fingers, this will cause the light bulb to burn out prematurely,
use a clean tissue or cloth.
Connection of the battery tank PR1209 / PR1213 onto the tank or BCD
First connect the tank plate onto the bottle or jacket belt.
You can use two methods:
1. Connect the tank plate with stainless steel belts on the bottle
2. Connect the tank plate on the BCD belt by guiding the belt through the slots in the plate (see figure).
Now you can connect the battery pack onto the plate by depressing the locating button, pushing the
battery pack down onto the locating part then, onto te securing port and release the locating button
Connection of the battery tank FX1204 / FX1209 onto the cilinder
Slide the bracket of the battery tank over the belt of the stabilizing jacket. Close the belt securely.
General:
- After each dive, soak the lamp in clean fresh water for a few minutes. (Note: not the contacts in the
cable port on the batterytank!!)
- Rinse the dive light under running water to remove all traces of sand and salt.
- Avoid physical impact.
- Avoid overheating and direct exposure to sunlight.
Comments:
· To make sure the light doesn’t overheat or causes burn damage to objects in its immediate vicinity, it is advisable to use it
only under water.
· When the light is not in use, turn the switch fully to the left (locking position)
· Never store the batterypack uncharged for a long period. If the batterypack is not used for a long period, we advise
you first to charge the batterypack completely and then every three months to dis- and recharge the batterypack
completely. When the battery has been stored uncharged for a long period, it can lose its charge entirely. This can
cause irreparable damage to the battery cells.
This manual suits for next models
4
Other METALSUB Cables And Connectors manuals


