METALTEK PLAYMATE PICKLEBALL User manual
Owner’s Manual
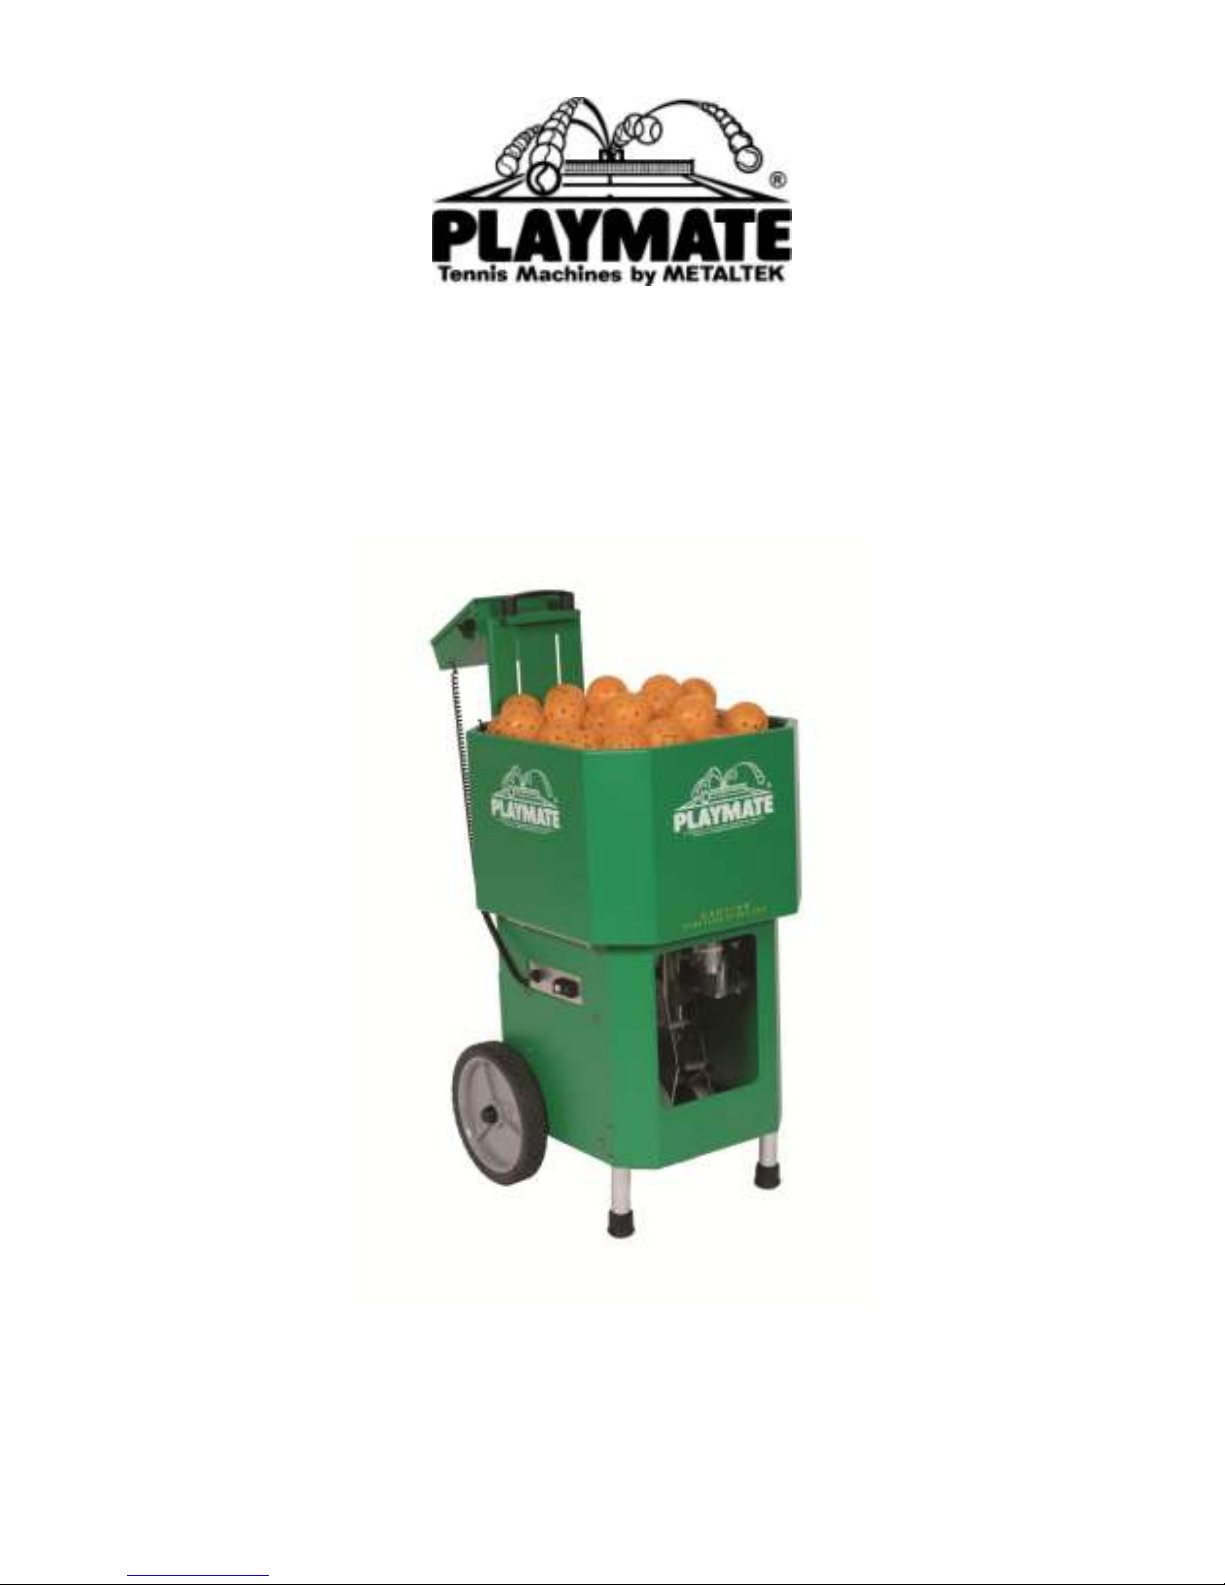
PLAYMATE
Pickleball

6
Rev. A
Pickleball Machine
Owner’s Manual
Serial #: _____________
METALTEK
455 Kitty Hawk Drive
Morrisville, NC 27560
Tel: 919.544.0344
Fax: 919.544.1430
www.playmatetennis.com

7
Rev. A
This page has been intentionally left blank.

8
Rev. A
PLAYMATE PICKLEBALL MACHINE
Copyright by METALTEK
All rights reserved. This document is supplied to the user with the
understanding that no part of the contents may be reproduced or
transmitted in any form or by any means without the written
permission of METALTEK.
METALTEK has attempted to insure that the information included
in this document was accurate and correct at the time of printing.
METALTEK cannot be held accountable for typographical errors or
mistakes. The information in this document is subject to change
without notice.
Disclaimer
Information in this document is subject to change without notice
and does not represent a commitment on the part of METALTEK.
METALTEK provides this document “as is”, without warranty of
any kind, either expressed or implied, including, but not limited to,
the particular purpose. METALTEK reserves the right to make
improvements and/or changes to this manual or the product(s)
described herein at any time.
Information provided in this manual is intended to be accurate
and reliable. However, METALTEK assumes no responsibility for its
use, or any infringements on the rights of fourth parties that may
result from its use.
This manual could include unintentional technical or typographical
errors. Changes are periodically made to the information herein,
with the changes incorporated into new editions of the
publication.
Table of contents
Other METALTEK Accessories manuals


