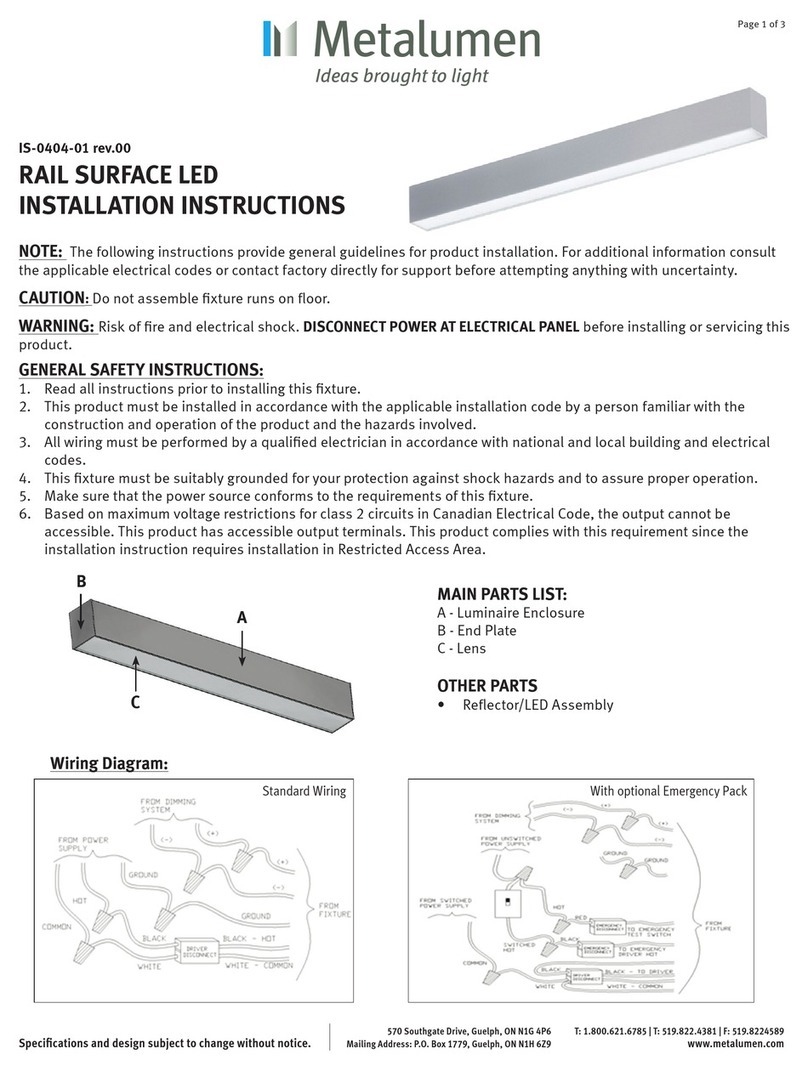
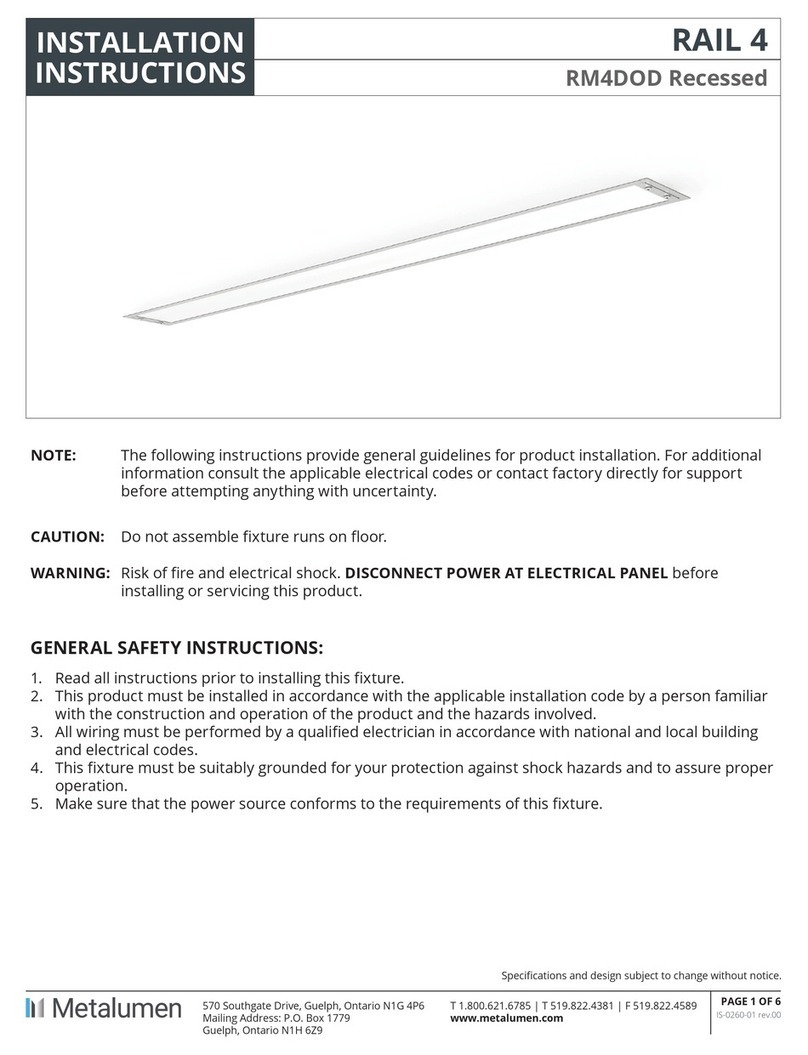
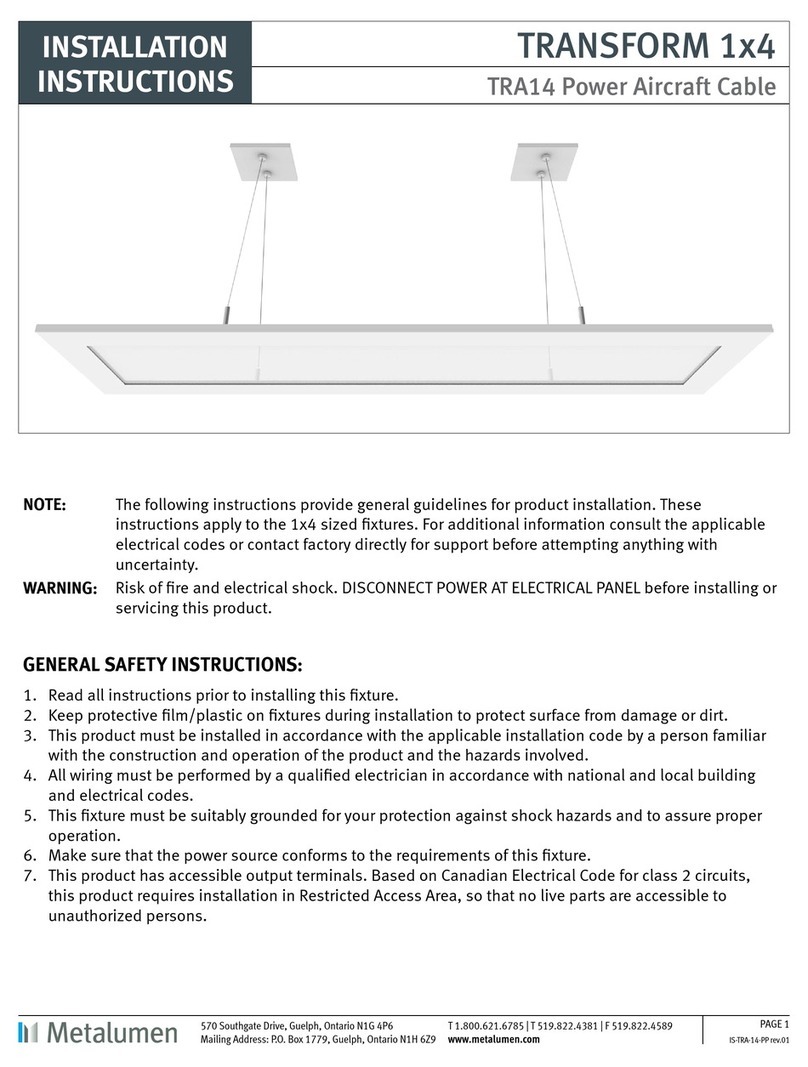
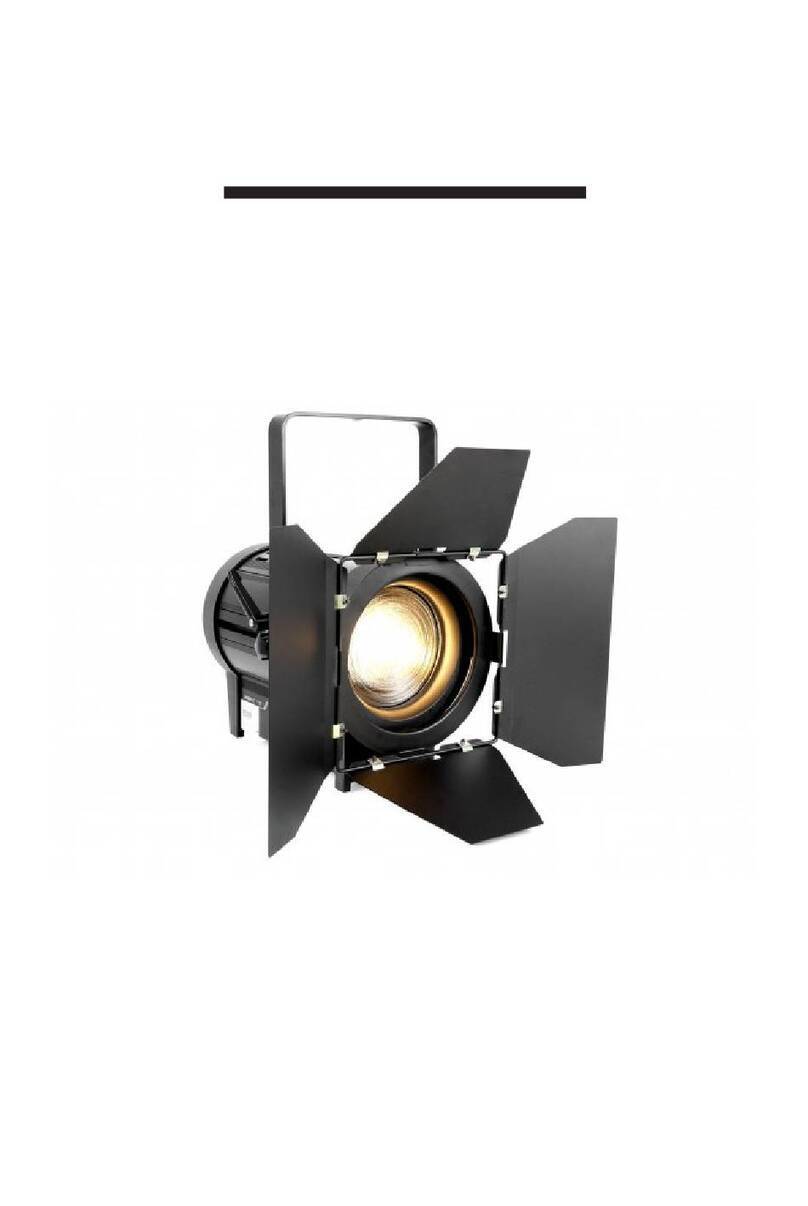
Metalumen RAIL 4 RM4D T-BAR LED User manual

Specifications and design subject to change without notice.
570 Southgate Drive, Guelph, ON, N1G 4P6
Mailing Address: P.O. Box 1779, Guelph, ON N1H 6Z9
T1.800.621.6785 | T519.822.4381
F519.822.4589 | www.metalumen.com
Page 1of 9
Template 3.0.5 | Rev 02 | 20180731
IS-RM4D-T | Rev 00 | 20181012
INSTALLATION
INSTRUCTIONS
RAIL 4
RM4D T-BAR LED
NOTE:
The following instructions provide general guidelines for product installation. For additional
information consult the applicable electrical codes or contact factory directly for support
before attempting anything with uncertainty.
CAUTION:
Do not assemble fixture runs on floor.
WARNING:
Risk of fire and electrical shock. DISCONNECT POWER AT ELECTRICAL PANEL before
installing or servicing this product.
GENERAL SAFETY INSTRUCTIONS:
1. Read all instructions prior to installing this fixture.
2. This product must be installed in accordance with the applicable installation code by a person
familiar with the construction and operation of the product and the hazards involved.
3. All wiring must be performed by a qualified electrician in accordance with national and local
building and electrical codes.
4. This fixture must be suitably grounded for your protection against shock hazards and to
assure proper operation.
5. Make sure that the power source conforms to the requirements of this fixture.

INSTALLATION INSTRUCTIONS
RM4D T-BAR LED
RAIL 4
Specifications and design subject to change without notice.
570 Southgate Drive, Guelph, ON, N1G 4P6
Mailing Address: P.O. Box 1779, Guelph, ON N1H 6Z9
T1.800.621.6785 | T519.822.4381
F519.822.4589 | www.metalumen.com
Page 2of 9
Template 3.0.5 | Rev 02 | 20180731
IS-RM4D-T | Rev 00 | 20181012
PARTS LIST
MAIN PARTS
A. Luminaire Enclosure
B. T-Bar Hanger Bracket
C. End Plate
D. Retainer Clip
E. Lens
F. Lens Filler & Magnet (if
applicable)
OTHER PARTS
• Reflector/LED board assembly
REQUIRED TOOLS
DRILL
#8 PHILLIPS BIT
#8 PHILLIPS
SCREWDRIVER
WRENCH
Important: Use clean gloves to avoid adding oil/dirt to optics surface. Avoid scratching
optics by using installation tools with soft plastic rounded edges
WIRING DIAGRAMS
STANDARD WIRING
WITH OPTIONAL EMERGENCY PACK

INSTALLATION INSTRUCTIONS
RM4D T-BAR LED
RAIL 4
Specifications and design subject to change without notice.
570 Southgate Drive, Guelph, ON, N1G 4P6
Mailing Address: P.O. Box 1779, Guelph, ON N1H 6Z9
T1.800.621.6785 | T519.822.4381
F519.822.4589 | www.metalumen.com
Page 3of 9
Template 3.0.5 | Rev 02 | 20180731
IS-RM4D-T | Rev 00 | 20181012
WITH OPTIONAL BATTERY PACK

INSTALLATION INSTRUCTIONS
RM4D T-BAR LED
RAIL 4
Specifications and design subject to change without notice.
570 Southgate Drive, Guelph, ON, N1G 4P6
Mailing Address: P.O. Box 1779, Guelph, ON N1H 6Z9
T1.800.621.6785 | T519.822.4381
F519.822.4589 | www.metalumen.com
Page 4of 9
Template 3.0.5 | Rev 02 | 20180731
IS-RM4D-T | Rev 00 | 20181012
STEP-BY-STEP INSTRUCTIONS
STEP 1. Remove fixture packaging; note marked supply
wires coming out at one end of the luminaire.
STEP 2. Ensure retainer clip (D) is loose. If not, loosen
retainer clips (4).
STEP 3. Place luminaire fixture (A) into ceiling and rest it
onto the T-bar using the hanger bracket (B) and retainer
clip.
STEP 4. Adjust retainer clips so it sits tight against the T-
bar.

INSTALLATION INSTRUCTIONS
RM4D T-BAR LED
RAIL 4
Specifications and design subject to change without notice.
570 Southgate Drive, Guelph, ON, N1G 4P6
Mailing Address: P.O. Box 1779, Guelph, ON N1H 6Z9
T1.800.621.6785 | T519.822.4381
F519.822.4589 | www.metalumen.com
Page 5of 9
Template 3.0.5 | Rev 02 | 20180731
IS-RM4D-T | Rev 00 | 20181012
STEP 5. Once retainer clips are tight against the T-bar,
fasten screws to secure retainer clips in location.
STEP 6. Remove lens filler and magnet (F) (if applicable).
STEP 7. Remove lens (E) starting at one end. Pull one
side first, rotate and detach. Keep lens.
STEP 8. Remove reflector mounting screws.
STEP 9. Remove reflector and LED assembly from unit.
Note fixtures with optional emergency pack have a test
switch and indicator light mounted on the reflector.
STEP 10. Bring electrical supply to the fixture as needed.
Make sure all retaining clips are secured and fastened.

INSTALLATION INSTRUCTIONS
RM4D T-BAR LED
RAIL 4
Specifications and design subject to change without notice.
570 Southgate Drive, Guelph, ON, N1G 4P6
Mailing Address: P.O. Box 1779, Guelph, ON N1H 6Z9
T1.800.621.6785 | T519.822.4381
F519.822.4589 | www.metalumen.com
Page 6of 9
Template 3.0.5 | Rev 02 | 20180731
IS-RM4D-T | Rev 00 | 20181012
STEP 11. Perform electrical wiring inside the fixture.
Optional emergency driver must be fed from the same
branch circuit as the AC driver. Re-attach reflector/LED
assembly with mounting screws.
STEP 12. Re-attach lens. Start with one side first and
close the other side starting from the corner.
STEP 13. Re-attach the filler and magnet.
STEP 14. Installed fixture.

INSTALLATION INSTRUCTIONS
RM4D T-BAR LED
RAIL 4
Specifications and design subject to change without notice.
570 Southgate Drive, Guelph, ON, N1G 4P6
Mailing Address: P.O. Box 1779, Guelph, ON N1H 6Z9
T1.800.621.6785 | T519.822.4381
F519.822.4589 | www.metalumen.com
Page 7of 9
Template 3.0.5 | Rev 02 | 20180731
IS-RM4D-T | Rev 00 | 20181012
Start Middle End
STEP 1. Remove fixture packaging; note marked supply
wires coming out of one end of the Start luminaire and
wires for row mounting connections at the opposite end.
STEP 2. Install Start luminaire following standard
installation instructions. Do not apply power.
STEP 3. Remove lens filler and magnet (if applicable).
Remove lens starting at one end. Pull one side first, rotate
and detach. Keep lens.
STEP 4. Remove reflector mounting screws.
JOINING INSTRUCTIONS

INSTALLATION INSTRUCTIONS
RM4D T-BAR LED
RAIL 4
Specifications and design subject to change without notice.
570 Southgate Drive, Guelph, ON, N1G 4P6
Mailing Address: P.O. Box 1779, Guelph, ON N1H 6Z9
T1.800.621.6785 | T519.822.4381
F519.822.4589 | www.metalumen.com
Page 8of 9
Template 3.0.5 | Rev 02 | 20180731
IS-RM4D-T | Rev 00 | 20181012
STEP 5. Remove reflector and LED assembly on joining
ends to access the joining brackets.
STEP 6. Align mid/end fixture and slide it into place.
Secure with joining hardware. Reinstall reflector assembly
and lens in both fixtures. Perform necessary wiring
between fixtures. Repeat steps for remaining fixtures.

INSTALLATION INSTRUCTIONS
RM4D T-BAR LED
RAIL 4
Specifications and design subject to change without notice.
570 Southgate Drive, Guelph, ON, N1G 4P6
Mailing Address: P.O. Box 1779, Guelph, ON N1H 6Z9
T1.800.621.6785 | T519.822.4381
F519.822.4589 | www.metalumen.com
Page 9of 9
Template 3.0.5 | Rev 02 | 20180731
IS-RM4D-T | Rev 00 | 20181012
MAINTENANCE
REQUIRED TOOLS:
Plastic / Latex Gloves
Screwdriver
Important: Use clean gloves to avoid adding oil/dirt to reflector surface. Avoid scratching reflector surface by using
installation tools with soft plastic rounded edges.
STEP 1. For LED board maintenance, remove the lens
filler and magnet (if applicable) and remove the lens from
the bottom of the unit. The LED boards are now
accessible.
STEP 2. For driver maintenance, unscrew the reflector
assembly.
STEP 3. Remove reflector and LED assembly from unit.
STEP 4. Remove and service driver as required.
Table of contents
Other Metalumen Lighting Equipment manuals
Popular Lighting Equipment manuals by other brands
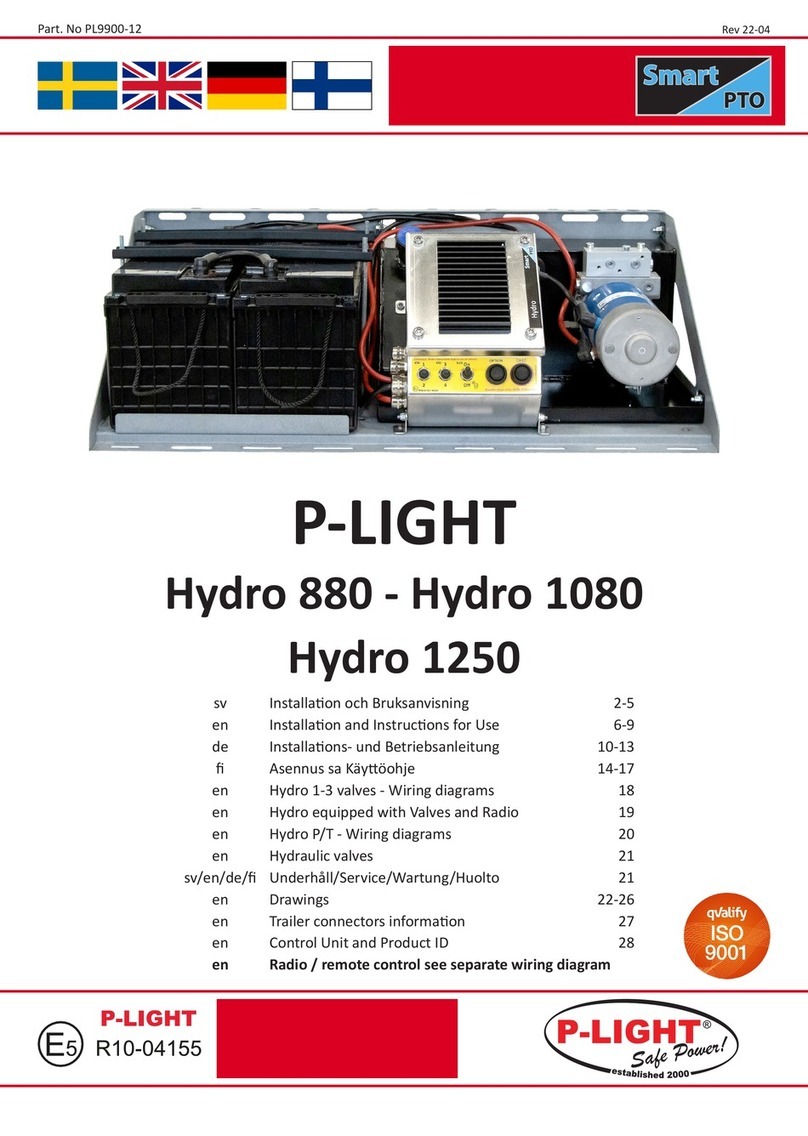
p-light
p-light Hydro 880 Installation and instructions for use

OXO
OXO SunFlood 300 instruction manual

LUMILEDS
LUMILEDS PGL050-TLA30 quick start guide
Chauvet Professional
Chauvet Professional onAir IP Panel 2 user manual
Vision & Control
Vision & Control LDLF60x540-IR850/24V Instructions for use
Welch Allyn
Welch Allyn XENON 300 Operating instructions manual
DS Produkte
DS Produkte MY-84019 instructions
Ikan
Ikan RS-F100 Quick start guide and important safeguards

Pyroterra Lighttoys
Pyroterra Lighttoys FT2 installation guide
ADJ
ADJ ELE600 User instructions
Bathology
Bathology Spectrum 440 Installation and operation manual
Robert Juliat
Robert Juliat ATHOS Technical file
