Metric Halo ULN-8 User manual


ULN-8 Quick Start Guide
Metric Halo
$Revision: 1671 $
Publication date $Date: 2012-7-21 12:42:12 -0400 (Mon, 21 Jul 2012) $
Copyright © 2012 Metric Halo

3
Table of Contents
1. ULN-8 Quick Start Guide ............................................................................................................. 5
Prepare the unit for use ............................................................................................................ 5
Connect the ULN-8 to your computer ........................................................................................ 6
Get familiar with the front panel ............................................................................................... 6
Take a listen ............................................................................................................................ 6
The MIO Console ..................................................................................................................... 6
The Mixer window ................................................................................................................... 8
The ULN-8 and surround .......................................................................................................... 9
Unleash the DSP .................................................................................................................... 11
Additional Resources ............................................................................................................. 12

4
List of Figures
1.1. ULN-8 ..................................................................................................................................... 5
1.2. ULN-8 Routing ......................................................................................................................... 6
1.3. Console window ...................................................................................................................... 7
1.4. Mixer window .......................................................................................................................... 8
1.5. Surround mixer ........................................................................................................................ 9
1.6. Configuring the Monitor Controller ........................................................................................... 10
1.7. The configured Monitor Controller ........................................................................................... 11
5
1. ULN-8 Quick Start Guide
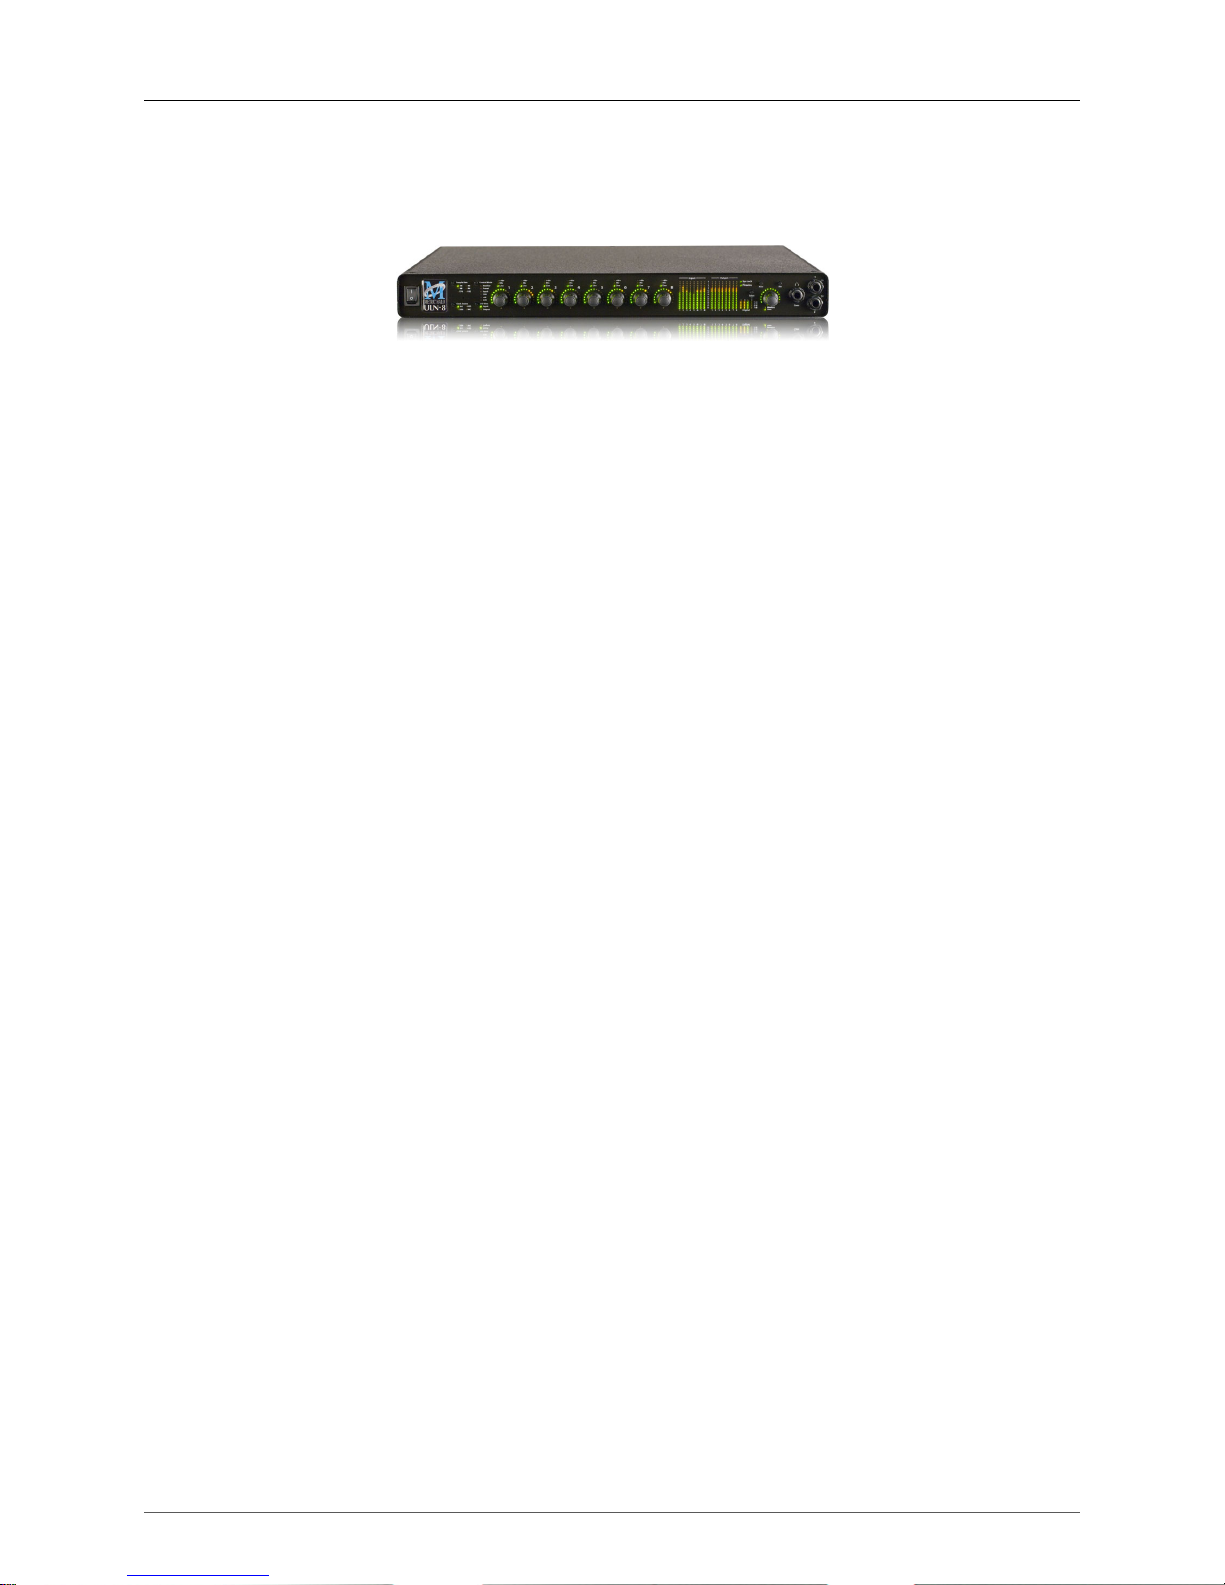
Figure 1.1: ULN-8
Prepare the unit for use
Unpack the ULN-8 and make sure all the parts are there:
• One ULN-8 unit
• One IEC Power Cord appropriate for your area
• One 24-volt 48-watt world-ready external power supply
• One 30” IEEE 1394 9-pin to 6-pin FireWire Cable
• One 4.5 meter IEEE 1394 9-pin to 6-pin FireWire Cable
• Two Rack Ears w/ fasteners
• Rubber feet
• Configuration jumpers
• MIO Software CD-ROM
• Warranty/Registration Card
Bask in the look and feel of the ULN-8! Once you’re finished, connect the power supply. Now connect your
input and output cables along with your monitors and signal sources. Your monitors should be connected to
Analog Out 1/2, either via a DB25 cable or the 1/4" TRS jacks. Turn the unit on using the front panel switch.
Cool, isn’t it?
Table of contents
Other Metric Halo Recording Equipment manuals


