Meyra Trilett 2 User instructions

en
Assembly- /
Operating manual
Toilet seat raiser
Model 3011492, Trilett 2
MEANING OF THE APPLIED
MARKERS
Safety instructions with a coloured back-
ground are mandatory and need to be ob-
served under any circumstance!
☞This symbol indicates tips and recommen-
dations.
[ ] Reference to a picture number.
( ) Reference to a function element within a
picture.
INTRODUCTION
Read and observe this manual before first
operation.
Children and adolescents should read this
document if necessary together with their
parents or a supervisor or accompanying
person before first use.
Your specialist dealer should also introduce
you into the use of your toilet seat raiser.
This operating manual is to help you get accus-
tomed to the handling of the product as well as
to prevent accidents.
☞Please note that the illustrated equipment
variants can deviate from your model.
We have therefore also listed chapters with
options that might not be applicable for your
individual toilet seat raiser. A list of the available
options and accessories can be viewed in the
order form of your toilet seat raiser.
Users with visual impairments can find the PDF-
files together with further information on our
website:
< www.meyra.com >.
☞Contact your specialist dealer when re-
quired.
Alternatively users with visual impairments can
have the documentation read out by a helper.
Inform yourself regularly about product safety
and possible recalls of our products in the < In-
formation center > on our website:
< www.meyra.com >.
We have developed a product that fulfils the
technical and legal requirements of medical
devices. For information about a severe acci-
dent that can still not be ruled out completely,
please use our E-mail address < info@meyra.
de > and inform the responsible governmental
agency of your country.
2
LIST OF MODELS
This operating manual applies to the following
models:
Model 3011492
INDICATIONS /
CONTRAINDICATIONS
In case of allergic reactions, skin rashes and/
or pressure sores during the use of the toilet
seat raiser sores contact a doctor immediate-
ly.
The toilet seat raiser serves to improve inde-
pendent use of the toilet for people with limi-
tations in mobility (limited ability to sit down or
get up, resp. sitting in deep positions).
The toilet seat raiser may not be used in cases
of:
– Inability to sit.
The toilet seat raiser may only be used with an
accompanying person in case of:
– Uncontrollable balance or motion disor-
ders.
– Loss of limbs on arms and legs.
– Insufficient eyesight.
– Lacking ability to rise independently.
☞Please ask your doctor, therapist or
specialist dealer to these and possible
other risks in combination with this
product.
ACCEPTANCE
All products are checked for faults in the facto-
ry and packed in special boxes.
☞However, we request that you check the
vehicle for possible transport damage im-
mediately on receipt – preferably in the
presence of the carrier.
☞The packaging of the toilet seat raiser
should be stored for a further transport
that might become necessary.
INTENDED PURPOSE
This product serves as a seat raiser to ease
the use of the toilet on common ceramics for
adults.
USE
The toilet seat raiser is height adjustable in
three steps and can therefor be adjusted to dif-
ferent users.
The foldaway and removable arm supports
make sitting down and getting up easier. Fix-
ation is done on the rear attachment holes of
the commode ceramics.
COMBINATION WITH MAN-
UFACTURER FOREIGN
PRODUCTS
Any combination of your toilet seat raiser with
components not supplied by us generally re-
sults in an amendment to your toilet seat raiser.
Please inquire with us if there is a valid combi-
nation clearance/release.
REINSTALLMENT
The toilet seat raiser is suited for reinstallment.
Before reinstallment the toilet seat raiser is to
undergo complete inspection.
☞Hygienical measures required for reinstall-
ment are to be carried out according to a
validated hygienic plan and must include
disinfection.
Depending on the maintenance result it can be
reinstalled several times.

3
LIFE SPAN
We expect an average lifespan of about 4 years
for your toilet seat raiser, as far as the toilet seat
raiser is applied for its designated purpose and
all maintenance and service guidelines.
The life span of your toilet seat raiser depends
upon the frequency of use, the application en-
vironment and care.
The implementation of spare parts can prolong
the life span of the toilet seat raiser. As a rule
spare parts are available up to 5 years after pro-
duction is discontinued.
☞The indicated lifespan does not constitute
additional guarantee.
SCOPE OF DELIVERY
Toilet seat raiser:
(1) 1x Toilet seat raiser
(2) 1x Right arm support
(3) 1x Left arm support
– 1x Assembly and user manual
ASSEMBLY INSTRUCTIONS
The following assembly is to be carried by a
qualified specialist.
Watch for jamming areas during the com-
plete assembly. – Danger of jamming!
Keep the working area clean during the as-
sembly!
Toilet seat raiser
Make sure that all screwed connections fit
tightly.
The toilet seat raiser is supplied pre-assembled
in the middle height position. The arm sup-
ports are inserted separately.
1. Disassemble the seat and lid of your toilet.
2. Fit the two attachment thread pins to the
hole dimension of your toilet ceramics [1
on page 12].
3. Centre the toilet seat raiser by sliding it into
the correct position on the ceramics.
4. Fasten the toilet seat raiser onto the ceram-
ics [2on page 12] with the attachment
nuts.
Arm supports
1. Insert the arm supports on the left and
right hand side vertically into the exist-
ing receptacles [3on page 12] + [4on
page 12]. Now swivel the arm supports
down.
☞For disassembly, swivel the arm supports
back until they can be pulled out of the
receptacles to the side.
Height adjustment
After height adjustment ensure that the
support elements have correctly locked into
place.
Make sure that the height adjustments are
adjusted evenly.
Height adjustment in carried out in the back by
evenly repositioning [5on page 12] the hori-
zontal bar and in the front by repositioning the
clips of the support elements [6on page 12].
1. Remove the rear cover caps. For this de-
press the spring clips, slide the cover caps
upward and remove them.
2. Loosen the rear screws [5on page 12]
with a fitting screw driver and reattach
them handtight in the desired position.
3. Replace both cover caps. Watch for the
maker on the inside of the caps (L = left
and R = right).
4. Now pull the two support elements [6on
page 12] out of their position and insert
them into the new desired position. The

4
anti-slip coating should face the toilet ce-
ramics.
USER MANUAL
Safety information
Do not stand/sit on the lid.
Support yourself evenly with both hands on
the arm supports.
Pay attention to the tight screwed connec-
tion of the toilet ceramics, the horizontal rod
and secure fit of the front support elements.
Have defective parts replaced immediately
by the specialist dealer.
Do not grab into the area at the back of the
arm supports with your hands. – Danger of
jamming!
Before each use make sure that the arm sup-
ports are securely snapped into place.
Before use make sure that the product is
functional. – Danger of accidents!
Ensure that you do not jam yourself when
using the lid.
Keep the arm supports free of oil and grease.
– Danger of accidents!
Soap and shower gel increase the risk of slip-
ping!
The MEYRA company cannot accept liability
for damage or risks associated with unsuper-
vised children using the toilet seat raiser!
Your toilet seat raiser may contain flammable
materials.
Smoking while handling the toilet seat raiser
is not permitted.
In case of direct exposure to heat rays (sun-
light, heat sources etc.) the toilet seat raiser
can heat up to temperatures above 41 °C.
– Contact with exposed skin can result in in-
jury!
CLEANING
The plastic parts are corroded through
non-ionic tensides as well as solvents and es-
pecially alcohol.
Clean the toilet seat raiser with a suitable cloth,
soaked in warm water and using a pH-neutral
handsoap.
Follow-up with clean water and allow to dry.
DISINFECTION
If the product is used by more than one person
(for example in a care centre), the use of a com-
mercial disinfectant is mandatory.
☞The toilet seat raiser cushion is to be
cleaned before disinfection.
☞A spray- or wiping disinfection is permitted
with tested and accredited disinfectants.
You can get information on tested and permit-
ted disinfectants and procedures at your na-
tional facility for health protection.
☞During the use of disinfectants it can hap-
pen that surfaces might be affected in
such a fashion that the long term function-
ality of parts can be limited.
☞In doing so the manufacturers instructions
are to be observed.
5
REPAIRS
Repairs are generally to be carried out by
a specialist dealer.
Repairs
Trustingly contact your specialist dealer for
maintenance work. He has been introduces to
the maintenance.
Customer Service
In case you have any questions or need help
please contact your specialist dealer who can
assume counselling, customer service and re-
pairs.
Spare parts
Spare parts can only be ordered from special-
ist dealers. In case of repair work, only original
spare parts are to be used!
☞Spare parts from other manufacturers can
cause malfunctions.
The spare parts list with the respective part
numbers and drawings is available at the spe-
cialist dealer.
In order to ensure the correct delivery of a
spare part, always quote the corresponding se-
rial number (SN) of the toilet seat raiser! You will
find this on the type plate.
Whenever repairs are carried out on the toilet
seat raiser by the specialist dealer, the supple-
mentary information, e.g. assembly/operating
instructions must be attached to the operat-
ing manual of the toilet seat raiser, the date of
the modification must be recorded and stated
when ordering spare parts.
This should prevent wrong order details on fu-
ture spare parts orders.
DISPOSAL
The disposal must comply with the respective
national law.
Please enquire about local disposal arrange-
ments at your municipal authority.
MAINTENANCE
Inadequate or neglected care and mainte-
nance of the shower and shower and toilet
wheelchair will lead to limitation of the manu-
facturers liability.
Maintenance
The following maintenance Instruction gives
you a guide for carrying out the maintenance
work.
☞The maintenance plan does not give in-
formation about the actual extent of work
determined on the toilet seat raiser.

6
Maintenance schedule
WHEN WHAT REMARK
Before use Check toilet seat raiser
for damage.
Carry out the test yourself or
by a helper.
If deformations or cracks
occur contact the specialist
workshop immediately for
repairs. – Danger of acci-
dents!
Before use Check the lid and arm
supports for damages.
Carry out the test yourself or
by a helper.
If deformations or cracks
occur contact the specialist
workshop immediately for
repairs. – Danger of acci-
dents!
After use Cleaning Carry out the cleaning by
yourself or by an aid.
Every 6 months
(depending on frequency of
use)
Check the arm supports
for damages and the
screwed connections
for firm seat.
Carry out the test yourself or
by a helper.
Manufacturer recom-
mendation:
Every 12 months
(depending on frequency of
use)
Safety inspection To be carried out by the spe-
cialist dealer.
7
TECHNICAL DATA
All data given in the < Technical data > refers to
the standard version.
Dimensional tolerance ±15 mm, ± 2°.
Applied norms
The toilet seat raiser corresponds to the norm:
– ISO 17966: 2016
Data according to ISO for model
3011492, Toilet seat raiser
Length 520 mm
Width 570 mm
Height 350 mm
Hole distance (Toilet
ceramics) 30 – 390 mm
Hole diameter (Toilet
ceramics) ø 8.5 mm
Height adjustment 80 / 110 / 140 mm
Arm support height 200 mm
max. user weight 110 kg
Weight 3.6 kg
Material Polypropylene
max. water temperature
for cleaning 80 °C
Ambient temperature +10 °C to + 40 °C
Storage temperature -40 °C to + 65 °C
Type plate
The type plate is located on the inside of the
raiser body.
Tools
The following tools are required for adjust-
ments and maintenance:
Phillips screw driver
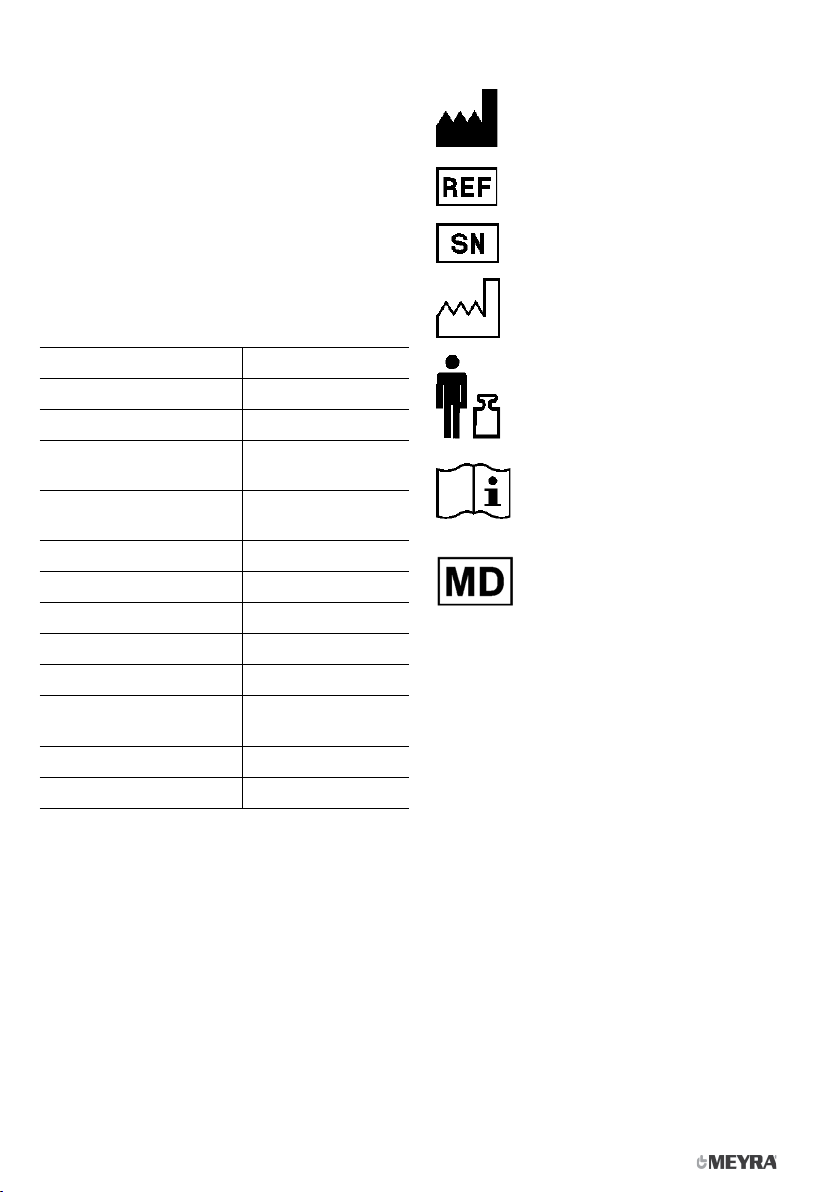
Meaning of the symbols on the type
plate
Manufacturer
Order number
Serial number
Production date
Permitted user weight
Observe the operating manual
Medical device

8
WARRANTY / GUARANTEE
Failure to observe the instructions in the
operating manual, improperly carried out
maintenance work and, especially, technical
changes and additions (add-ons) carried out
without our prior consent will lead to a gen-
eral loss of guarantee and product liability.
We accept legal liability for this product within
the scope of or general terms and conditions
and warranty and in certain cases other verbal
resp. agreed upon guarantees. For warranty
and guarantee demands please contact your
specialist dealer with following Warranty/Guar-
antee section and the there included informa-
tion on model description, delivery note num-
ber with delivery date and serial number (SN).
The serial number (SN) can be read off of the
type plate.
Precondition for the acceptance of liability in
any case is the intended use of the product, the
use of original spare parts by authorised deal-
ers as well as maintenance and inspections in
regular intervals.
Guaranty is not granted for surface damages,
tyres of the wheels, damages due to loosened
screws or nuts as well as worn out attachment
holes due to frequent assembly work.
Furthermore, damage to the drive and elec-
tronics caused by improper cleaning using
steam cleaning equipment or the deliberate or
accidental flooding of the components are also
excluded.
Interferences through radiation sources such as
mobile phones with high transmission power,
HiFi-equipment and other extreme interfer-
ence radiators outside of norm specifications
cannot be declared as warranty or guarantee
claims.
This operating manual as a part of the product
is to be handed out in case of a change of own-
er.
For evaluation of our products you can use our
< Information center > sector < PMS > on our
website < www.meyra.com >.
We reserve the right to make technical im-
provements.
SN (view type plate):
Warranty / Guarantee
Date of delivery:
Delivery note no.:
Model designation:
Stamp of the specialist dealer:
9
This product is conform with the EC-directive 93/42/EEC (MDD) and fulfils the from
May 25th 2021 valid requirements of the regulation (EC) 2017/745 for medical devices.
Warrantee / Guarantee section
Please fill out! Copy if necessary and send the copy to the specialist dealer.
10
NOTES

11
NOTES

MEYRA GmbH
Meyra-Ring 2
32689 Kalletal Kalldorf
GERMANY
Tel +49 5733 922 - 311
Fax +49 5733 922 - 9311
www.meyra.de
13
5
2
46
This product is conform with the EC-direc-
tive 93/42/EEC (MDD) and fulfils the from
May 25th 2021 valid requirements of the
regulation (EC) 2017/745 for medical devic-
es.
205 317 401 (Status: 2021-07) All technical modifications reserved.
This manual suits for next models
1
Table of contents


