manuals.online logo
Brands
  1. Home
  2. •
  3. Brands
  4. •
  5. Clou
  6. •
  7. Bathroom Fixture
  8. •
  9. Clou First CL/04.06030 User manual

Clou First CL/04.06030 User manual

Montage instructies
Installation Instructions
Notice de montage
Montageanweisungen
Dimensions in mm, for reference only / 15.11.2016 / rev_02 www.clou.nl
first_short toilet seat
CL/04.06030
bath findings
- Alvorens de montage te beginnen moet de volledigheid
van de levering gecontroleerd worden. Tevens moet ook op
transportschade gecontroleerd worden, te late schademel-
dingen (> 1 dag na levering) worden niet aanvaard.
- De meegeleverde bevestigingsartikelen zijn geschikt voor
gestucte of betegelde, massieve muren die voldoende
draagkracht hebben. Voor andere muren dient men zelf
bevestigingsartikkelen te voorzien en dient de muur mo-
gelijk verstevigd te worden.
- Clou behoudt zich het recht voor technische en optische wijzigingen aan te brengen
t.o.v. afgebeelde producten.
- Door wijzigingen in de productie kan het zijn dat gegeven afmetingen niet meer cor-
rect zijn. Alle vermelde afmetingen in deze handleiding dienen te worden geverifi-
eerd alvorens de actie uit te voeren.
- Clou b.v. kan niet verantwoordelijk worden gesteld voor de gevolgen van onaange-
past gebruik, onaangepast transport of beschadigingen veroorzaakt door tussenop-
slag.
- De van toepassing zijnde garantievoorwaarden gelden steeds.
- De montage dient uitgevoerd te worden door 2 personen waarvan minstens één vak-
kundig opgeleid persoon.
- Alle maten zijn in mm.
- Before starting with the mounting check whether the
delivery is complete. At the same time the delivery should
be checked for damage due to transportation, damage
reports that are too late (> 1 day after delivery) will not be
accepted.
- The included fixing media are suited for plastered or tiled
solid walls with enough supporting power. For other walls
the used fixing media is at own responsibility, and the
wall might need reinforcement.
- Clou reserves the right to introduce technical and visual changes with respect to the
depicted images.
- Due to changes in production it is possible that given dimensions are no longer cor-
rect. All mentioned dimensions in this manual should be verified before executing
the action.
- Clou b.v. can not be held responsible for the results of improper use, improper trans-
portation or any damage caused during interim storage.
- The current terms of guarantee are always valid.
- The installation has to be performed by at least 2 persons of whom at least one
should be a skilled professional.
- all dimensions are in mm.
NL
EN
- Avant de procéder au montage, veuillez contrôler si l’article
livré est complet. Veuillez aussi contrôler des dommages
éventuels causés par le transport, nous n’acceptons pas de
réclamations dues à des dégâts causés par le transport au-
delà de 1 jour après livraison.
- Les fixations livrées avec les articles sont destinés pour
montage sur un mur massif porteur, finition stuc ou carrelé.
Pour d’autres finitions ou murs plus faibles, prévoir d’autres
fixations et éventuellement consolider le mur si nécessaire.
- Clou se réserve le droit pour tout changement technique ou optique par rapport à la
photo représentant le produit.
- Des changements de production peuvent faire en sorte que les dimensions affi-
chées ne correspondent plus, nous vous prions de vérifier avant de procéder à toute
action.
- Clou BV ne peut être tenu responsable pour usage non approprié des articles, trans-
port inadéquat ou dommage causés à votre entrepôt en attente de livraison.
- Les conditions de garanties en vigueur restent toujours valables.
- Le montage doit être effectué par 2 personnes dont une au moins soit un corps de
métier.
- Toutes les mesures affichées sont en mm.
- Vor Beginn der Montage überprüfen Sie bitte, ob die Liefe-
rung vollständig ist bzw. ob durch den Transport Schäden
entstanden sind. Diese Überprüfung muss direkt am Liefertag
erfolgen. Sollte ein Schaden festgestellt werden, muss dieser
unmittelbar nach der Lieferung, spätestens (> 1 Tag nach Liefe-
rung) angezeigt werden.
- Die im Lieferumfang enthaltene Beschreibung, für verputzte
oder geflieste massive Wände, sind ausschließlich für Wände
mit genügend und ausreichender Tragfähigkeit geeignet und
vorgesehen. Bei Wänden mit einer geringe Tragfähigkeit erfolgt die Montage auf eigene
Verantwortung. Hier empfehlen wir eine zusätzliche Unterstützung durch spezielle Be-
festigungslösungen
- Clou behält sich das Recht auf technische und optische Änderungen in Bezug auf die
dargestellten Bilder vor.
- Aufgrund von Änderungen in der Produktion ist es möglich, dass angegebene Maße nicht
mehr korrekt sind. Alle genannten Dimensionen in diesem Handbuch sollten vor der
Ausführung der Maßnahme überprüft werden.
- Clou B.V. ist nicht verantwortlich für die Ergebnisse des unsachgemäßer Gebrauch,
unsachgemäßer Transport oder Schäden, die während Zwischenlagerung verursacht
werden.
- Die aktuelle Garantiebedingungen sind immer gültig.
- Die Installation muß von mindestens 2 Personen durchgeführt werden, wobei 1 Person
bereits vorhandene Fachkenntnisse hat.
- Alle Dimensionen erfolgen in mm Angaben.
FR
DE
Inhoud levering:
Content of delivery:
Contenu de la livraison:
Inhalt der Anlieferung:
Benodigd gereedschap:
Required tools:
Outils requis:
Erforderliche Werkzeuge:
Gebruiksvoorschriften:
zie ook de onderhoudsvoorschriften op www.clou.nl
User’s instructions:
See also the maintenance guides at www.clou.nl
Instructions d’utilisation:
Voyer aussi les instructions d’entretien sur www.clou.nl
Gebrauchsanweisungen:
Wartungsanweisungen finden Sie auf unsere Homepage
www.clou.nl
Tijdens de installatie moet men voorkomen dat het opper-
vlak van het product beschadigd raakt door harde voorwer-
pen op het product te leggen.
During installation one has to prevent damaging the surface
of the product due to placing hard objects on the product.
Pendant l’installation on doit empêcher d’endommager la
surface du produit en posant des objets durs sur le produit.
Während der Installation soll verhinderd werden das harte
Gegenstände die Oberfläche der Produkten beschädigen.
420
40
48
360
180
16
first_toilet seat & cover
CL/04.06030
Dimensions in mm, for reference only / 09.04.2013 / rev_01 www.clou.nl
1_
Monteer de toiletzitting en
deksel.
Install the toilet seat and
cover.
Montez la lunette et le cou-
vercle.
Montieren Sie WC-Sitz und
Deckel.
2_
Duw beide plastic bescher-
mingsschijven tegen de schar-
nierpinnen.
Push both plastic protection
discs against the hinge pens.
Poussez les deux disques de
protection en plastique contre
les chevilles de charnière.
Drücken Sie beide Kunststoff-
scheiben gegen die Scharnier-
stifte.
3_
Draai de scharnierpinnen vast
d.m.v. de schroef en de montage
manchet. Zorg ervoor dat je de
scharnierpinnen handmatig nog
kunt verdraaien.
Turn the hinge pens until
secure using the screw and
the assembly closure ring.
Ensure that you can still turn
the hinge pens manually.
Serrez les chevilles de charnière
à l’aide de la vis et de la garni-
ture de montage. Assurez-vous
que les chevilles de charnière
peuvent encore être tournées
manuellement.
Drehen Sie die Scharnierstifte mit
der Schraube und der Befesti-
gungsschelle fest. Achten Sie da-
rauf, dass Sie die Scharnierstifte
noch von Hand drehen können.
4_
Plaats de toilet zitting en
deksel door deze vast te
klikken op de scharnier-
pennen.
Install the toilet seat and
cover by clicking them into
place on the hinge pens.
Placez la lunette et le cou-
vercle en les cliquant sur
les chevilles de charnière.
Bringen Sie WC-Sitz und
Deckel an, indem Sie die
Einheit auf den Scharnier-
stiften einrasten.
6_
Verwijder de toiletzitting en
deksel door beide knoppen
in te drukken. Let op dat de
scharnierpinnen zo min moge-
lijk verplaatsen.
Remove the toilet seat and
cover by pressing both buttons.
Make sure that the hinge pens
move as little as possible.
Retirez la lunette et le couverc-
le en appuyant simultanément
sur les deux boutons. Veillez à
déplacer le moins possible les
chevilles de charnière.
Nehmen Sie WC-Sitz und Deckel
ab, indem Sie beide Knöpfe
eindrücken. Achten Sie darauf,
dass sich die Scharnierstifte so
wenig wie möglich bewegen.
5_
Controleer of het geheel
goed uitlijnt met het toilet.
Check whether this lines
up with the contours of the
toilet.
Contrôlez que le tout est
bien aligné par rapport à la
cuvette.
Kontrollieren Sie, dass WC-
Sitz und Deckel korrekt auf
das Toilettenbecken ausge-
richtet sind.
OK NO
OK NO
7_
Draai de scharnierpinnen stevig
vast.
Turn the hinge pens until se-
cure.
Vissez fermement les chevilles
de charnière.
Drehen Sie die Scharnierstifte
gut fest.
8_
Plaats de afdekkapjes over de
scharnierpinnen en plaats ver-
volgens de toiletzitting en dek-
sel over de scharnierpinnen.
Place the covering caps over
the hinge pens and then install
the toilet seat and the cover
over the hinge pens.
Placez les capuchons de pro-
tection sur les chevilles de
charnière et placez ensuite la
lunette et le couvercle sur ces
chevilles.
Setzen Sie die Abdeckkappen
auf die Scharnierstifte auf und
platzieren Sie anschließend
den WC-Sitz mit Deckel auf den
Scharnierstiften.
Clou bv
Thermiekstraat 1
NL-6361 HB Nuth
T +31 (0)45 524 56 56
F +31 (0)45 524 60 00
[email protected]
www.clou.nl
bath findings

Other Clou Bathroom Fixture manuals

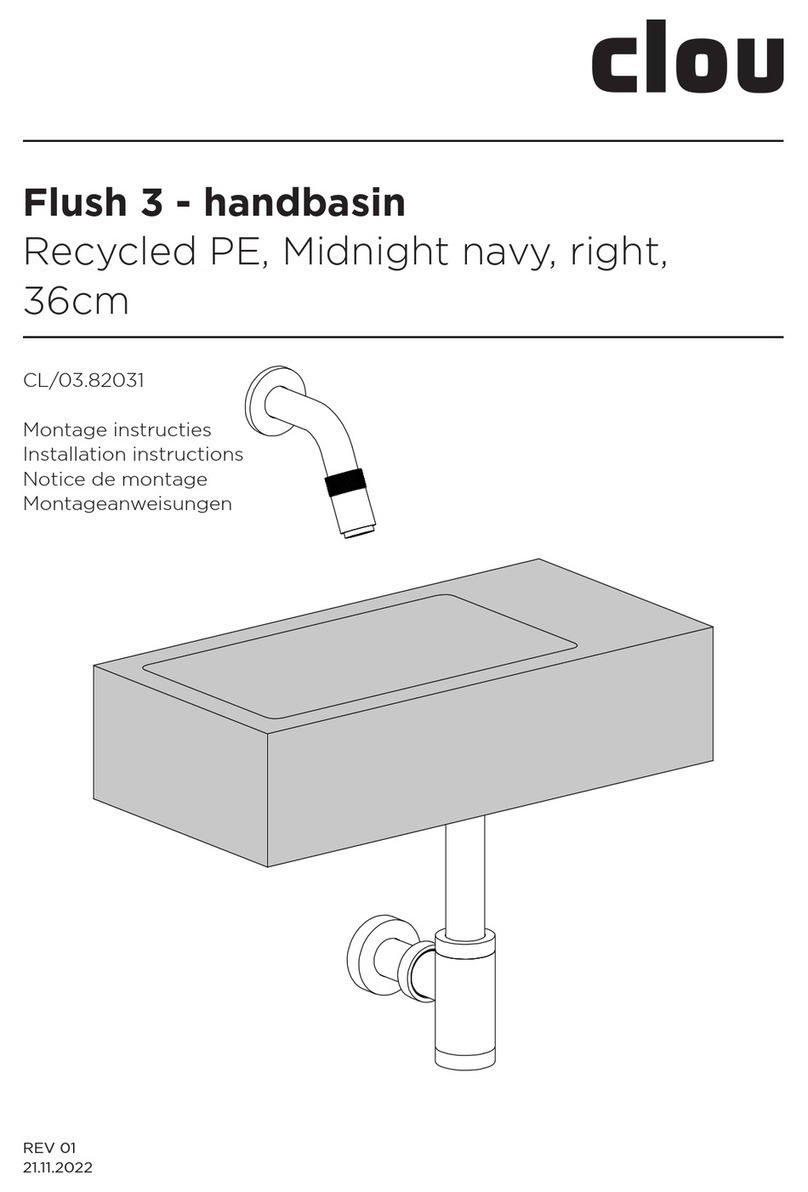
Clou Flush 3 CL/03.81031 User manual

Clou

Clou Flush 3 CL/03.81031 User manual

Clou Xo 13 CL/06.14013.29 User manual

Clou

Clou Xo 13 CL/06.14013.29 User manual

Clou New Flush 2 CL/03.03420.01 User manual

Clou

Clou New Flush 2 CL/03.03420.01 User manual

Clou Hammock CL/03.08370 User manual

Clou

Clou Hammock CL/03.08370 User manual

Clou match me CL/07.56.004.50 User manual

Clou

Clou match me CL/07.56.004.50 User manual

Clou Freddo 3 CL/06.03.011.29 User manual

Clou

Clou Freddo 3 CL/06.03.011.29 User manual

Clou First CL/03.03100 User manual

Clou

Clou First CL/03.03100 User manual

Clou flush 2 CL/03.03021 User manual

Clou

Clou flush 2 CL/03.03021 User manual

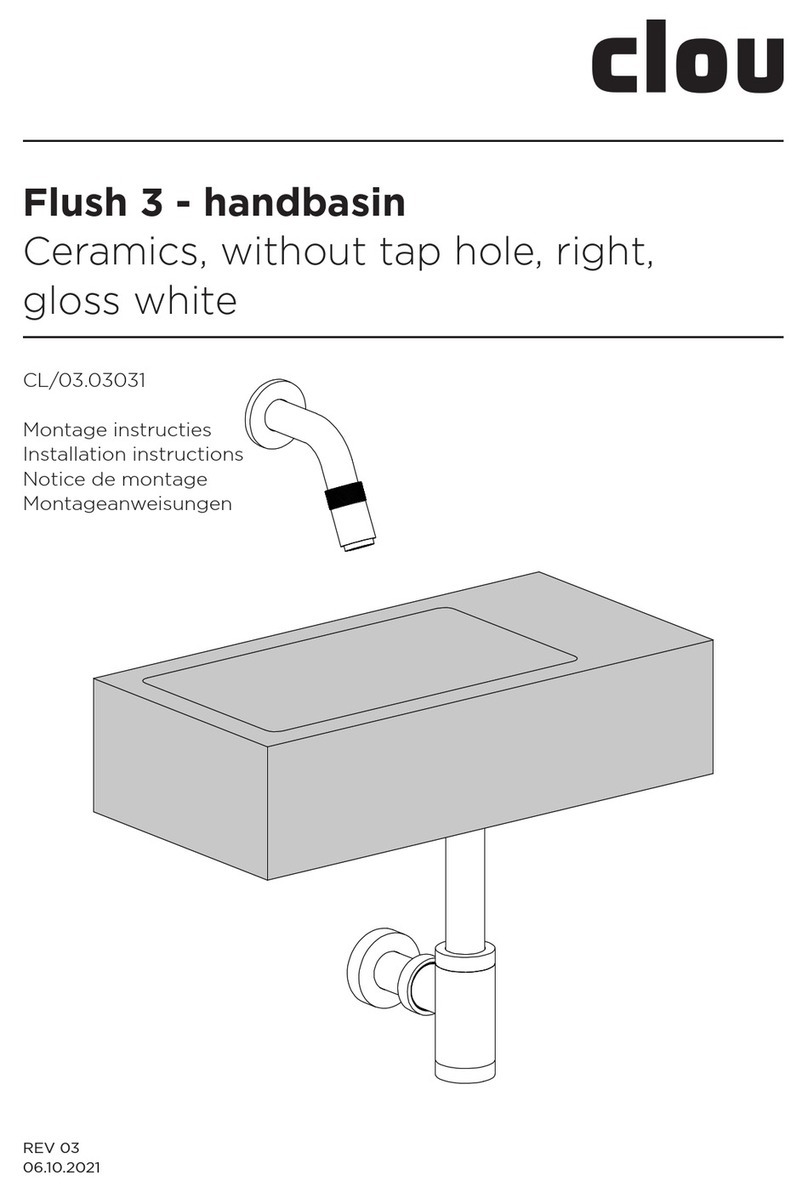
Clou Flush 3 CL/03.02031 User manual

Clou

Clou Flush 3 CL/03.02031 User manual

Clou Hammock CL/04.06060.21 User manual

Clou

Clou Hammock CL/04.06060.21 User manual

Clou Flush 3 User manual

Clou

Clou Flush 3 User manual

Clou CL/03.13270 User manual

Clou

Clou CL/03.13270 User manual

Clou CL/07.36.032.21 User manual

Clou

Clou CL/07.36.032.21 User manual

Clou CL/03.10021 User manual

Clou

Clou CL/03.10021 User manual

Clou CL/02.13134 User manual

Clou

Clou CL/02.13134 User manual

Clou first CL/02.26010 User manual

Clou

Clou first CL/02.26010 User manual

Clou Kaldur CL/06.05.001.21 User manual

Clou

Clou Kaldur CL/06.05.001.21 User manual

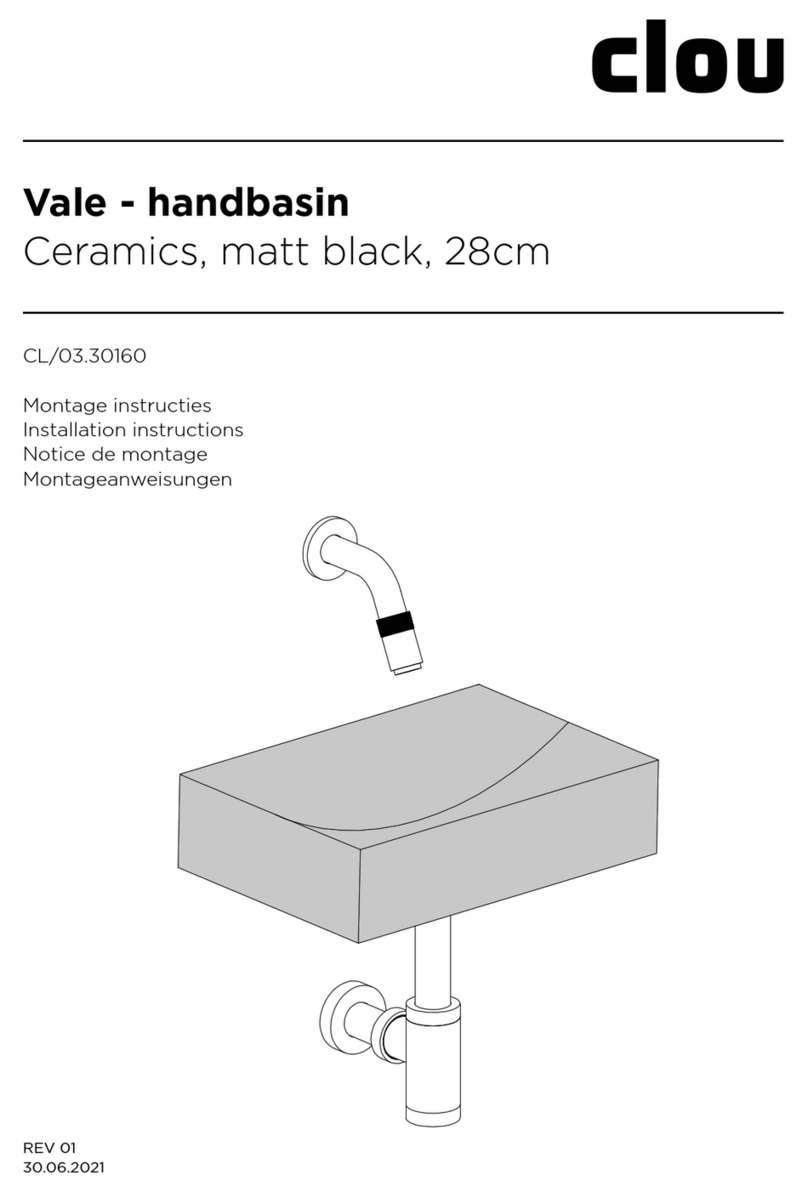
Clou Vale CL/03.30160 User manual

Clou

Clou Vale CL/03.30160 User manual

Clou Hammock CL/03.13370 User manual

Clou

Clou Hammock CL/03.13370 User manual

Clou Flush 3 CL/03.80031 User manual

Clou

Clou Flush 3 CL/03.80031 User manual

Clou Freddo 9 CL/06.03013.41 User manual

Clou

Clou Freddo 9 CL/06.03013.41 User manual

Clou CL/09.04041.29 Manual

Clou

Clou CL/09.04041.29 Manual

Clou First CL/03.03110 User manual

Clou

Clou First CL/03.03110 User manual

Clou New Flush 1 CL/03.03410 User manual

Clou

Clou New Flush 1 CL/03.03410 User manual

Popular Bathroom Fixture manuals by other brands

Sanipex BAGNODESIG BDM-MLI-406 Series installation guide

Sanipex

Sanipex BAGNODESIG BDM-MLI-406 Series installation guide

Bradley S19-310AC Installation

Bradley

Bradley S19-310AC Installation

Helvex Premier H-3005 installation guide

Helvex

Helvex Premier H-3005 installation guide

Allen + Roth Davidson-TD-CH installation manual

Allen + Roth

Allen + Roth Davidson-TD-CH installation manual

RAVAK GENTIANA Mounting instructions

RAVAK

RAVAK GENTIANA Mounting instructions

Zadro Z' FOGLESS ULTRA III instructions

Zadro

Zadro Z' FOGLESS ULTRA III instructions

Allen + Roth 4065451 quick start guide

Allen + Roth

Allen + Roth 4065451 quick start guide

SecuCare 8045.001.02 quick start guide

SecuCare

SecuCare 8045.001.02 quick start guide

ABI INTERIORS AZUL installation guide

ABI INTERIORS

ABI INTERIORS AZUL installation guide

Gessi 39818 installation manual

Gessi

Gessi 39818 installation manual

JADO 818/535 Series installation instructions

JADO

JADO 818/535 Series installation instructions

Speakman SA-1008 quick start guide

Speakman

Speakman SA-1008 quick start guide

Toto Neorest LE MR720 installation guide

Toto

Toto Neorest LE MR720 installation guide

METHVEN SATINJET ESCAPE MKII installation guide

METHVEN

METHVEN SATINJET ESCAPE MKII installation guide

König HC-SH21N manual

König

König HC-SH21N manual

DURAVIT LM 9614 Mounting instructions

DURAVIT

DURAVIT LM 9614 Mounting instructions

CUR AQUA 016434 operating instructions

CUR AQUA

CUR AQUA 016434 operating instructions

Sanela SLA14 Mounting instructions

Sanela

Sanela SLA14 Mounting instructions

manuals.online logo
manuals.online logoBrands
  • About & Mission
  • Contact us
  • Privacy Policy
  • Terms and Conditions

Copyright 2025 Manuals.Online. All Rights Reserved.